


Gallery
PRODUCT DEMO VIDEOS
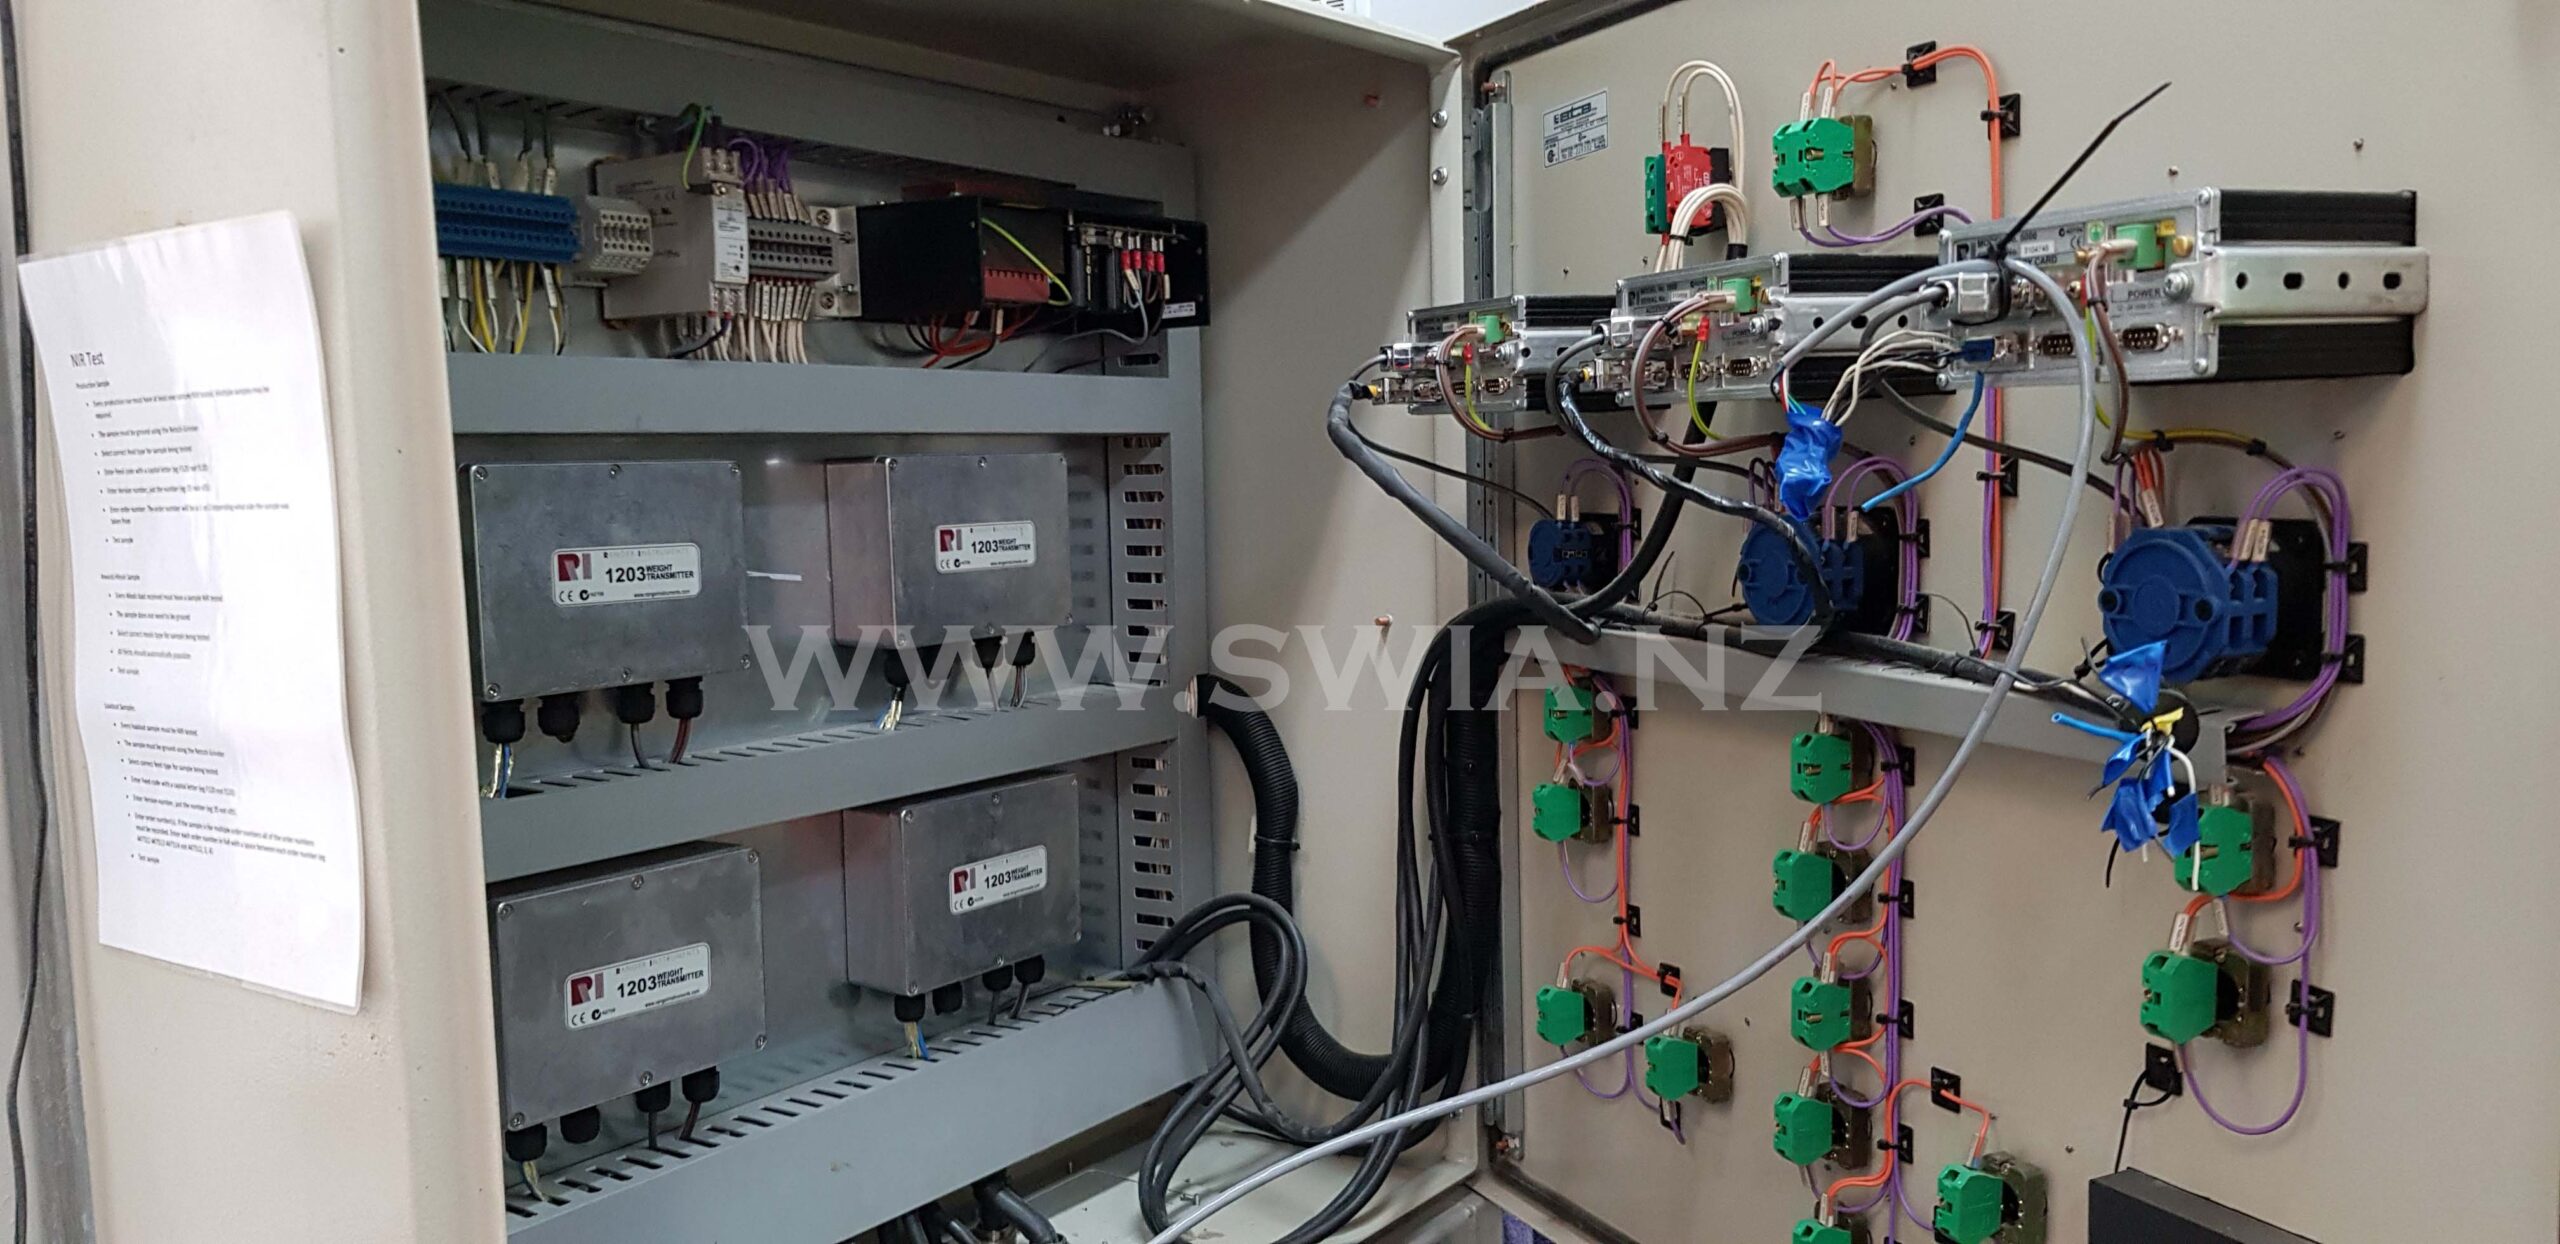
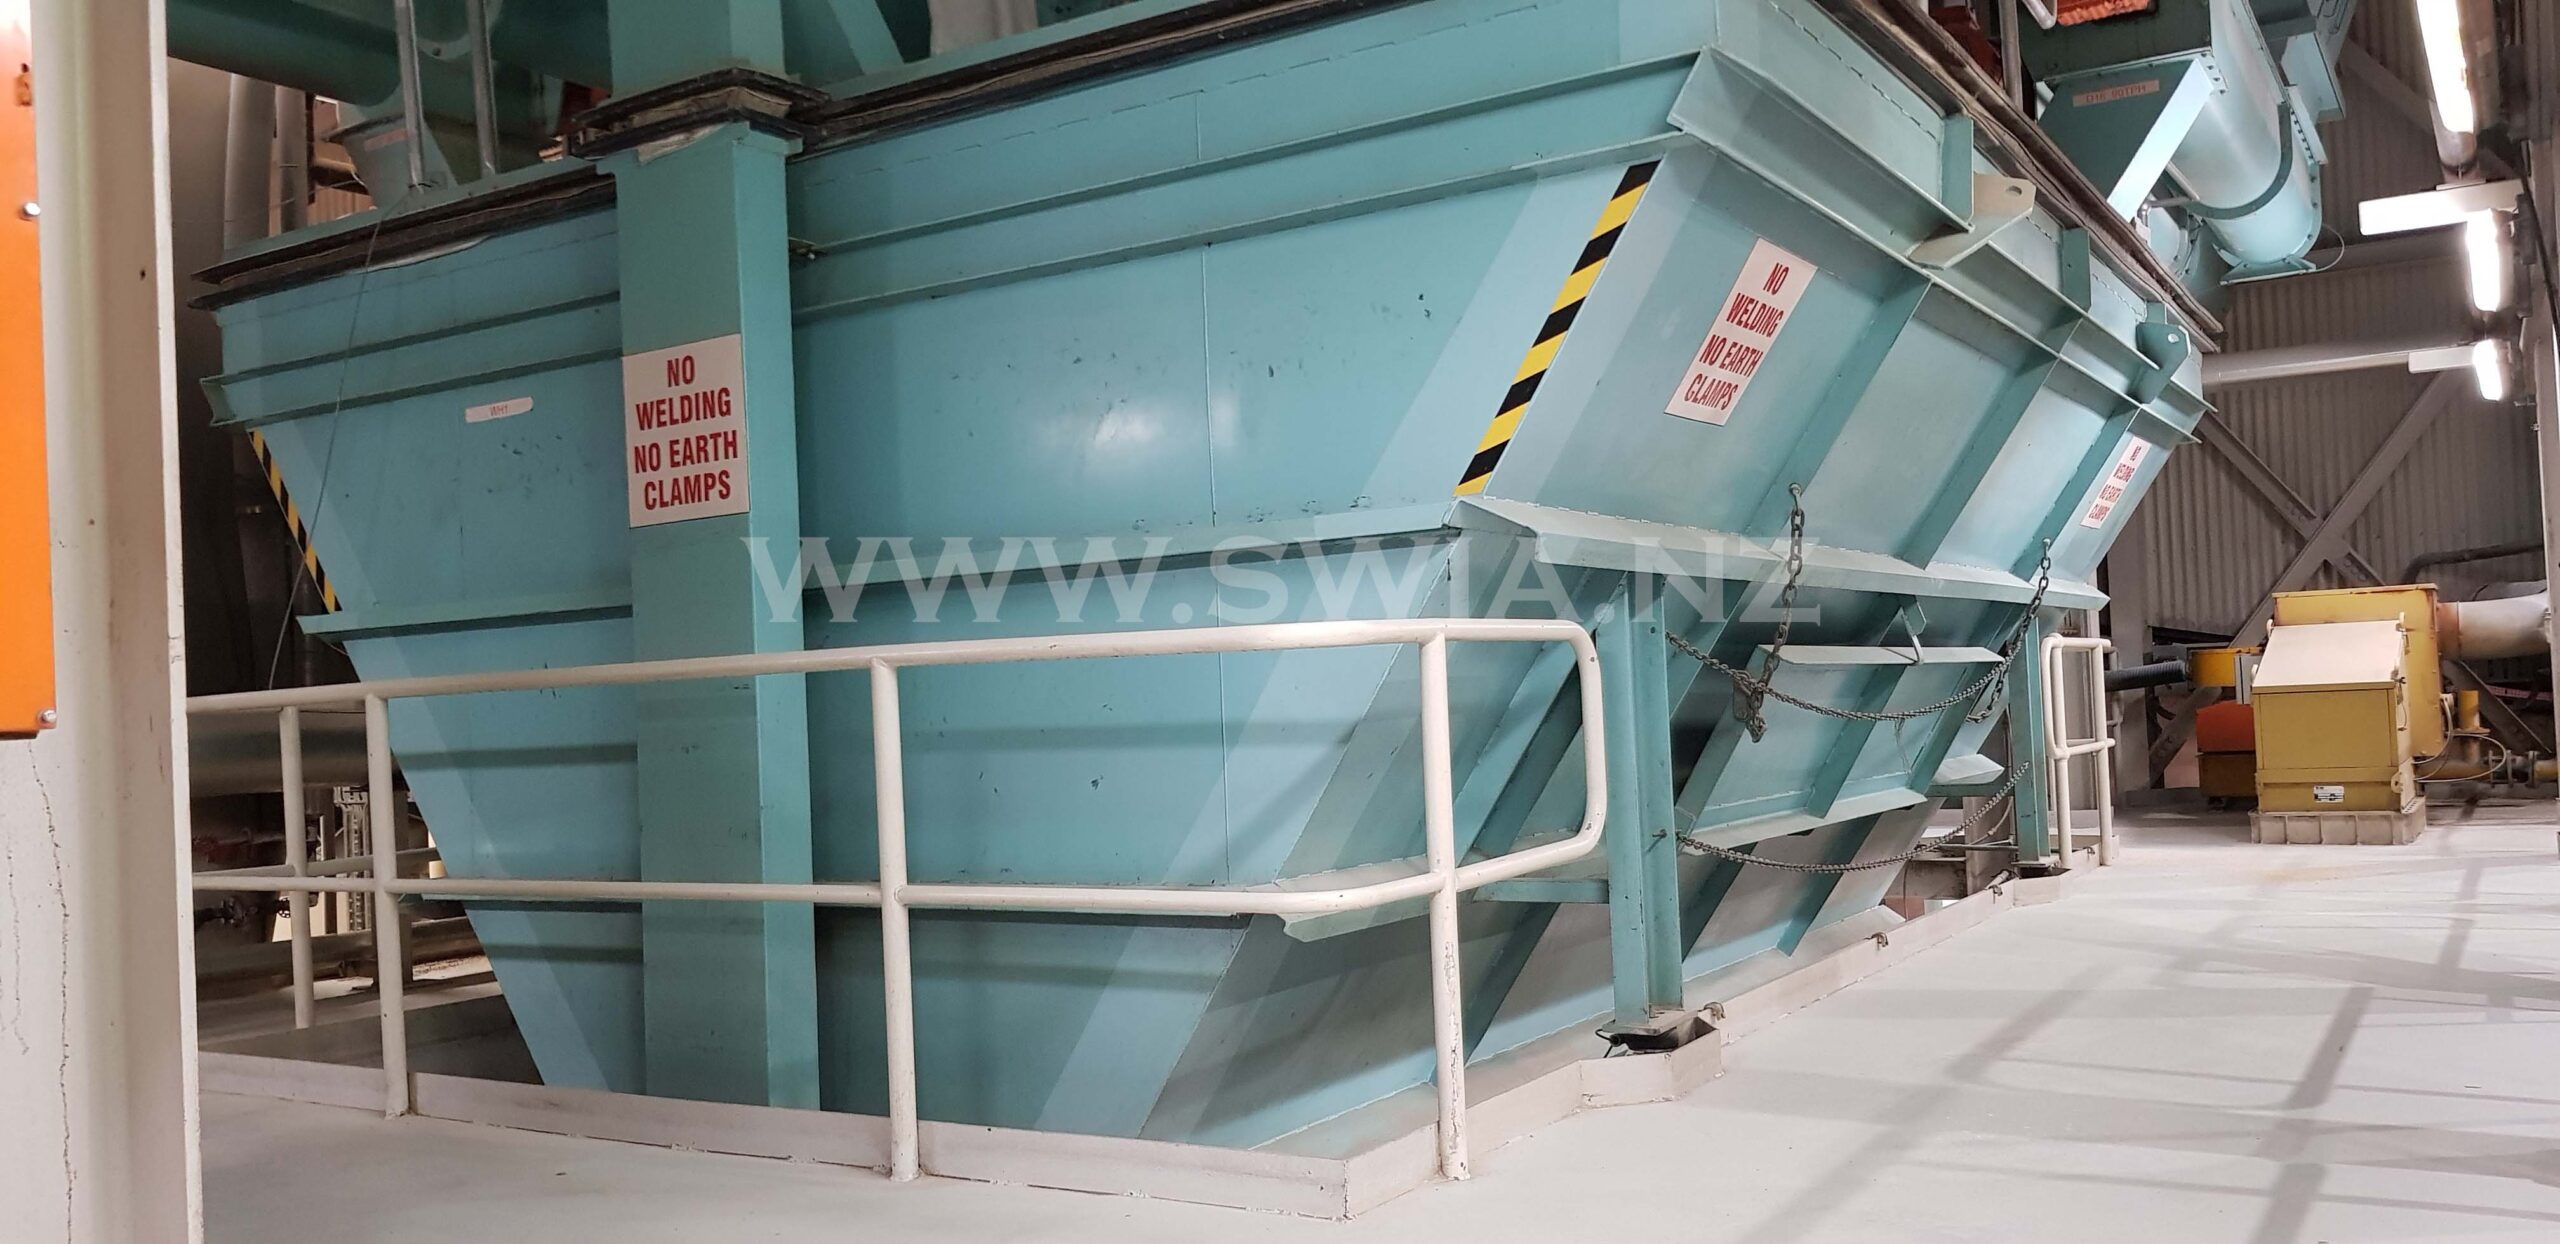
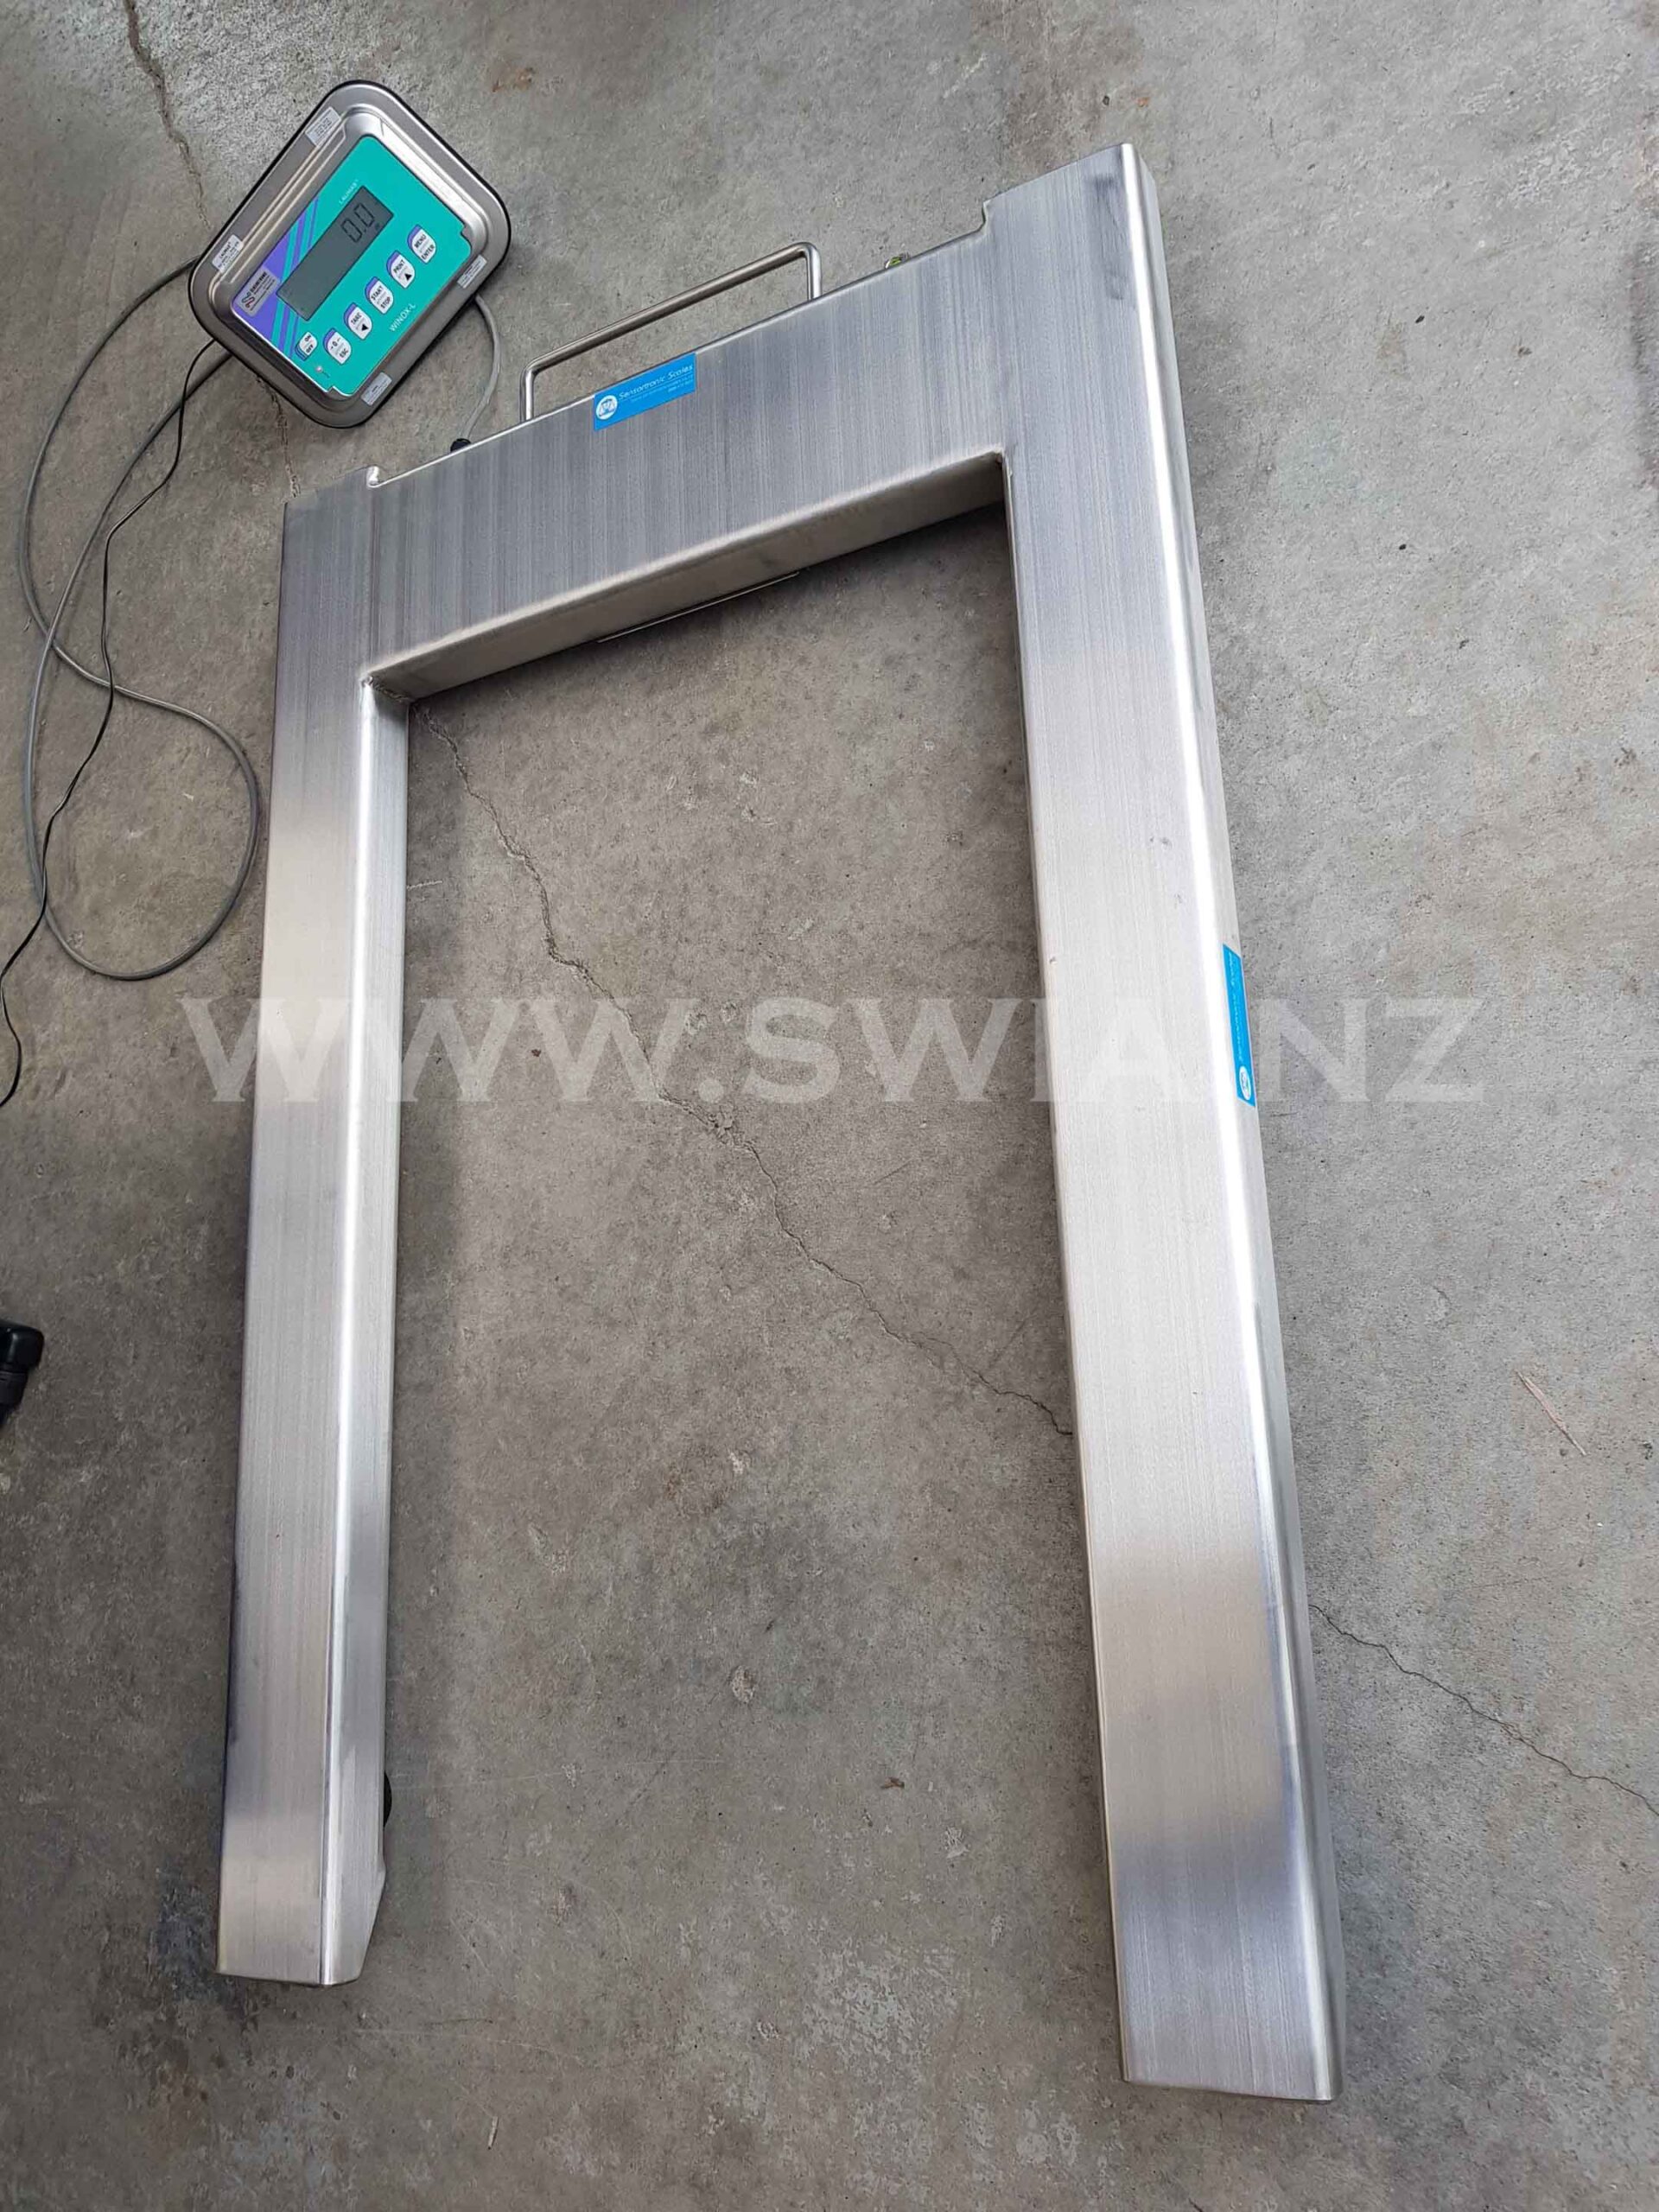
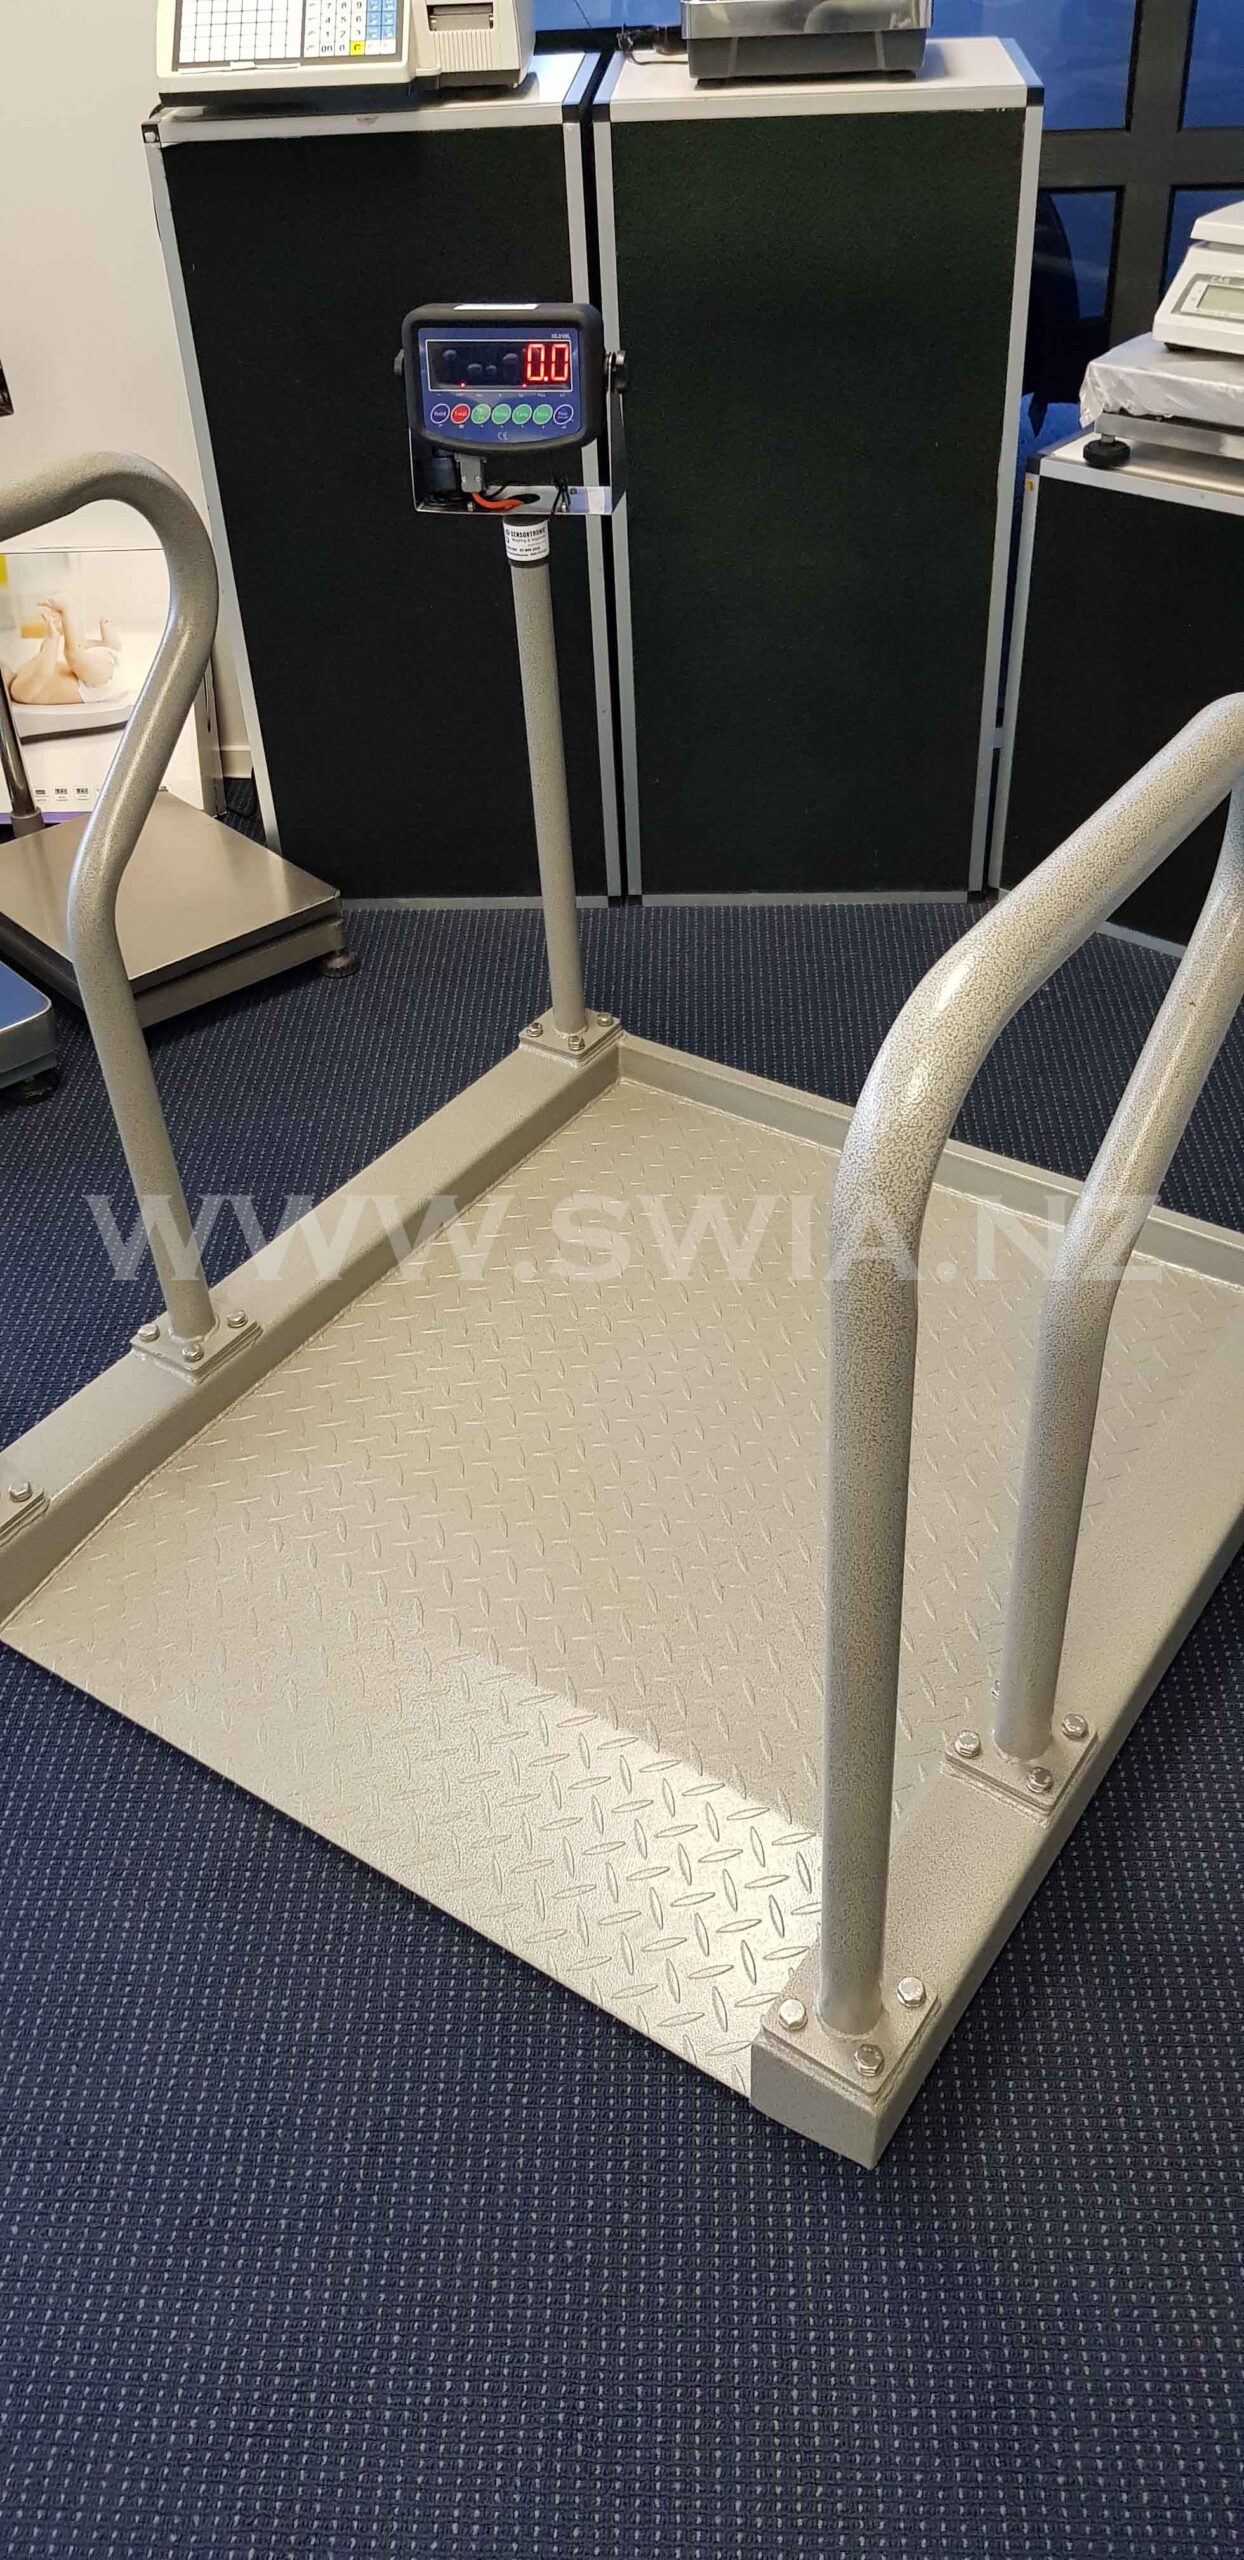
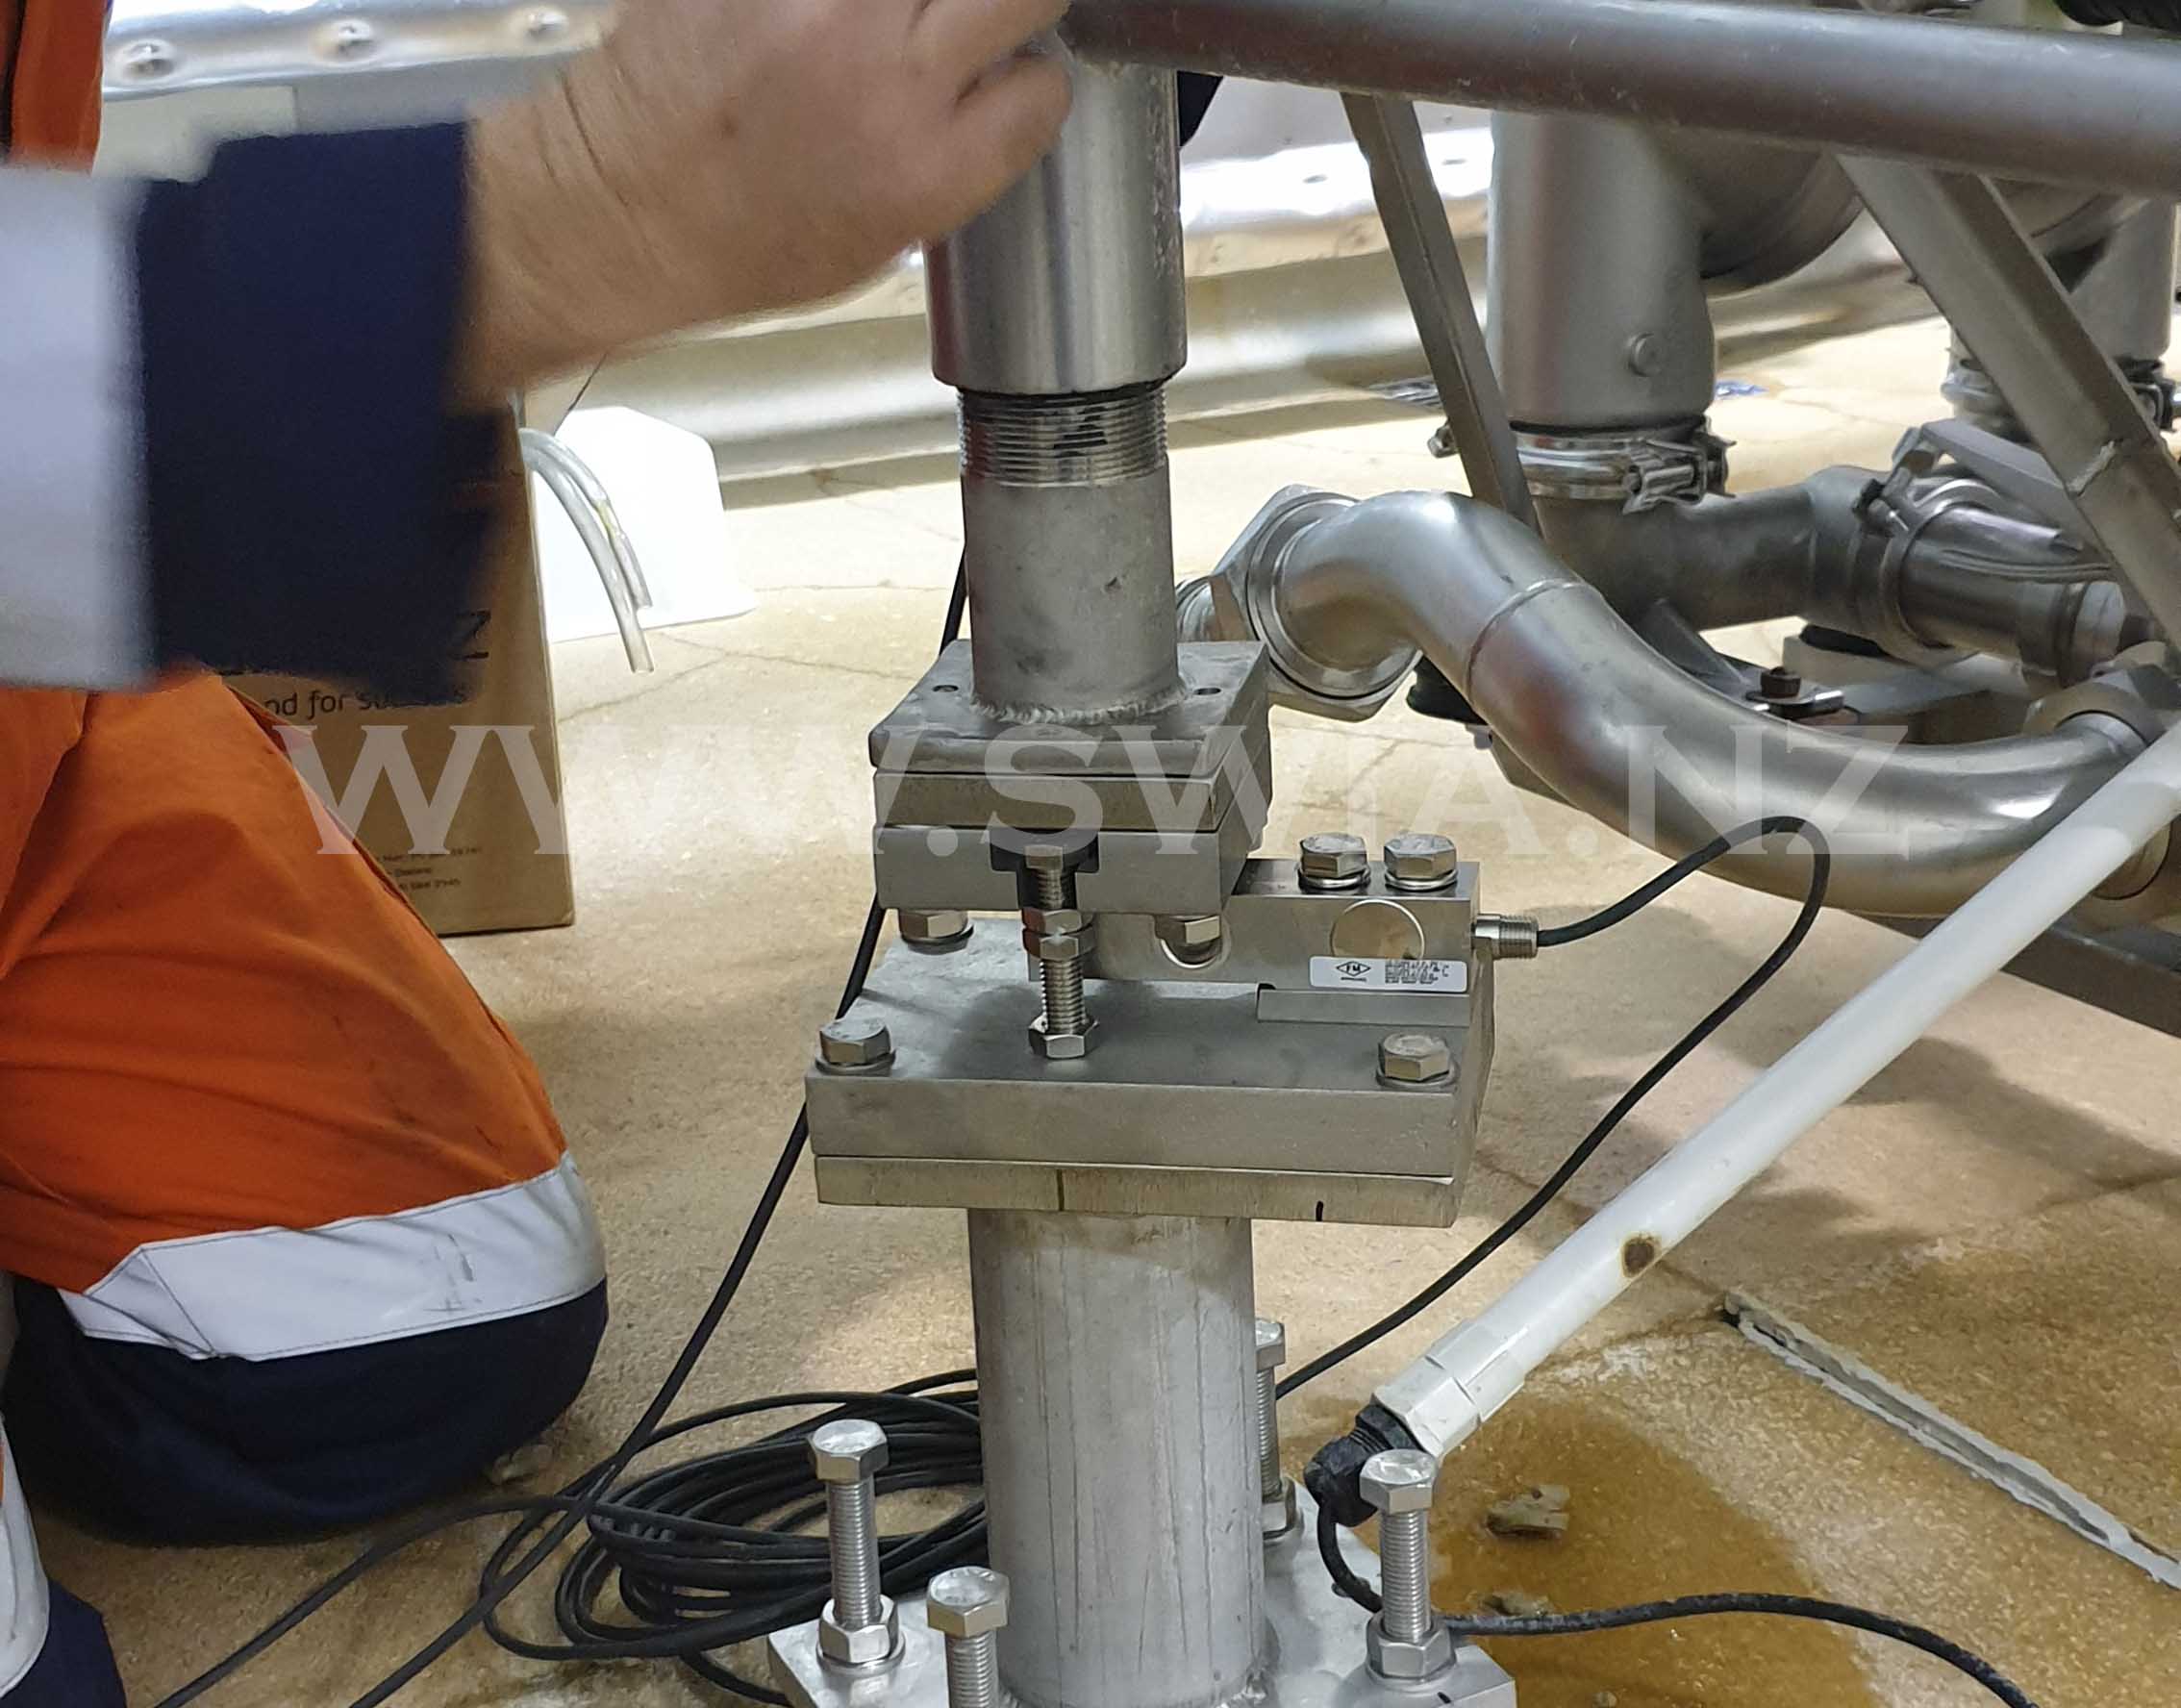
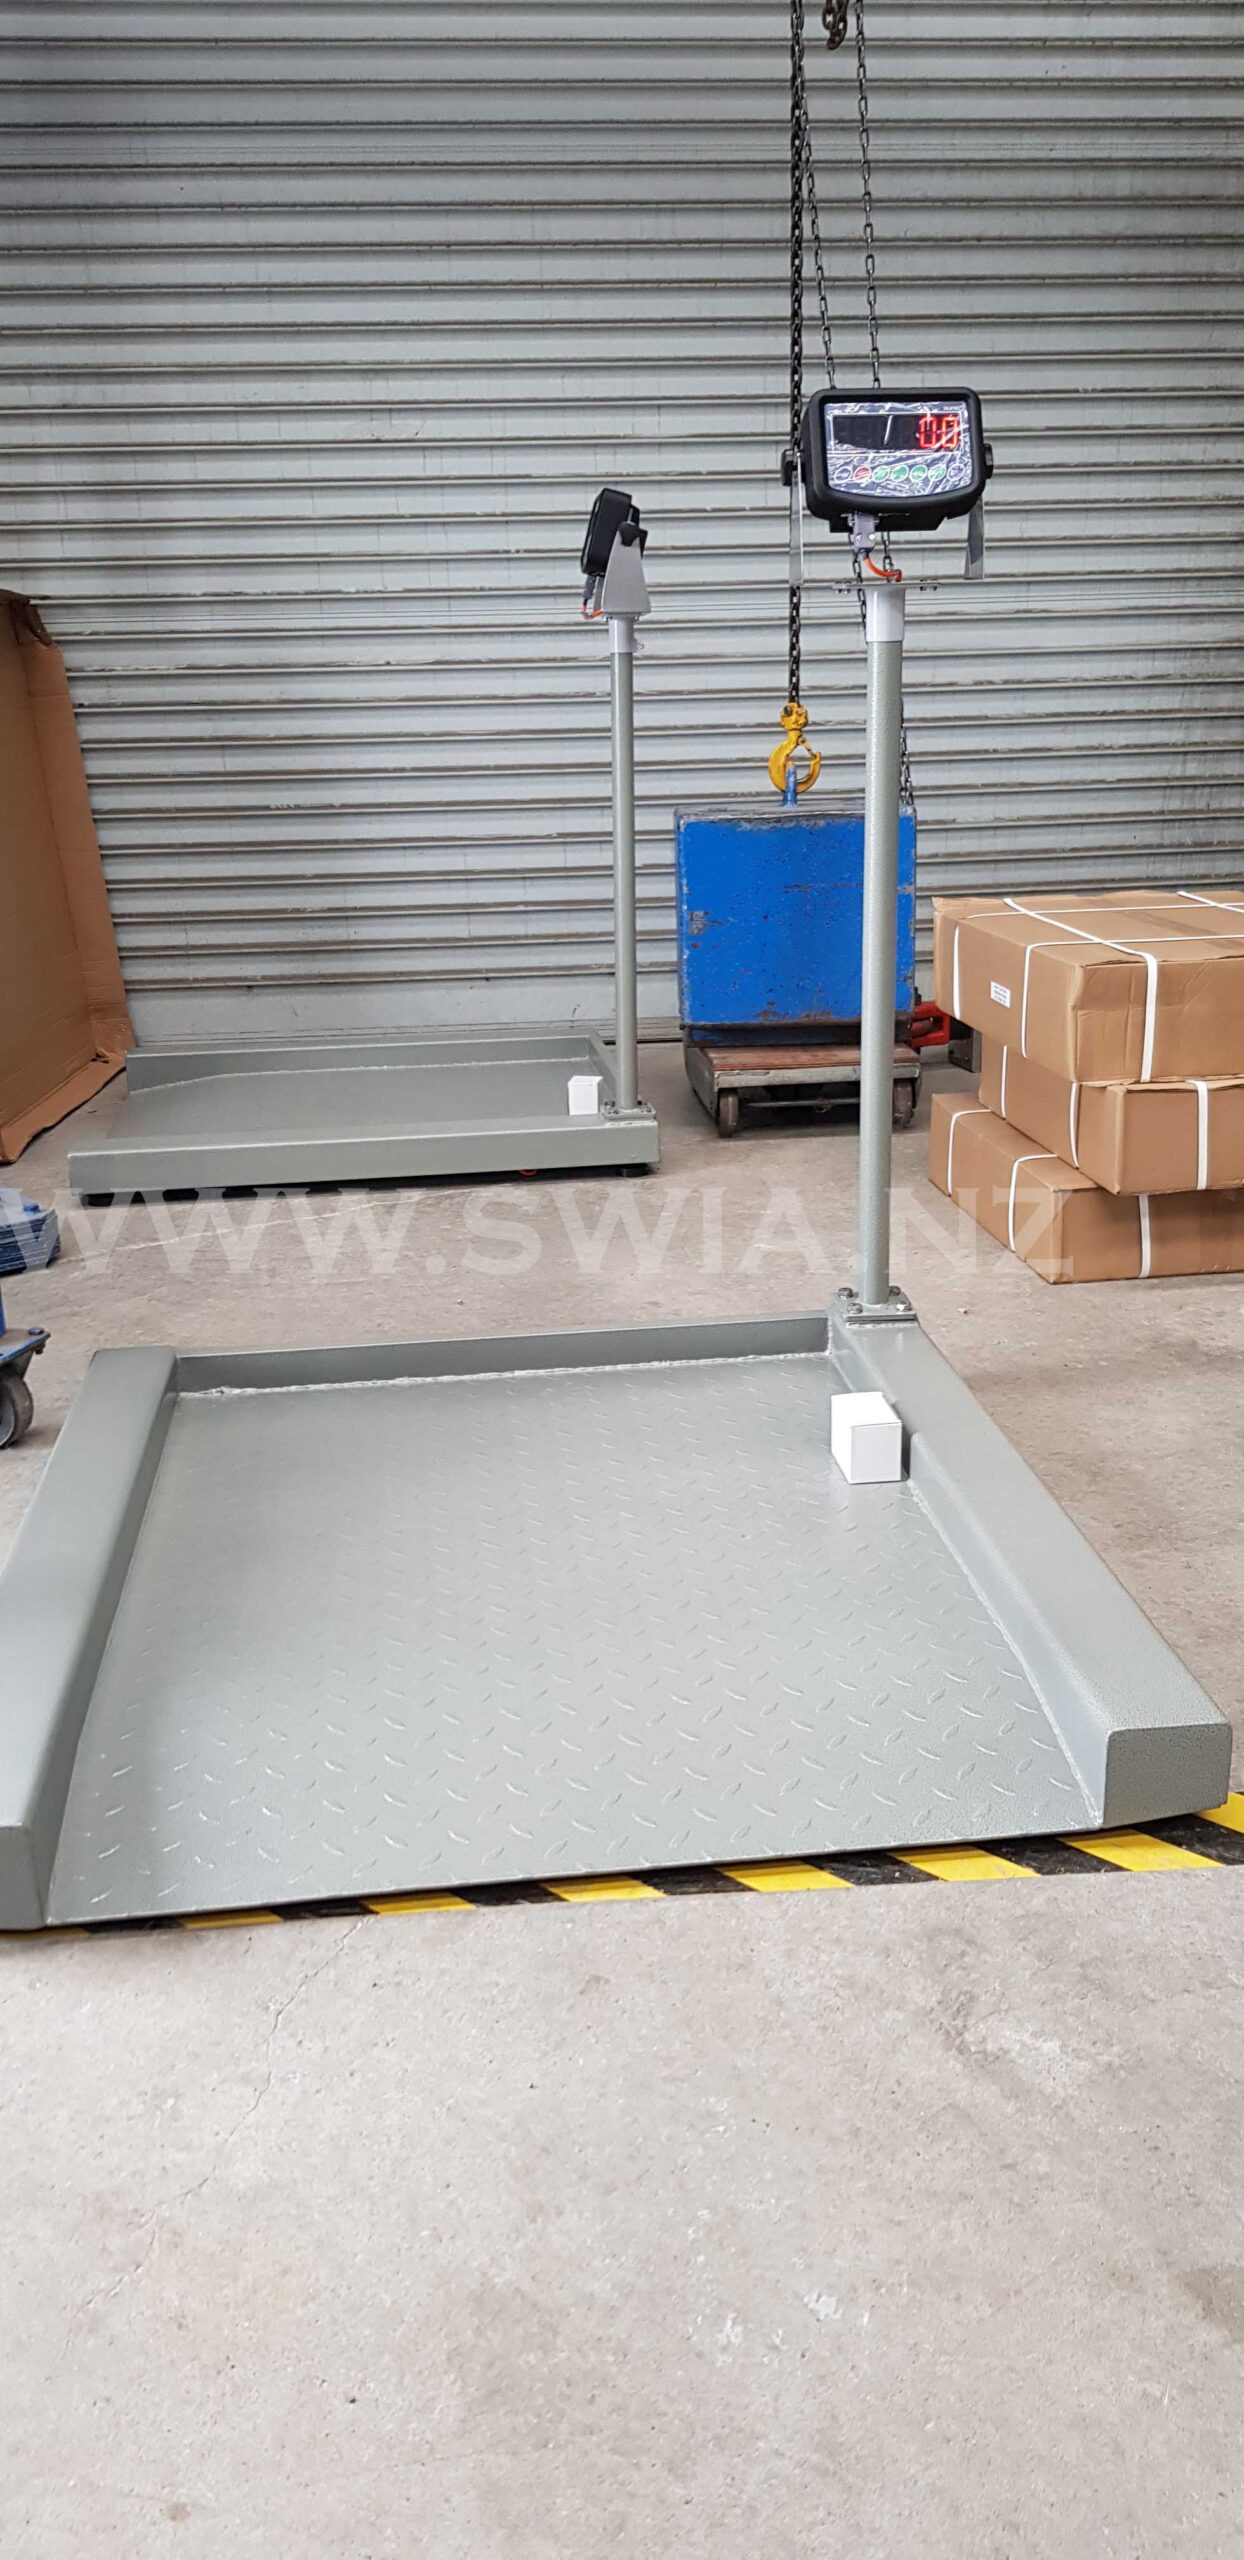
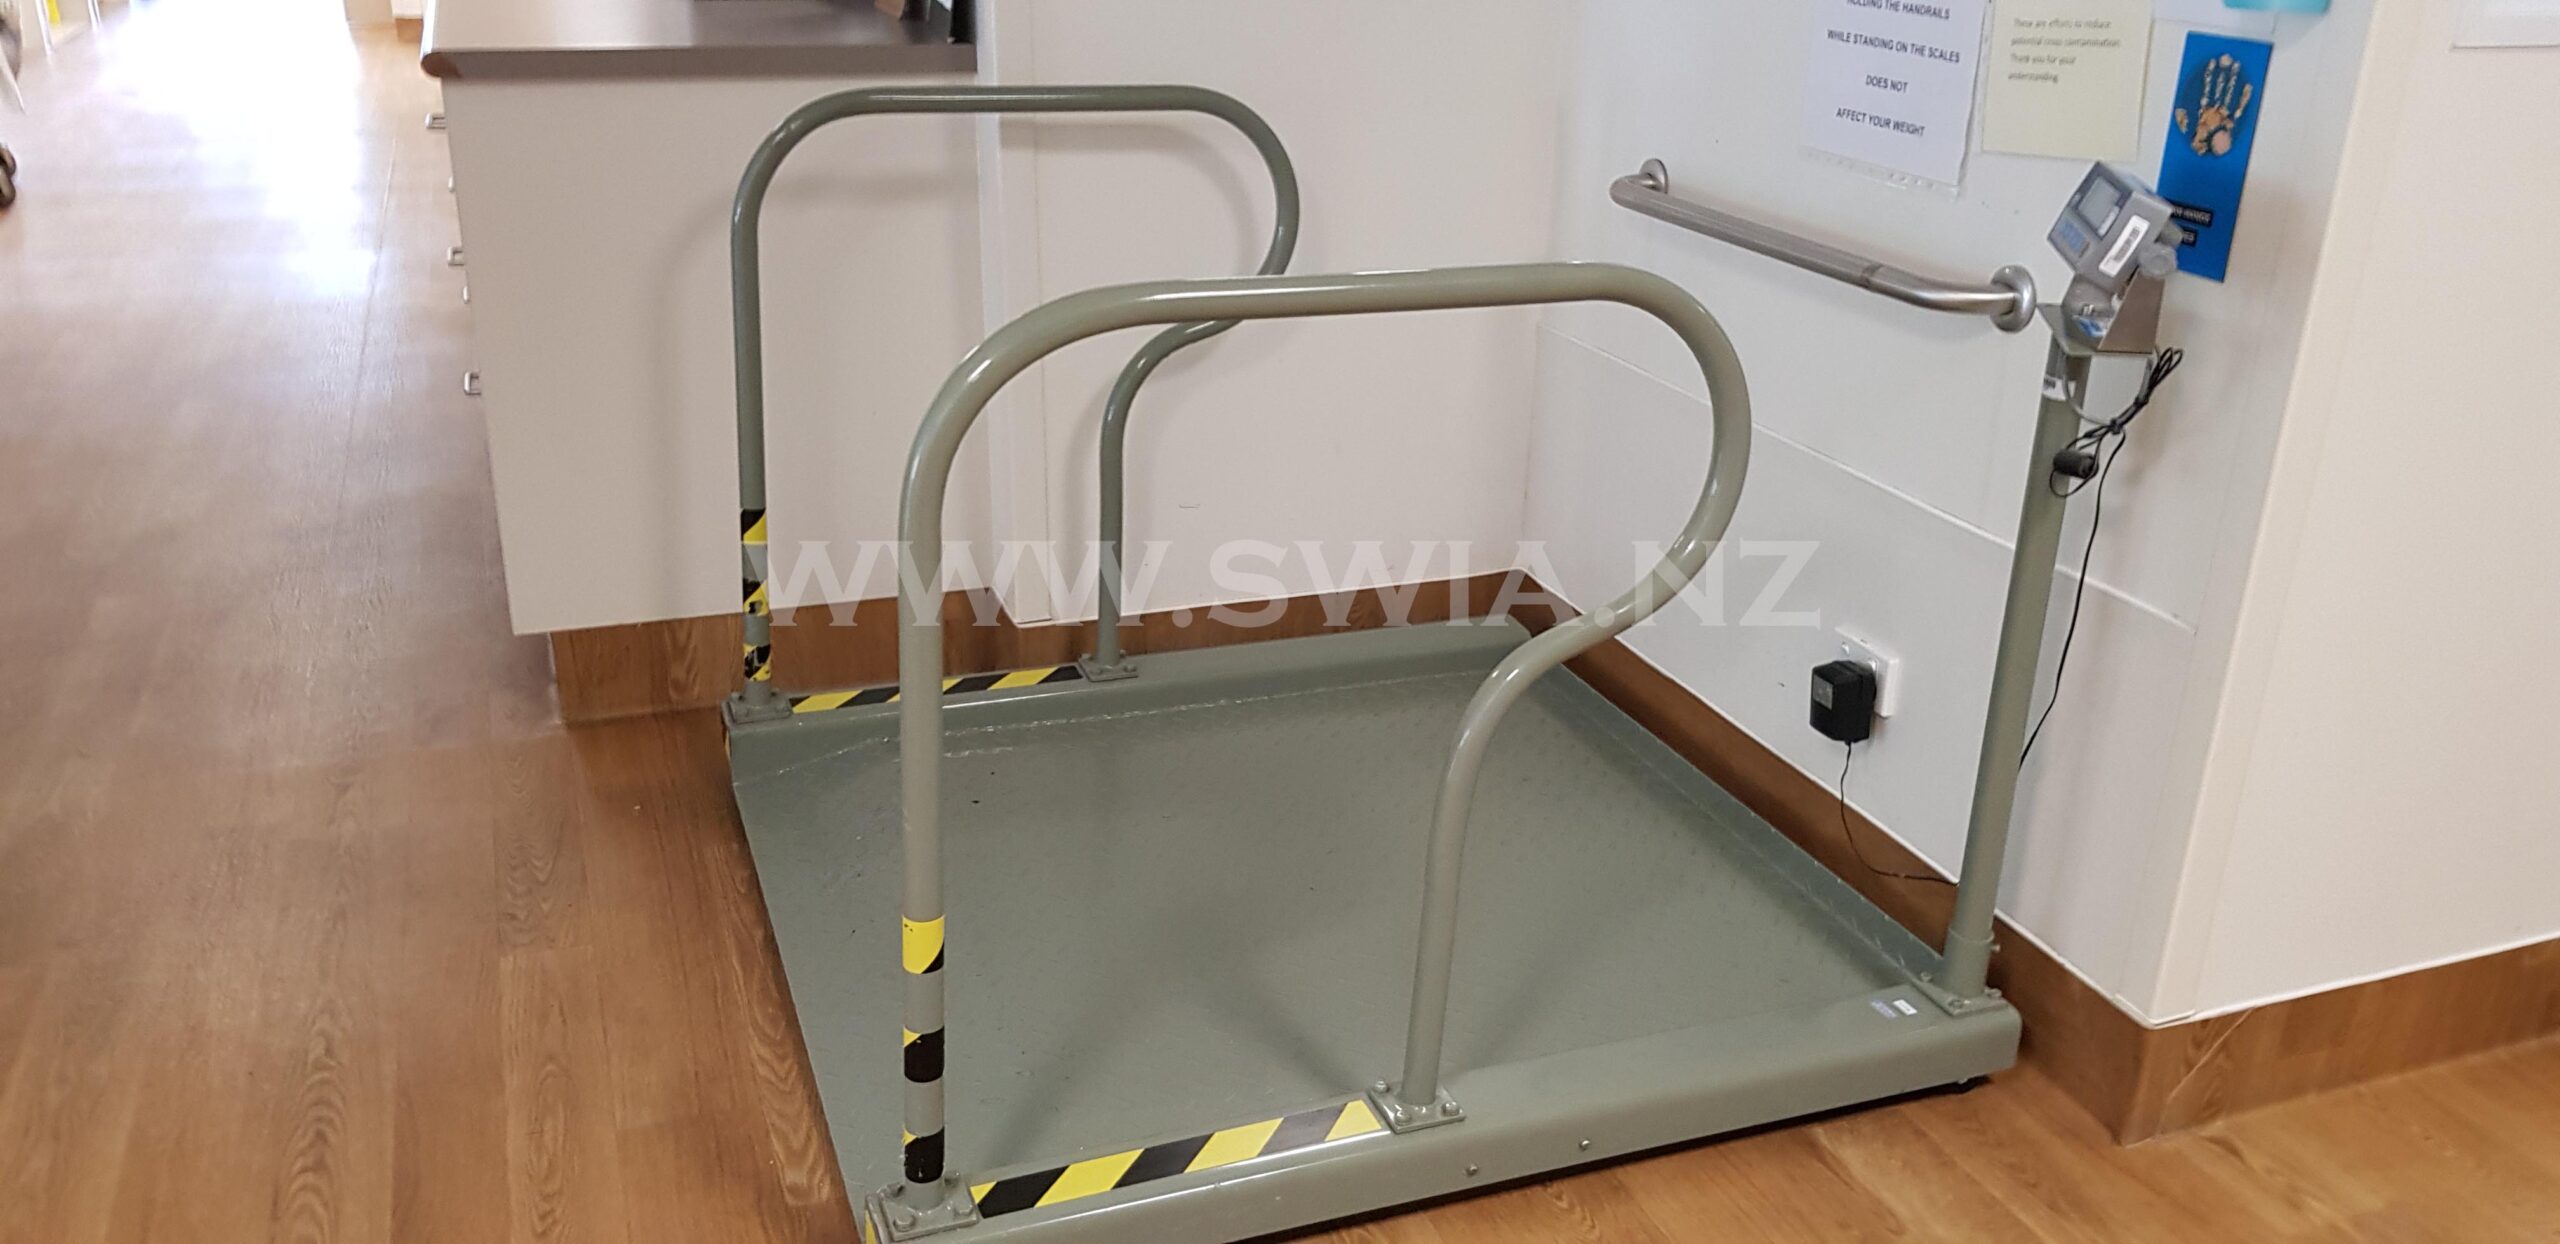
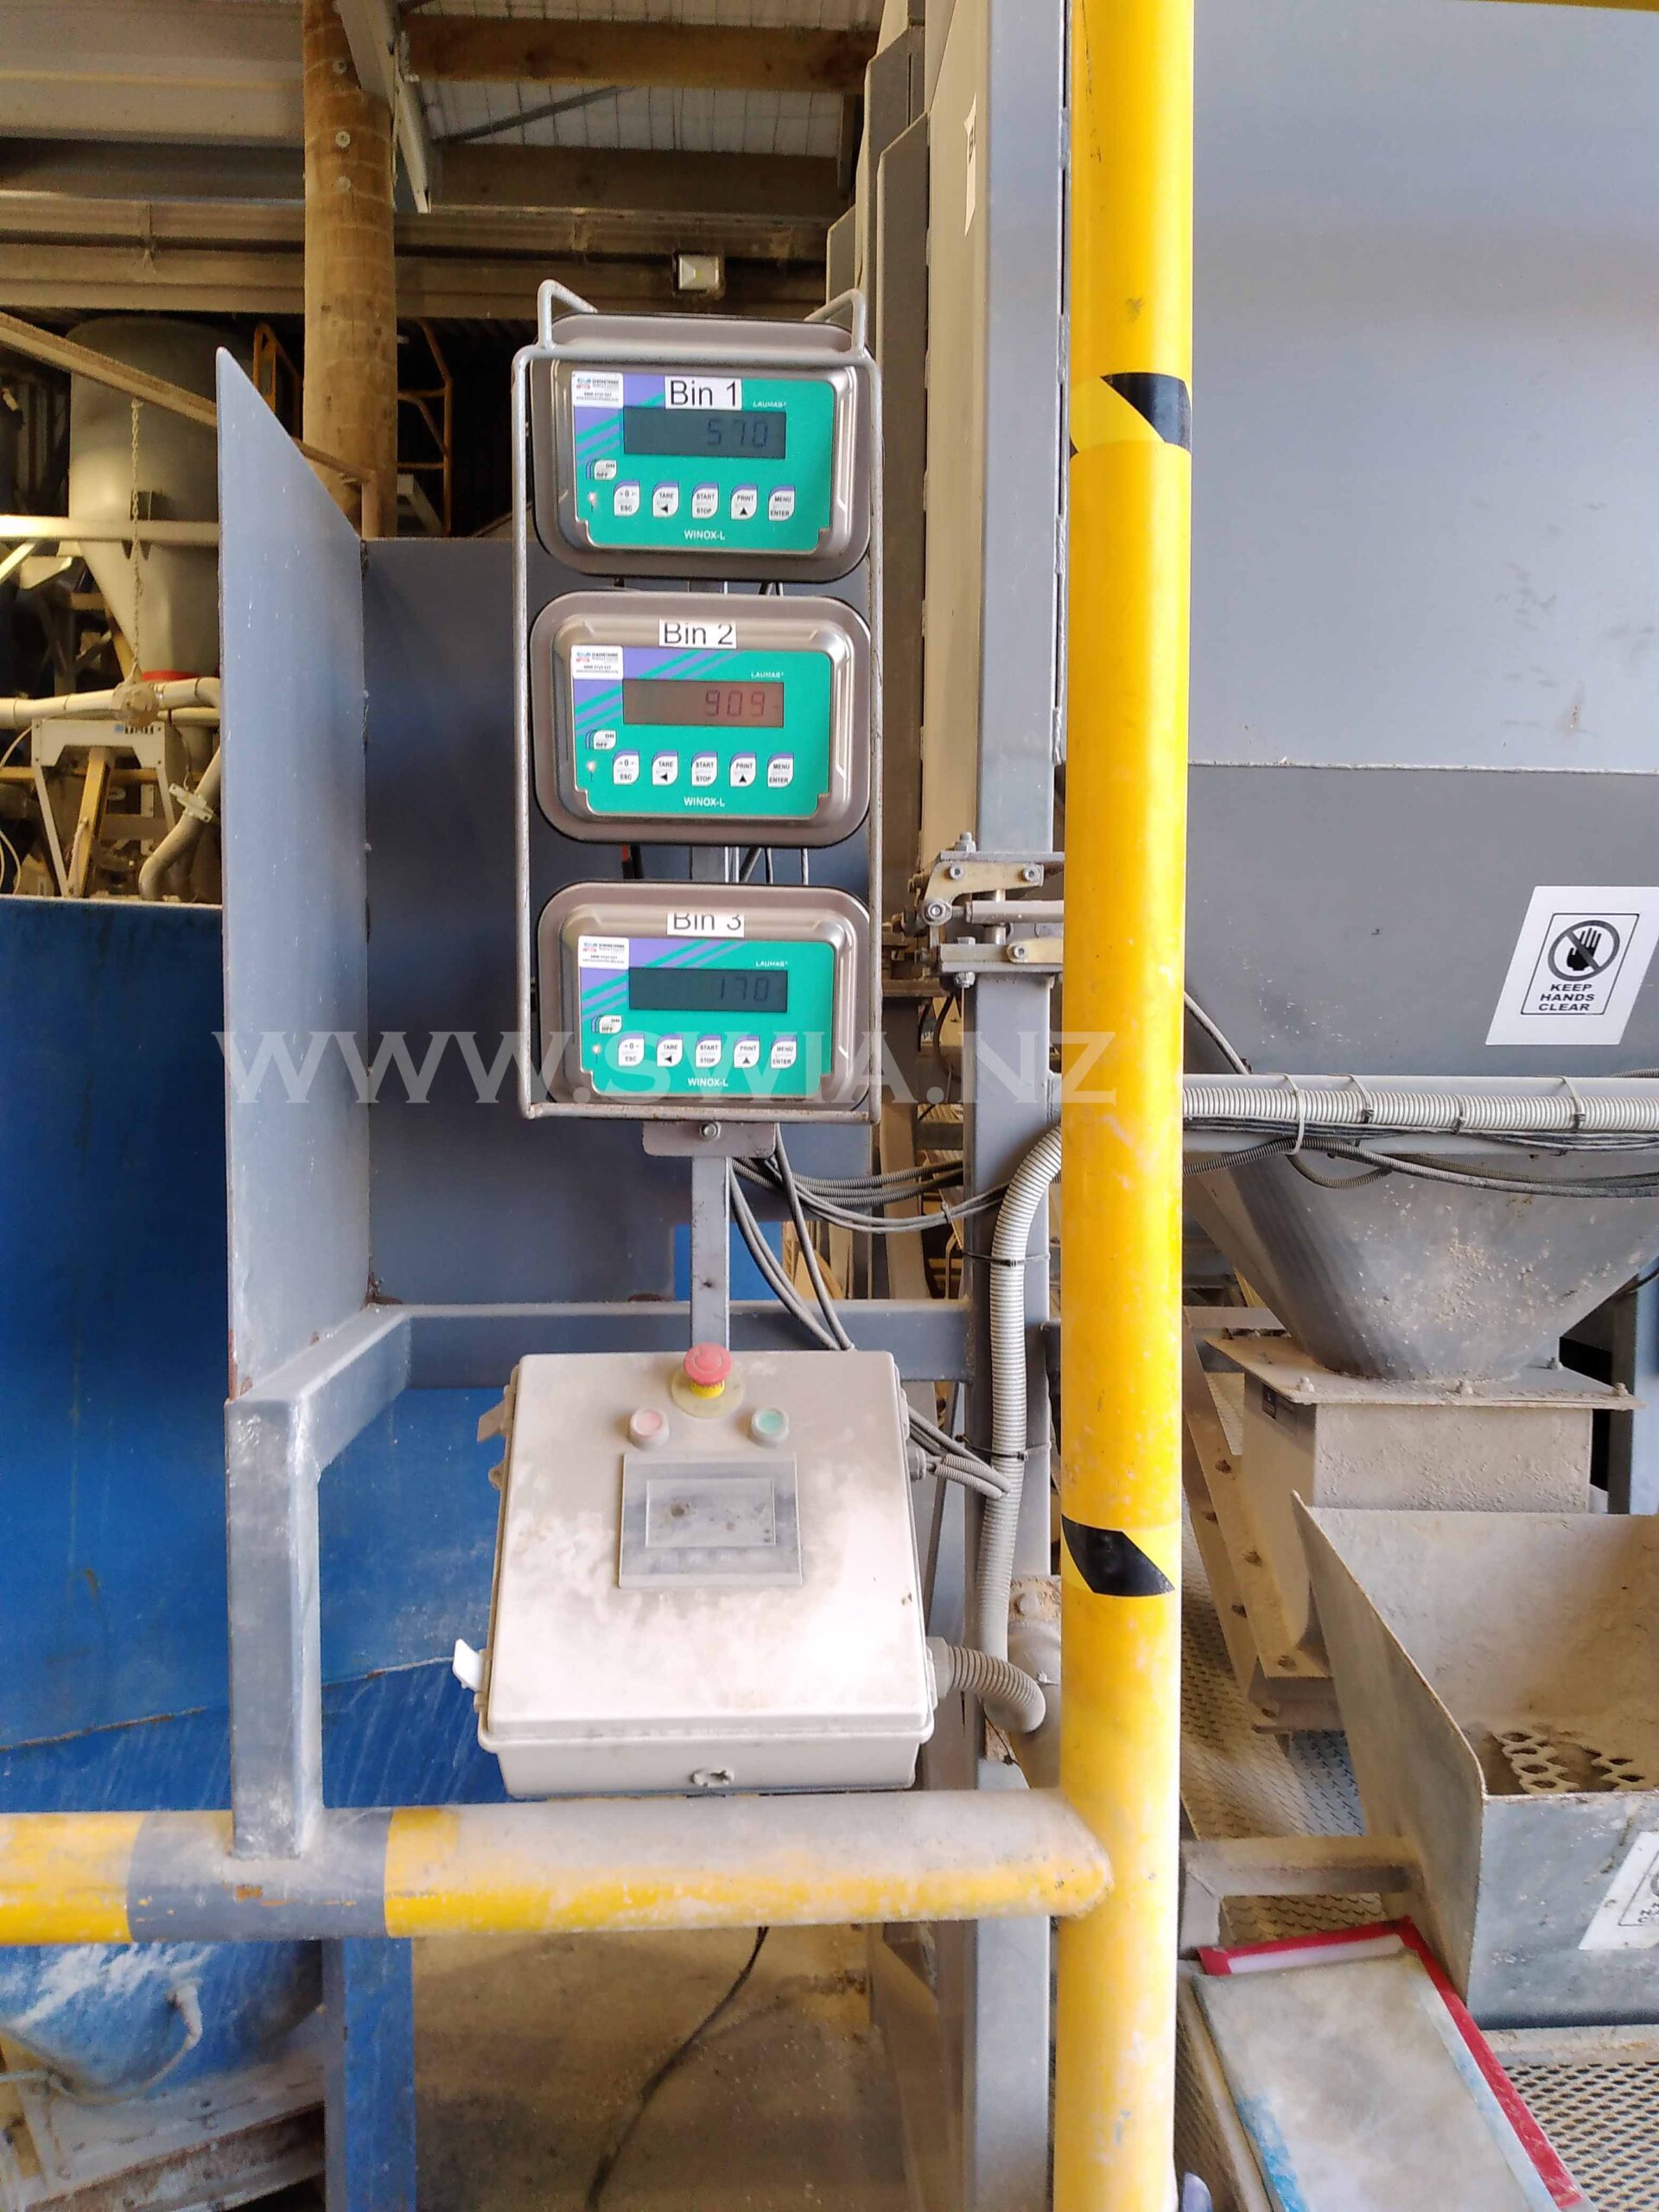
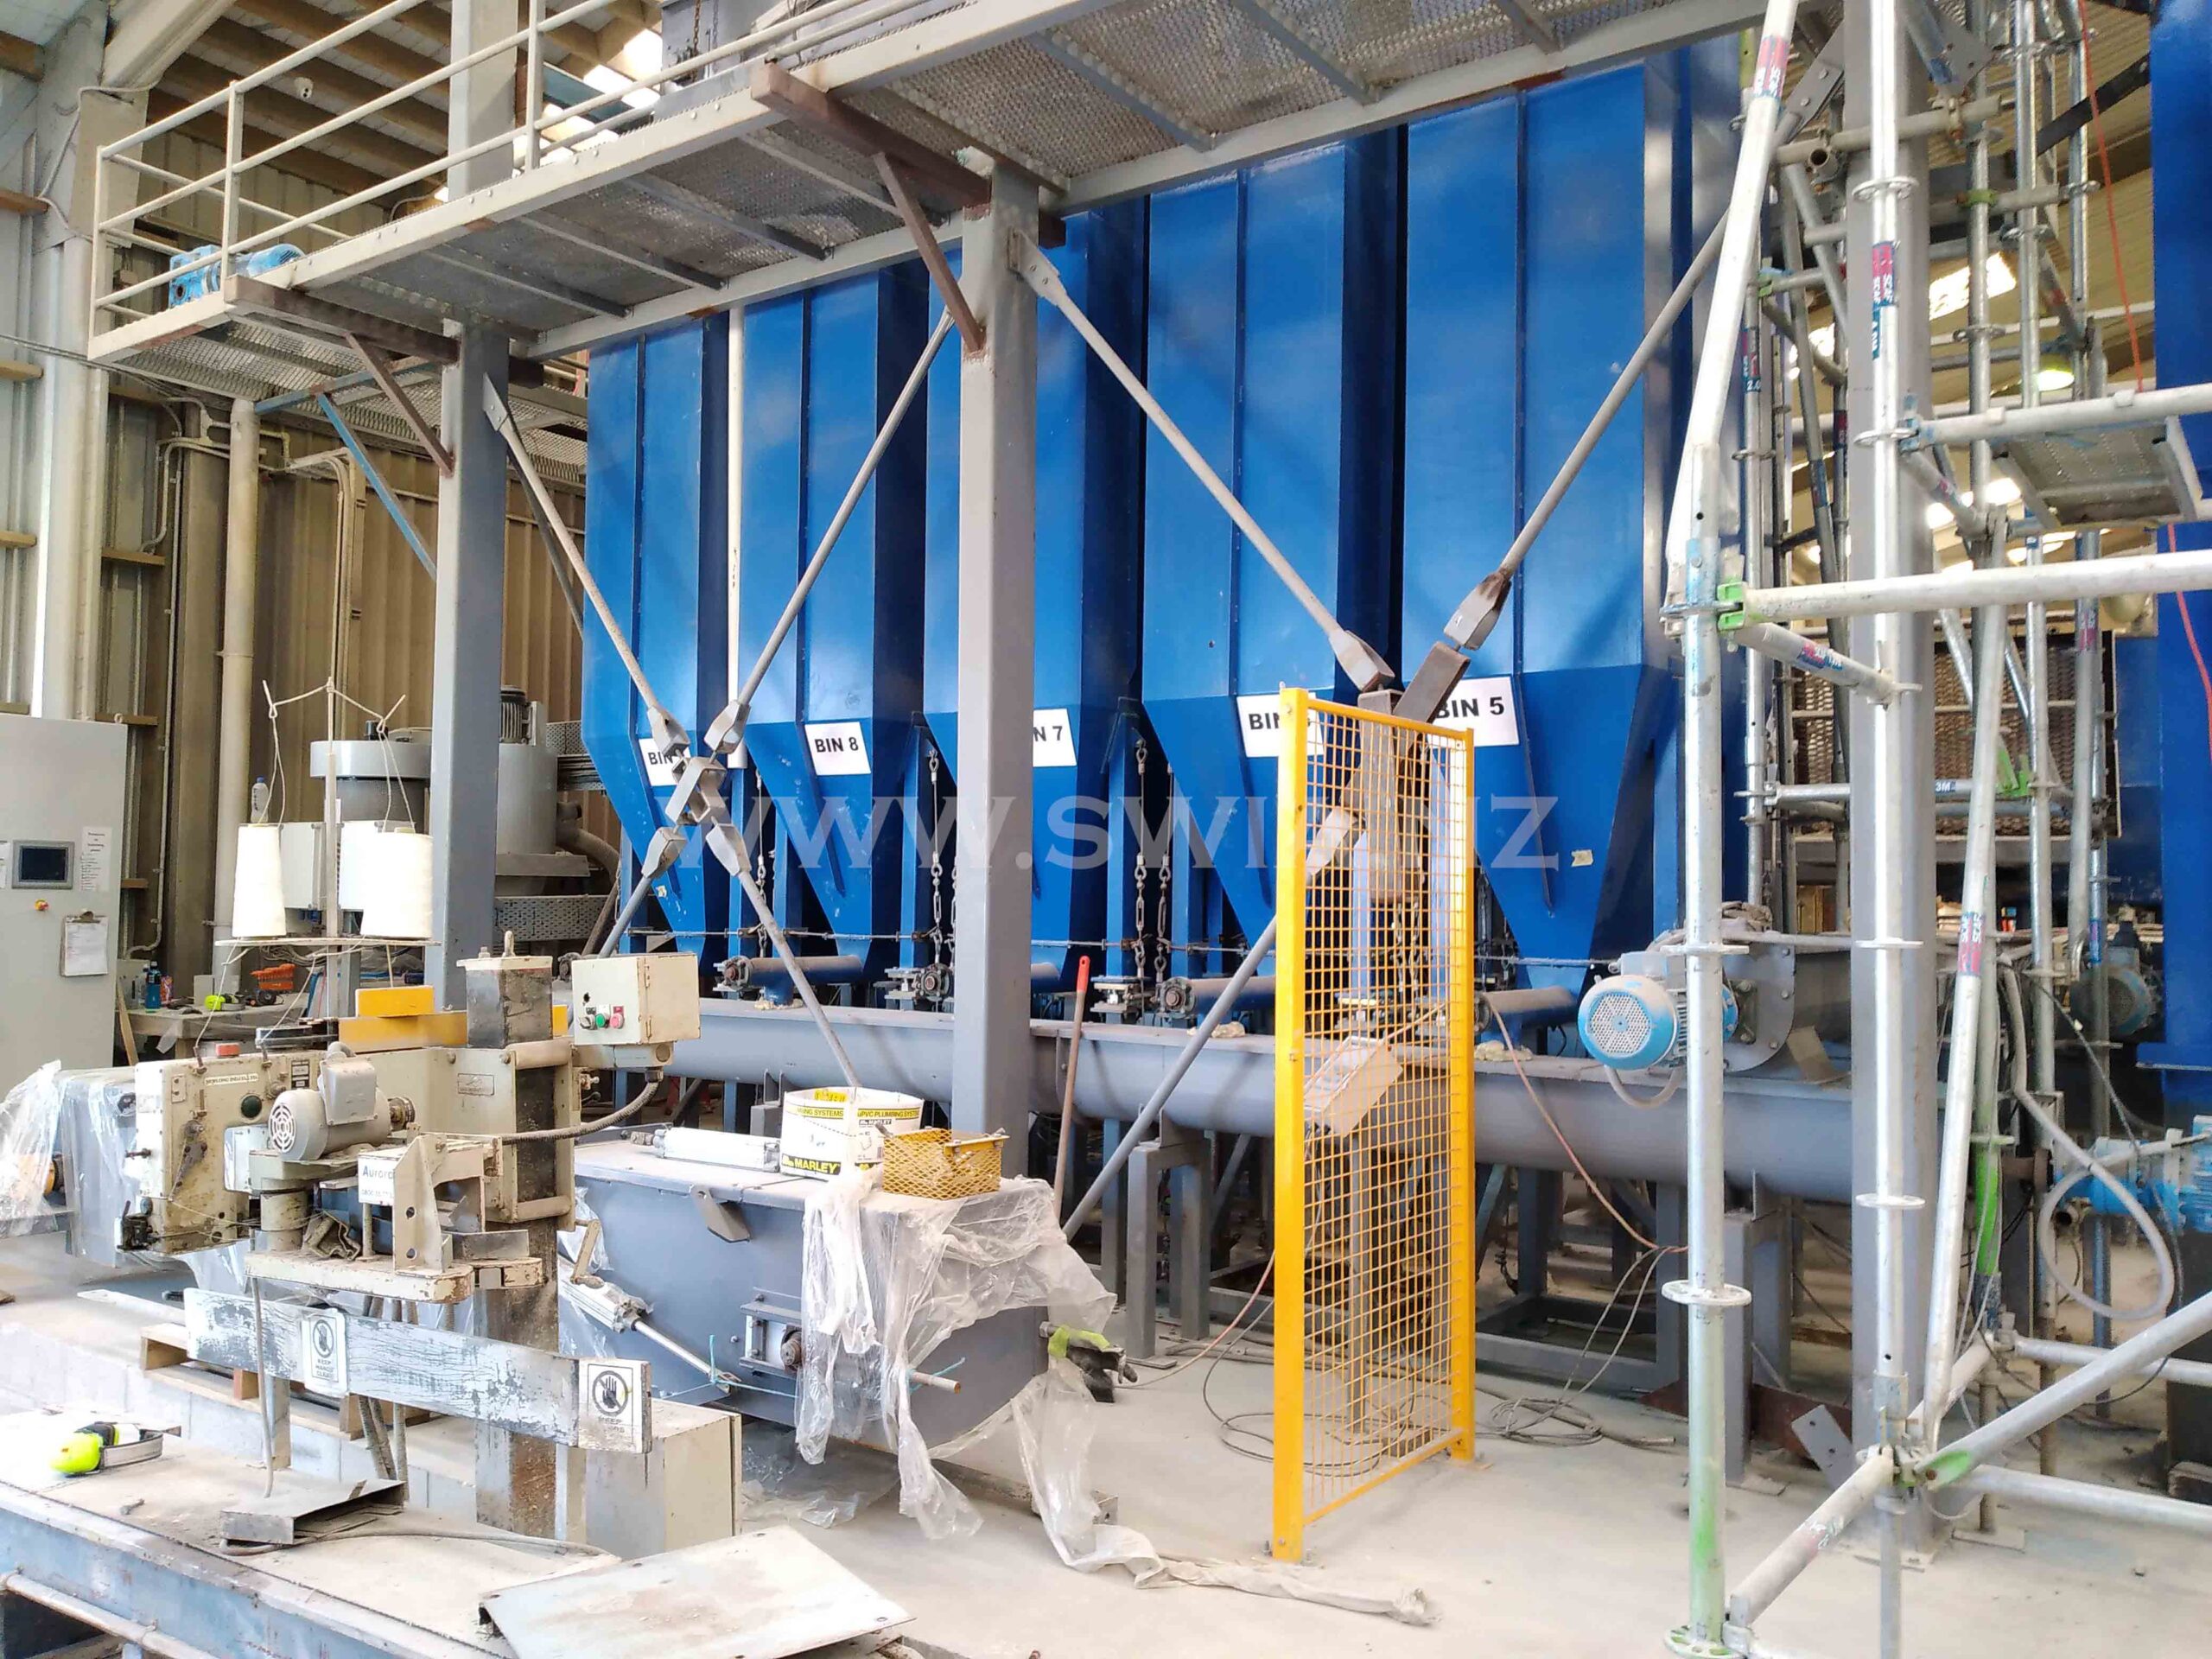
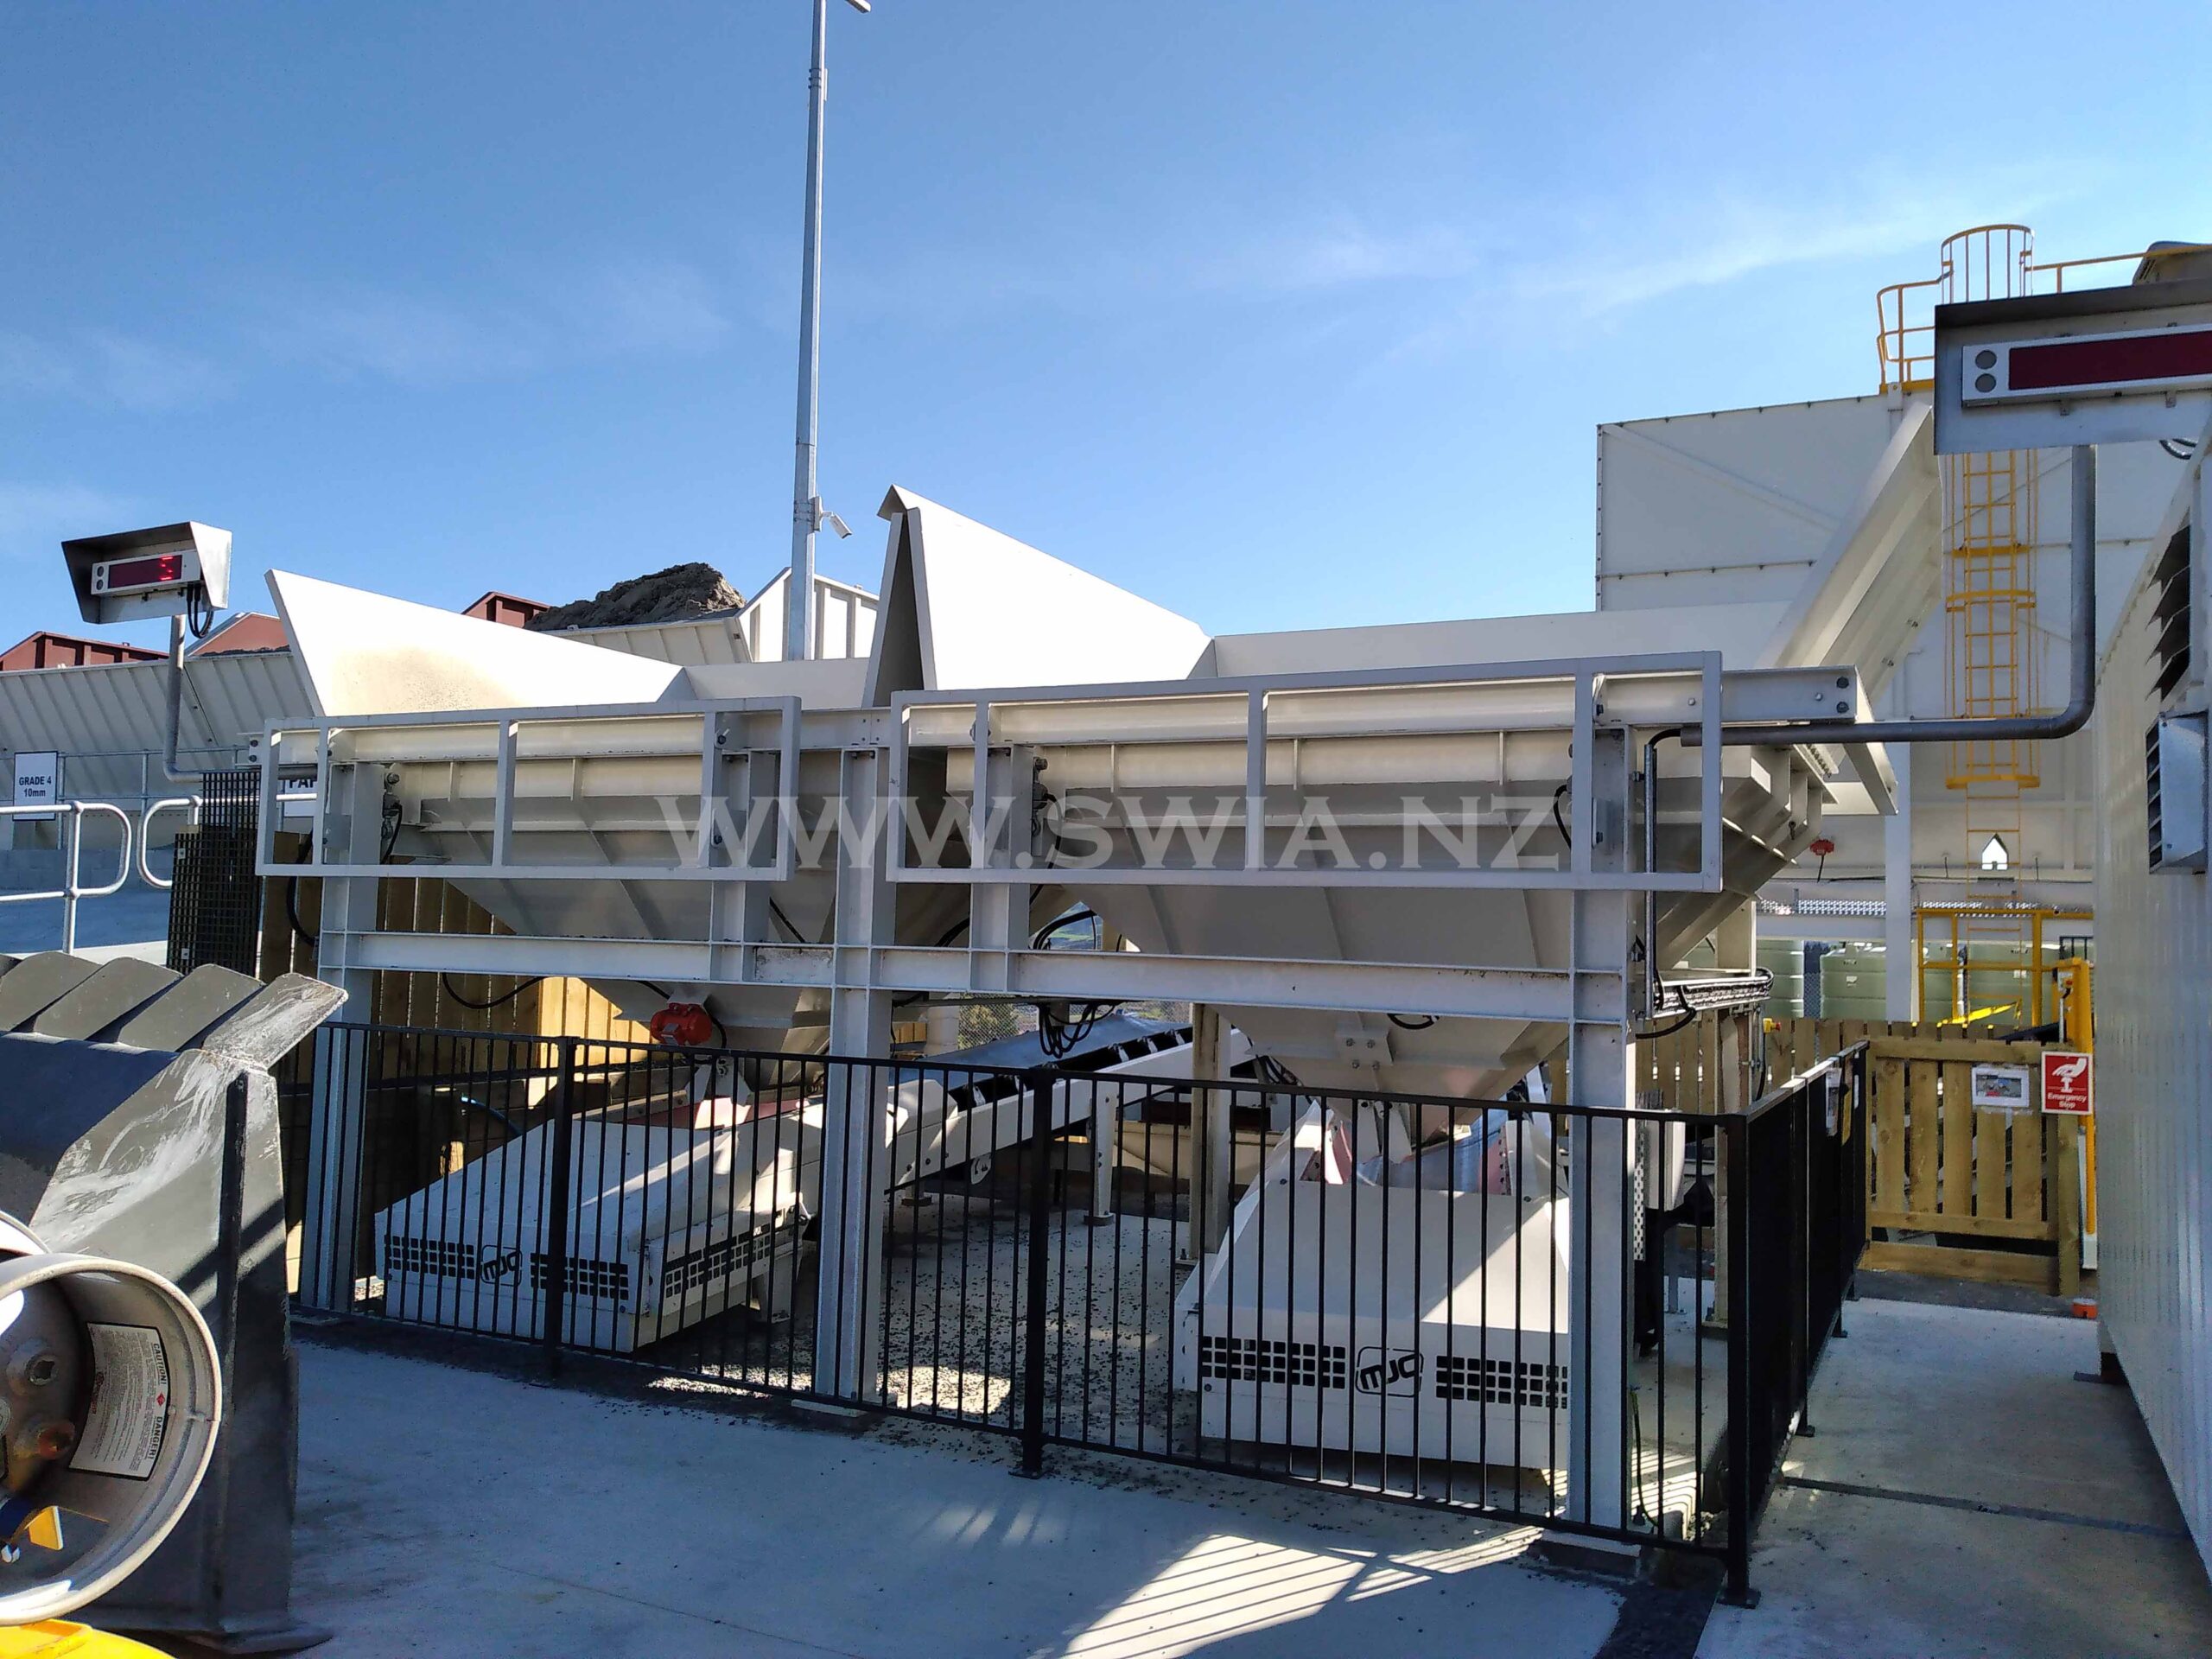
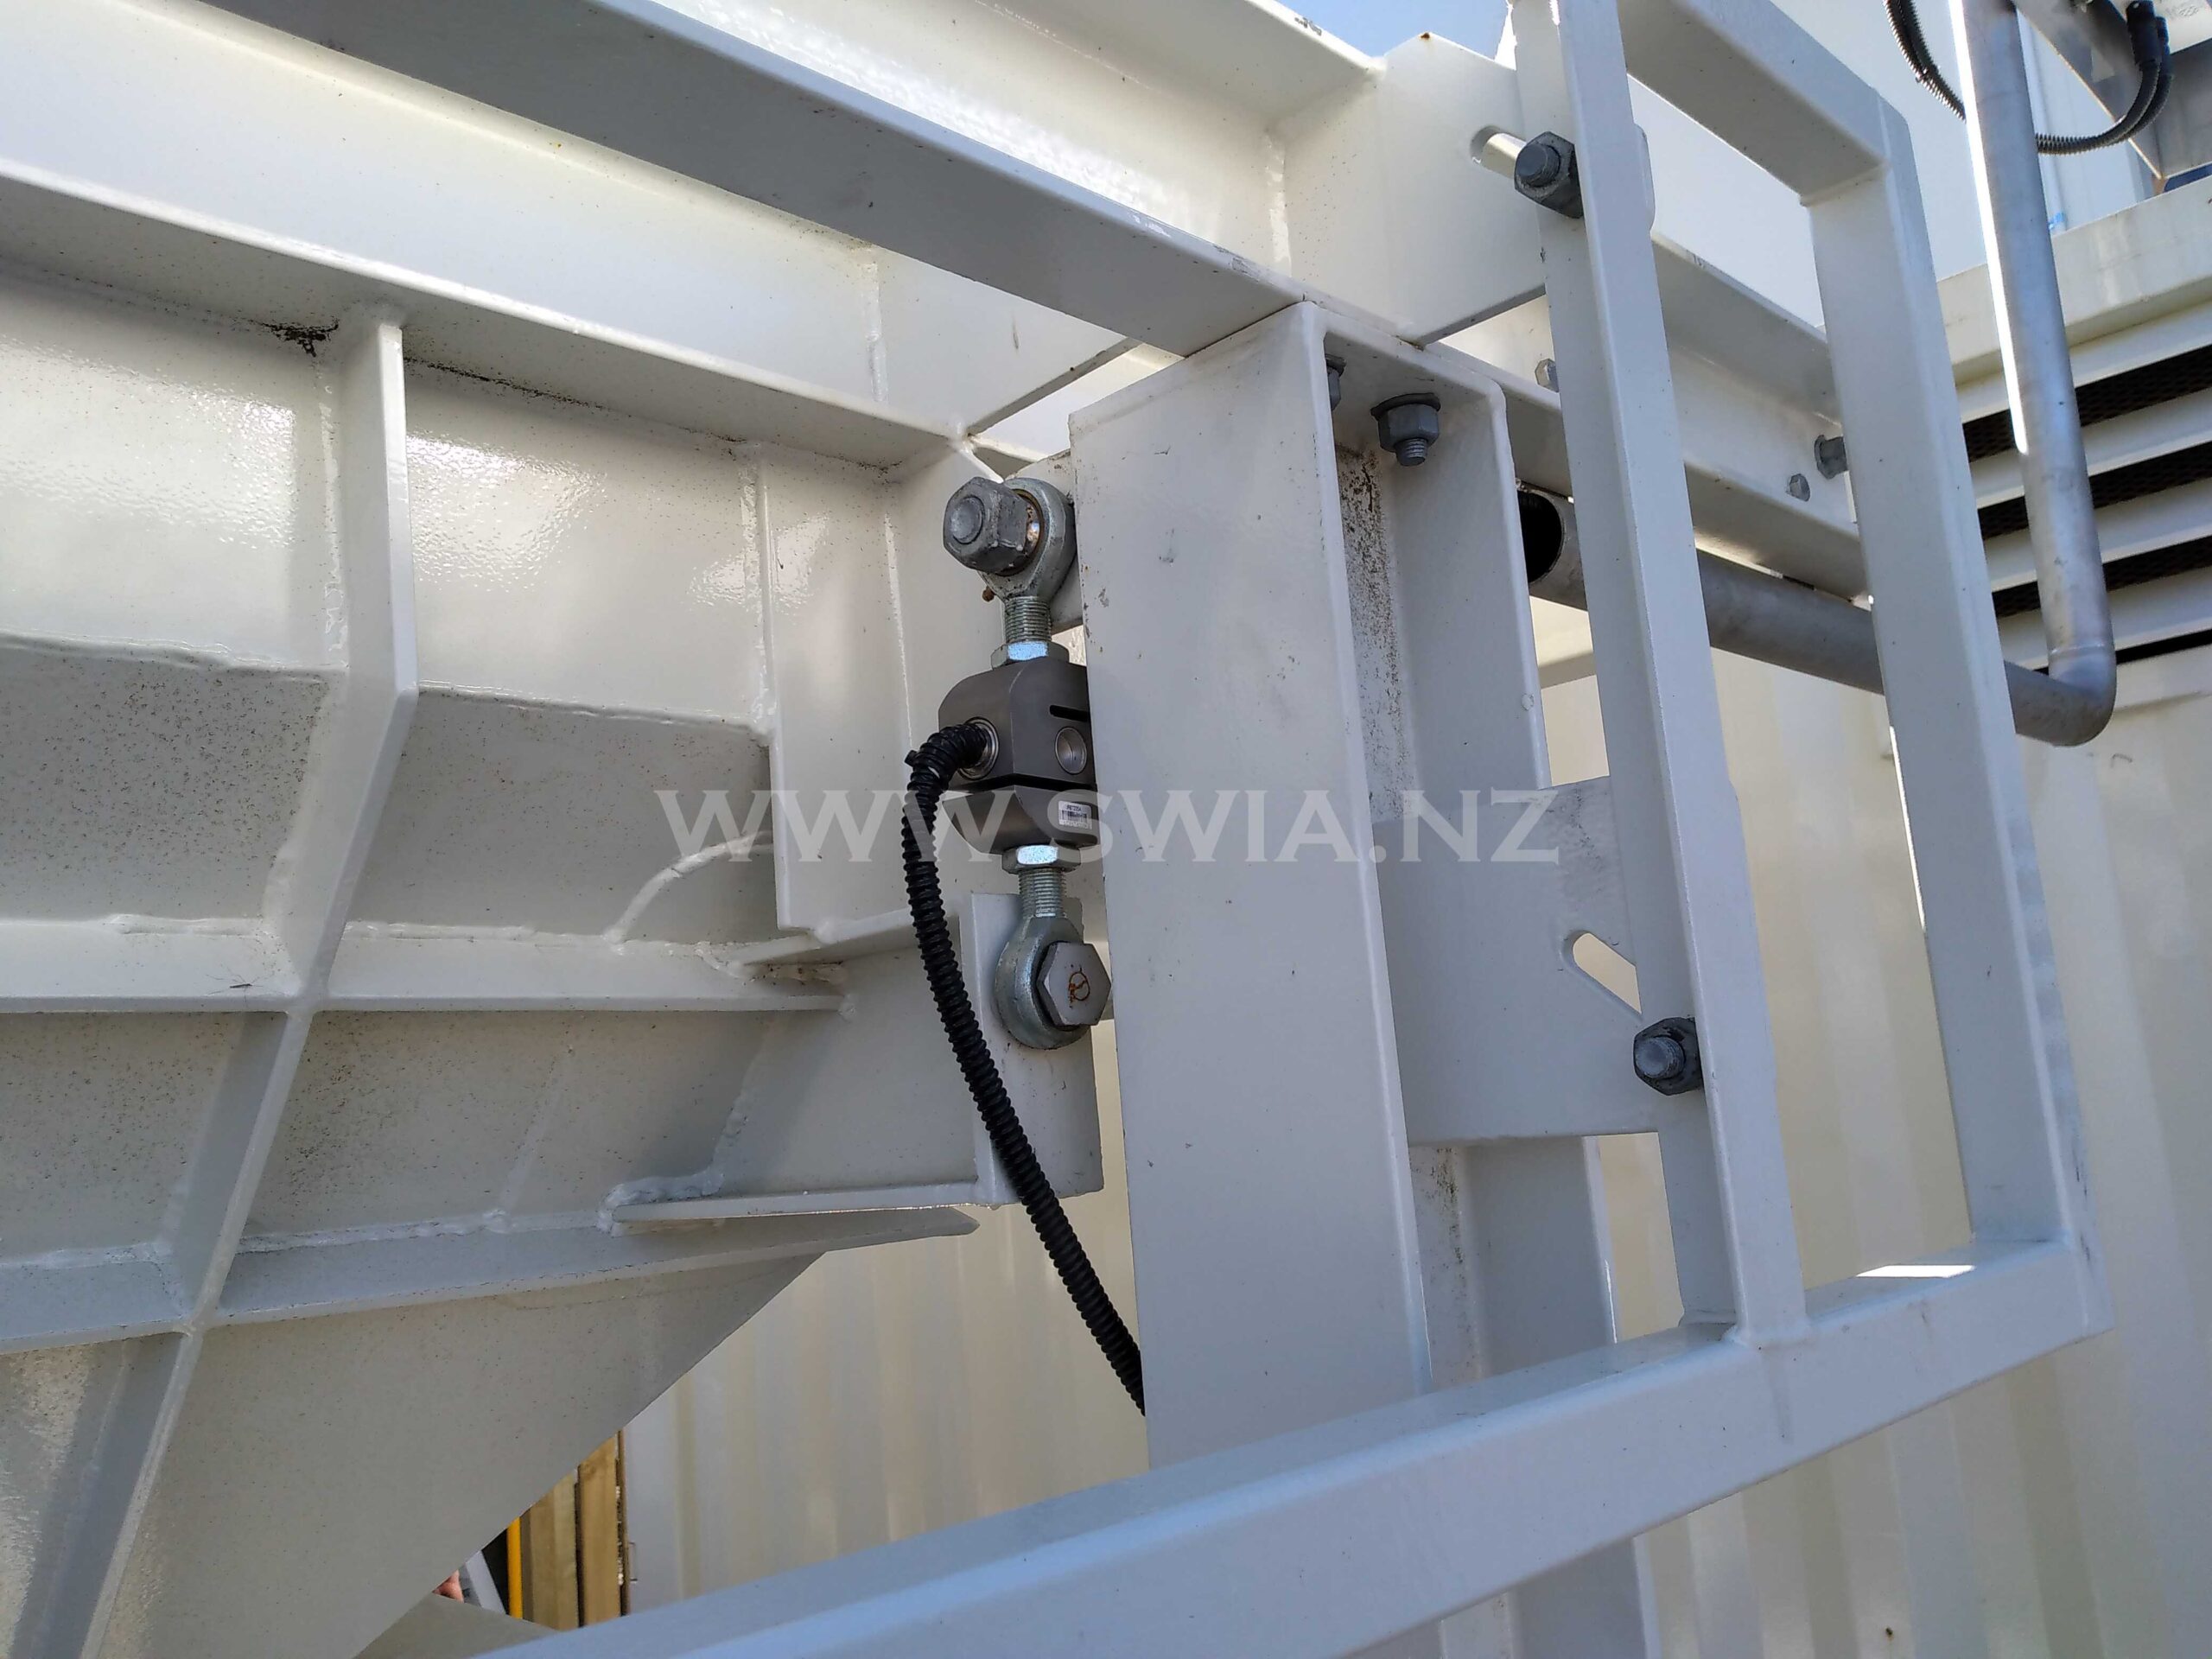
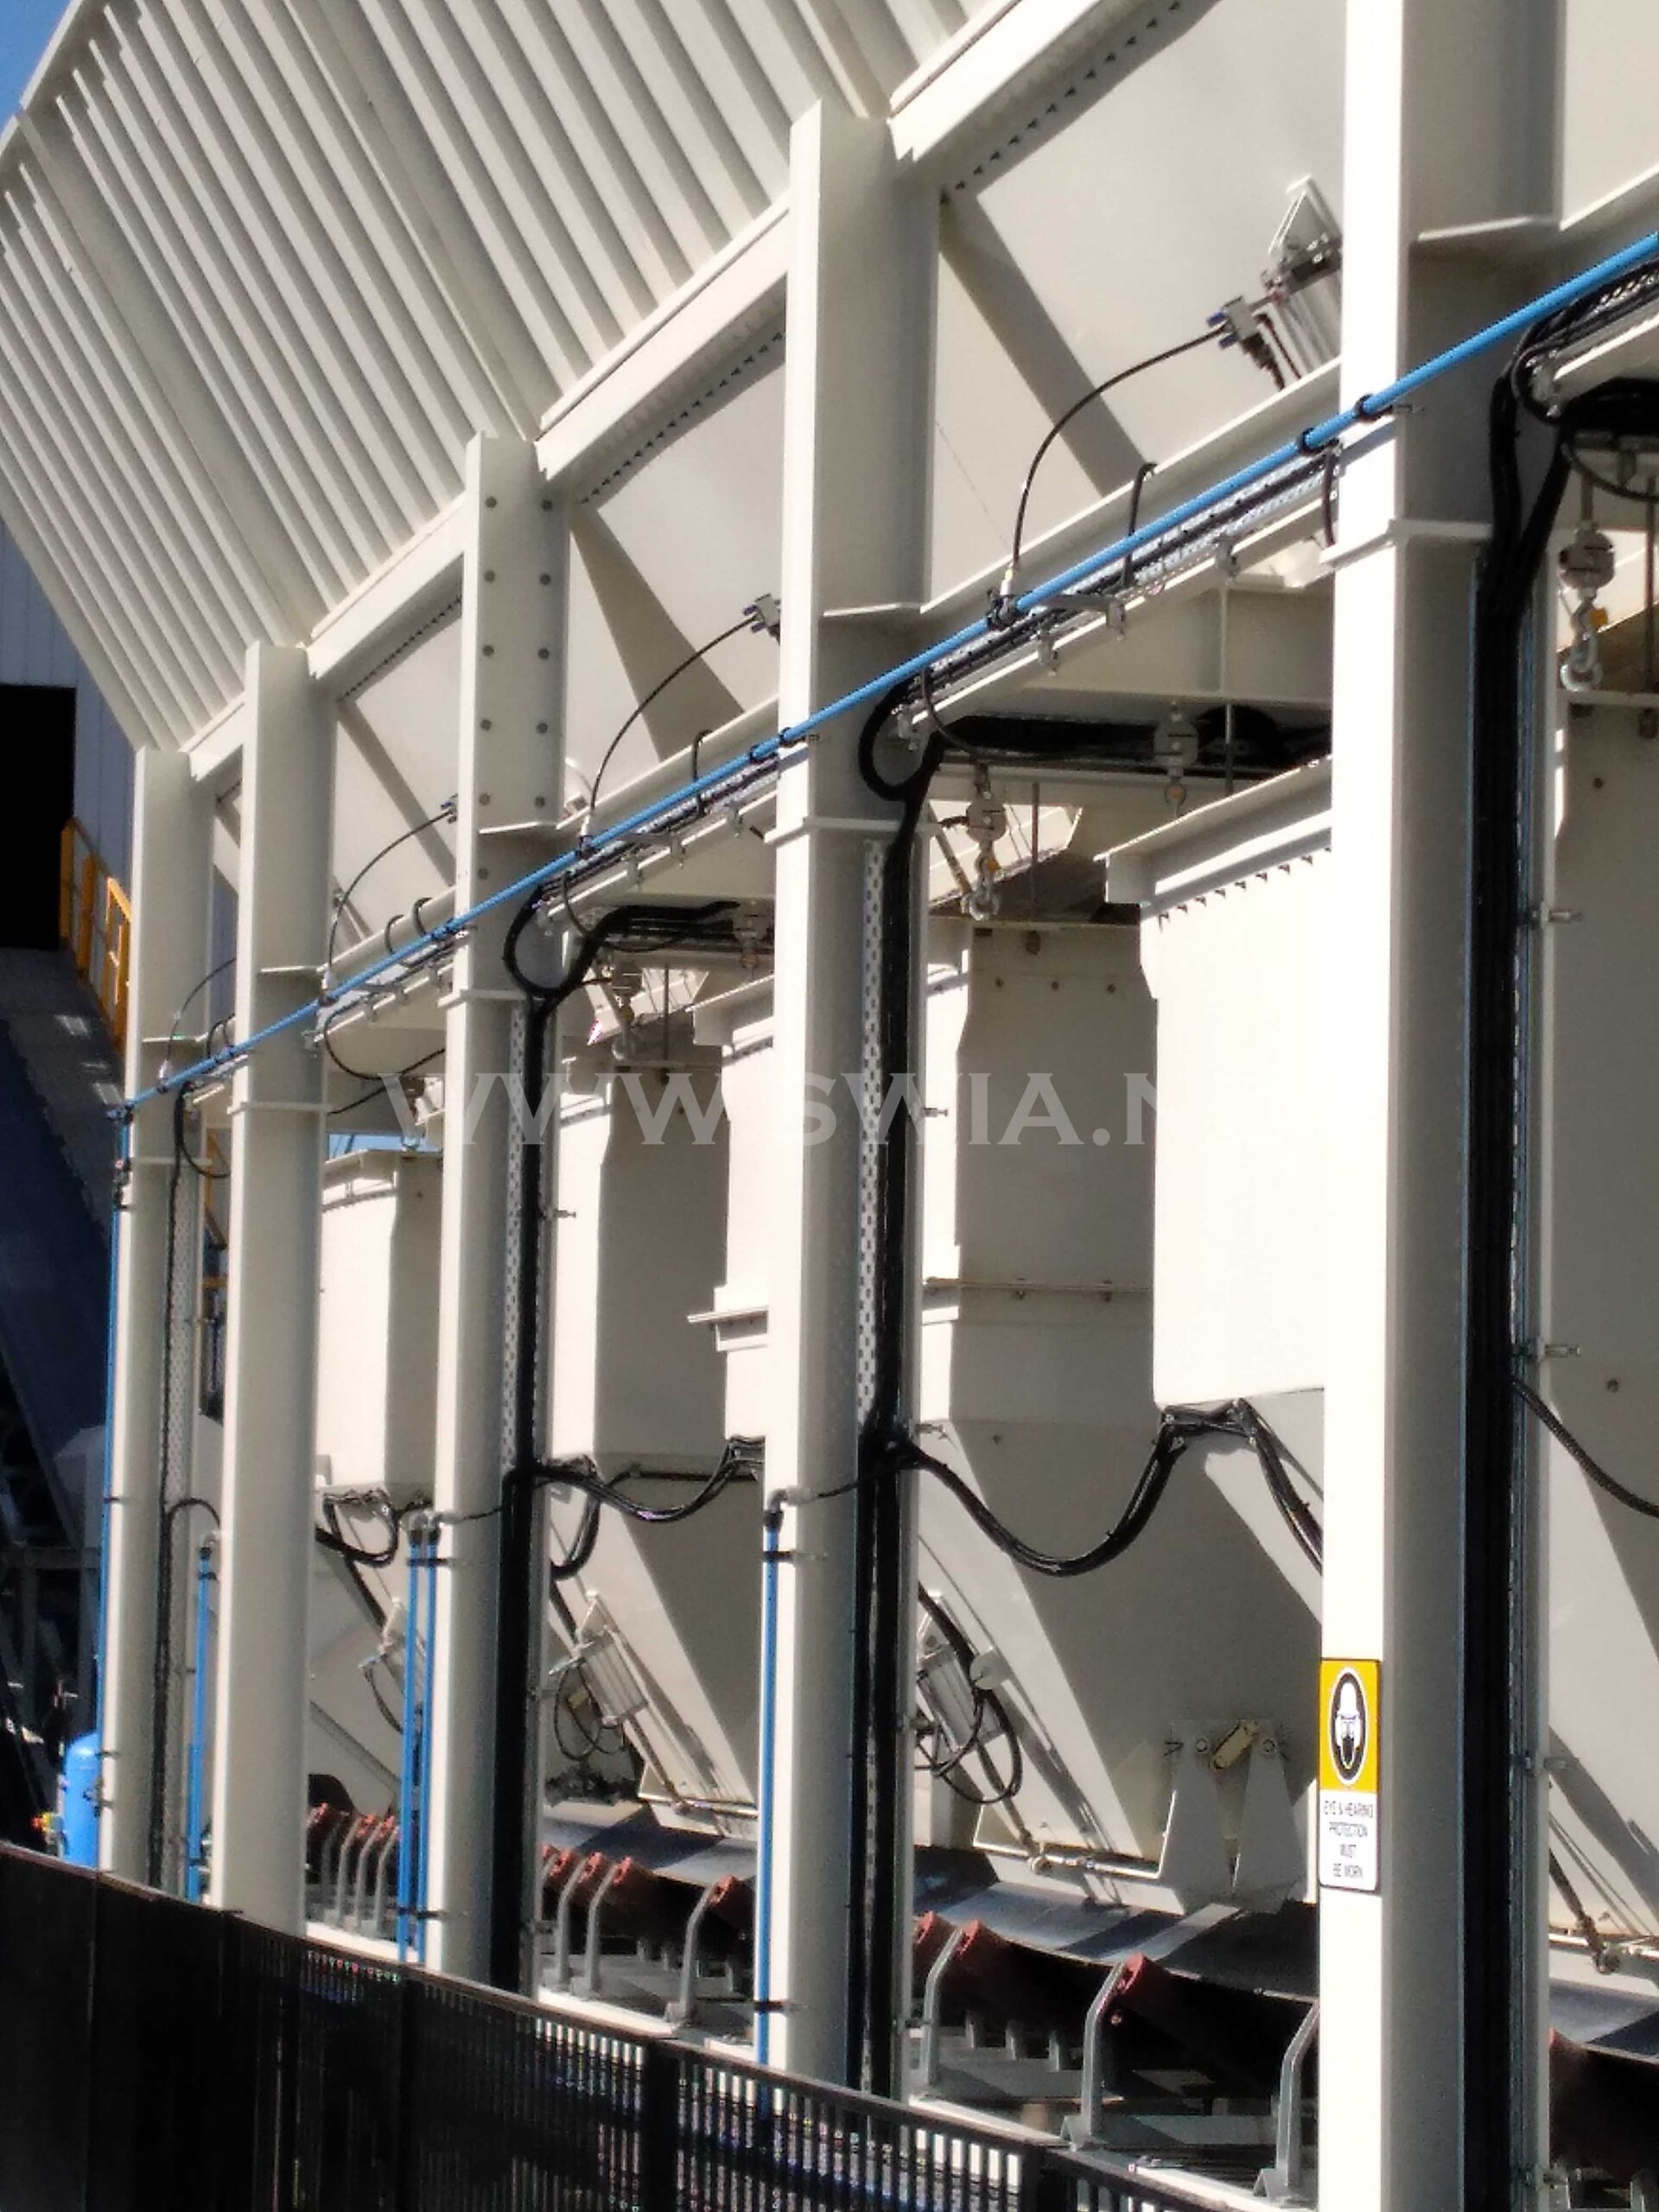
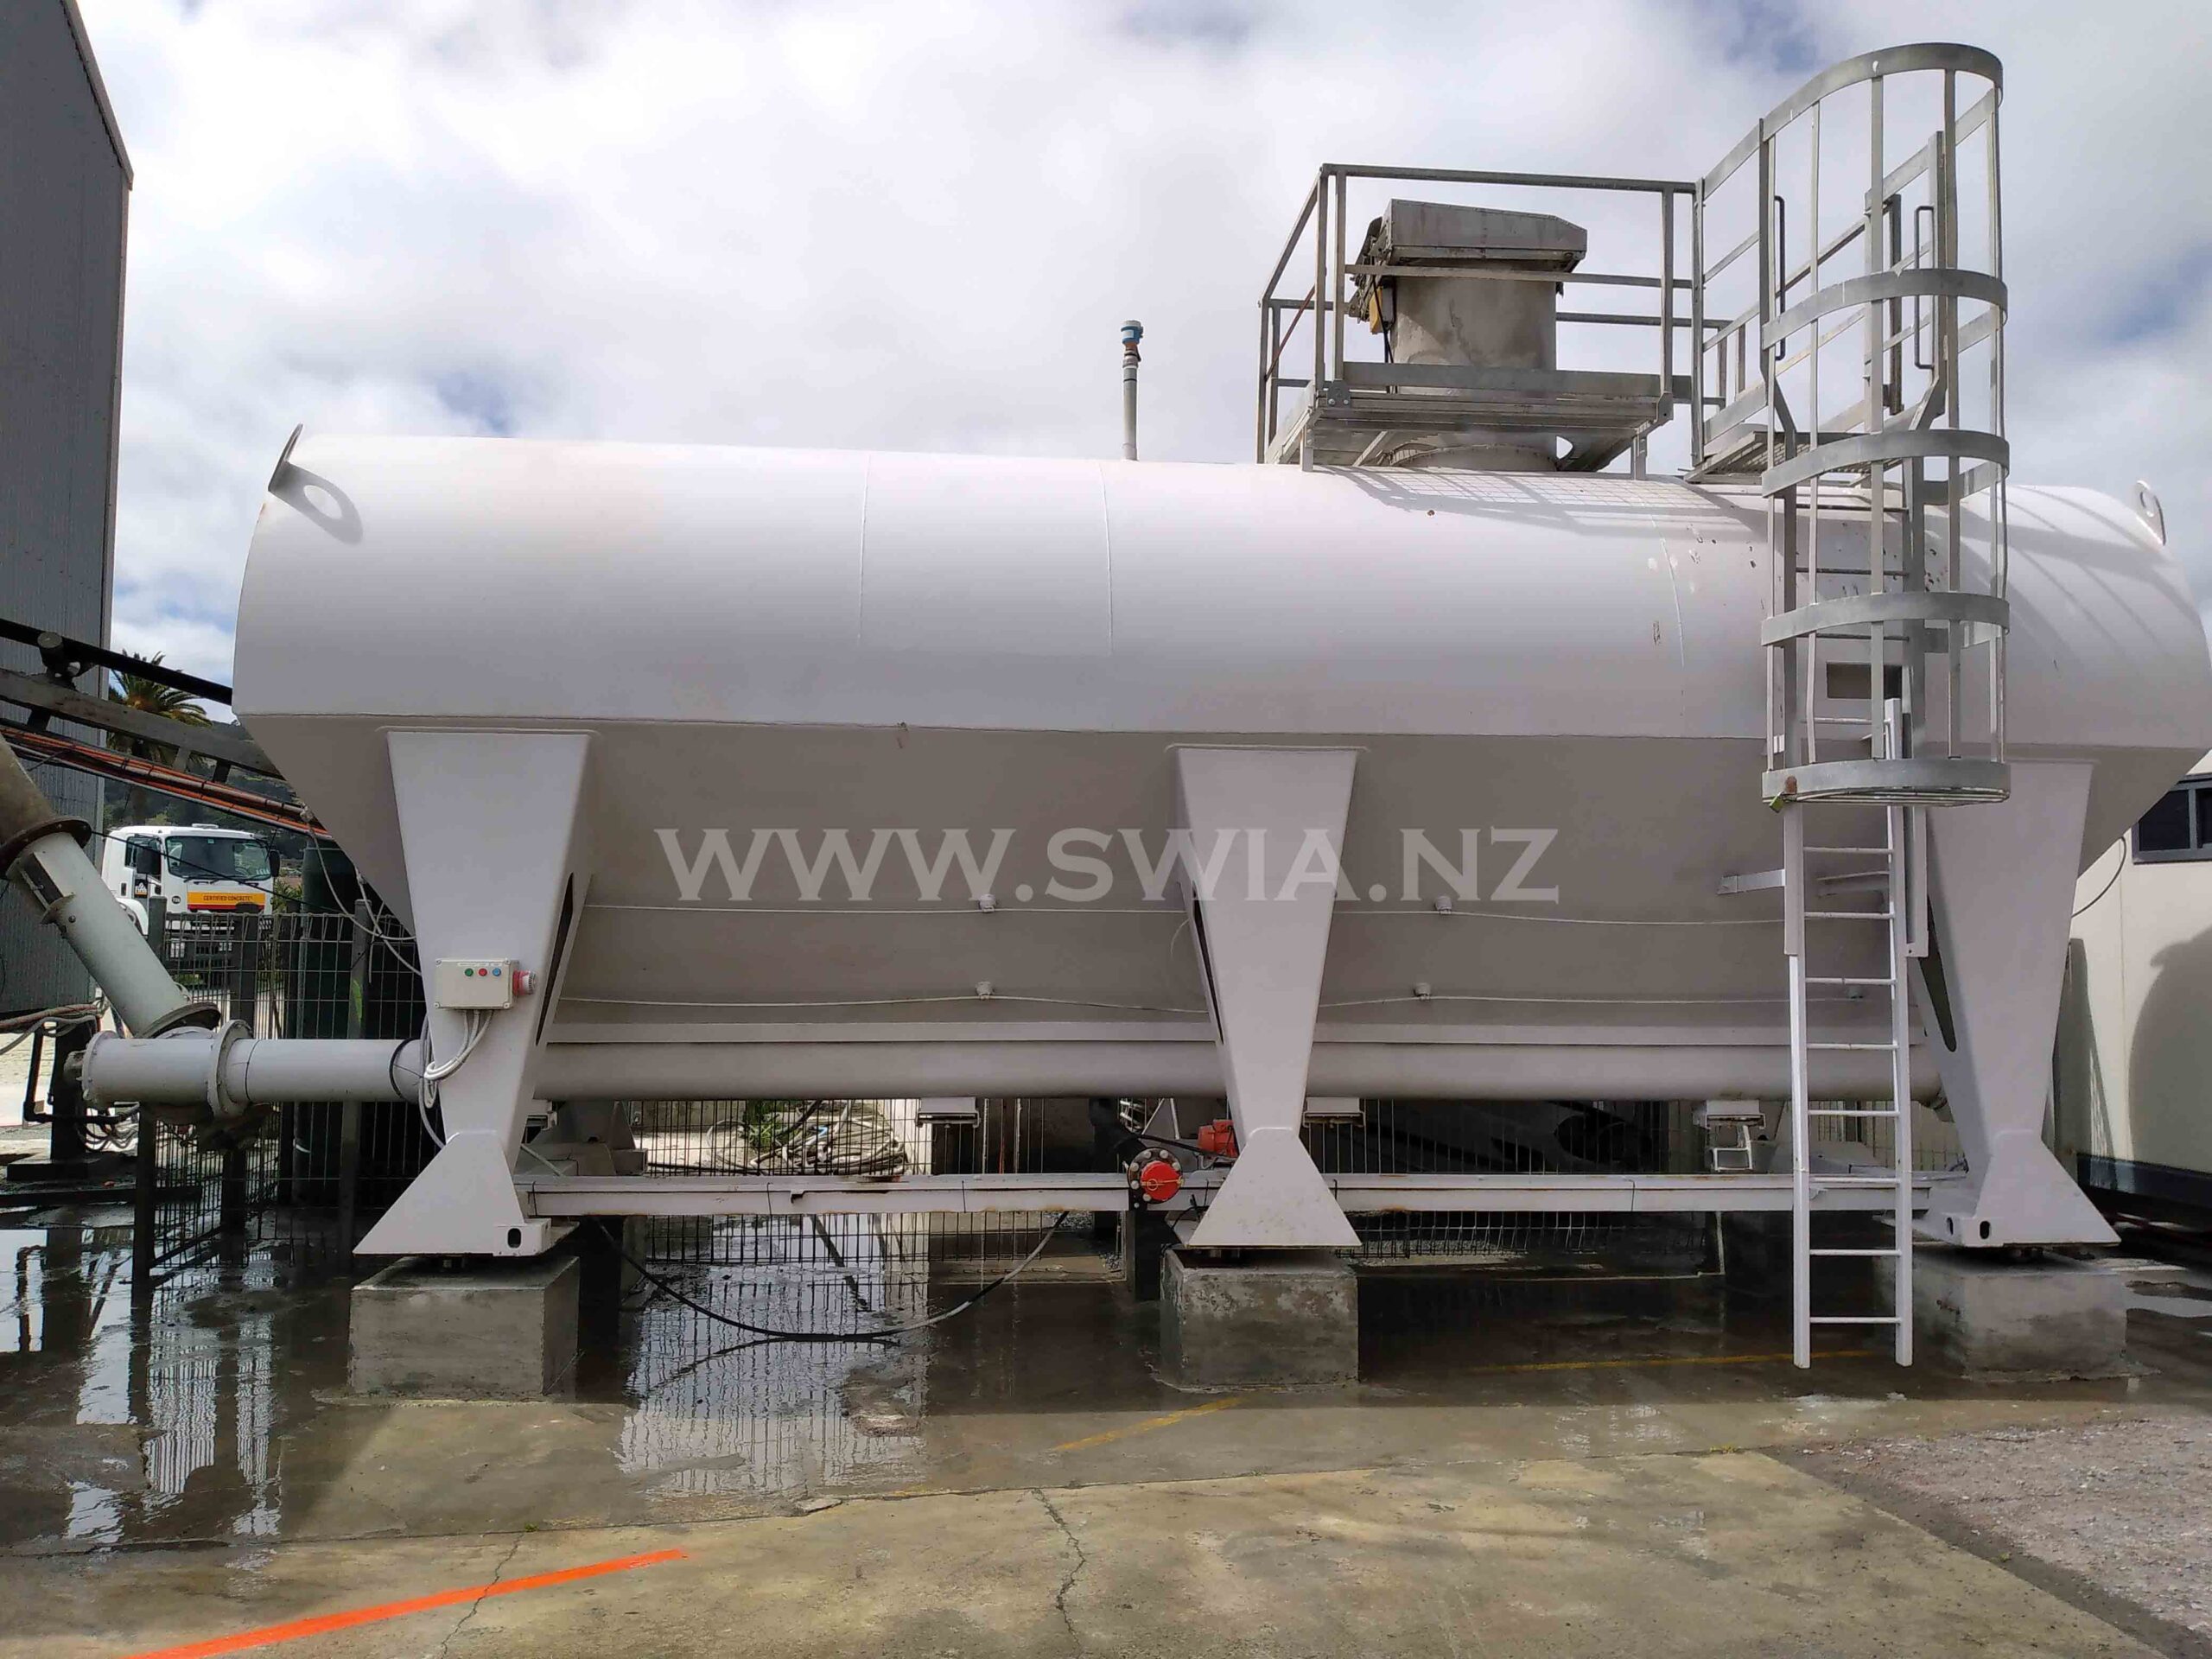
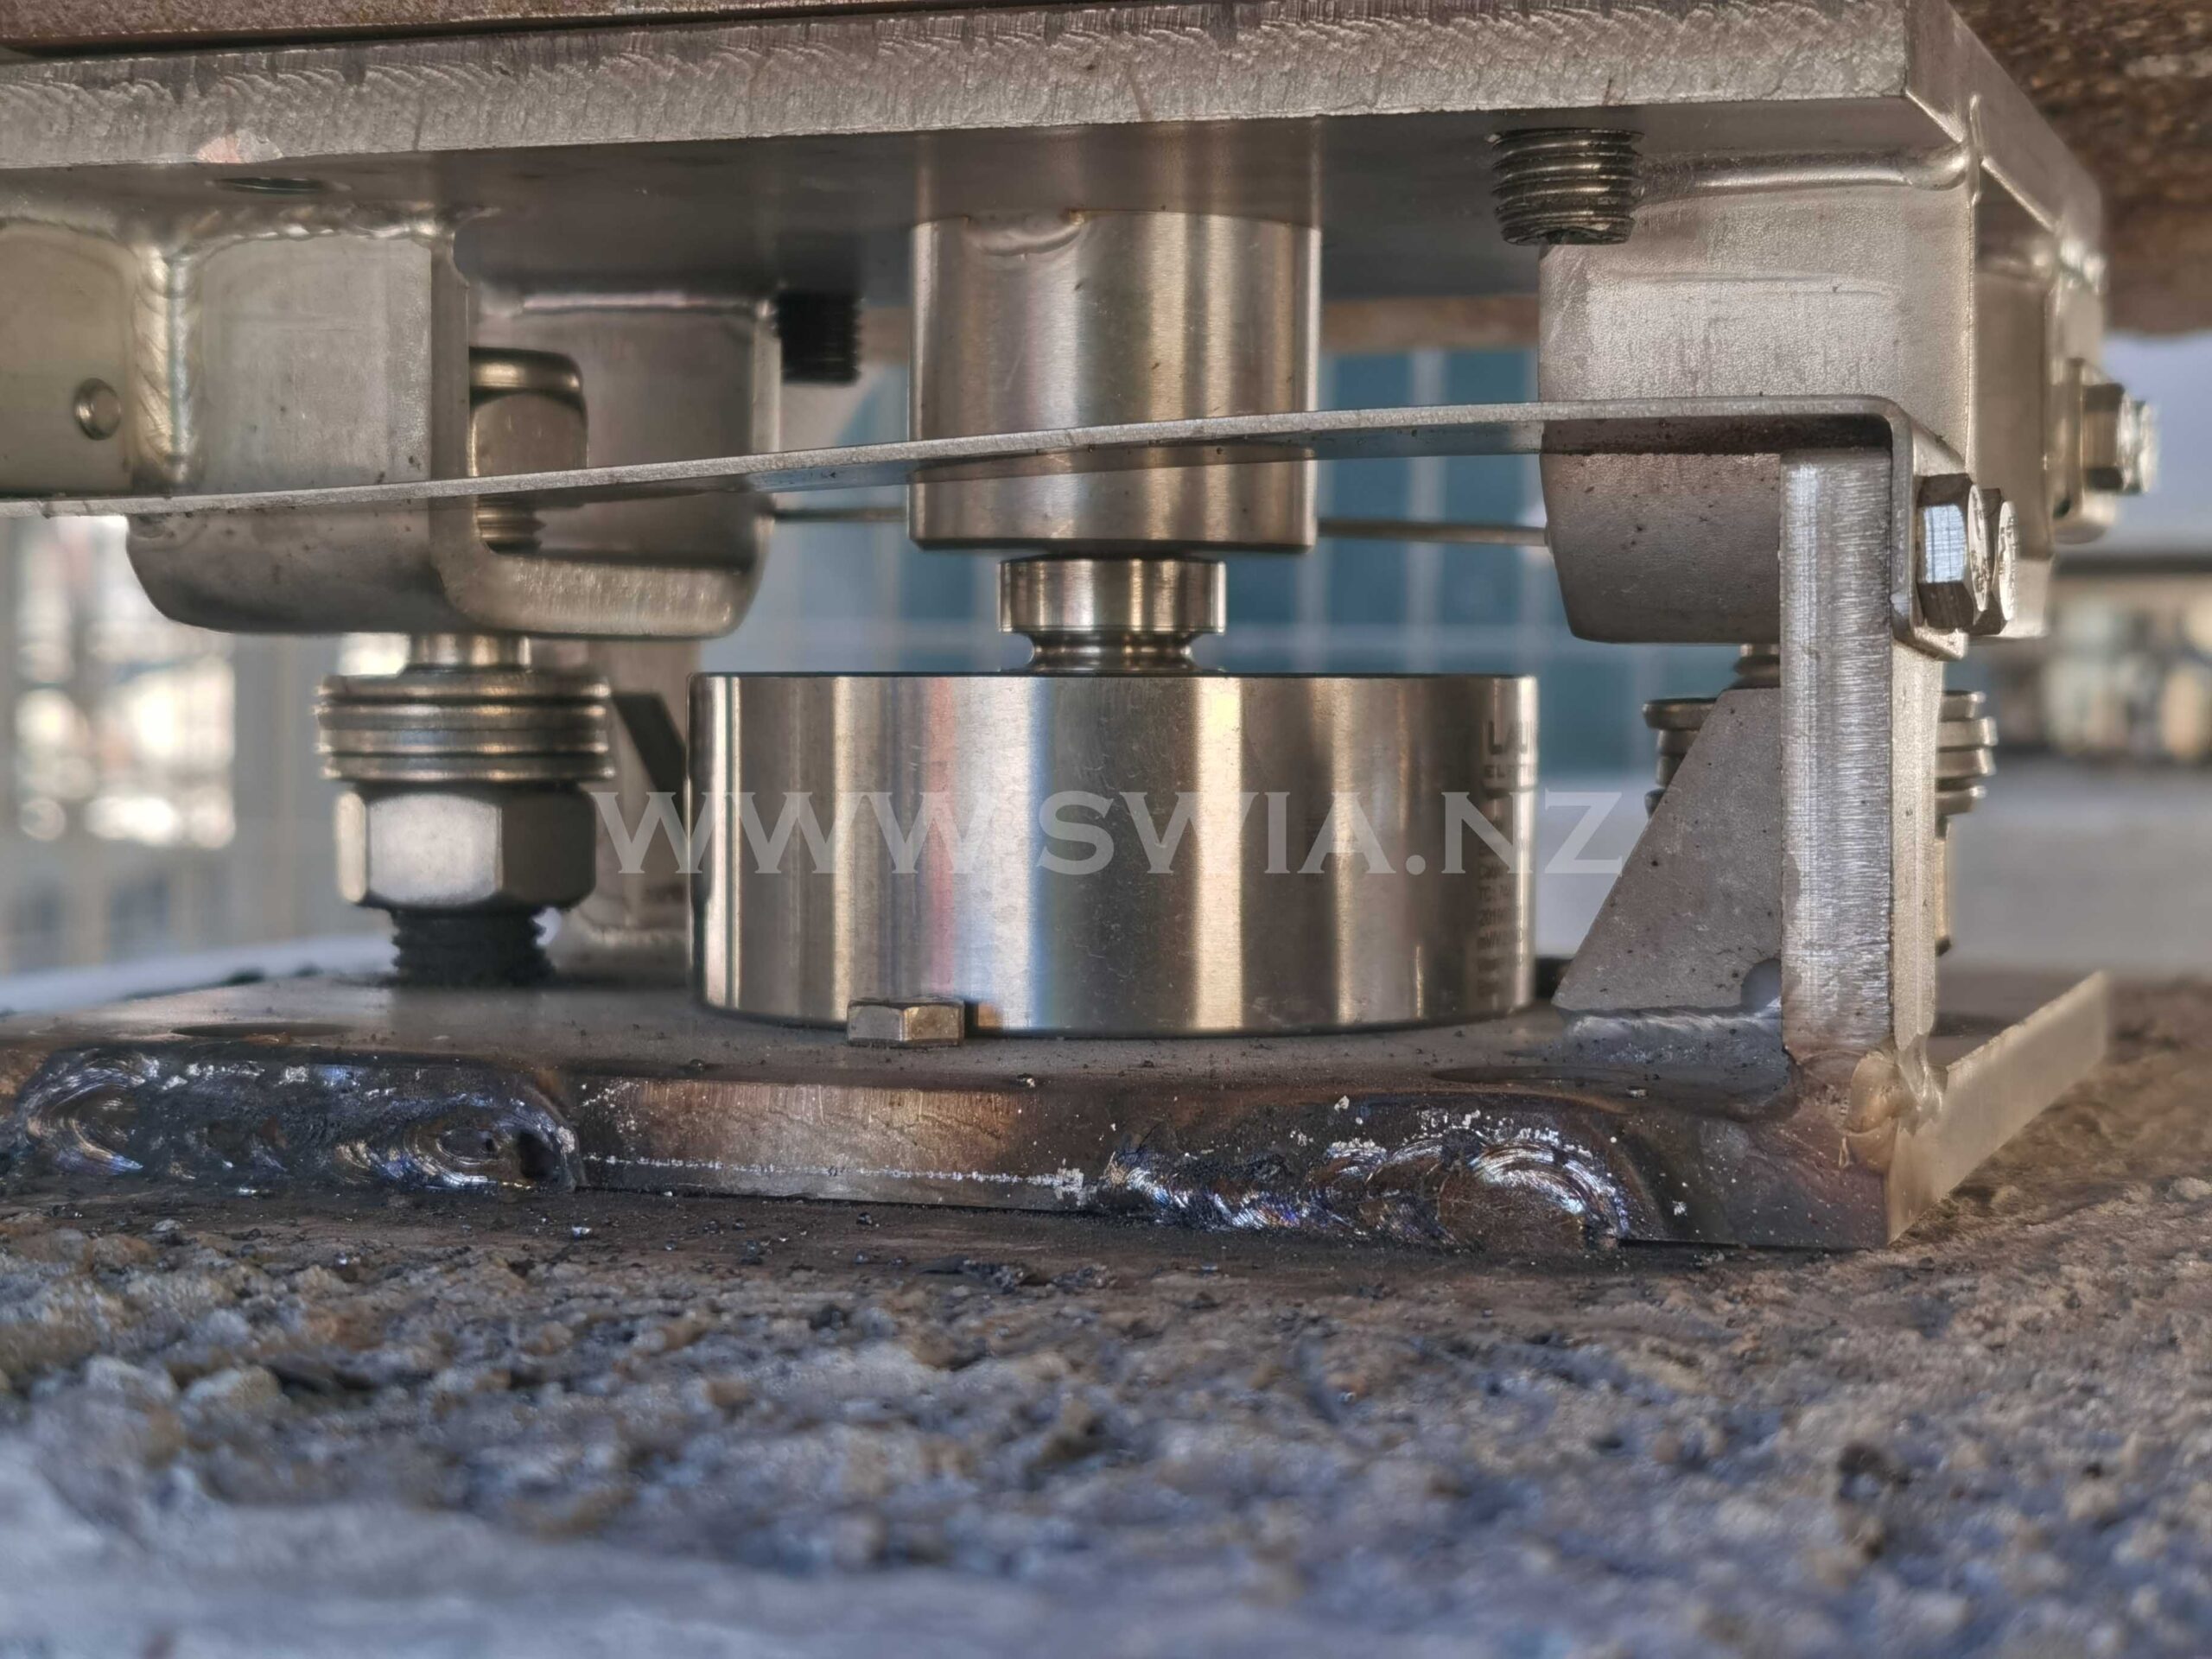
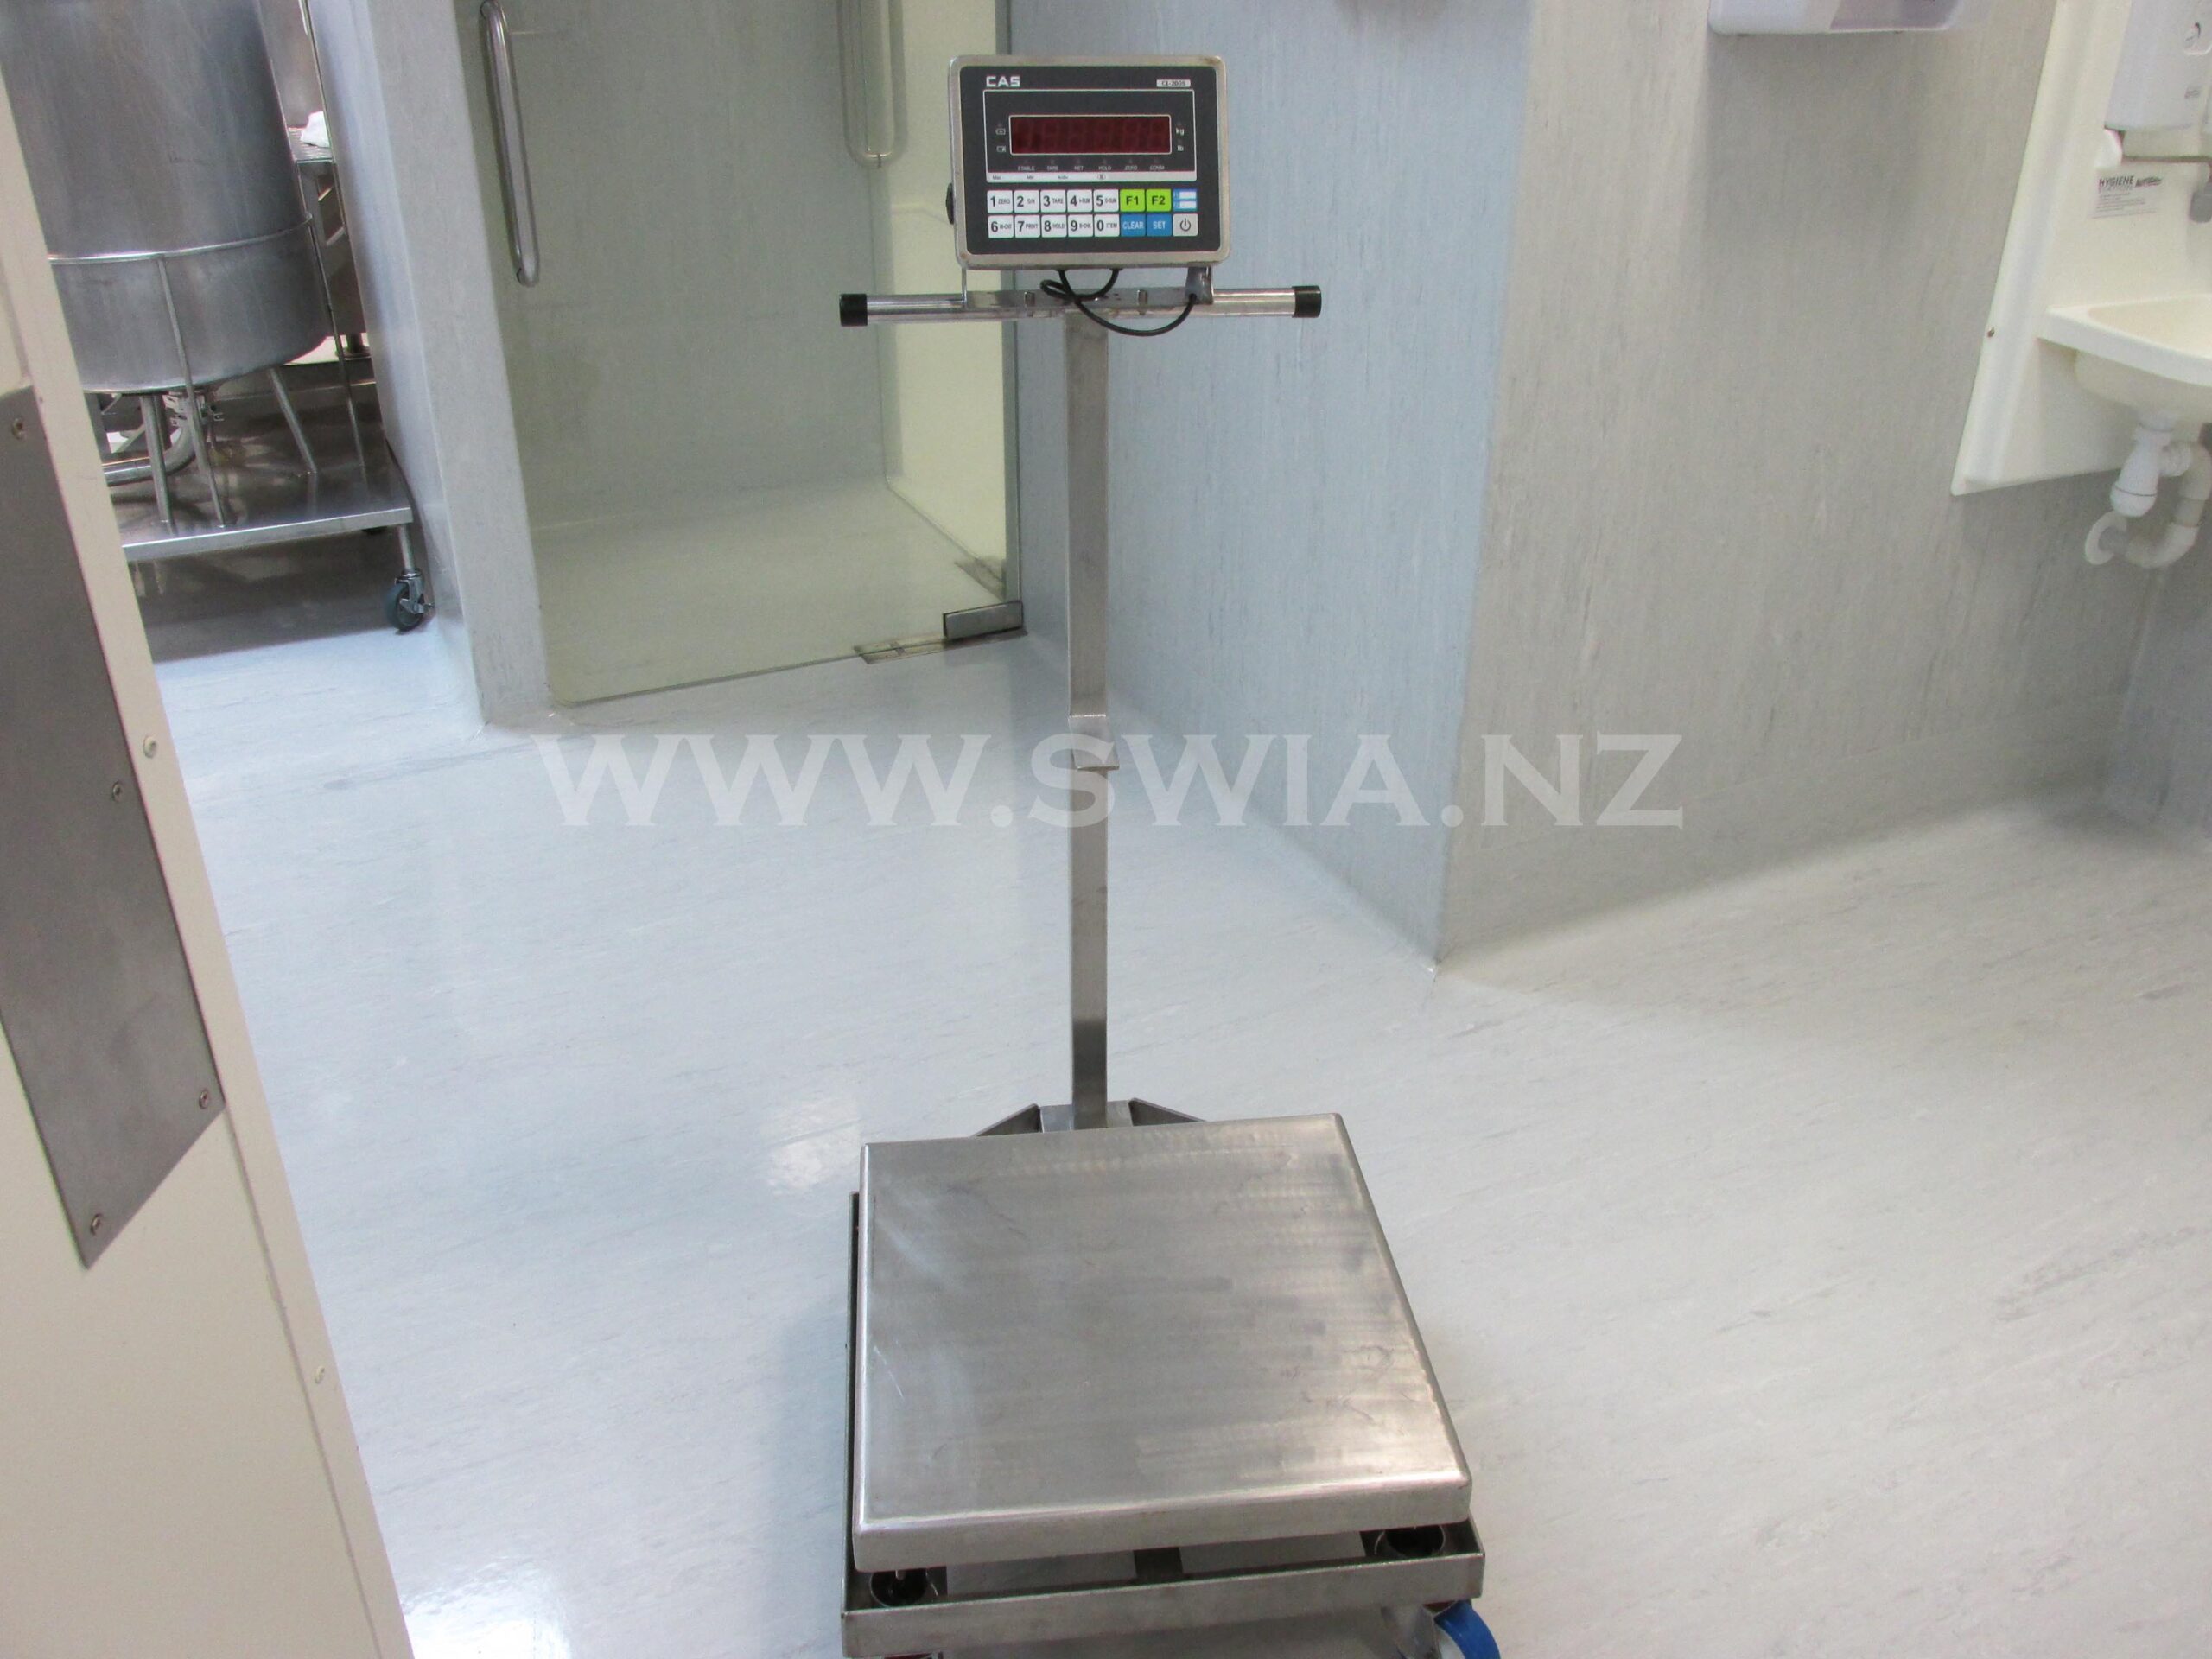
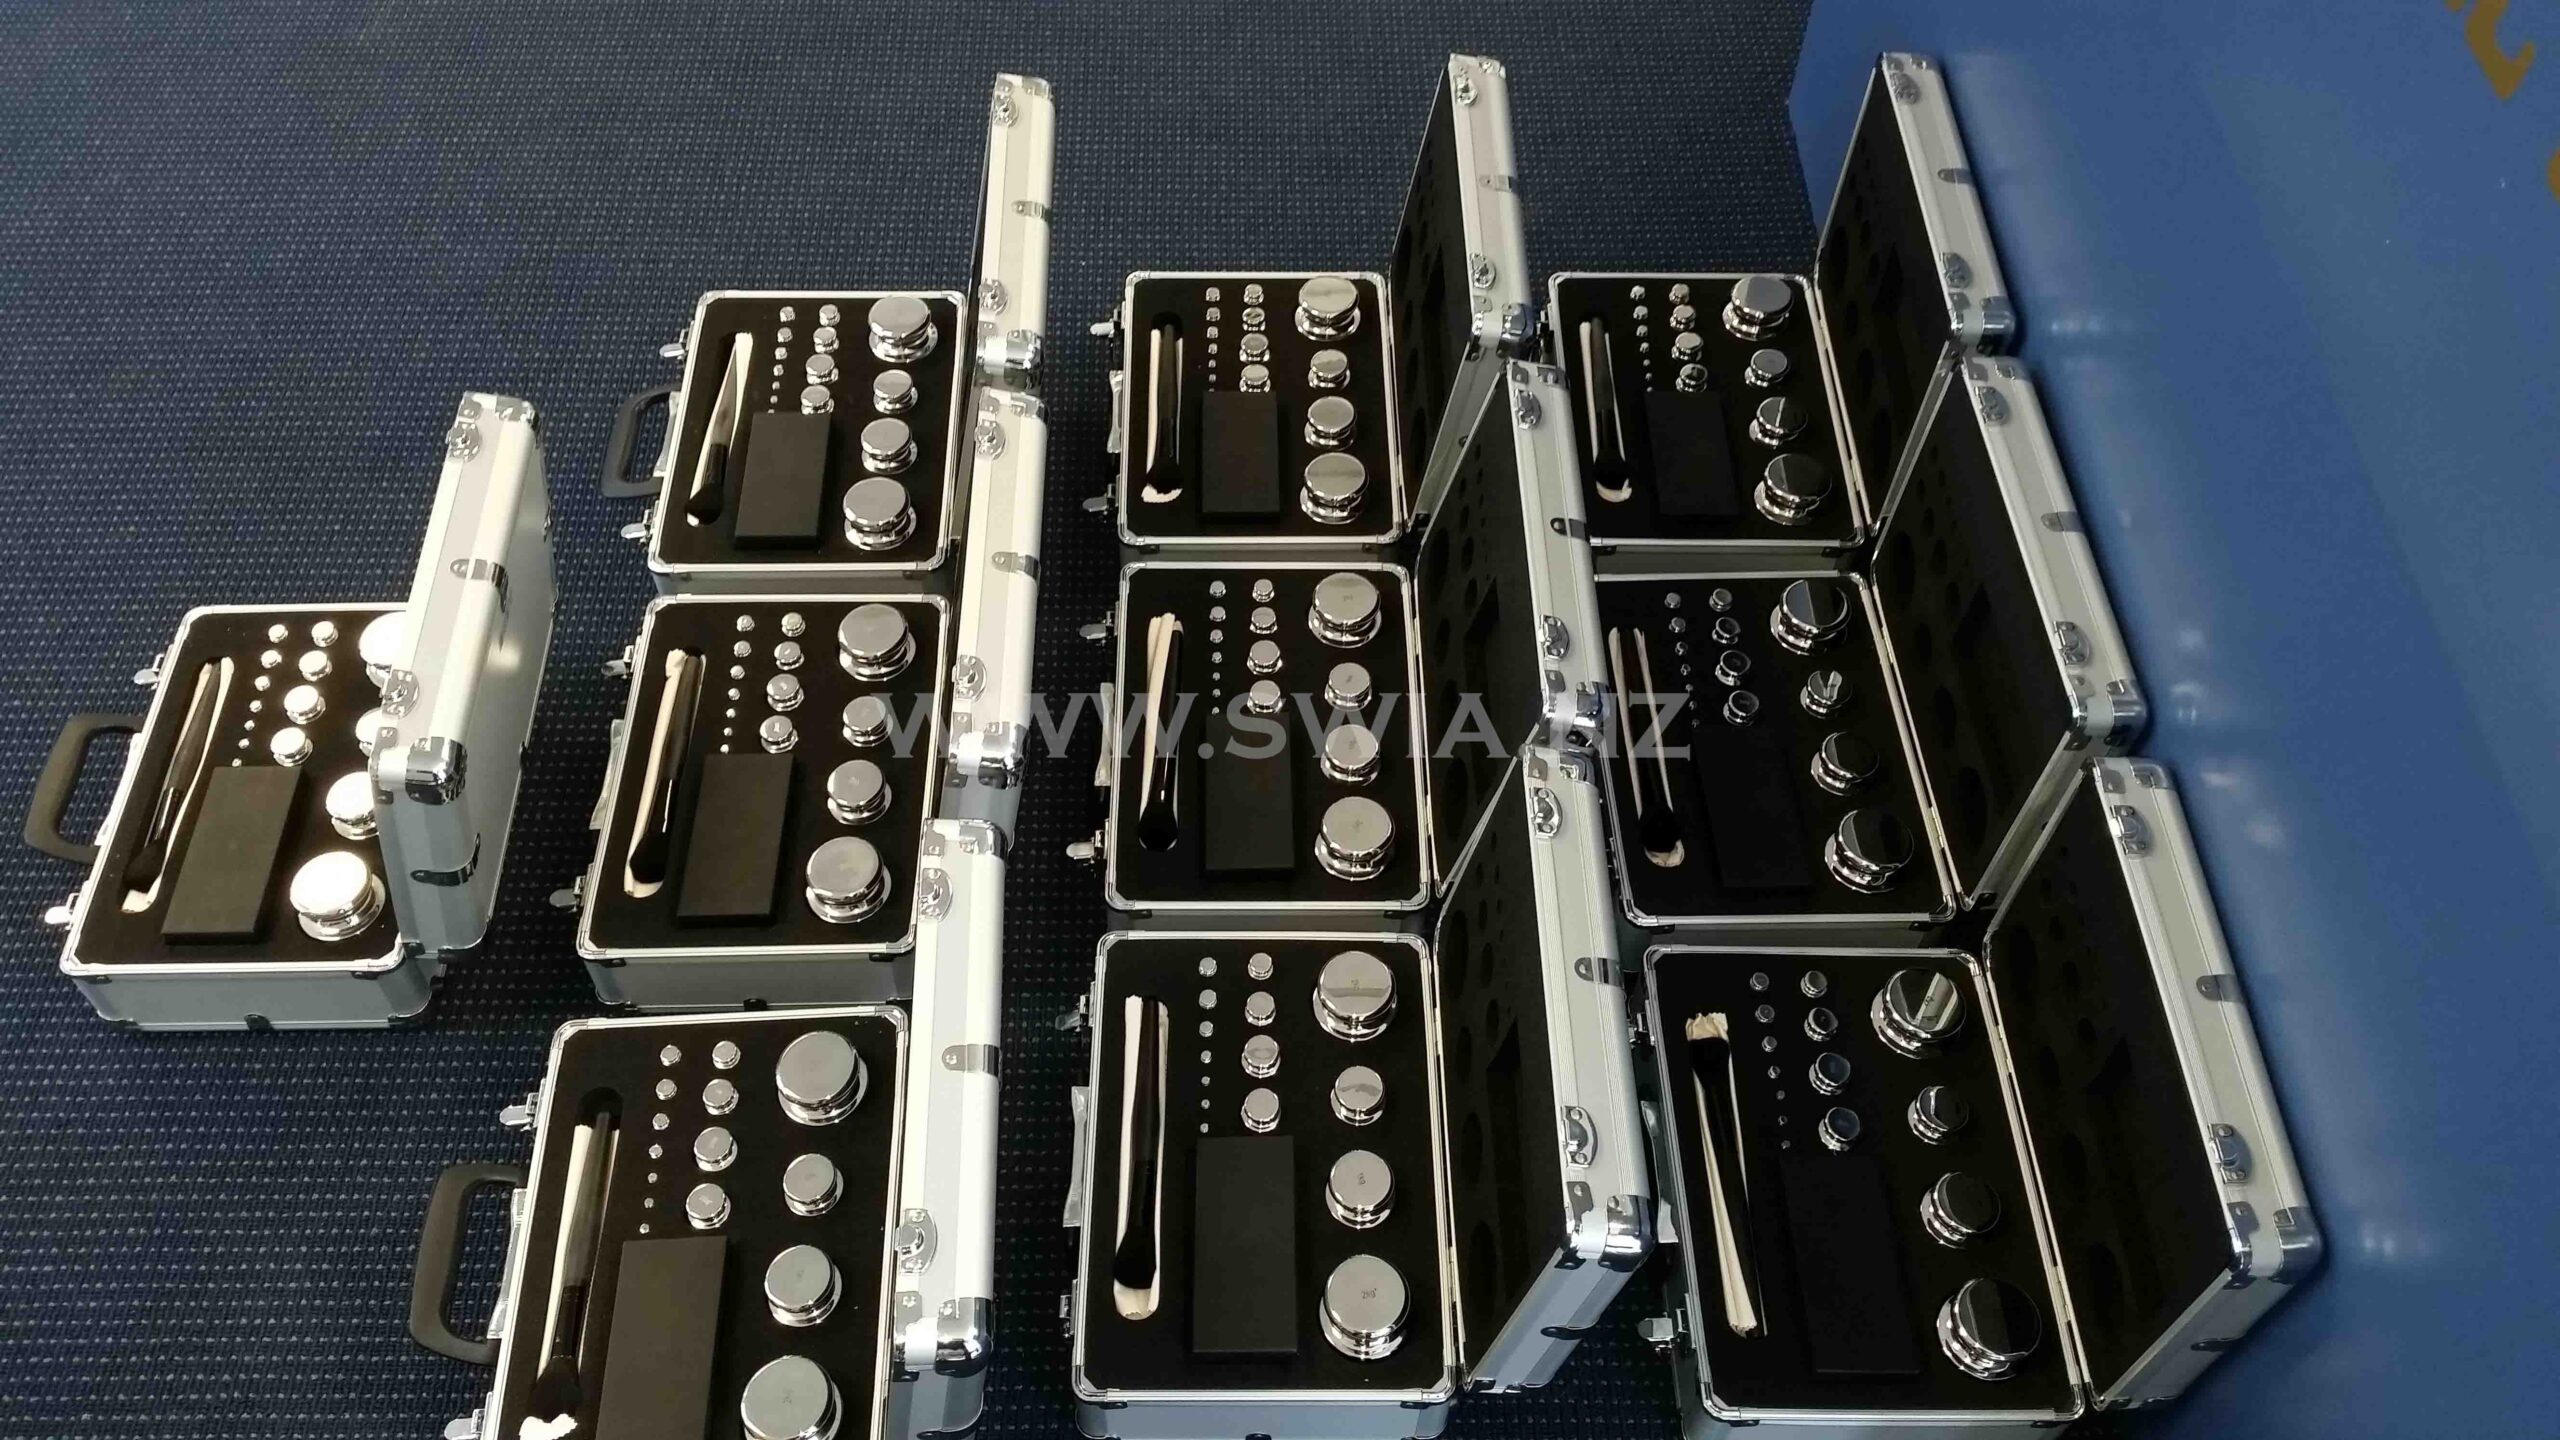
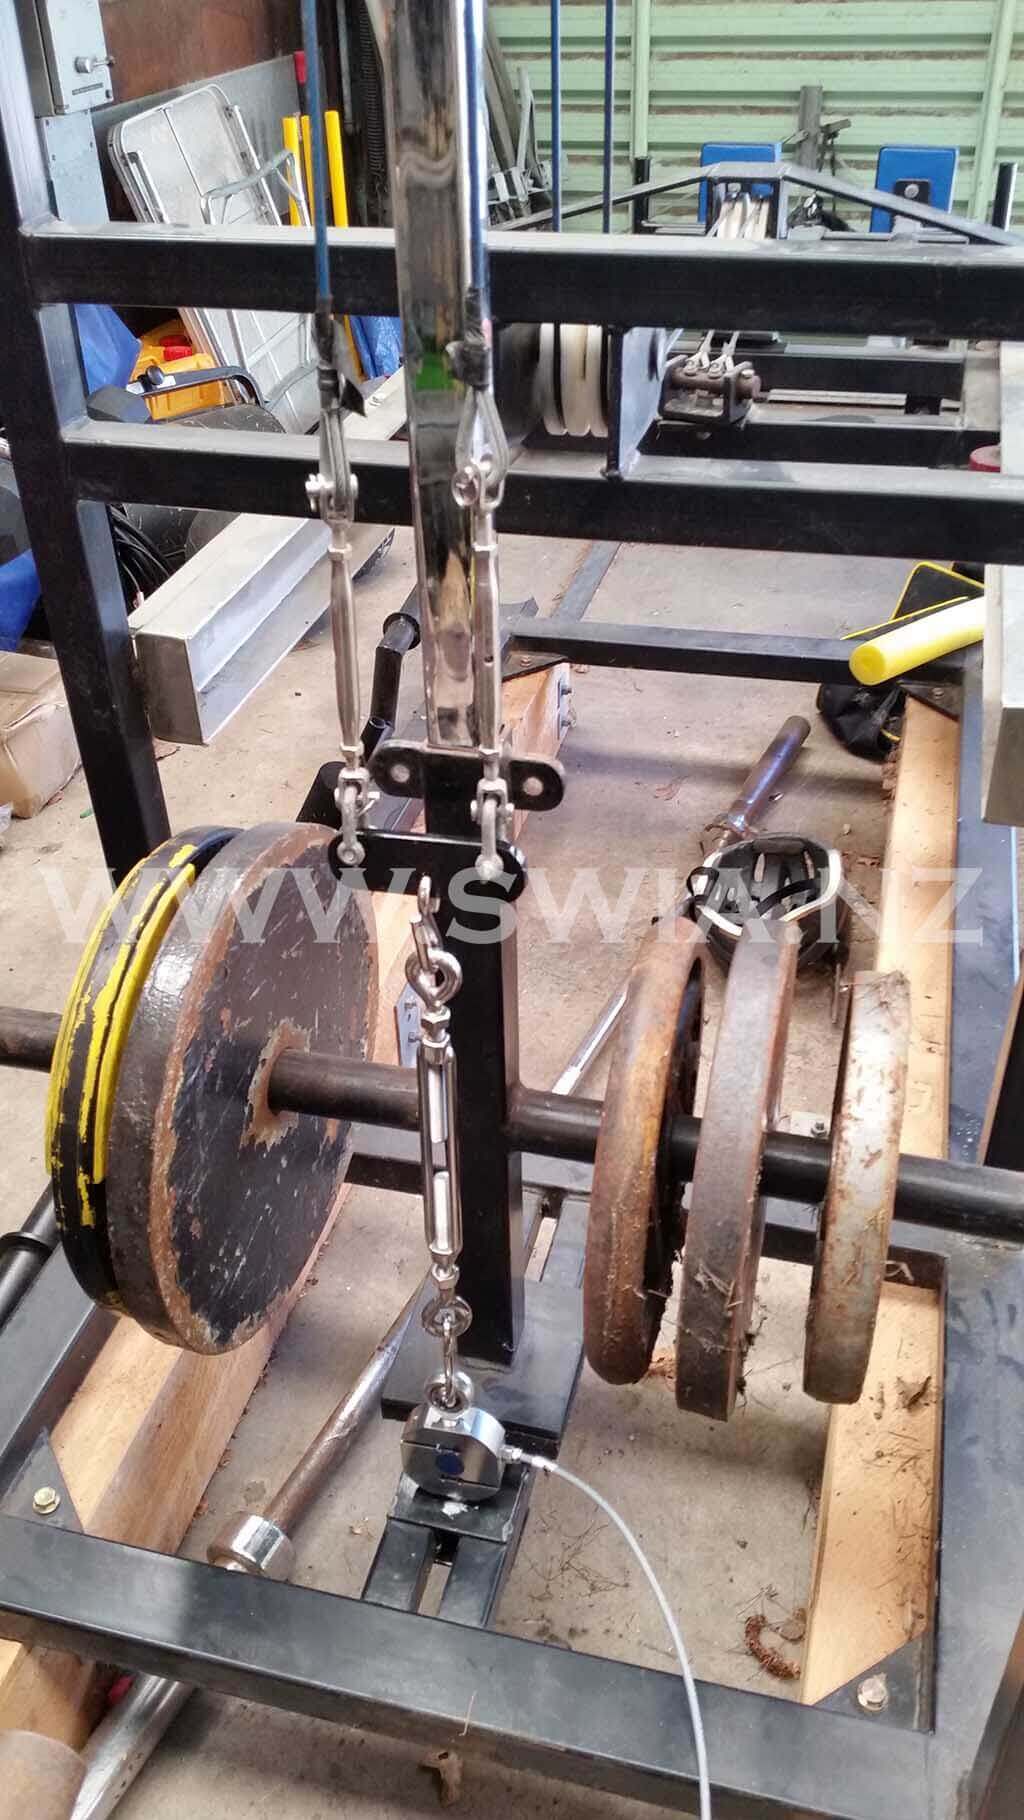
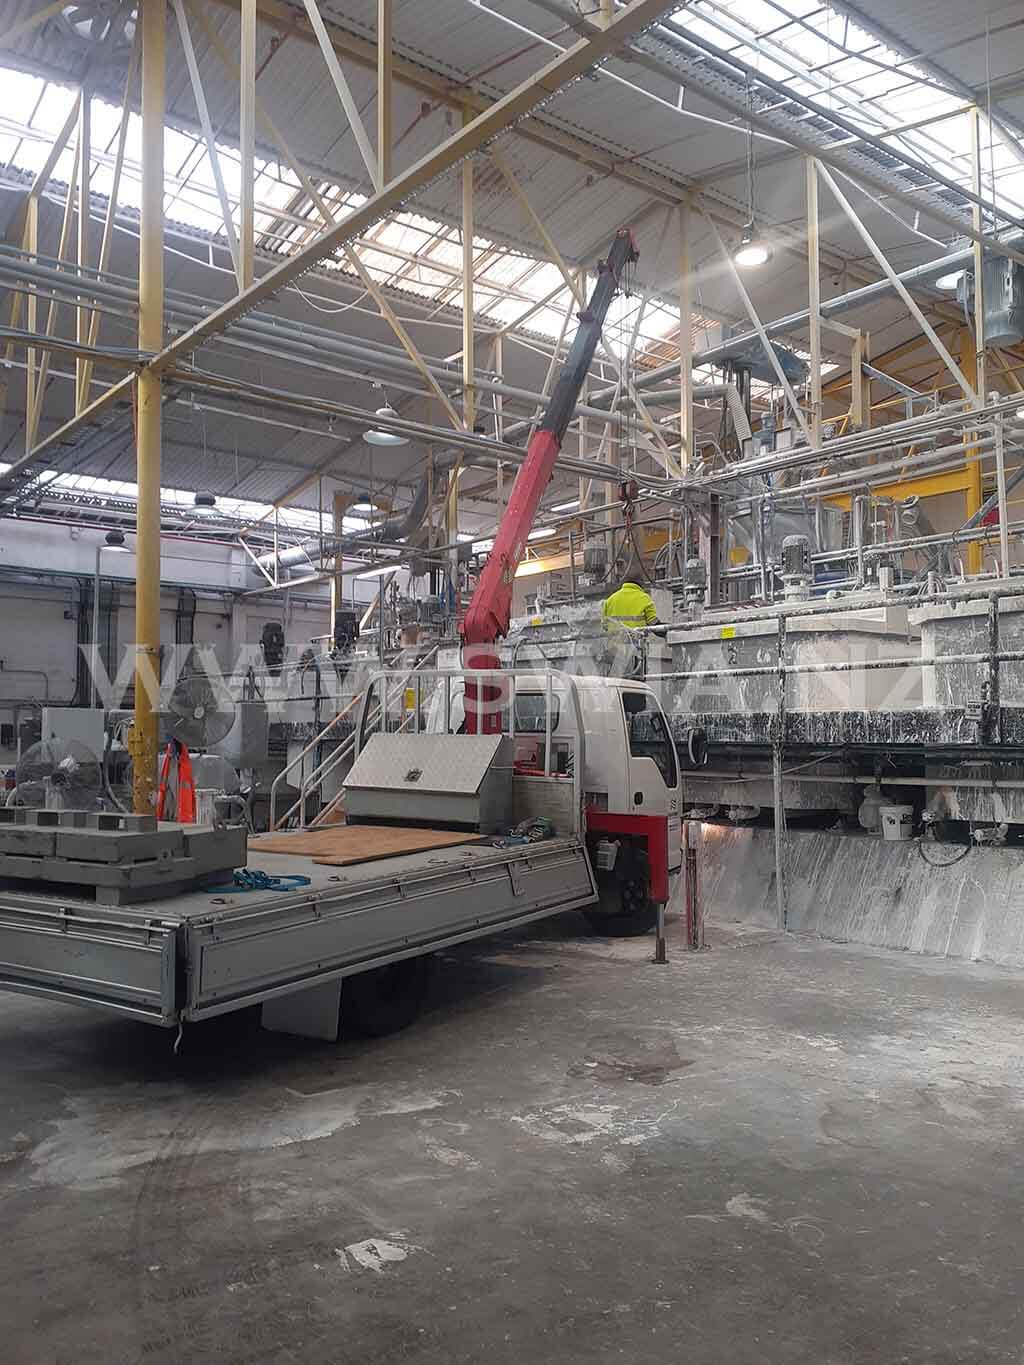
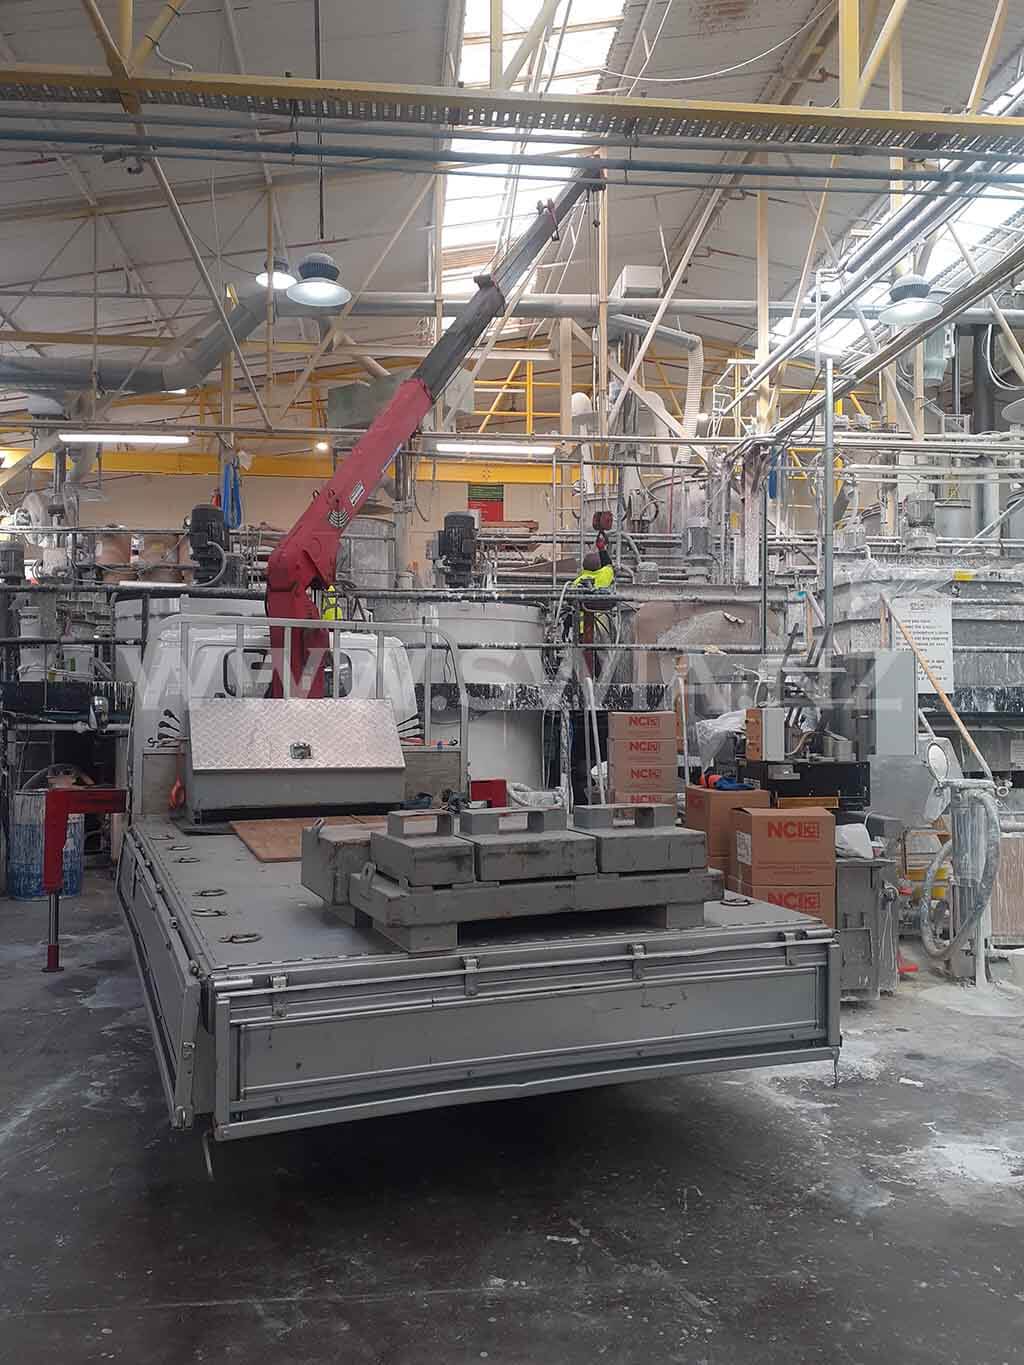
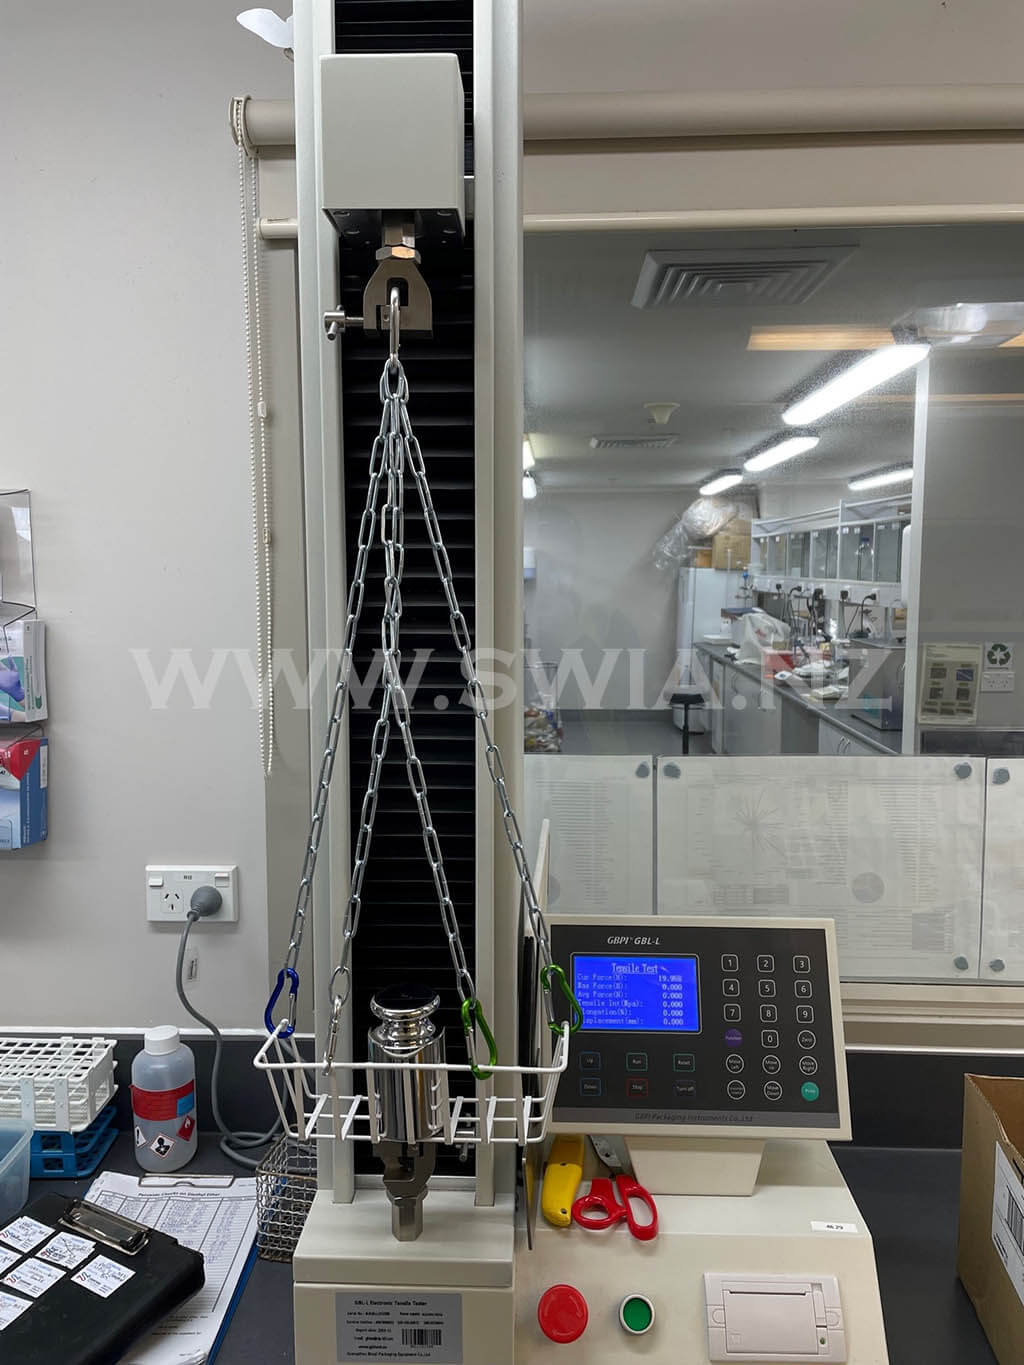
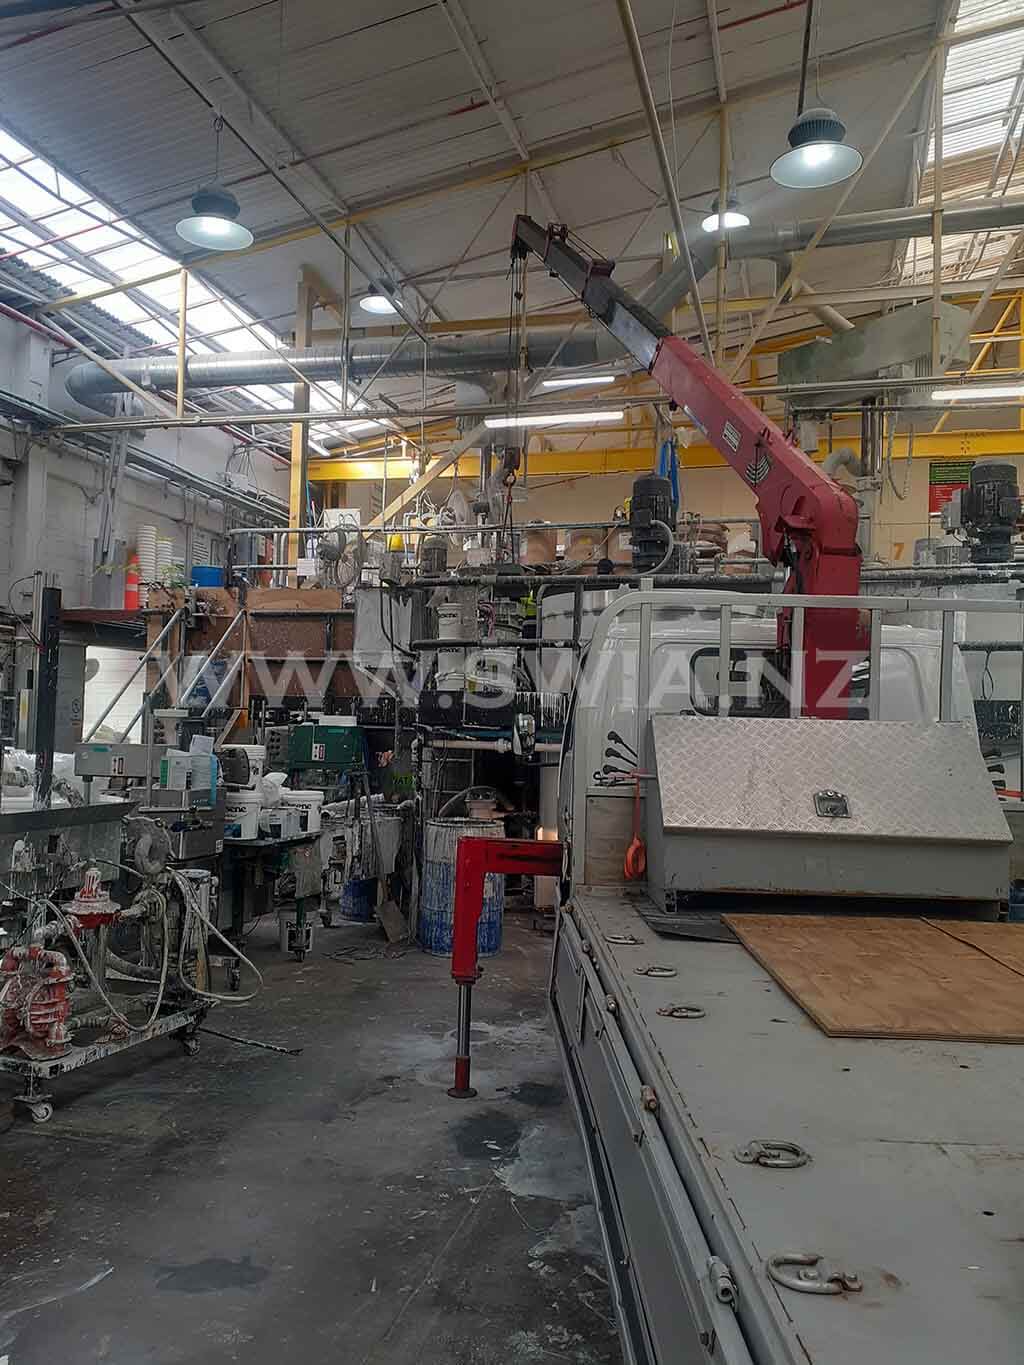
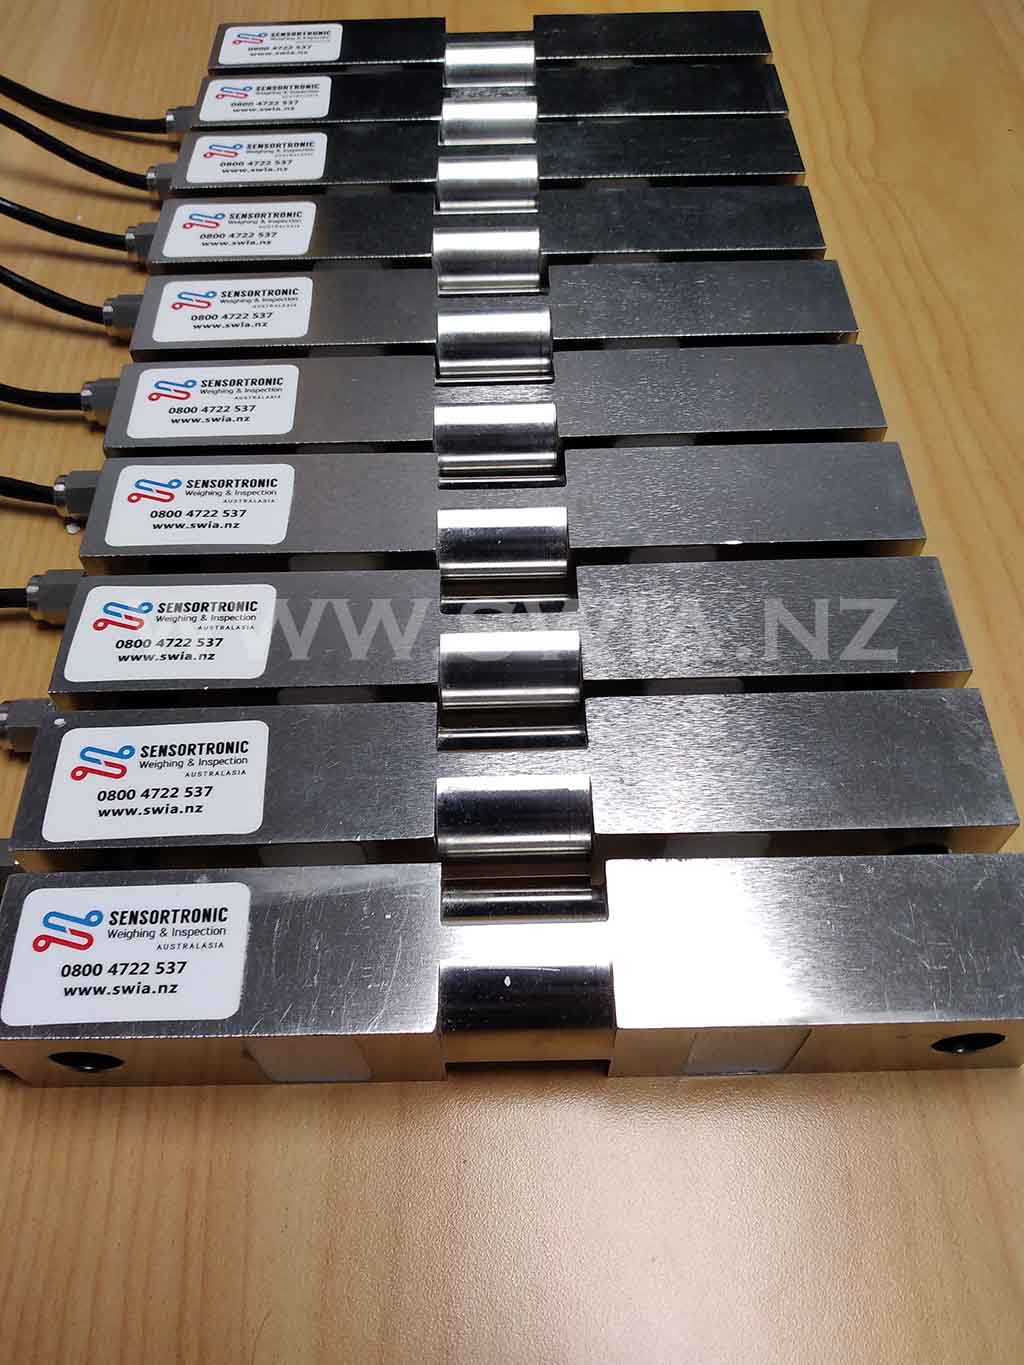
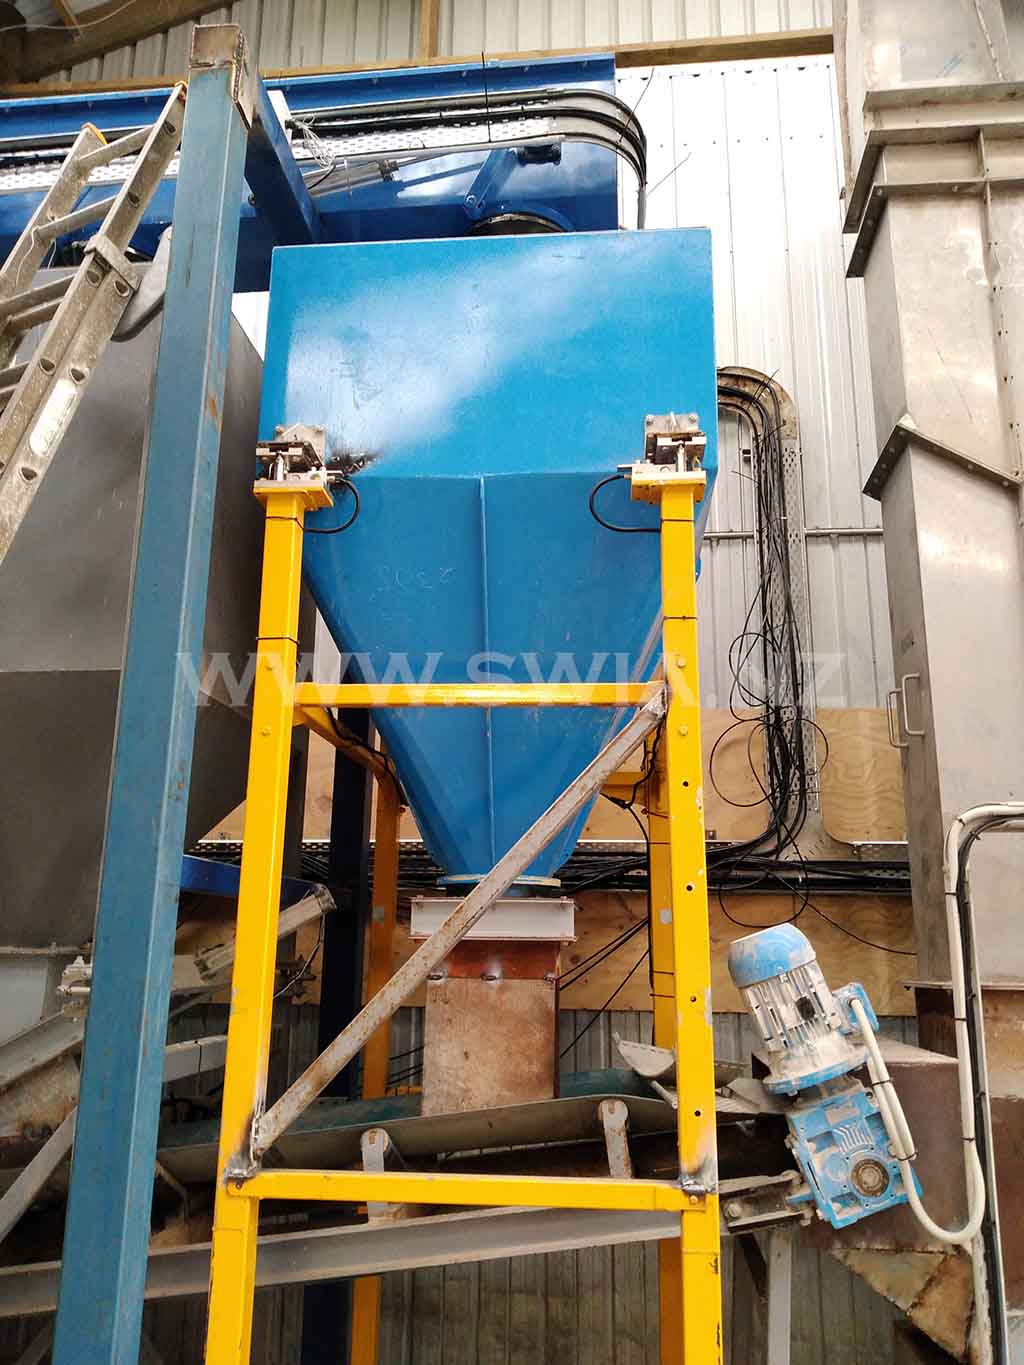
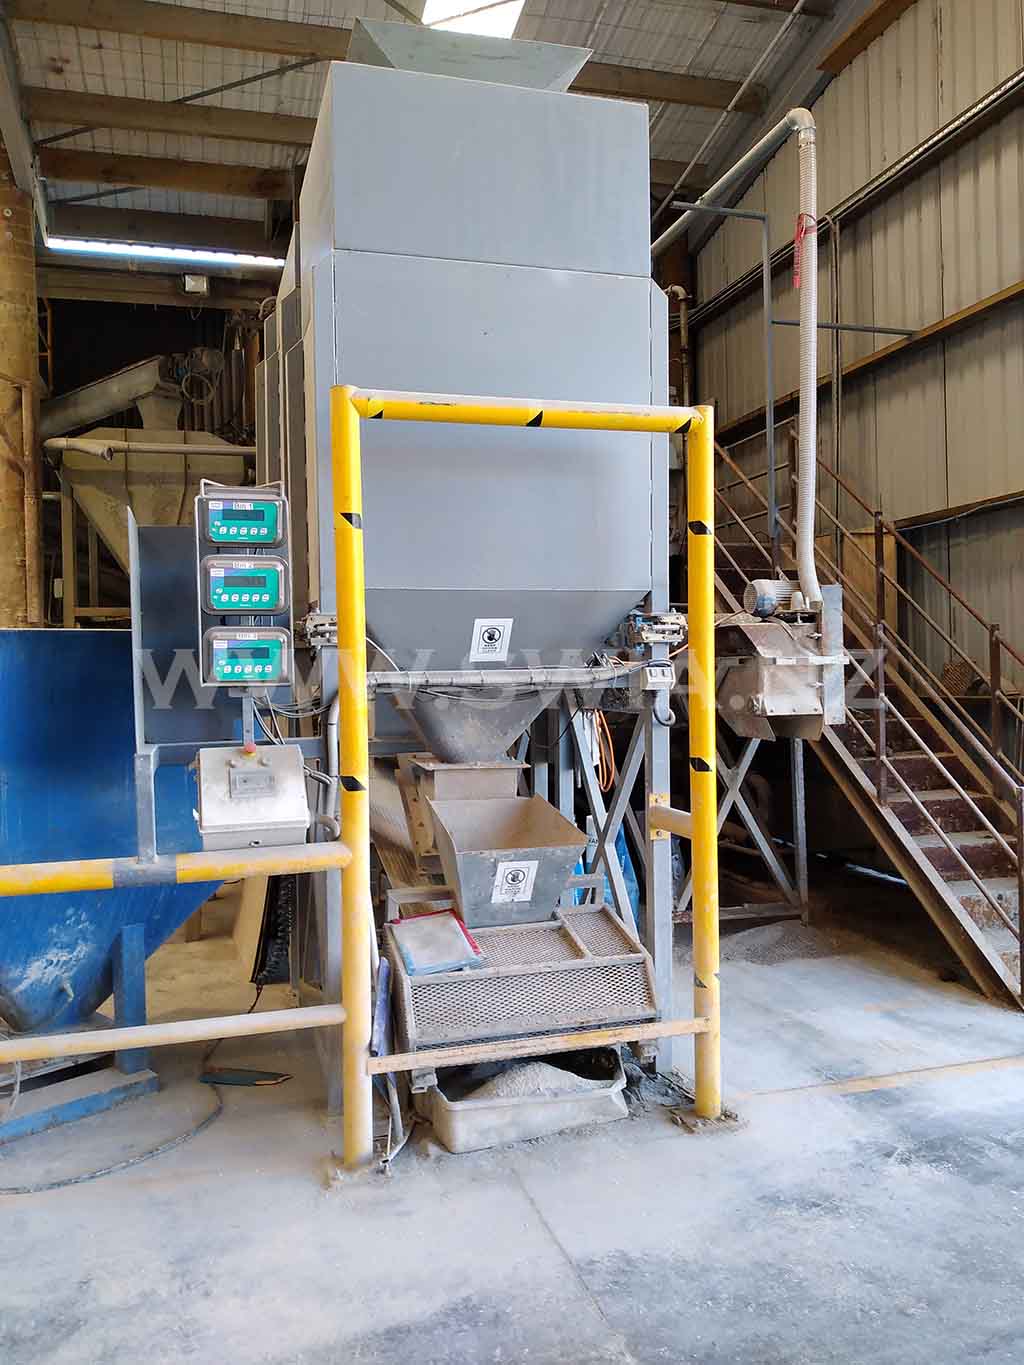
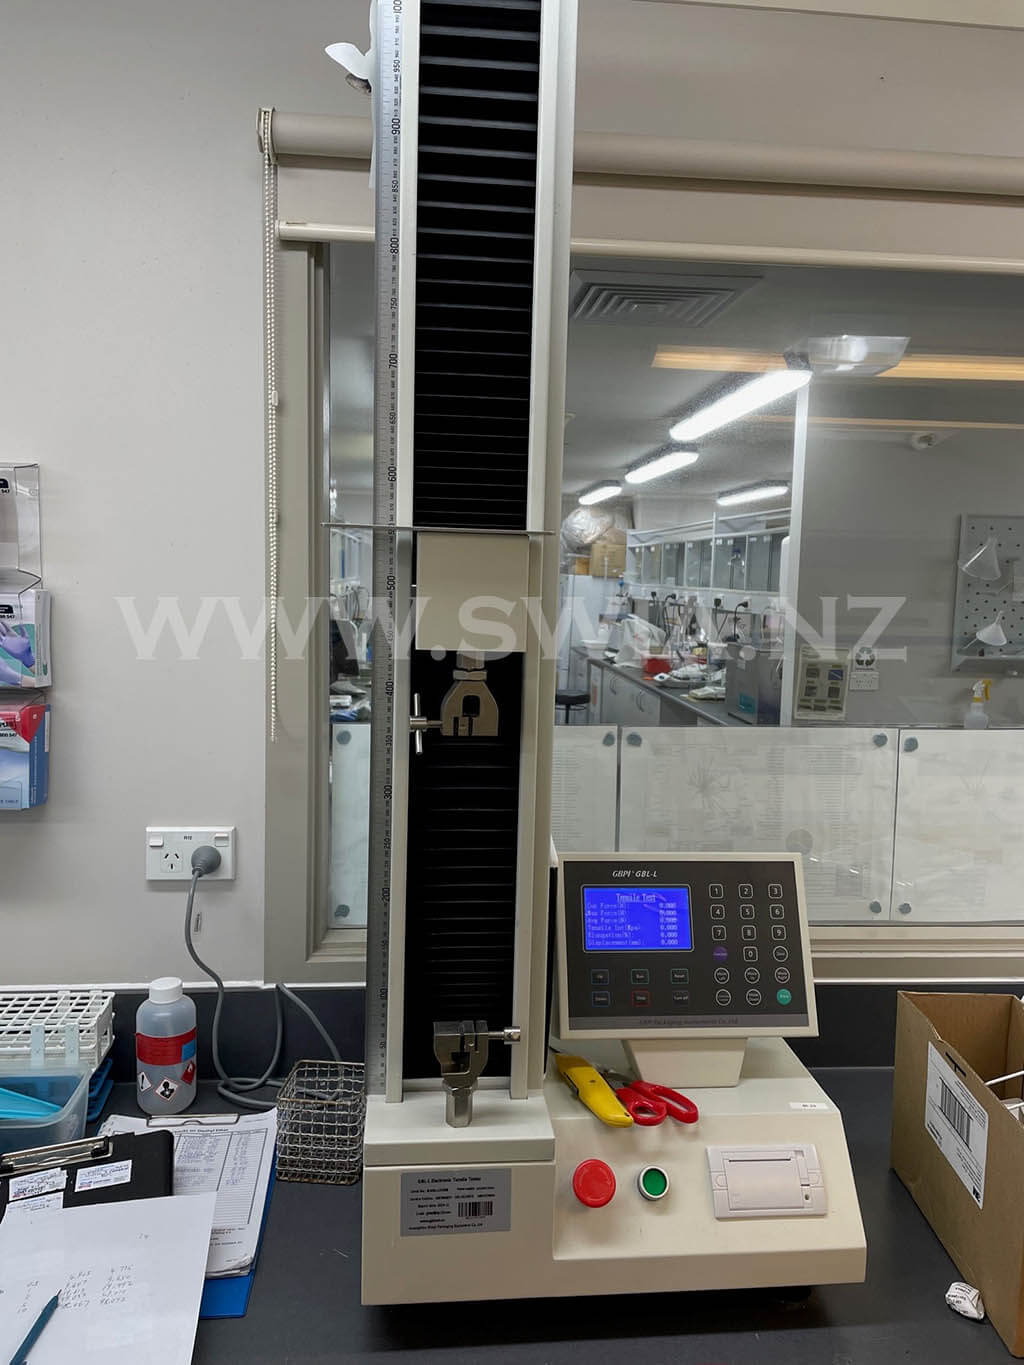
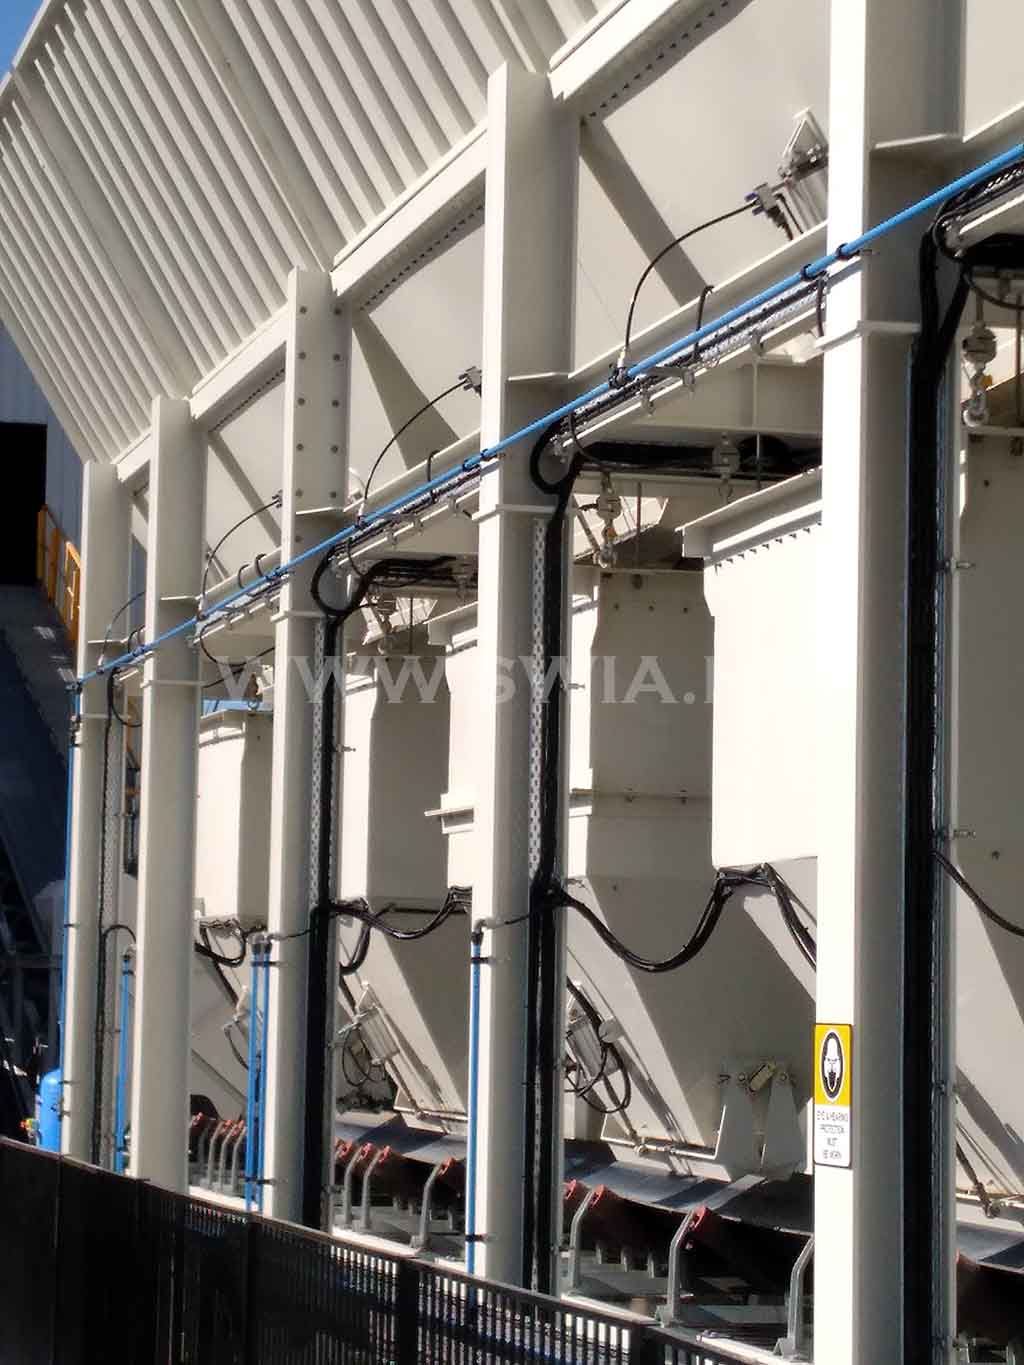
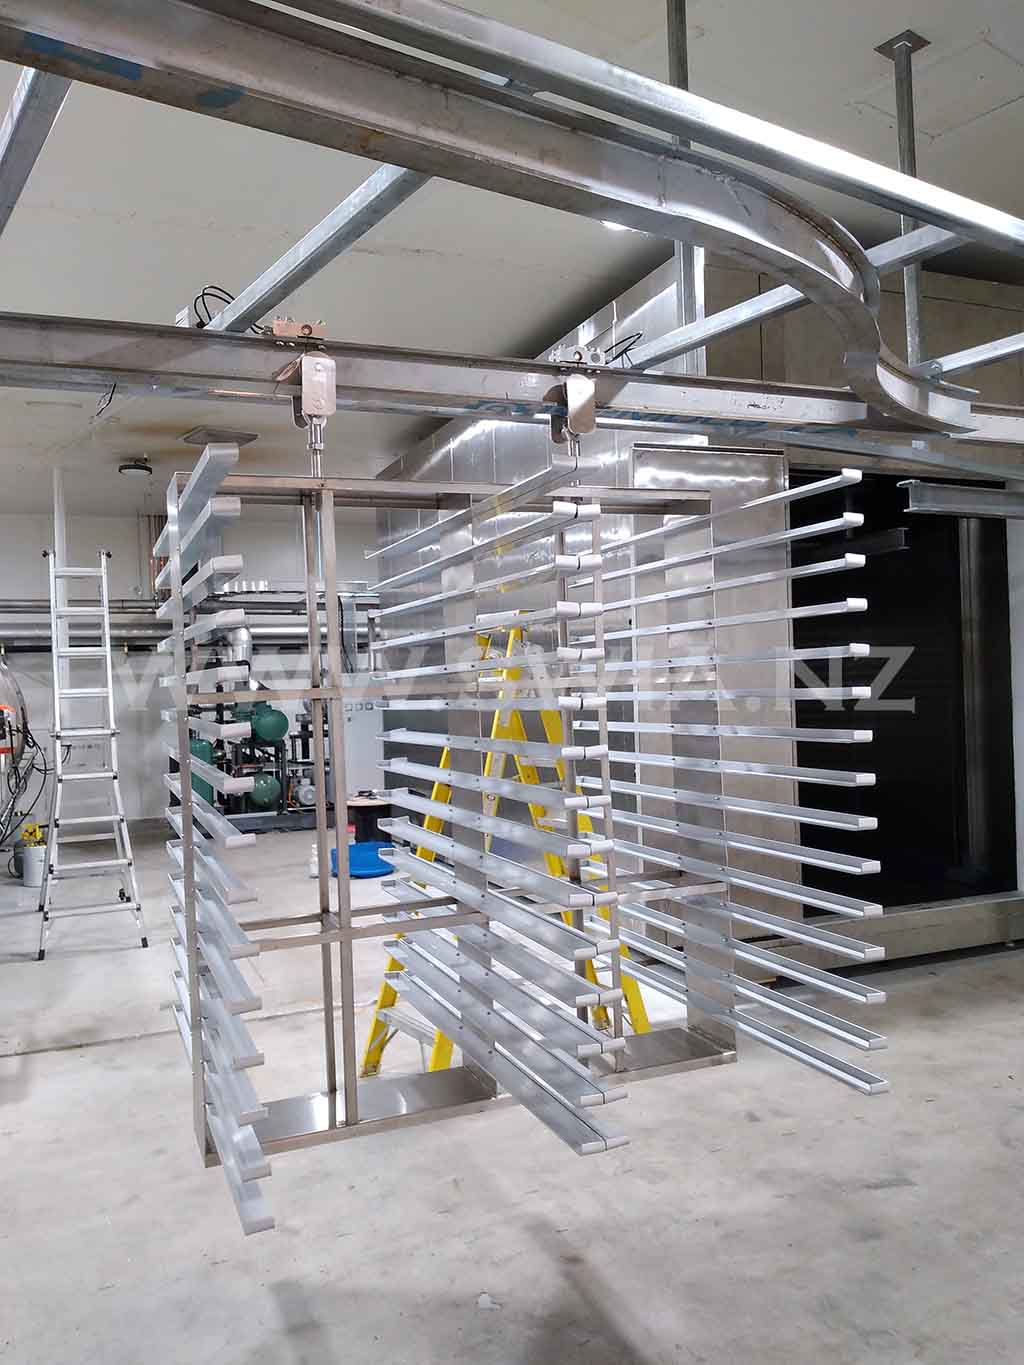
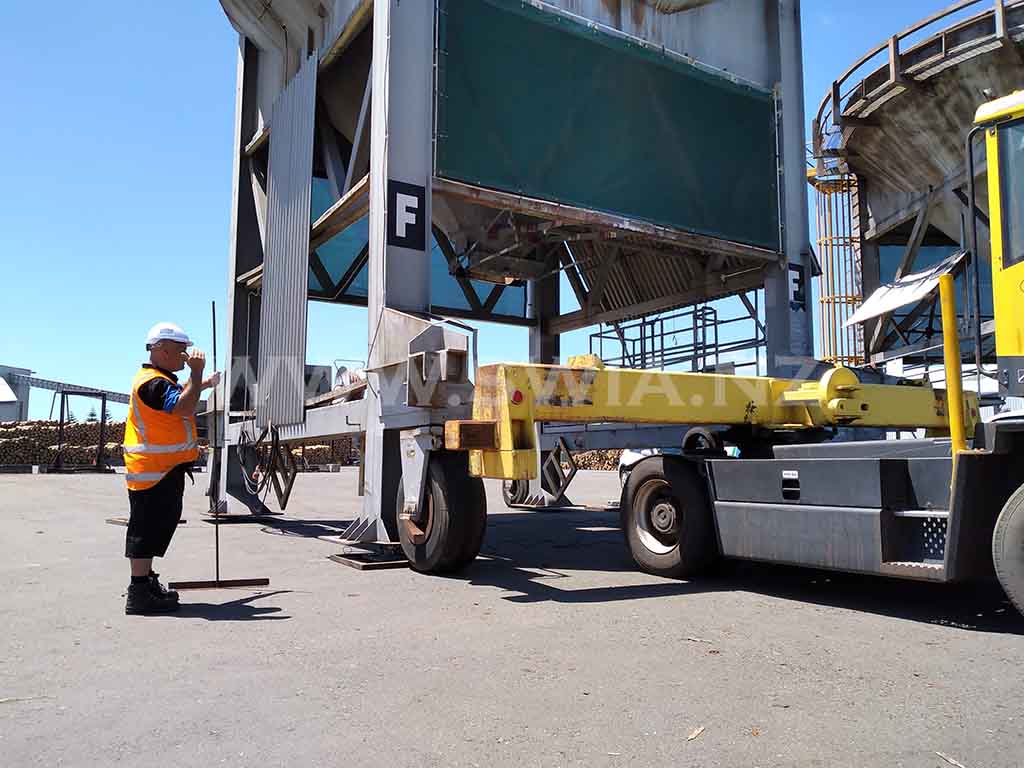
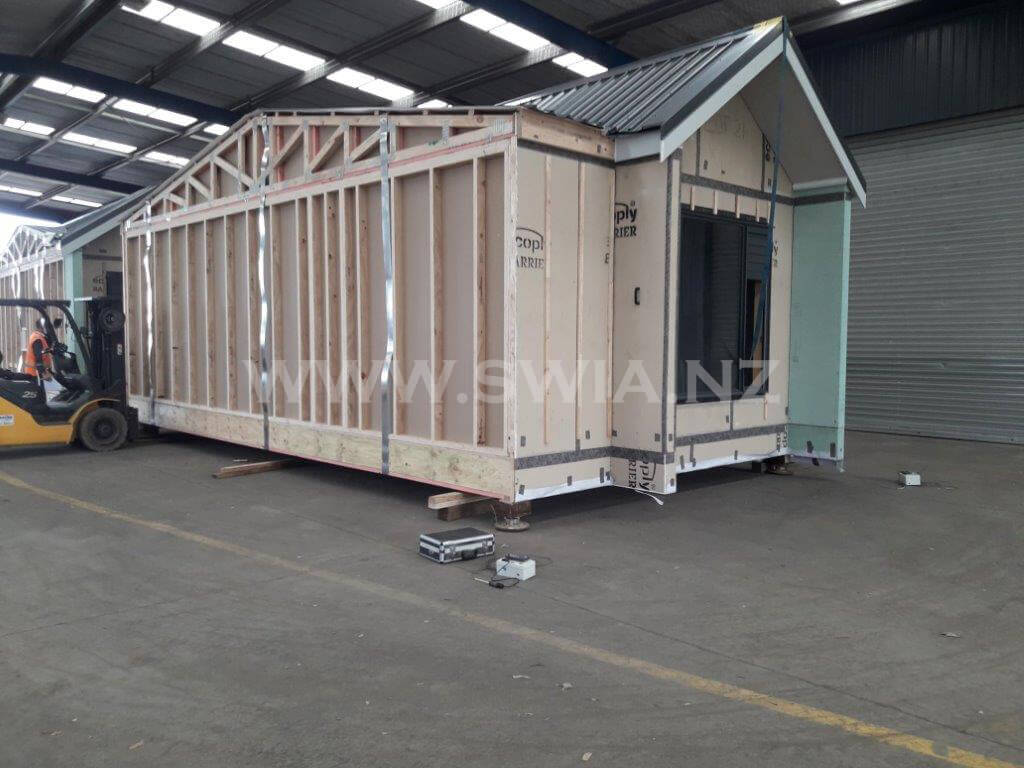
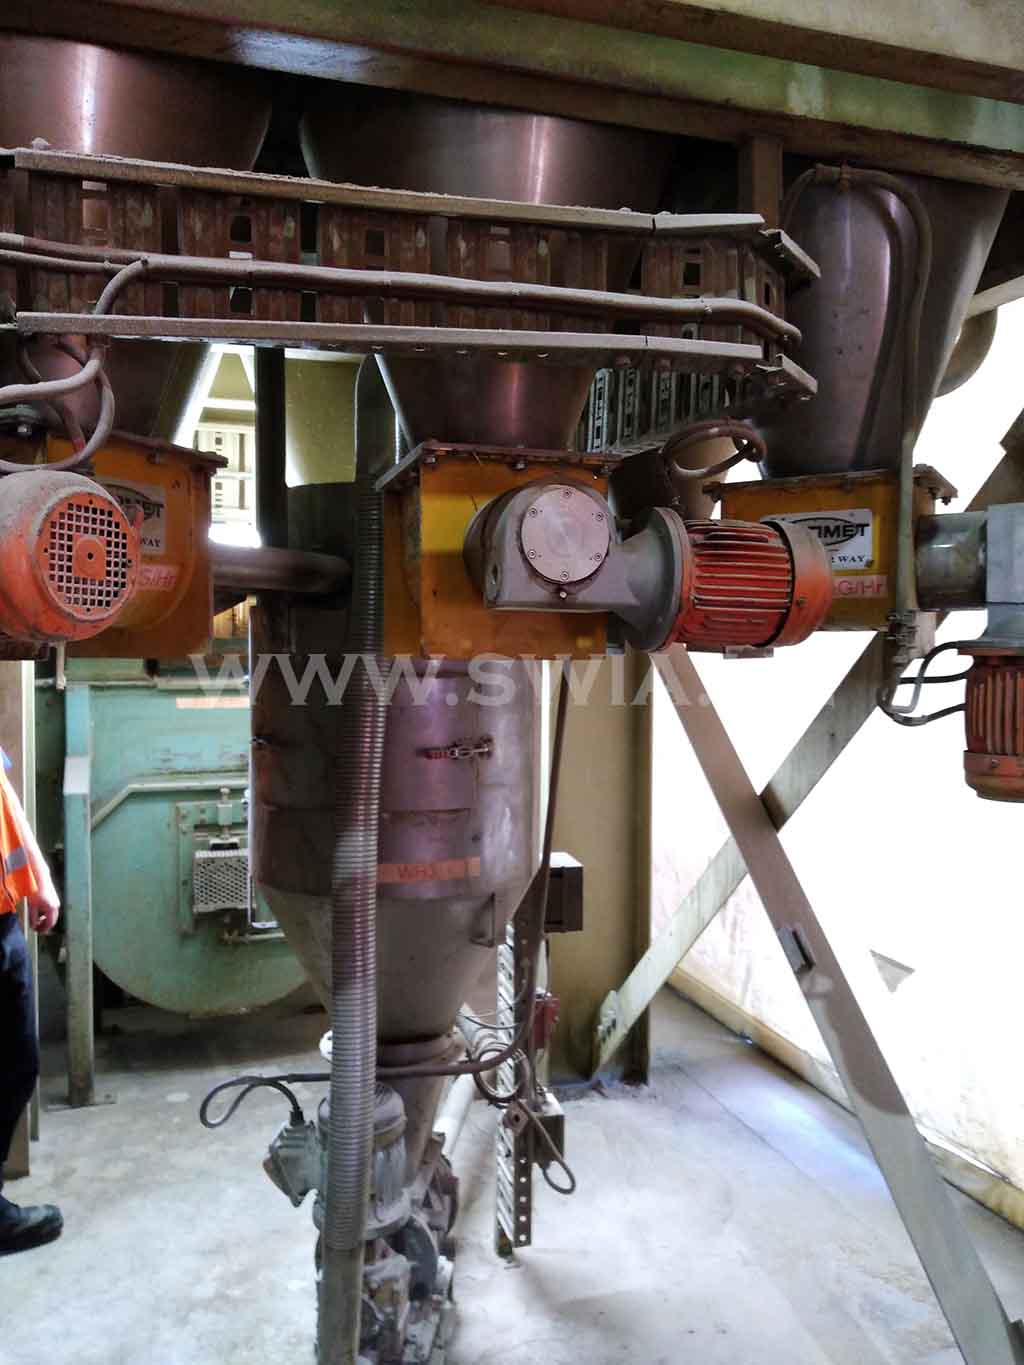
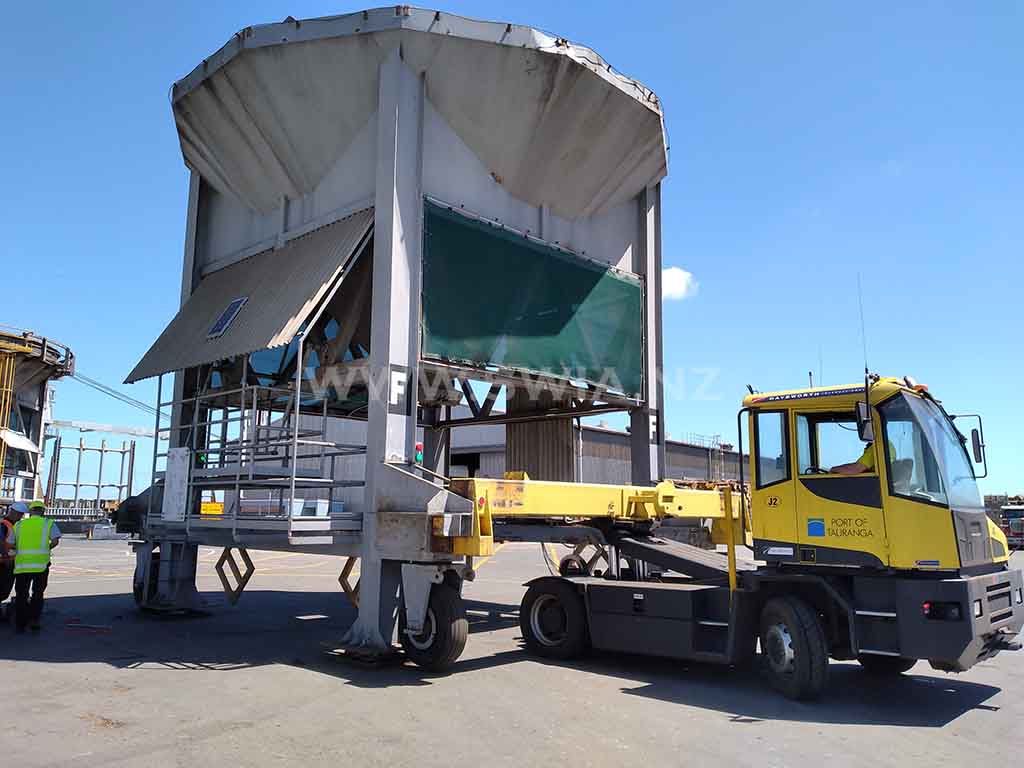
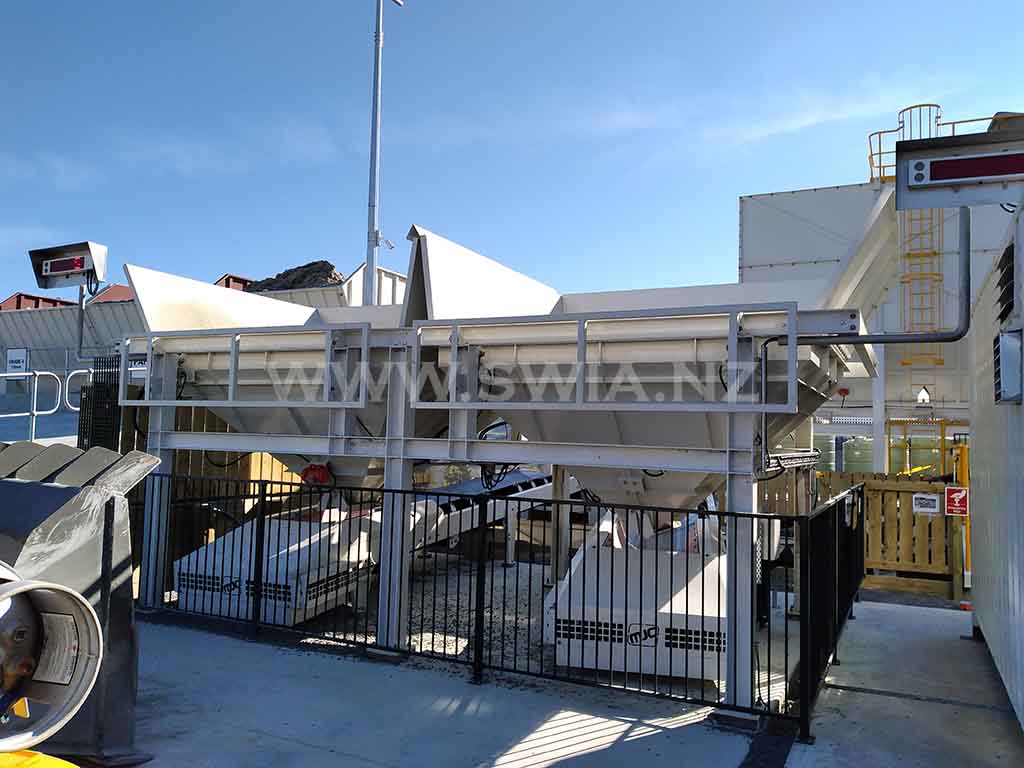
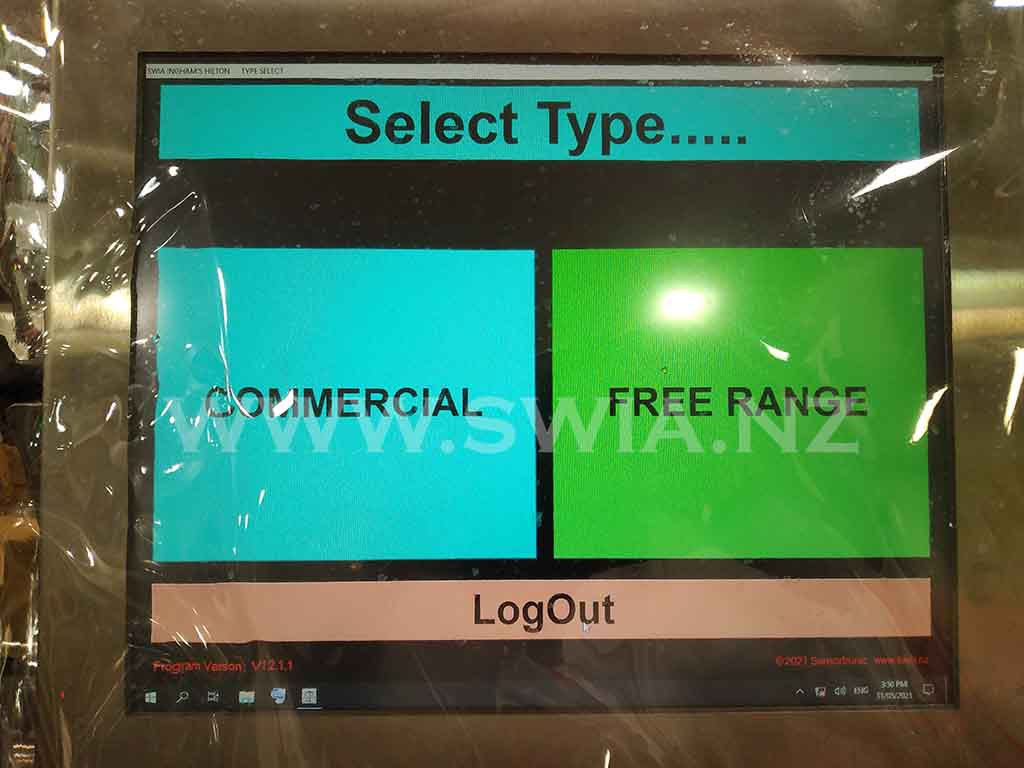
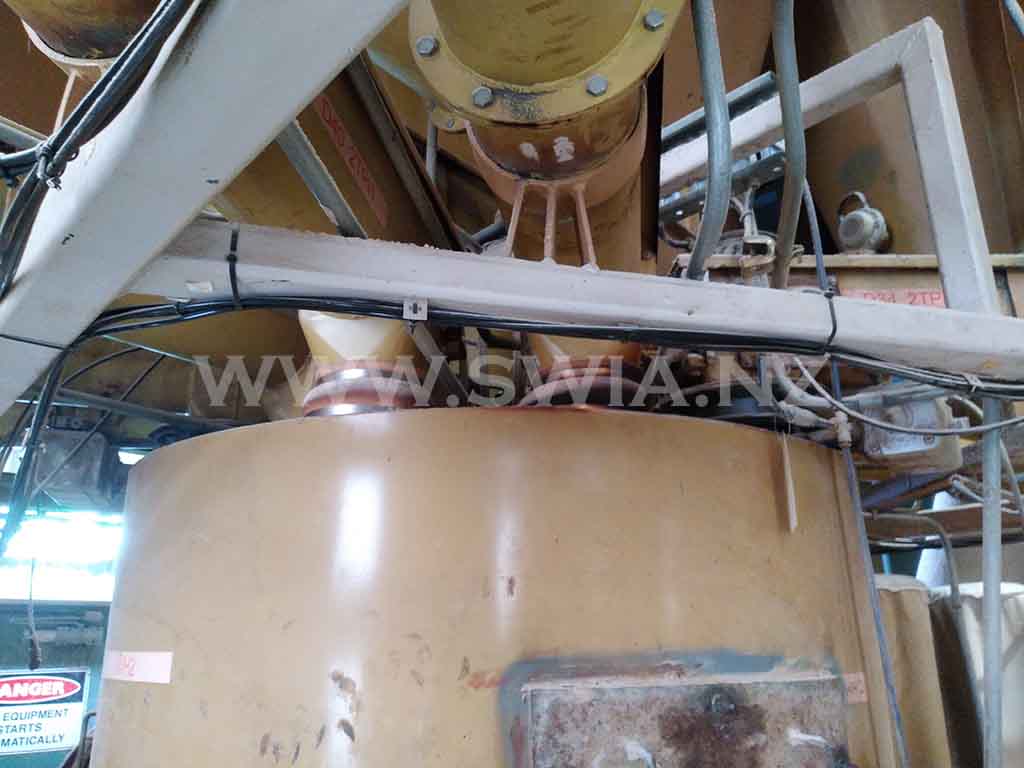
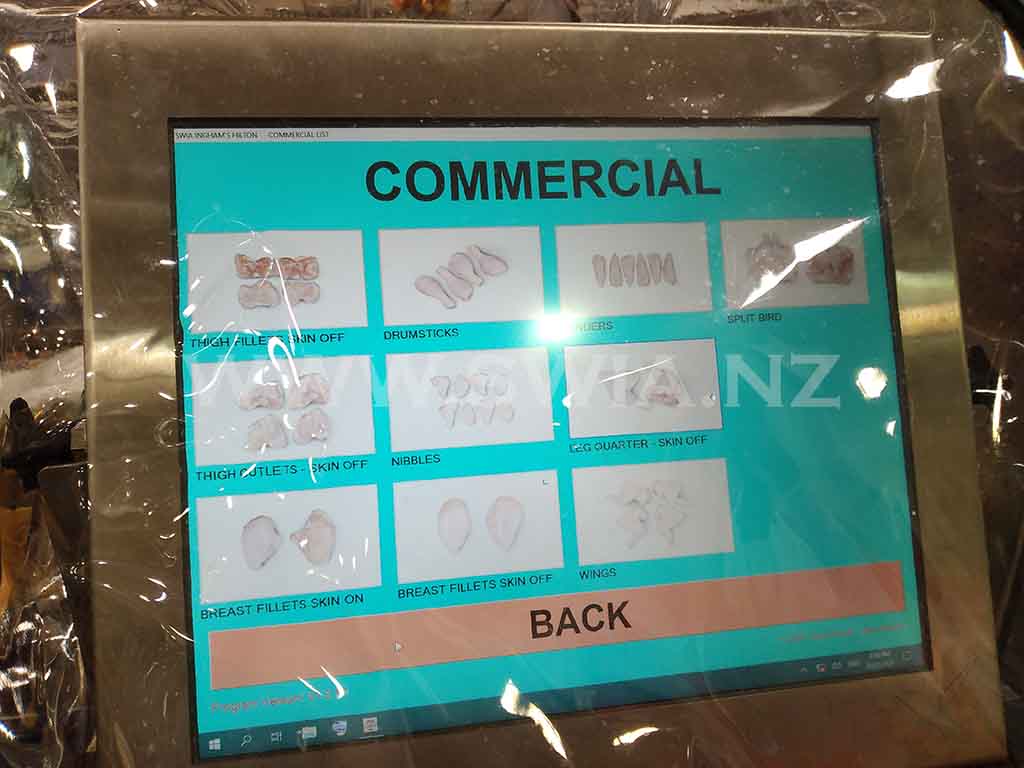
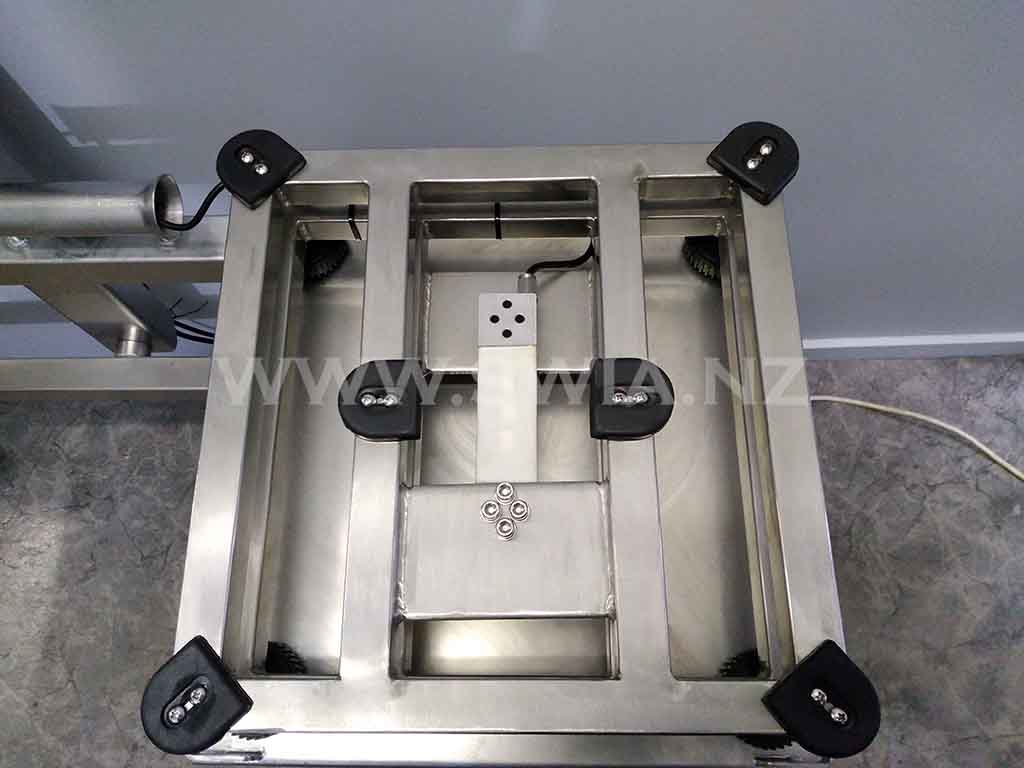
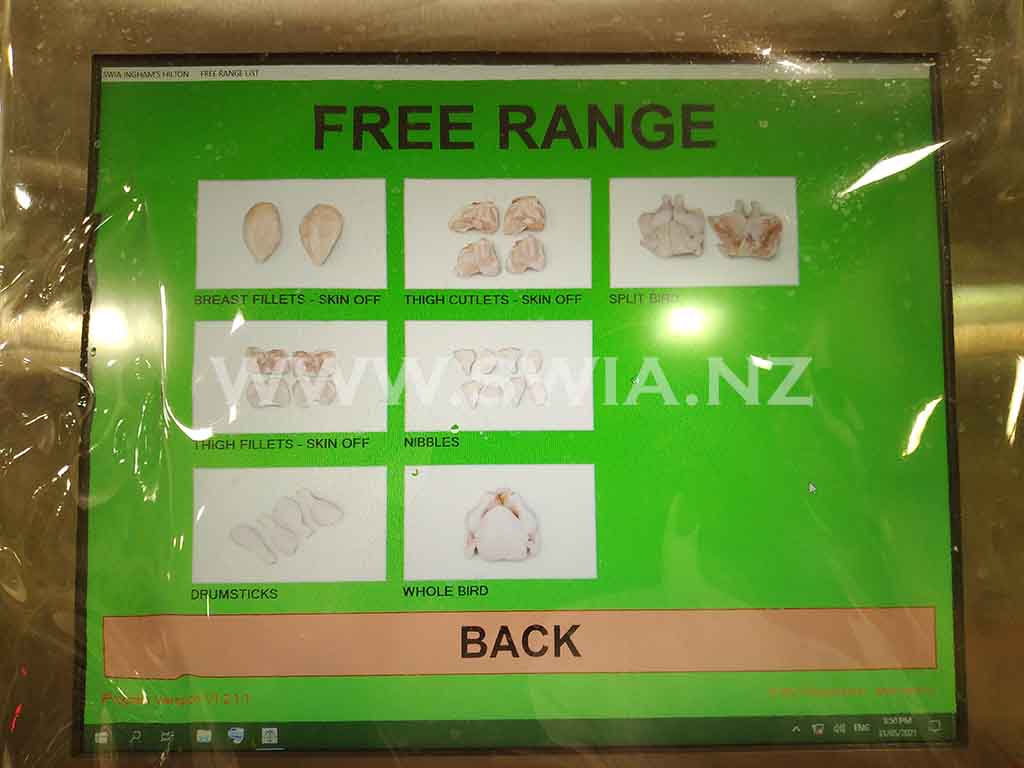
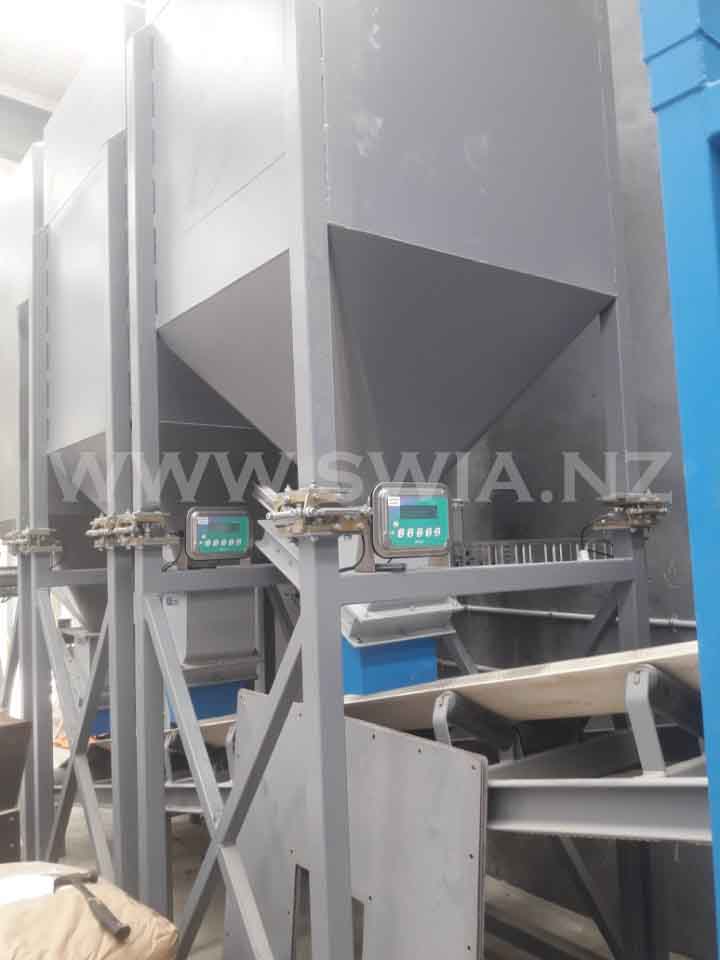
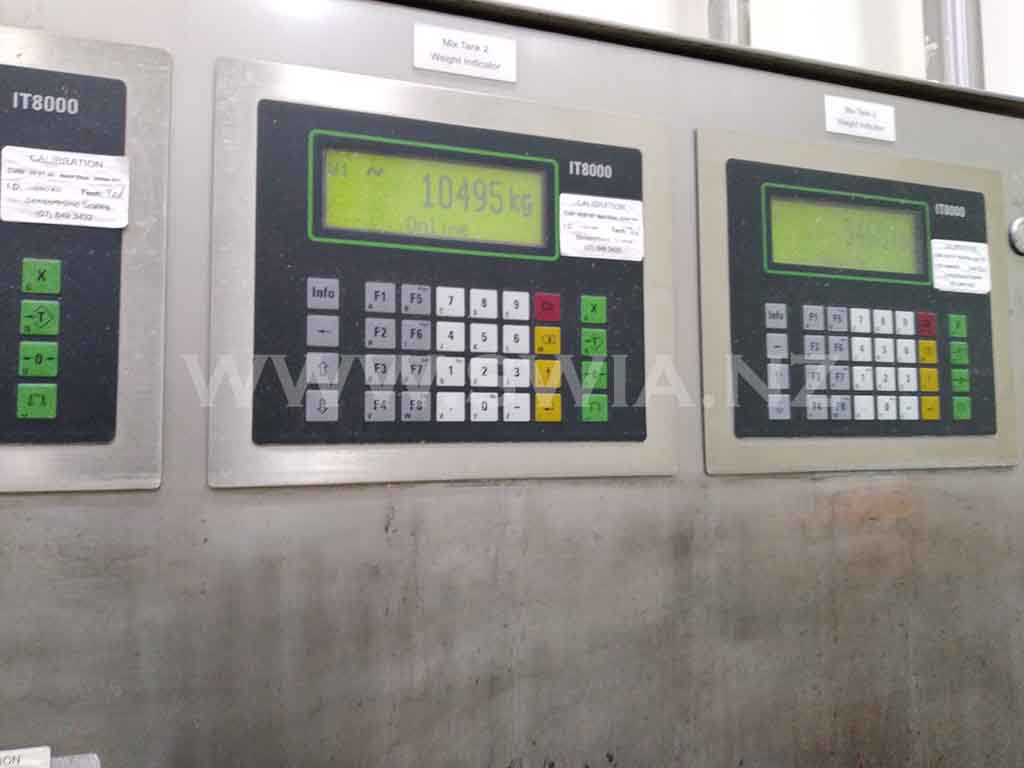
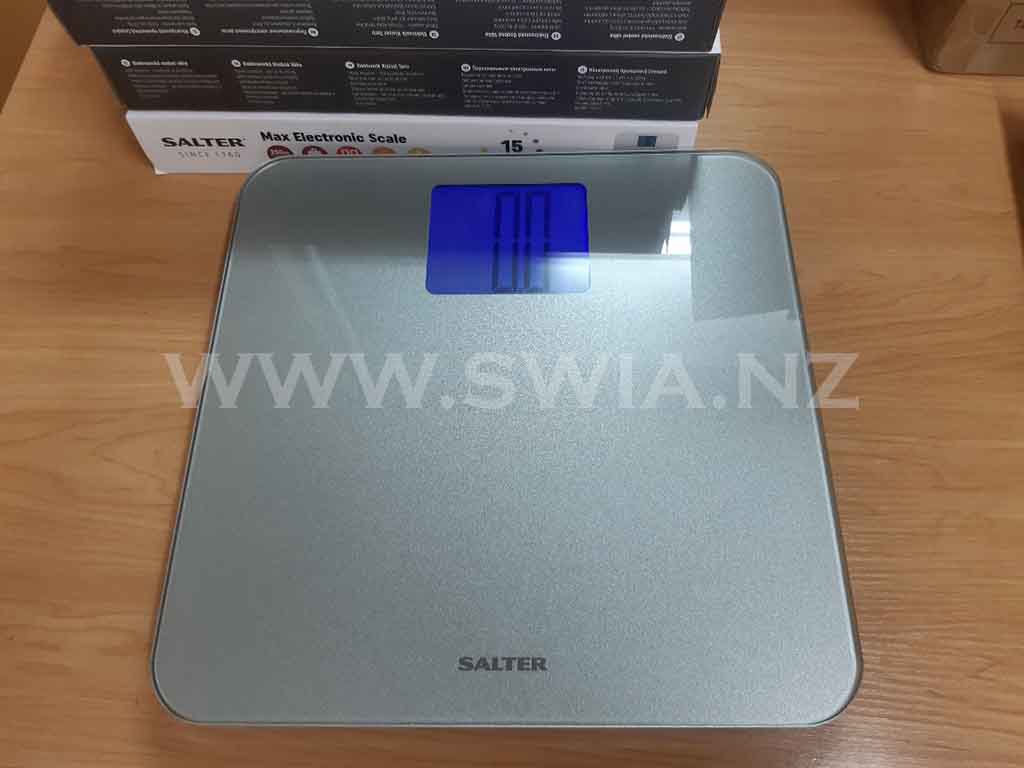
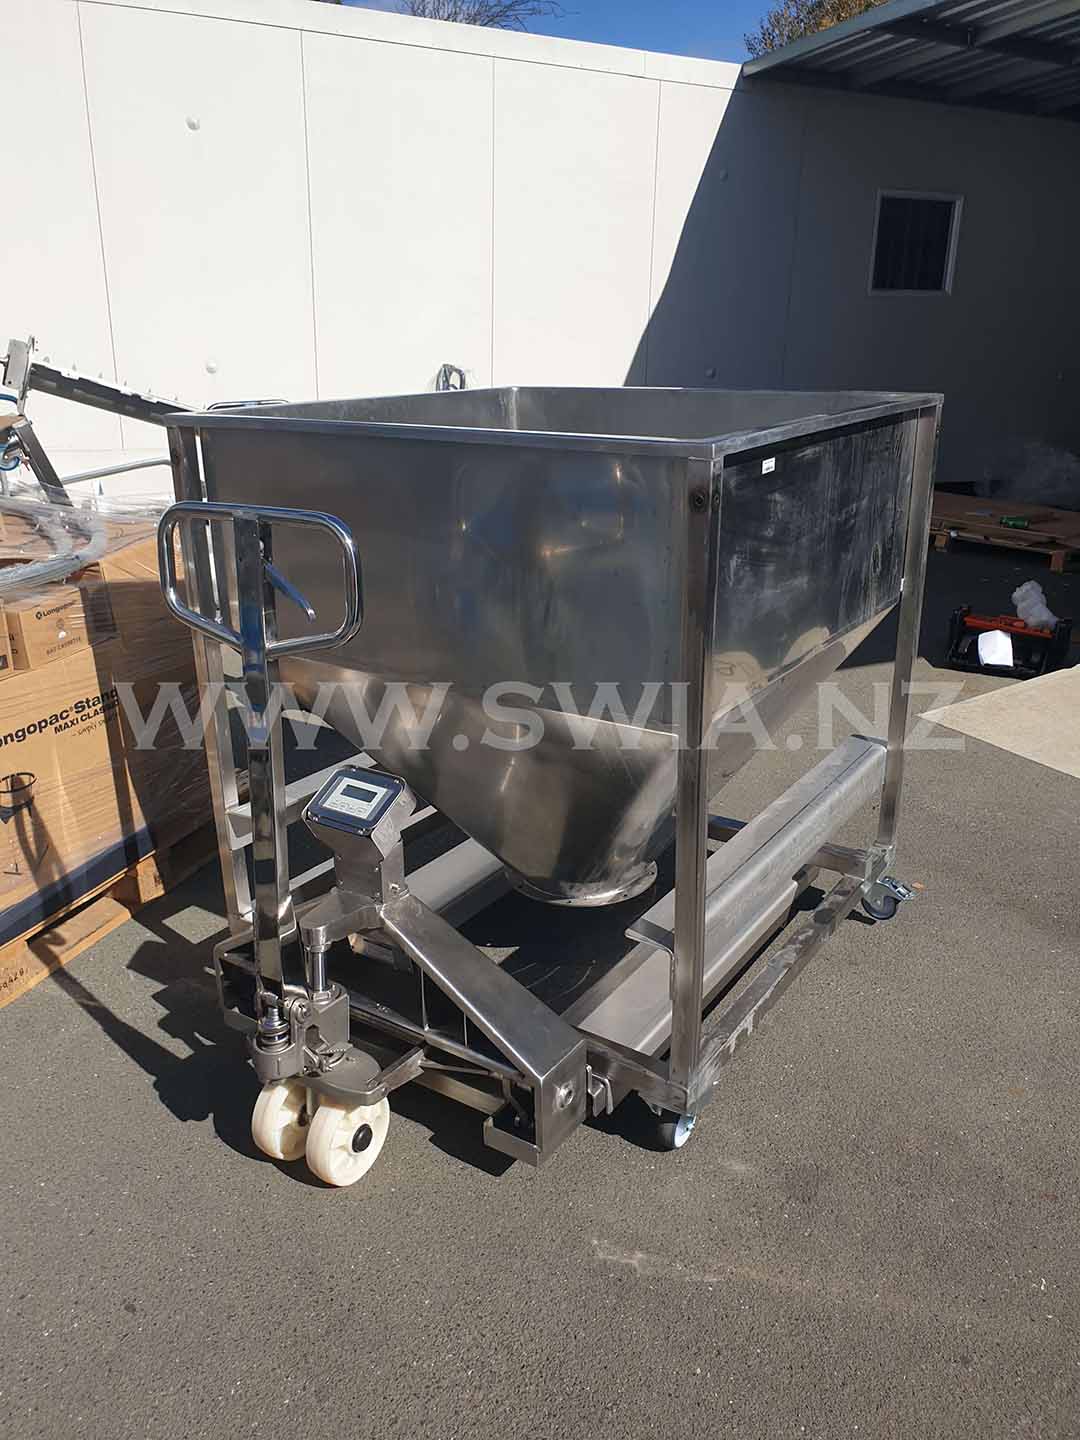
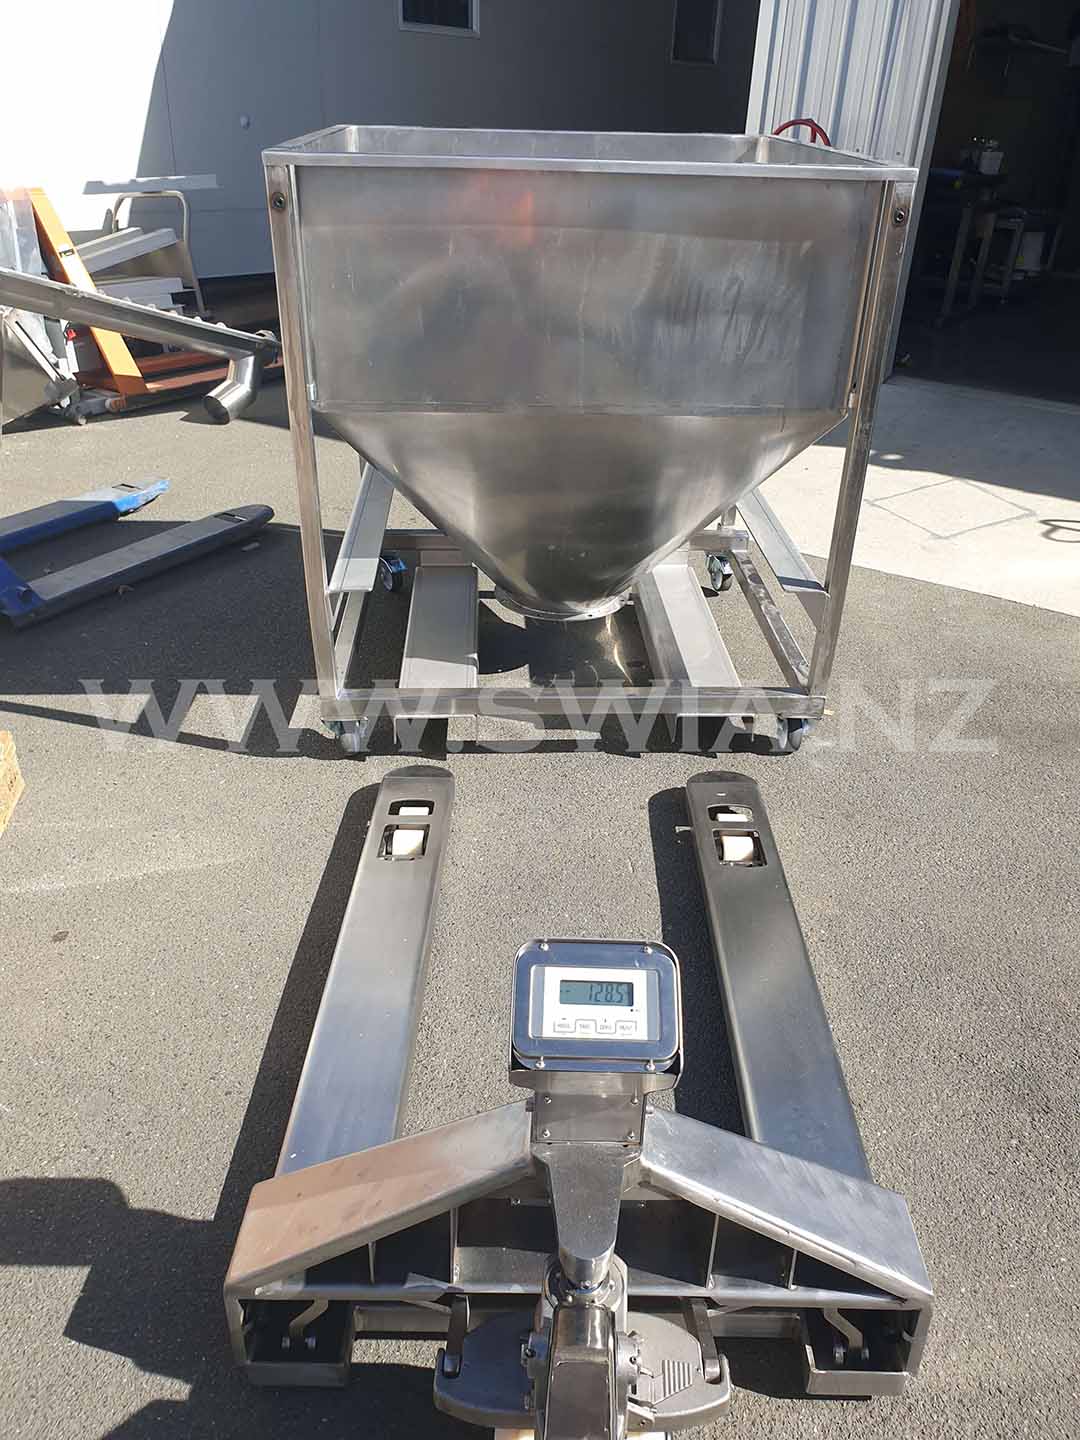
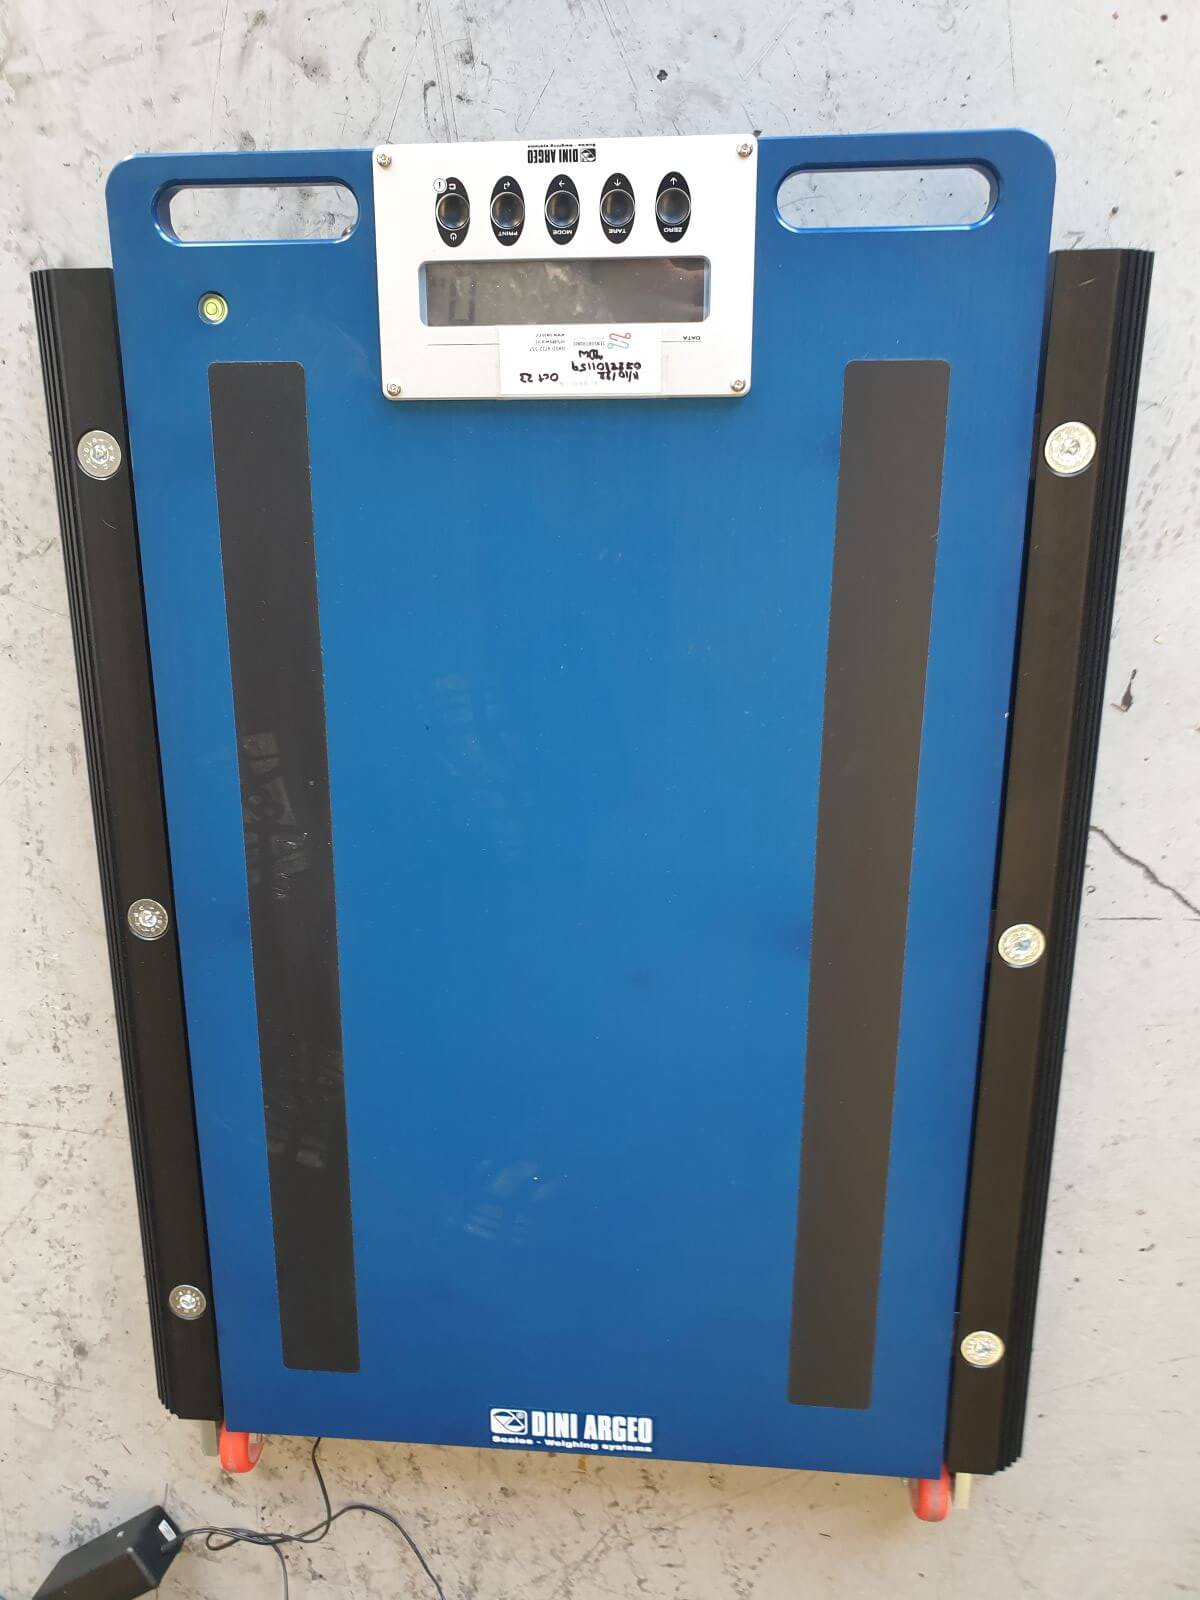
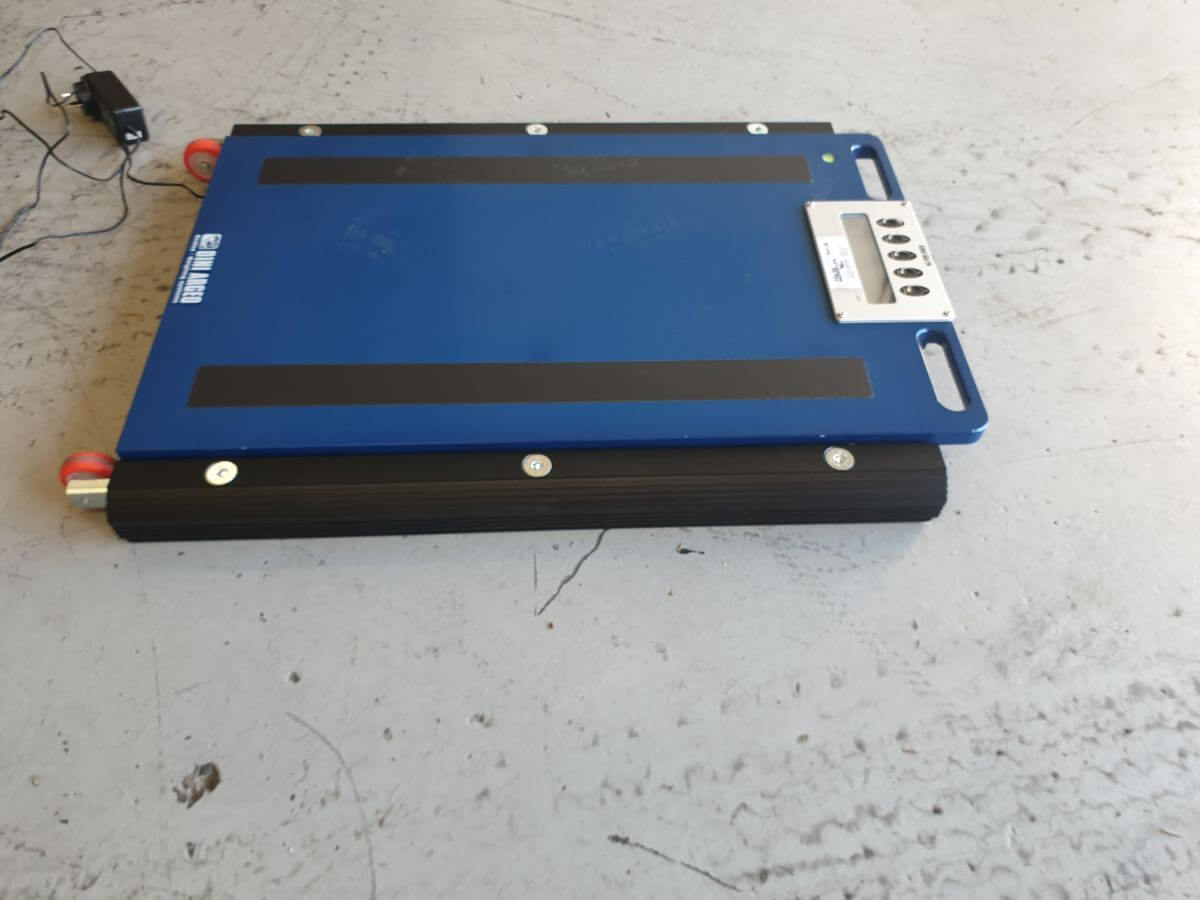
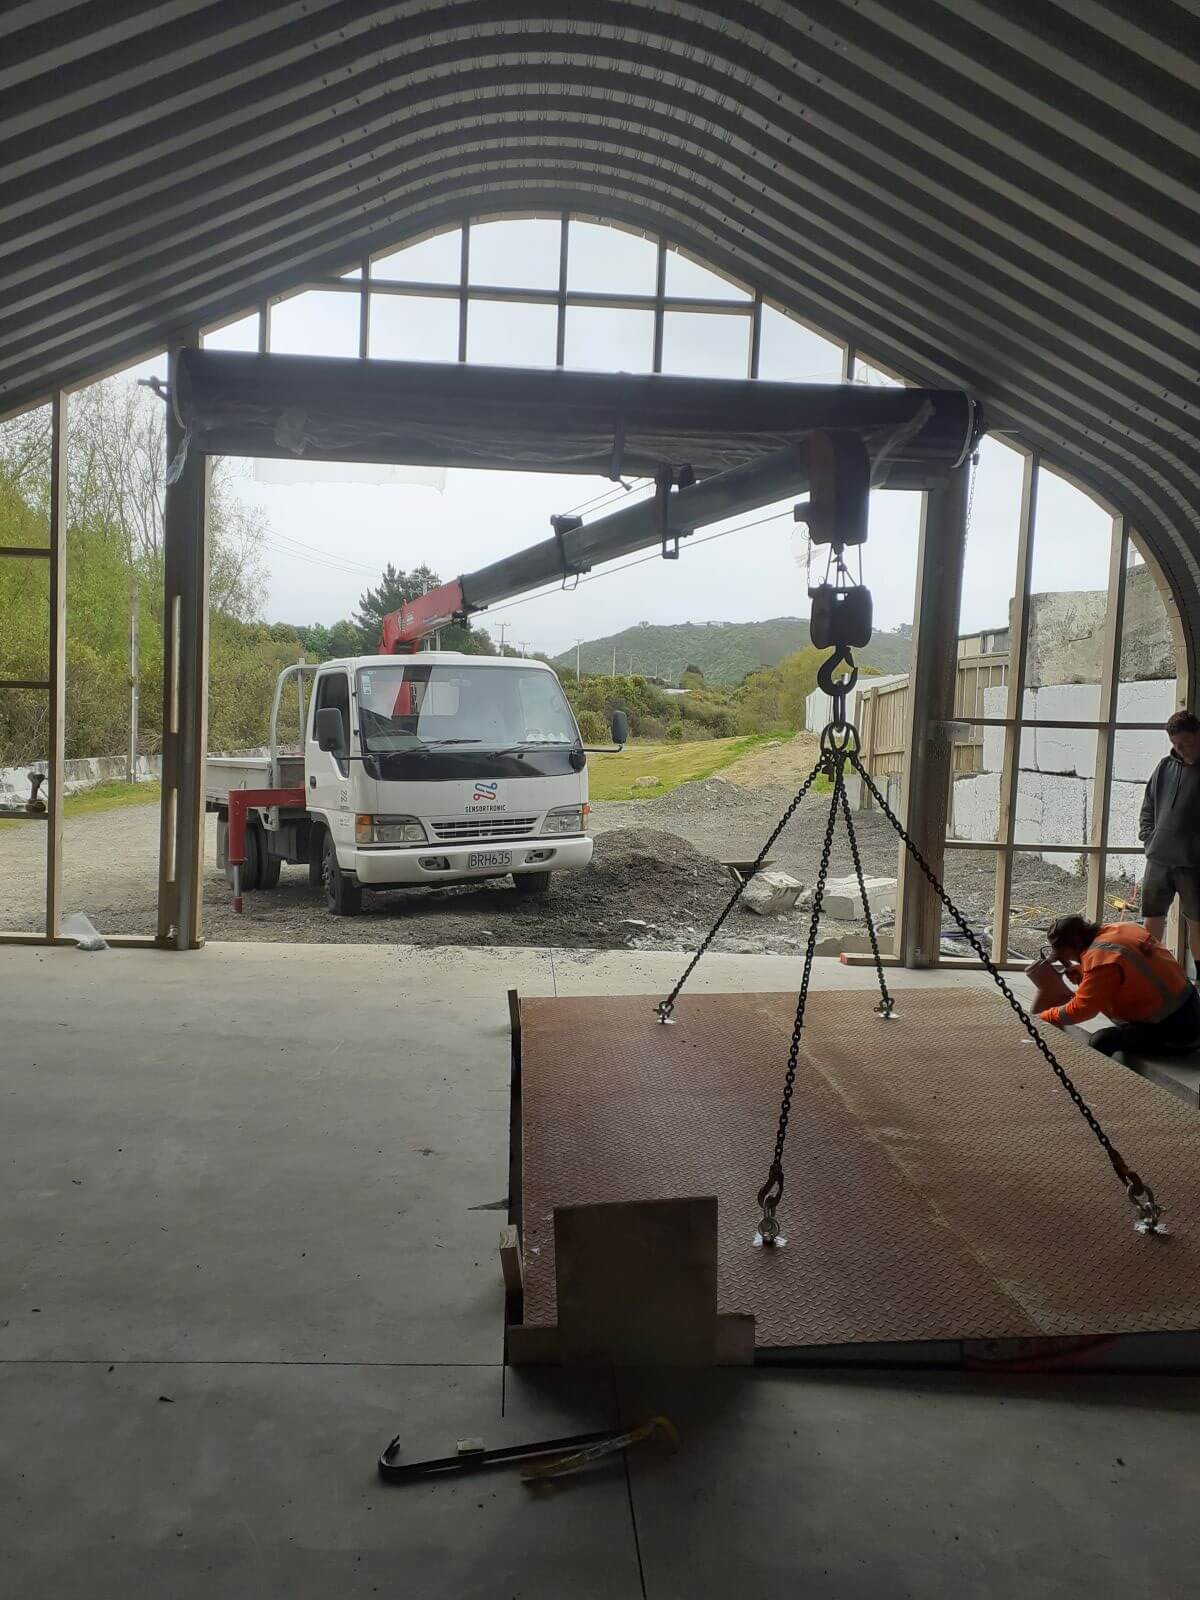
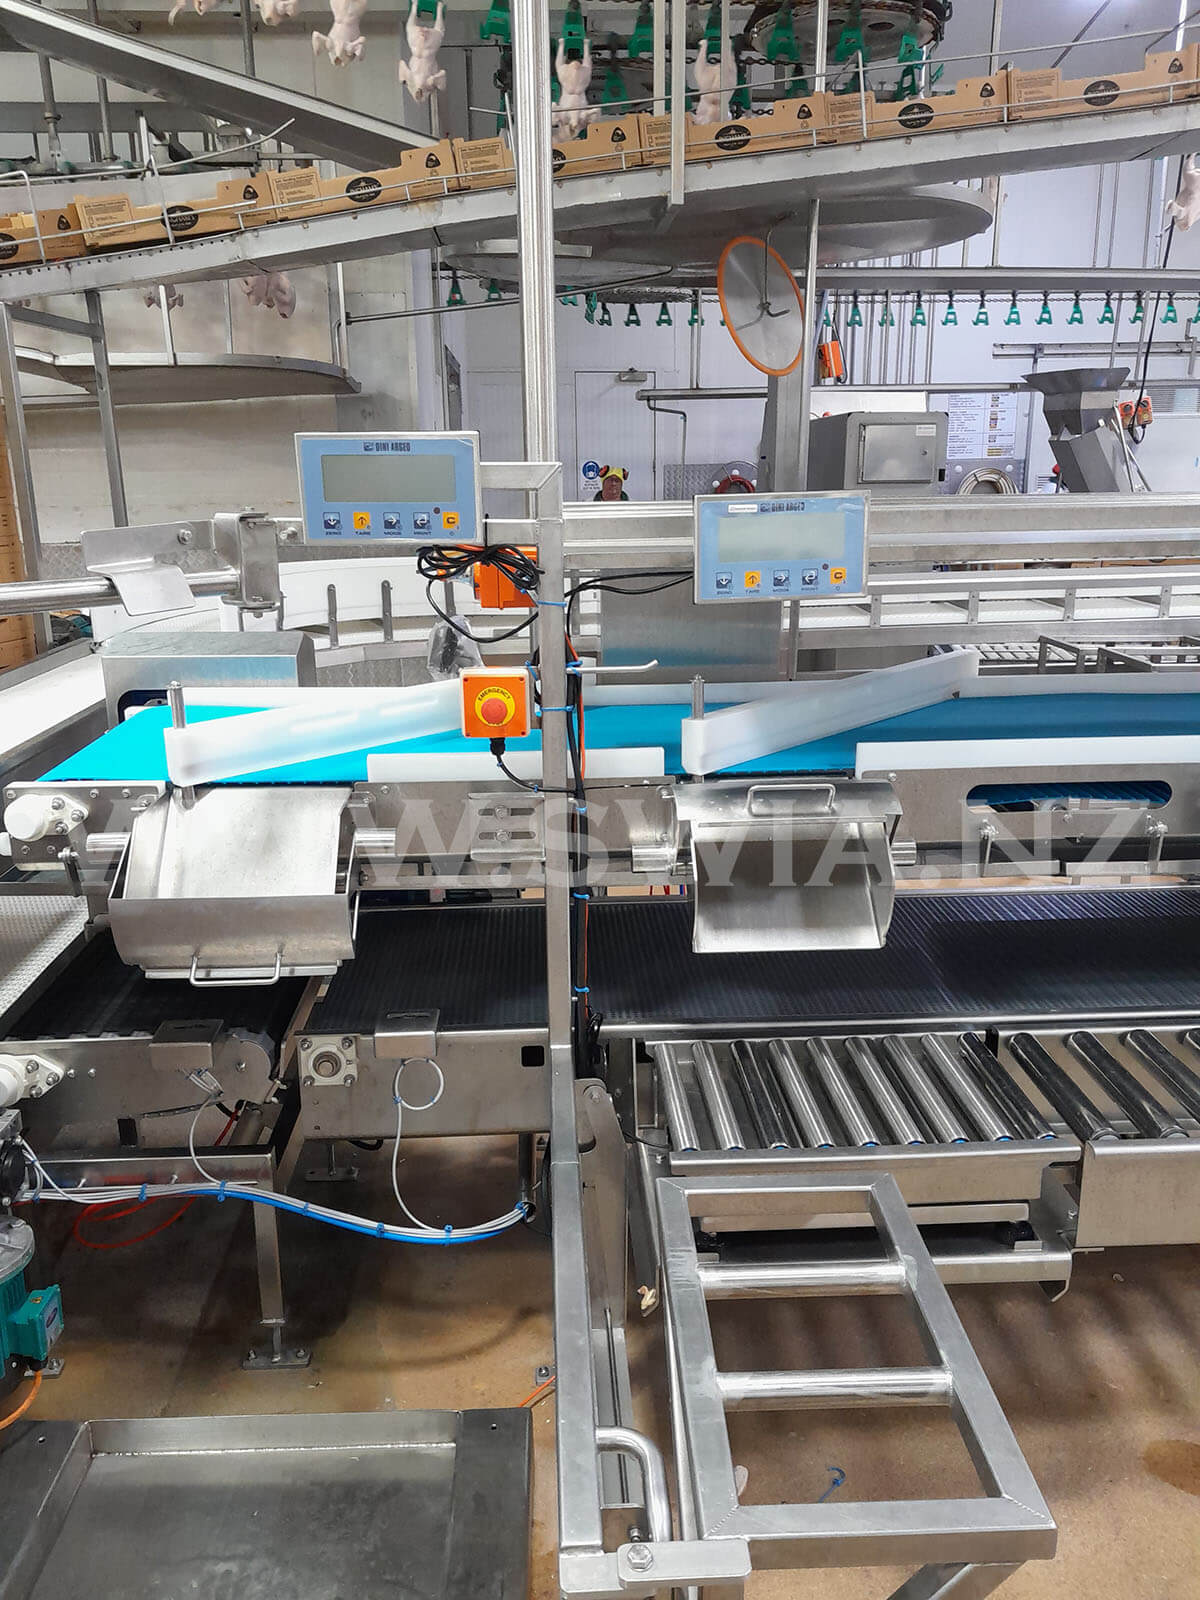
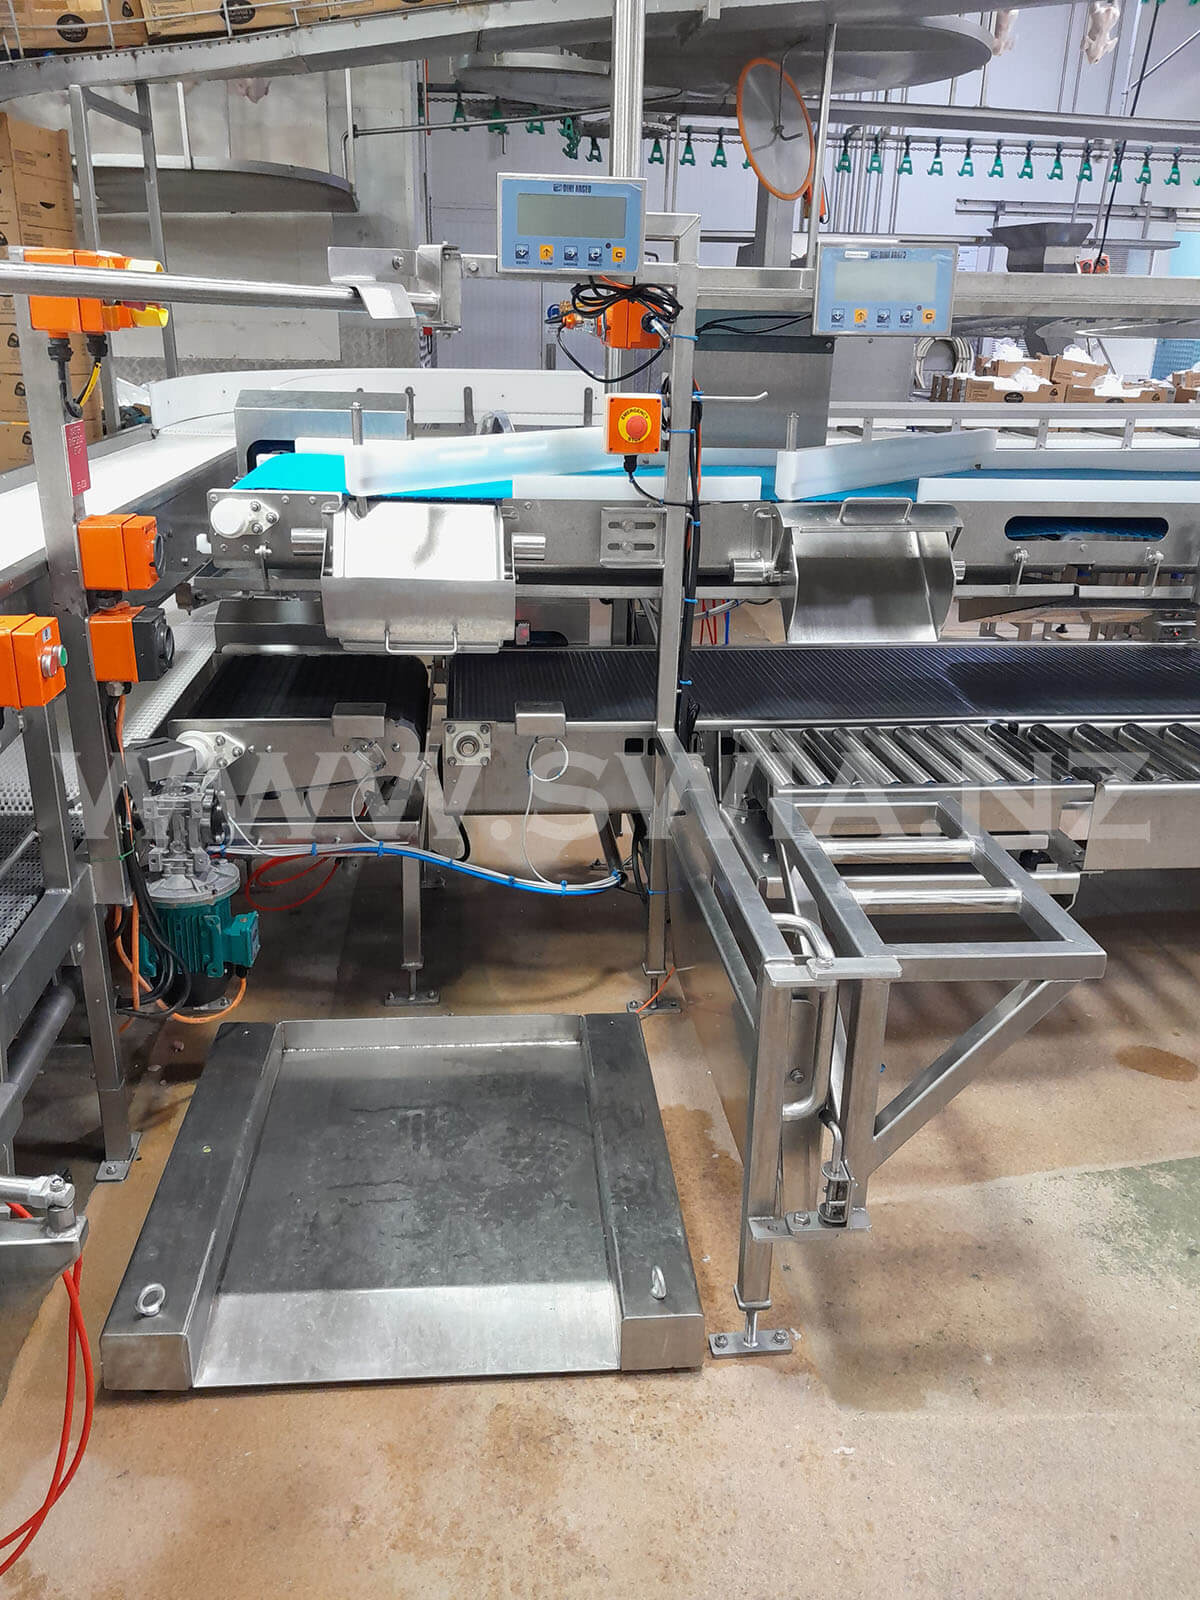
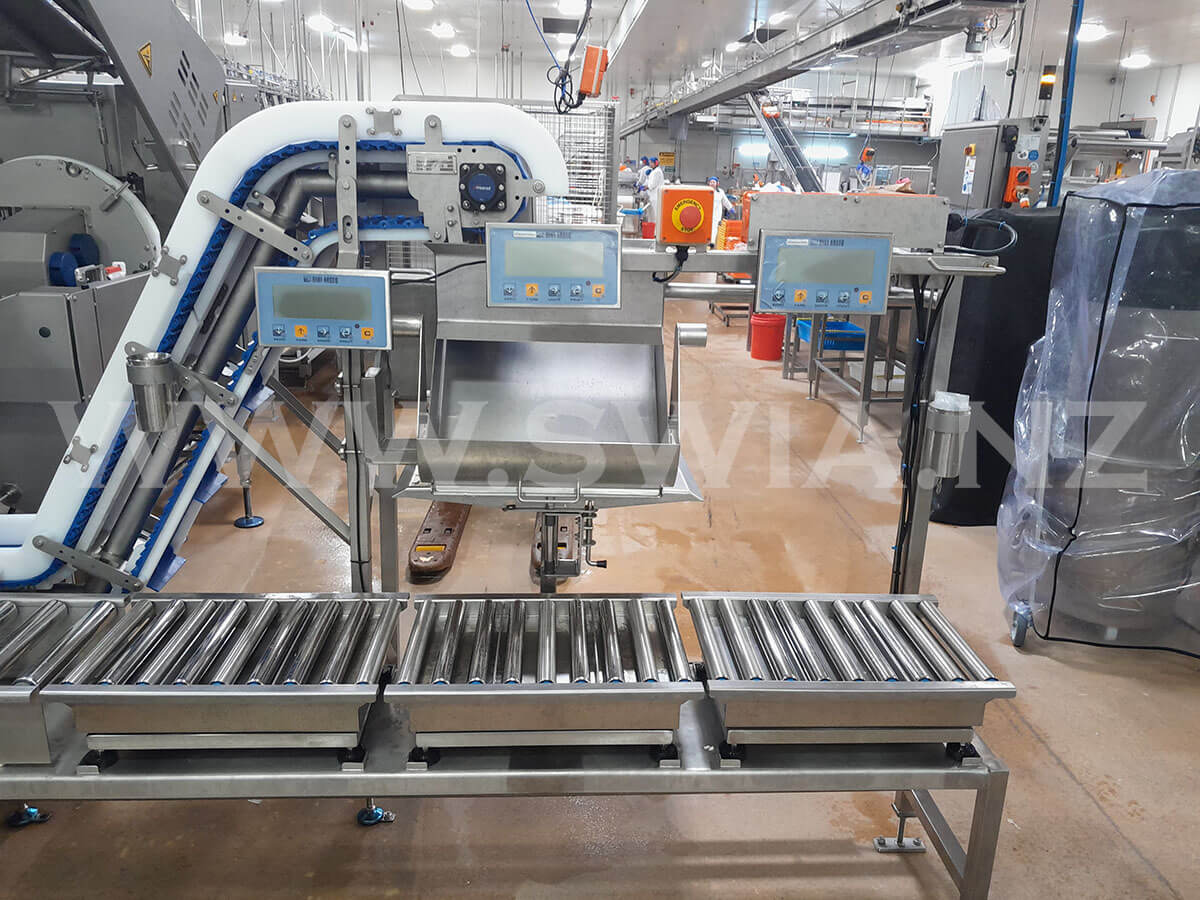
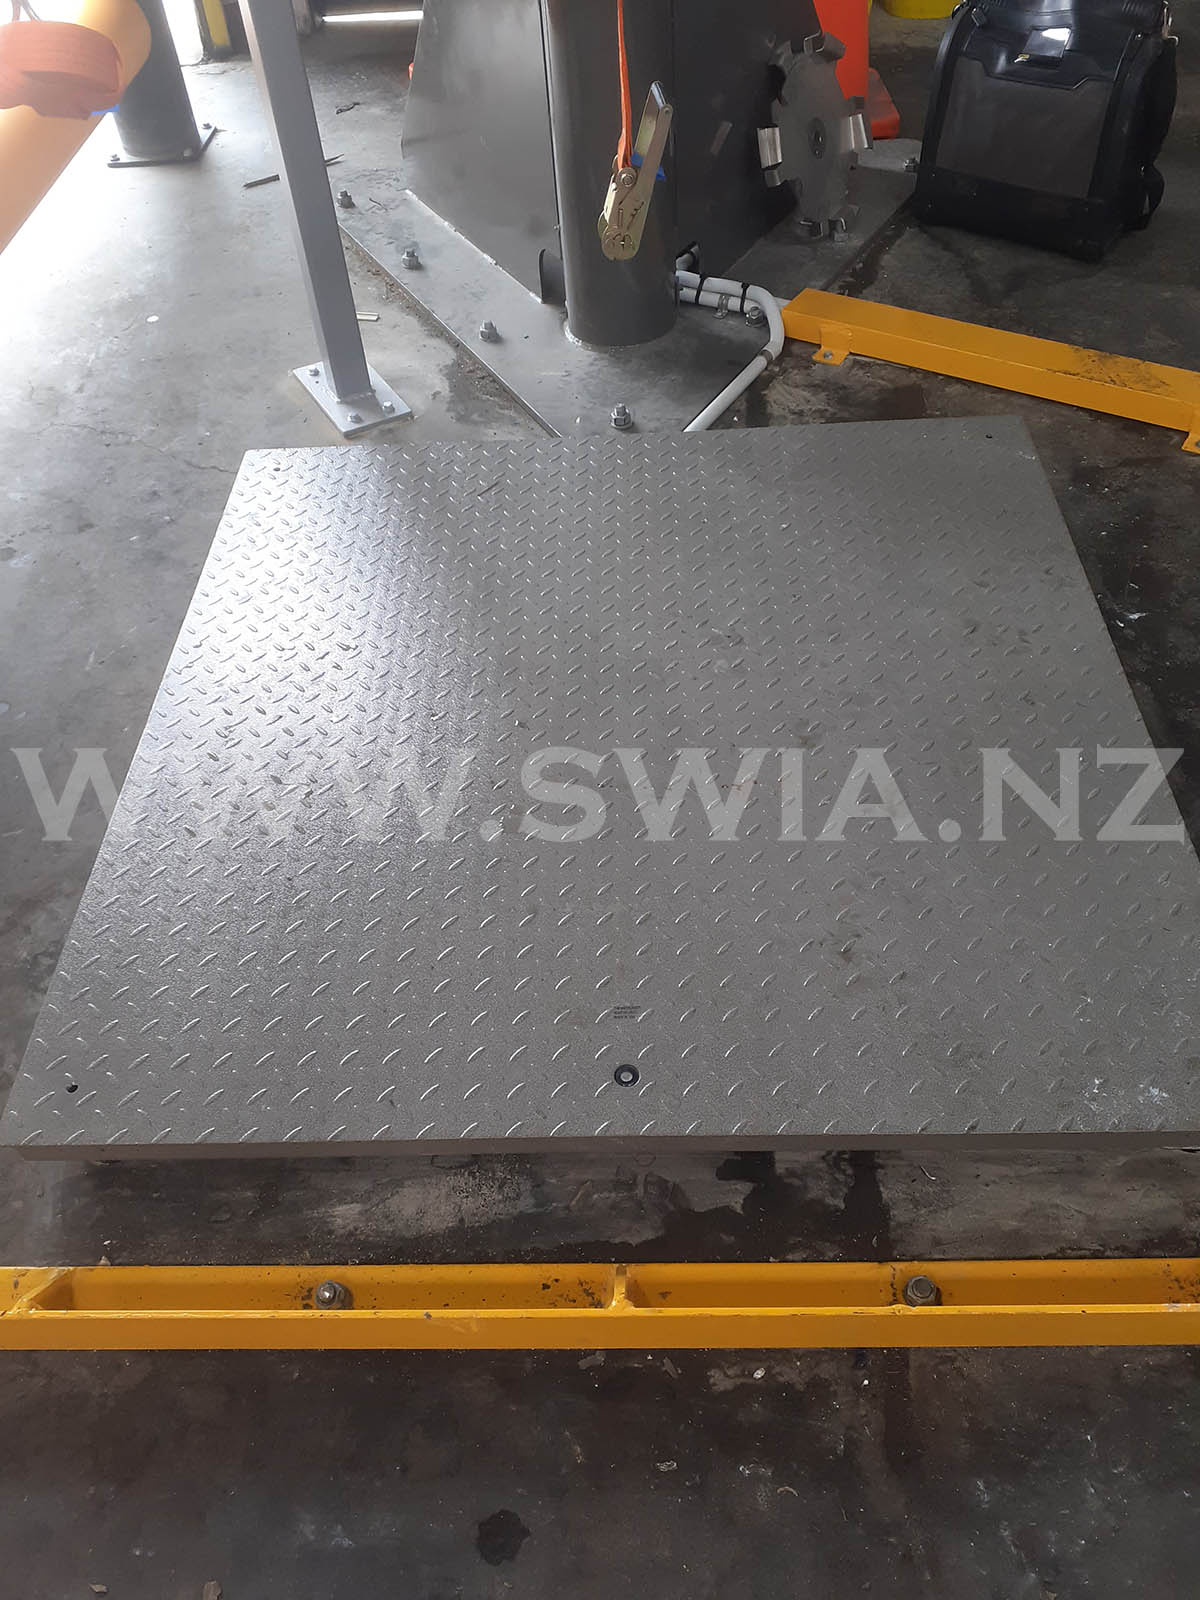
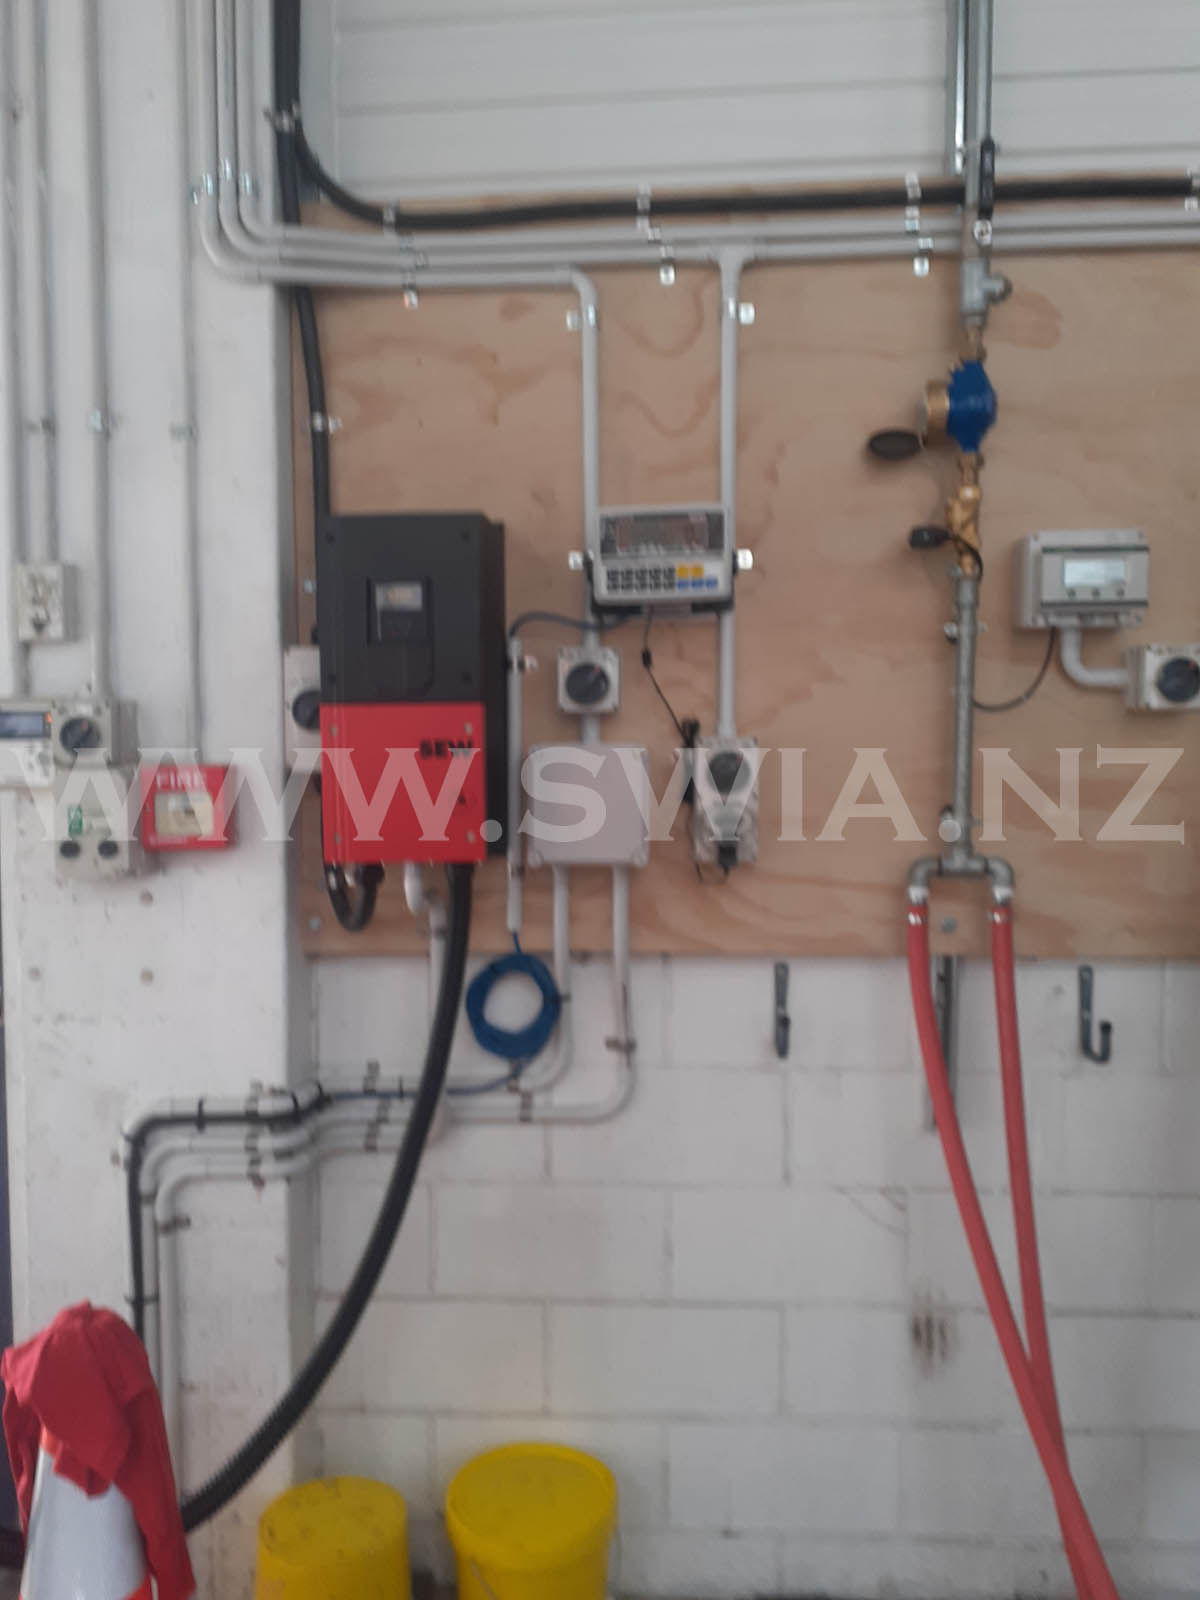
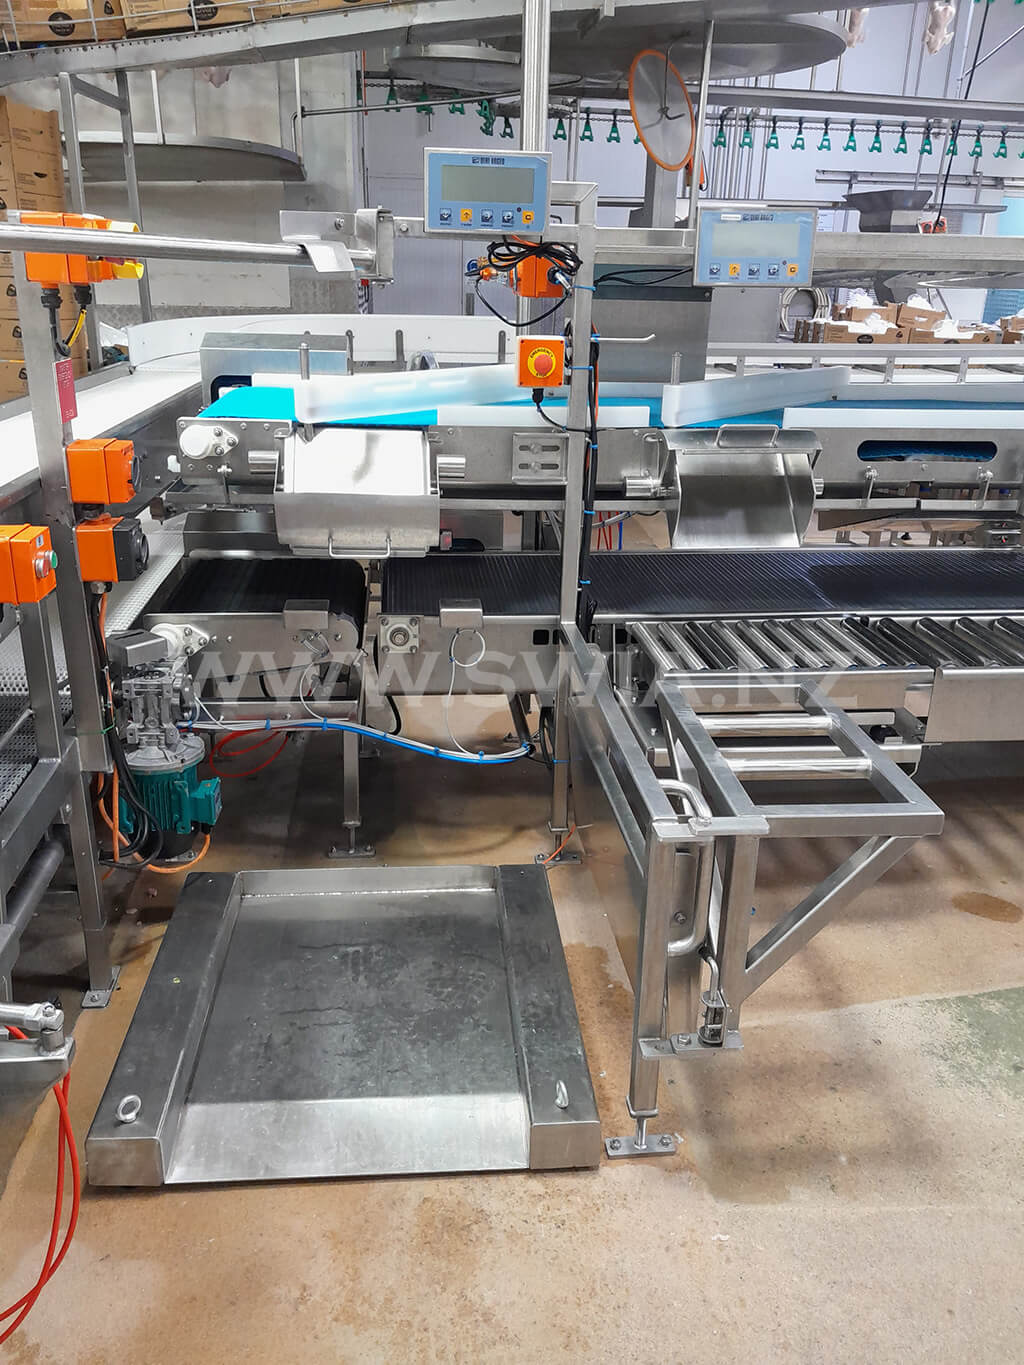
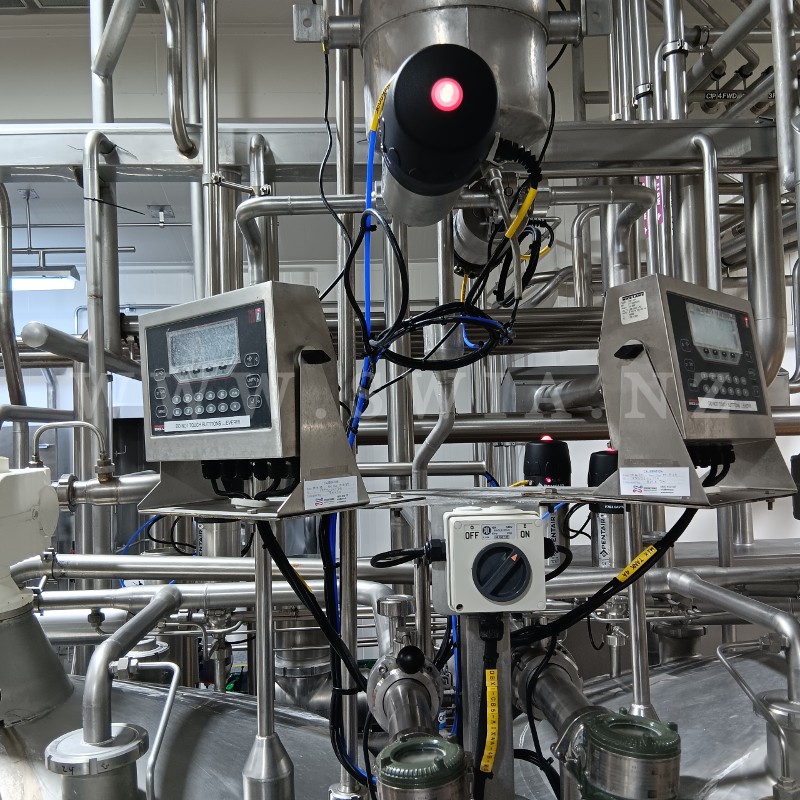
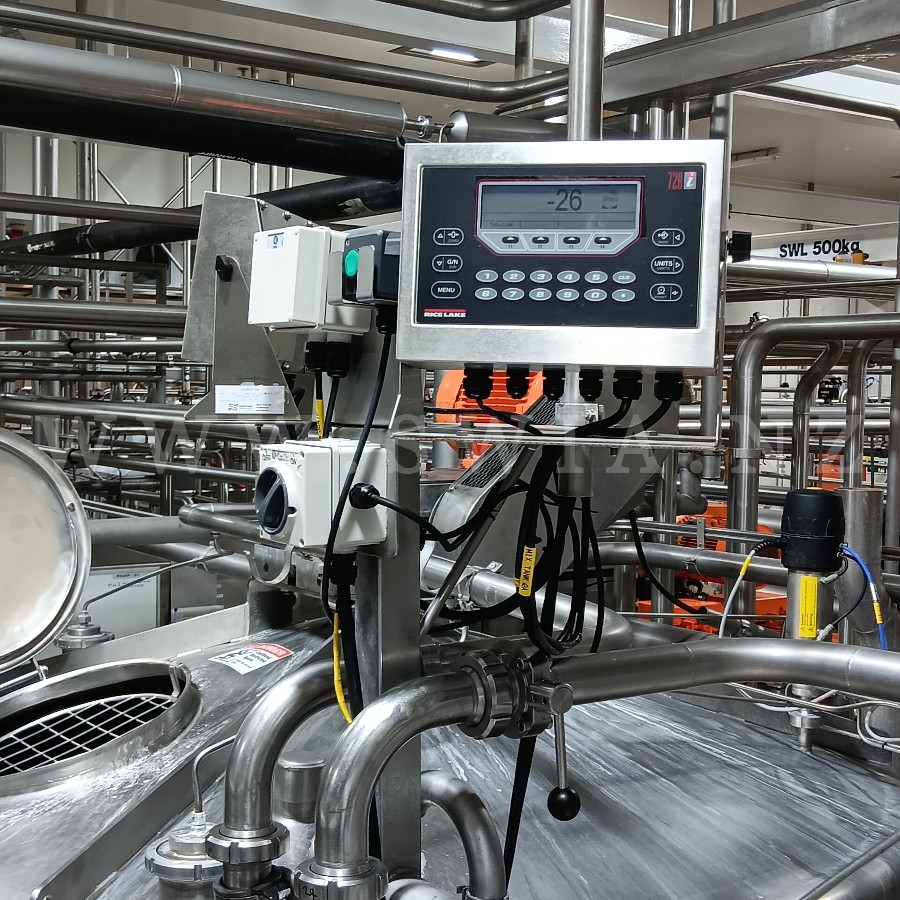
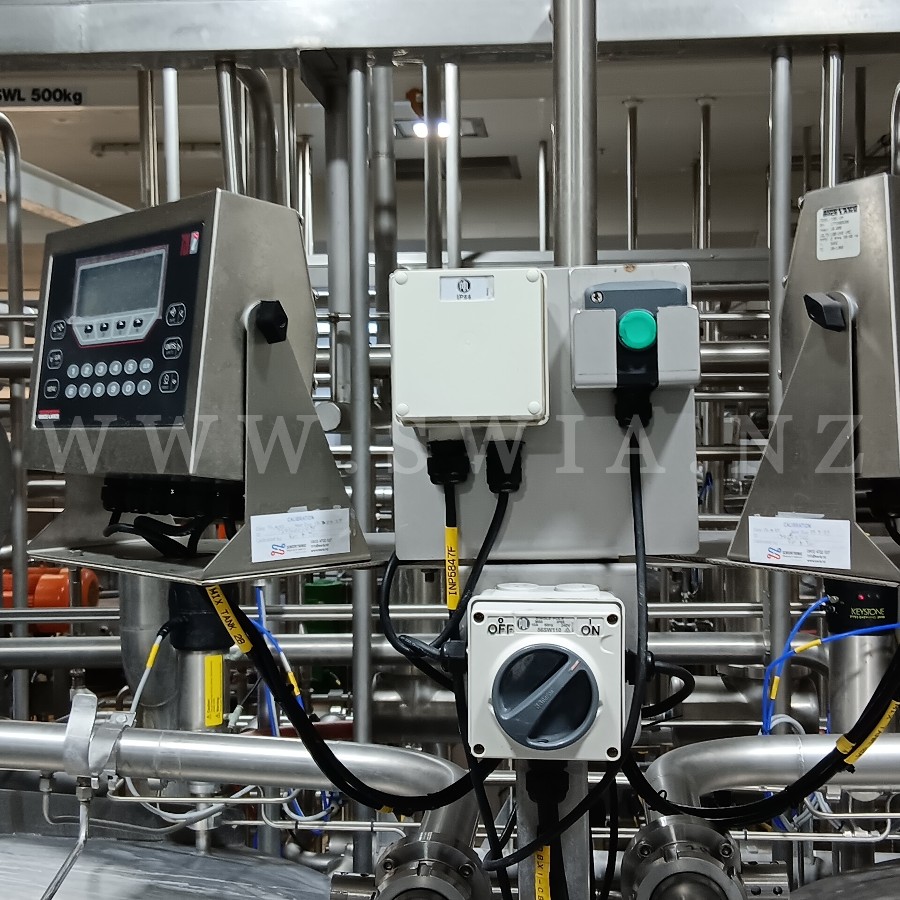
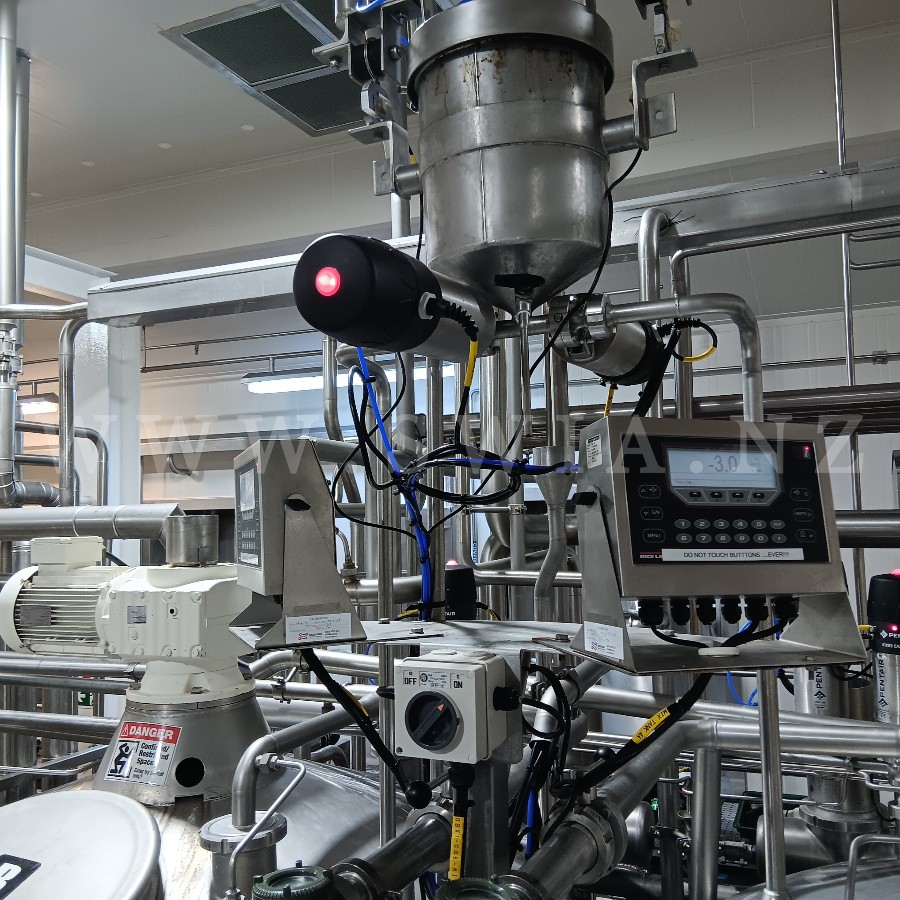
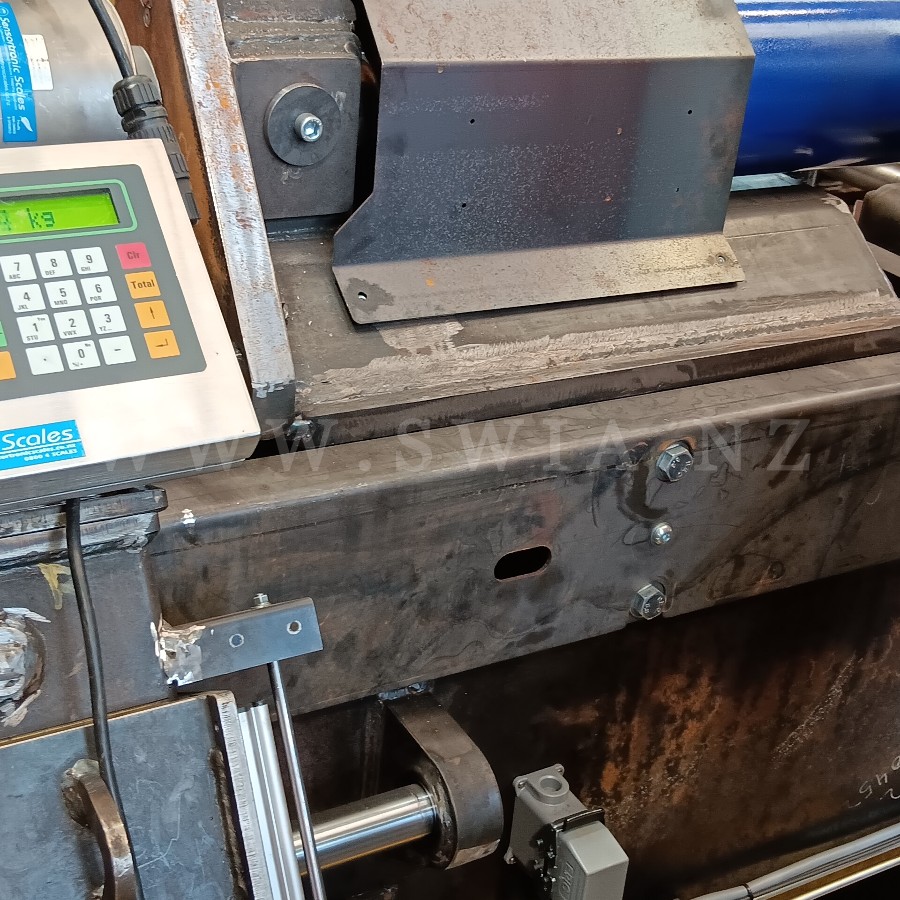
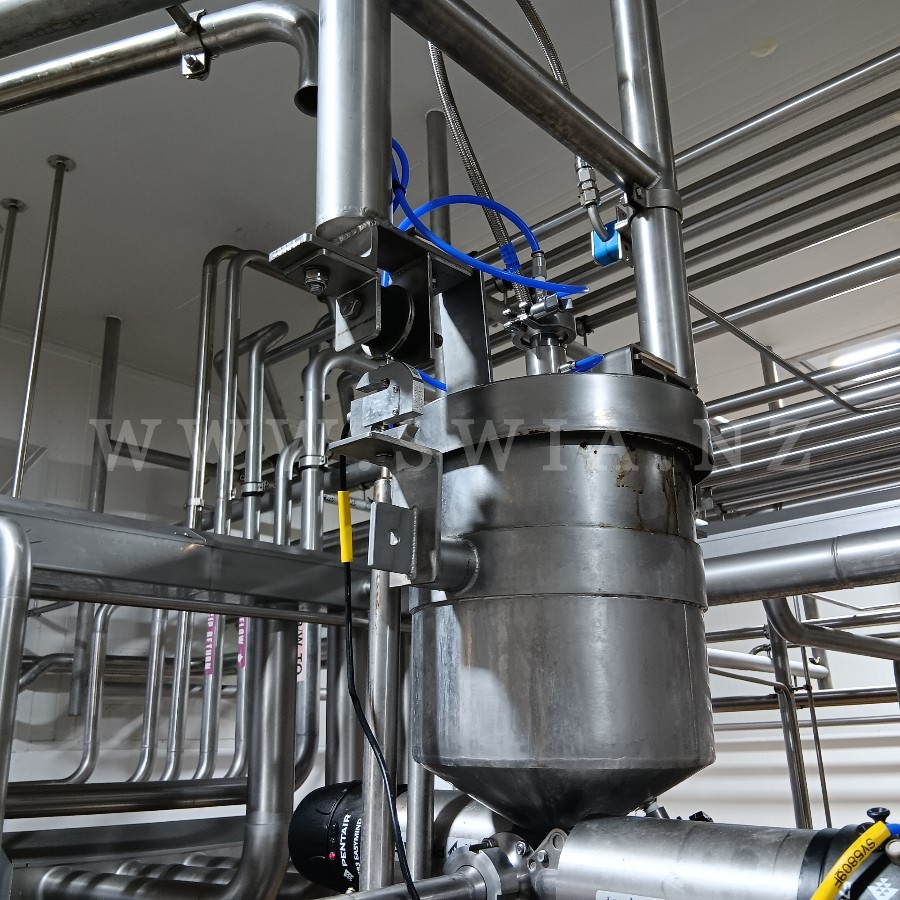
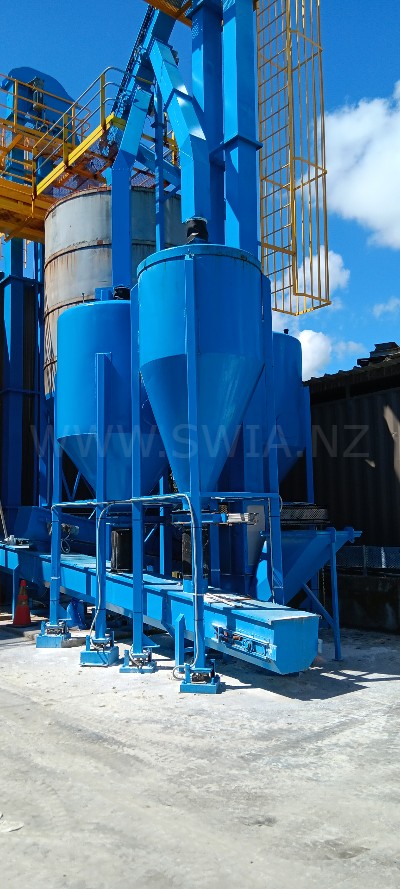
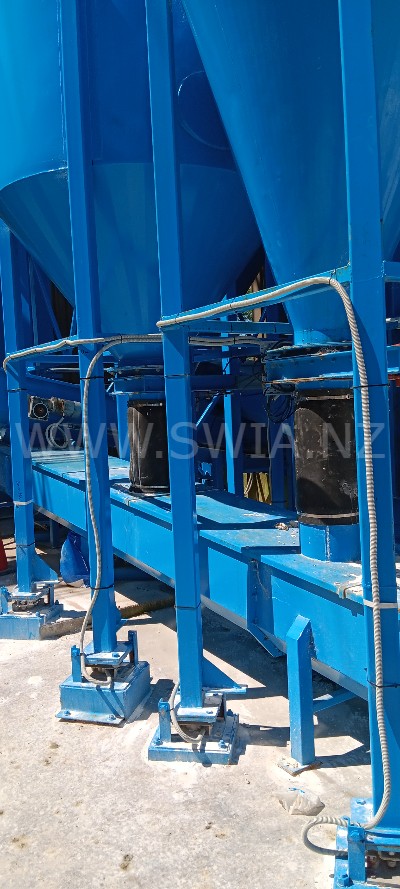
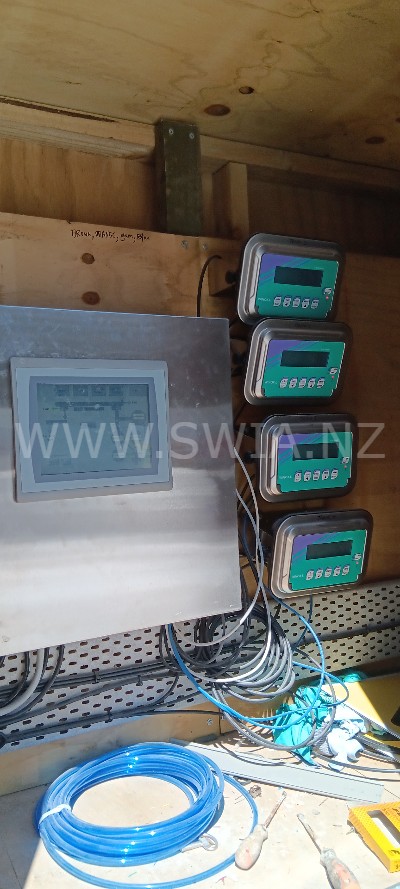
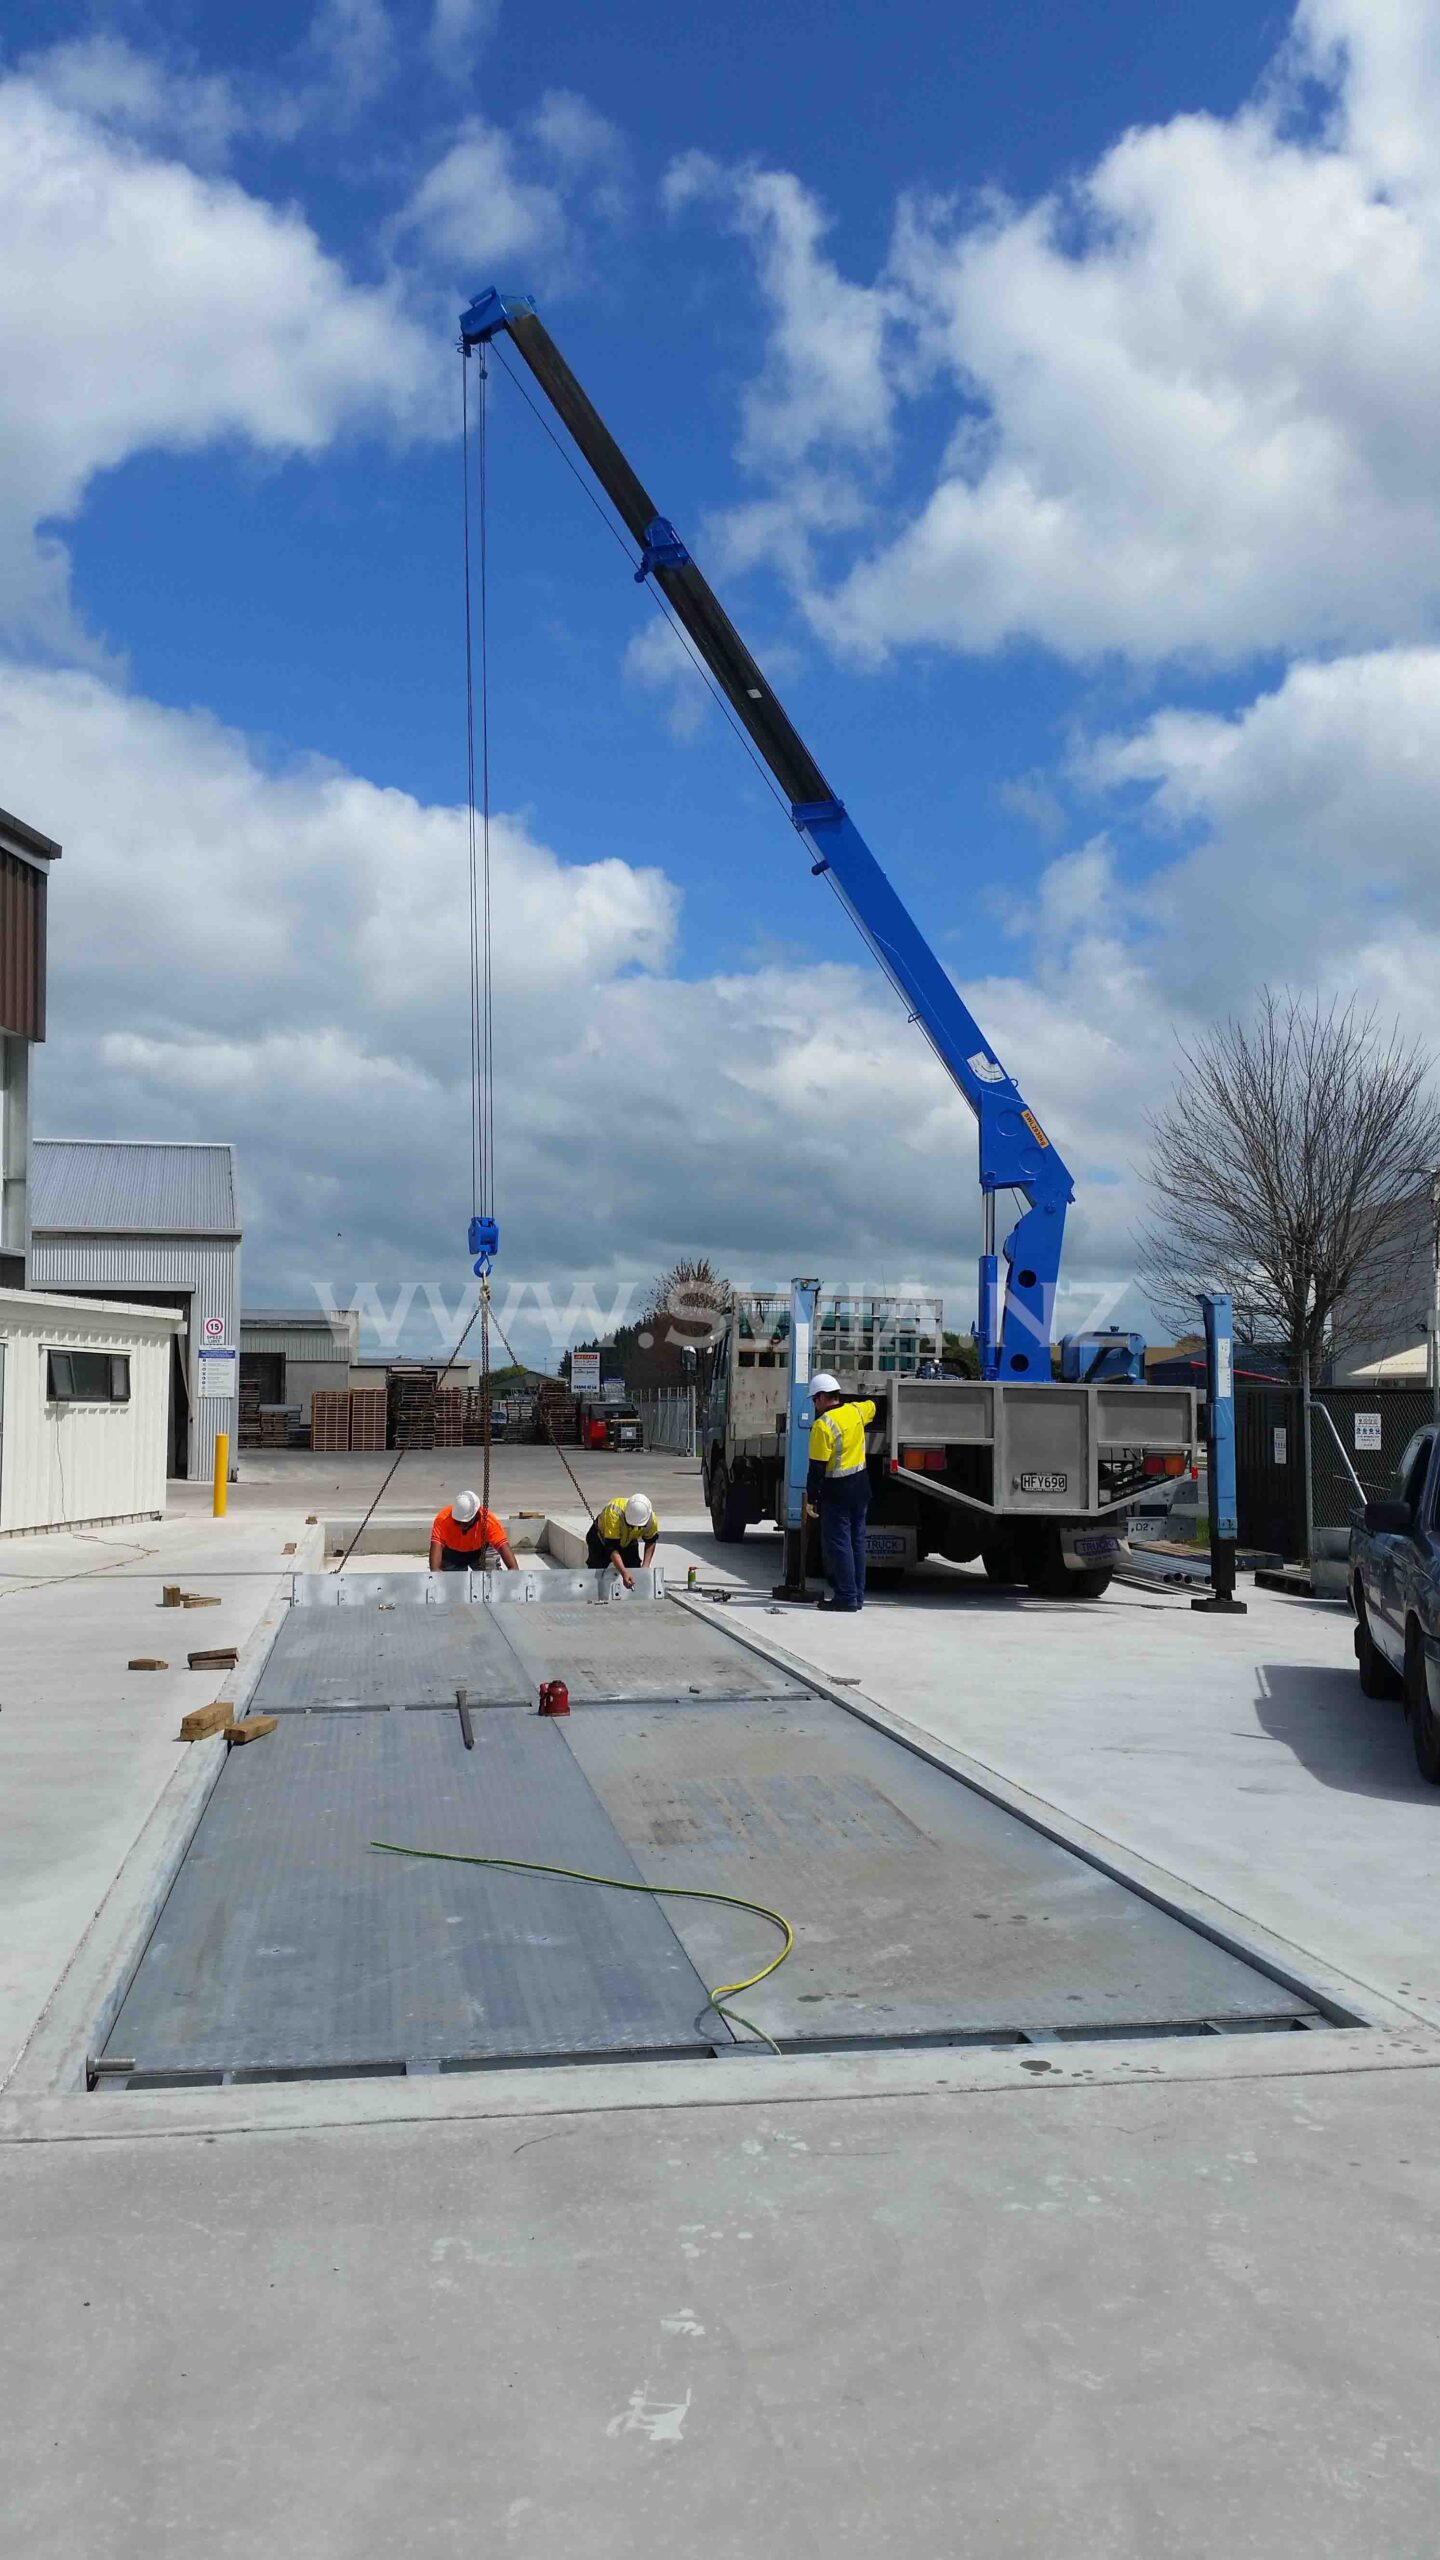
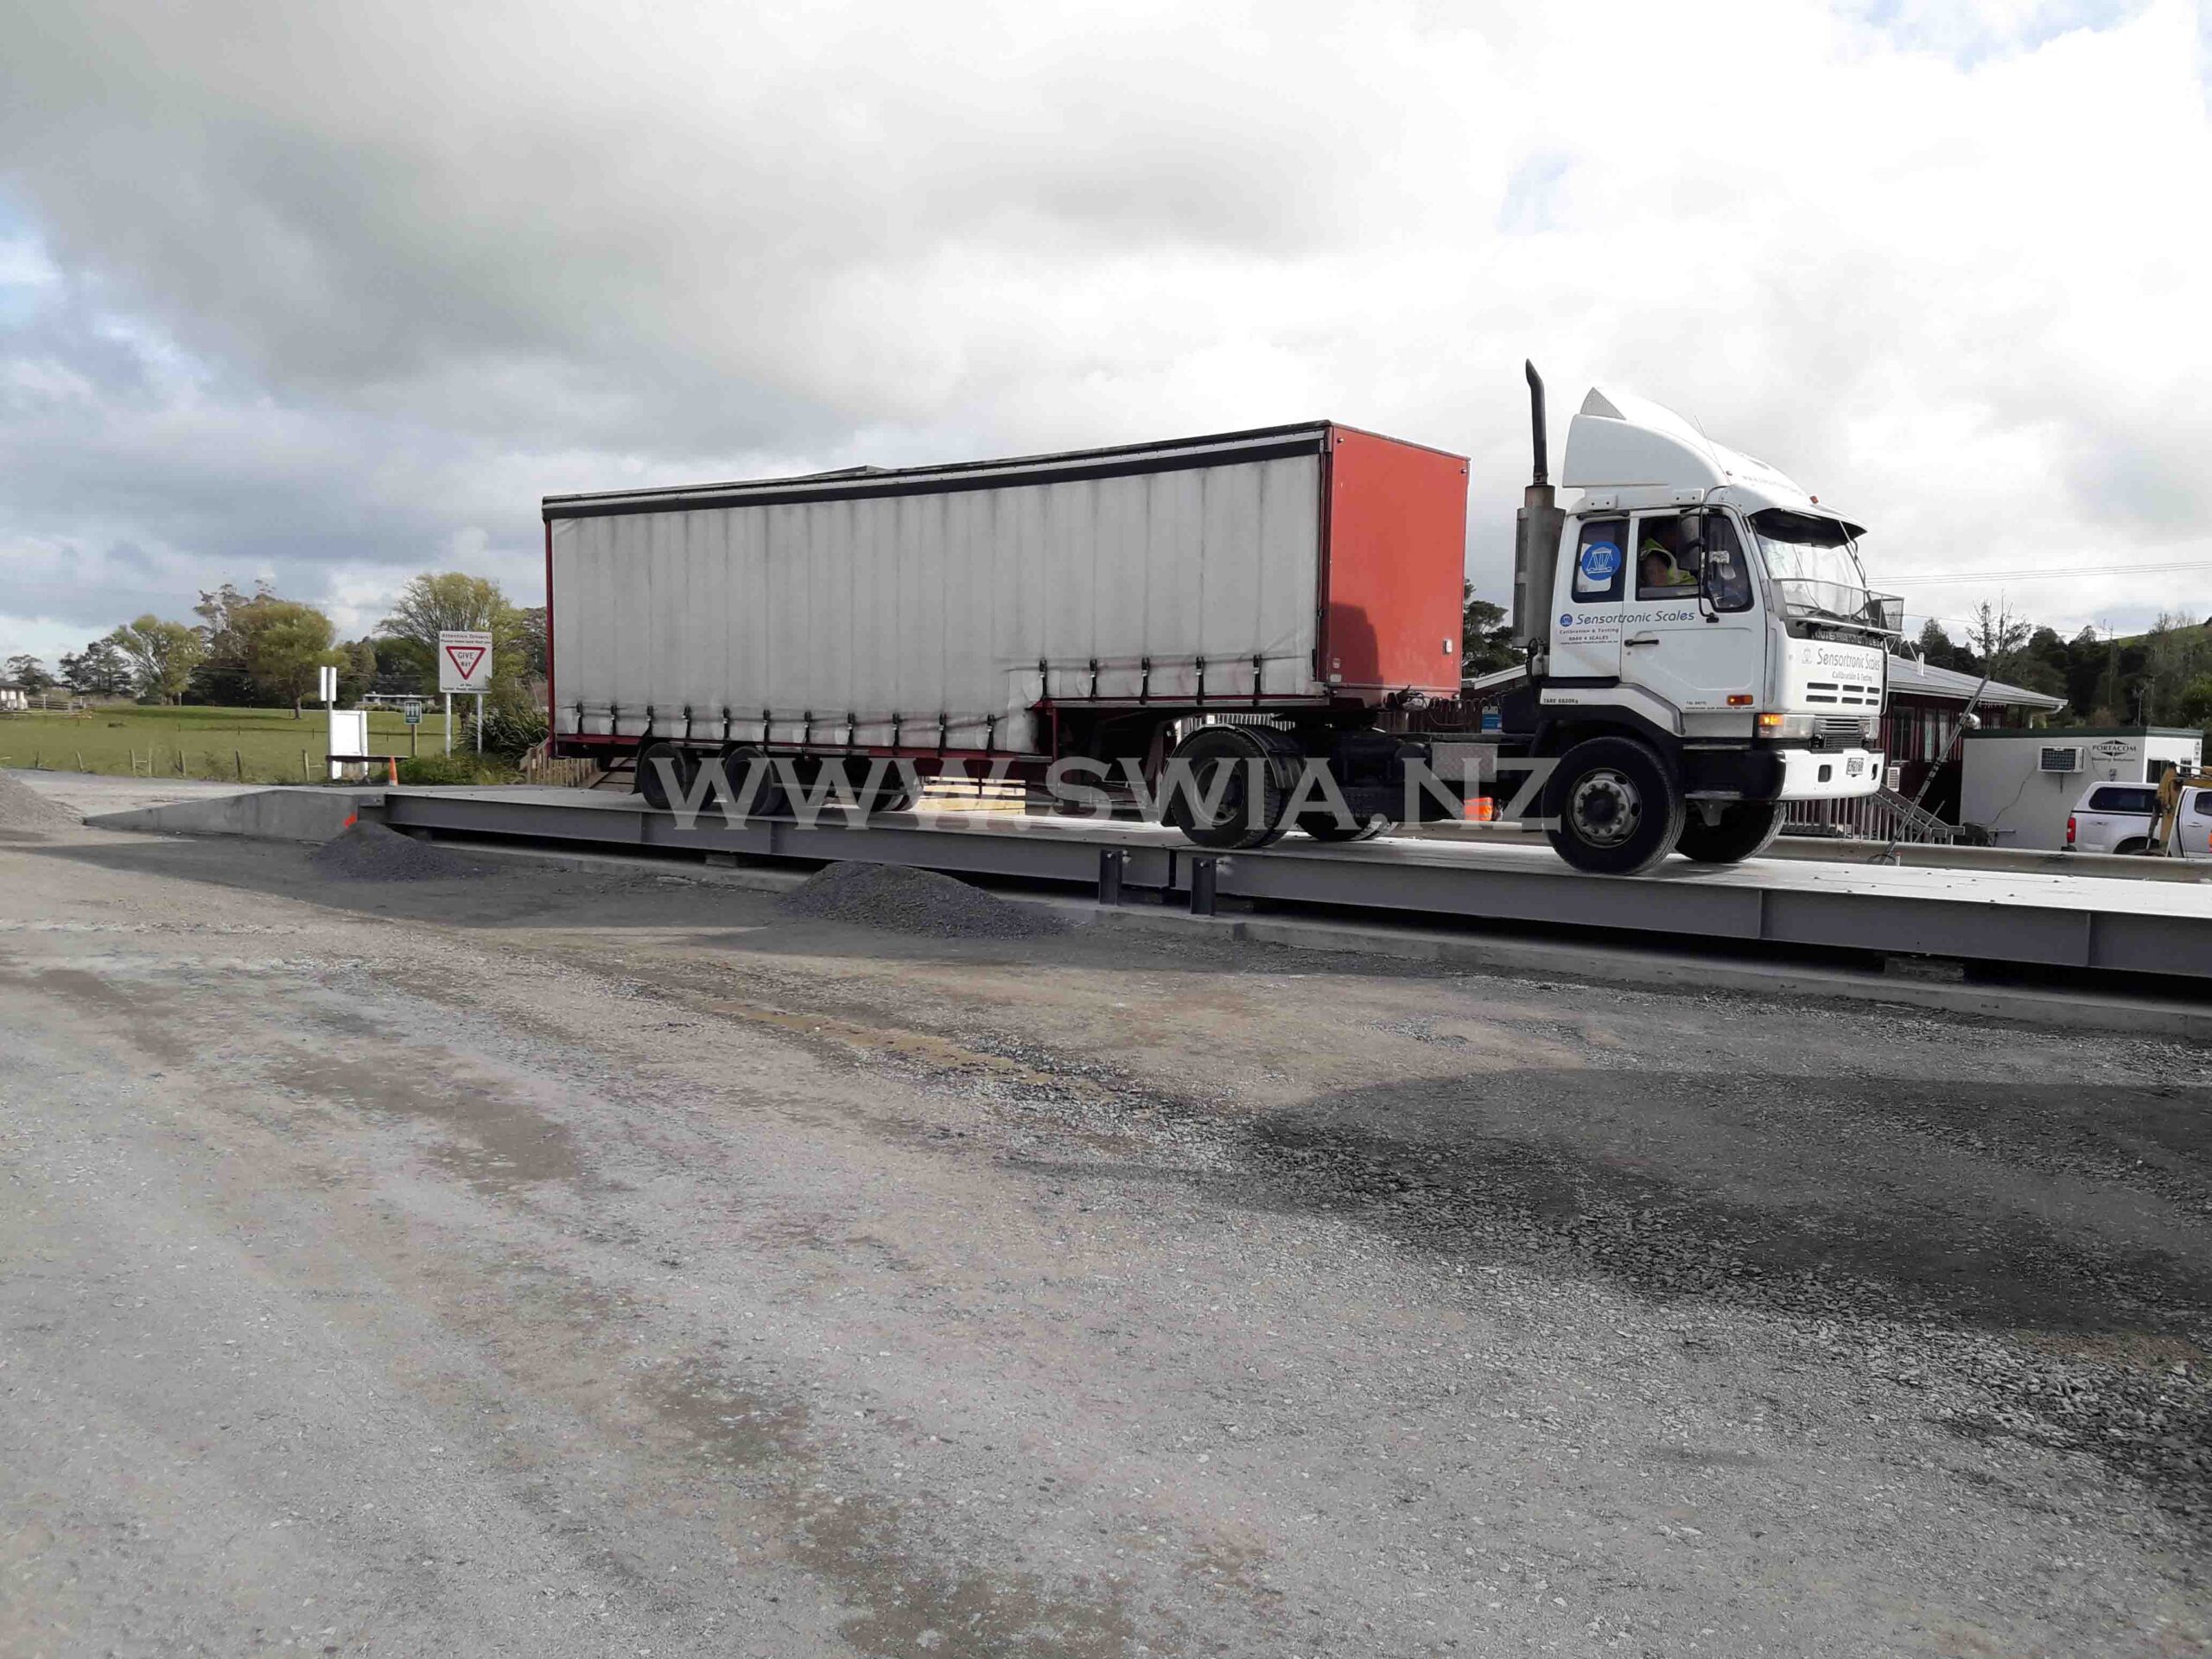
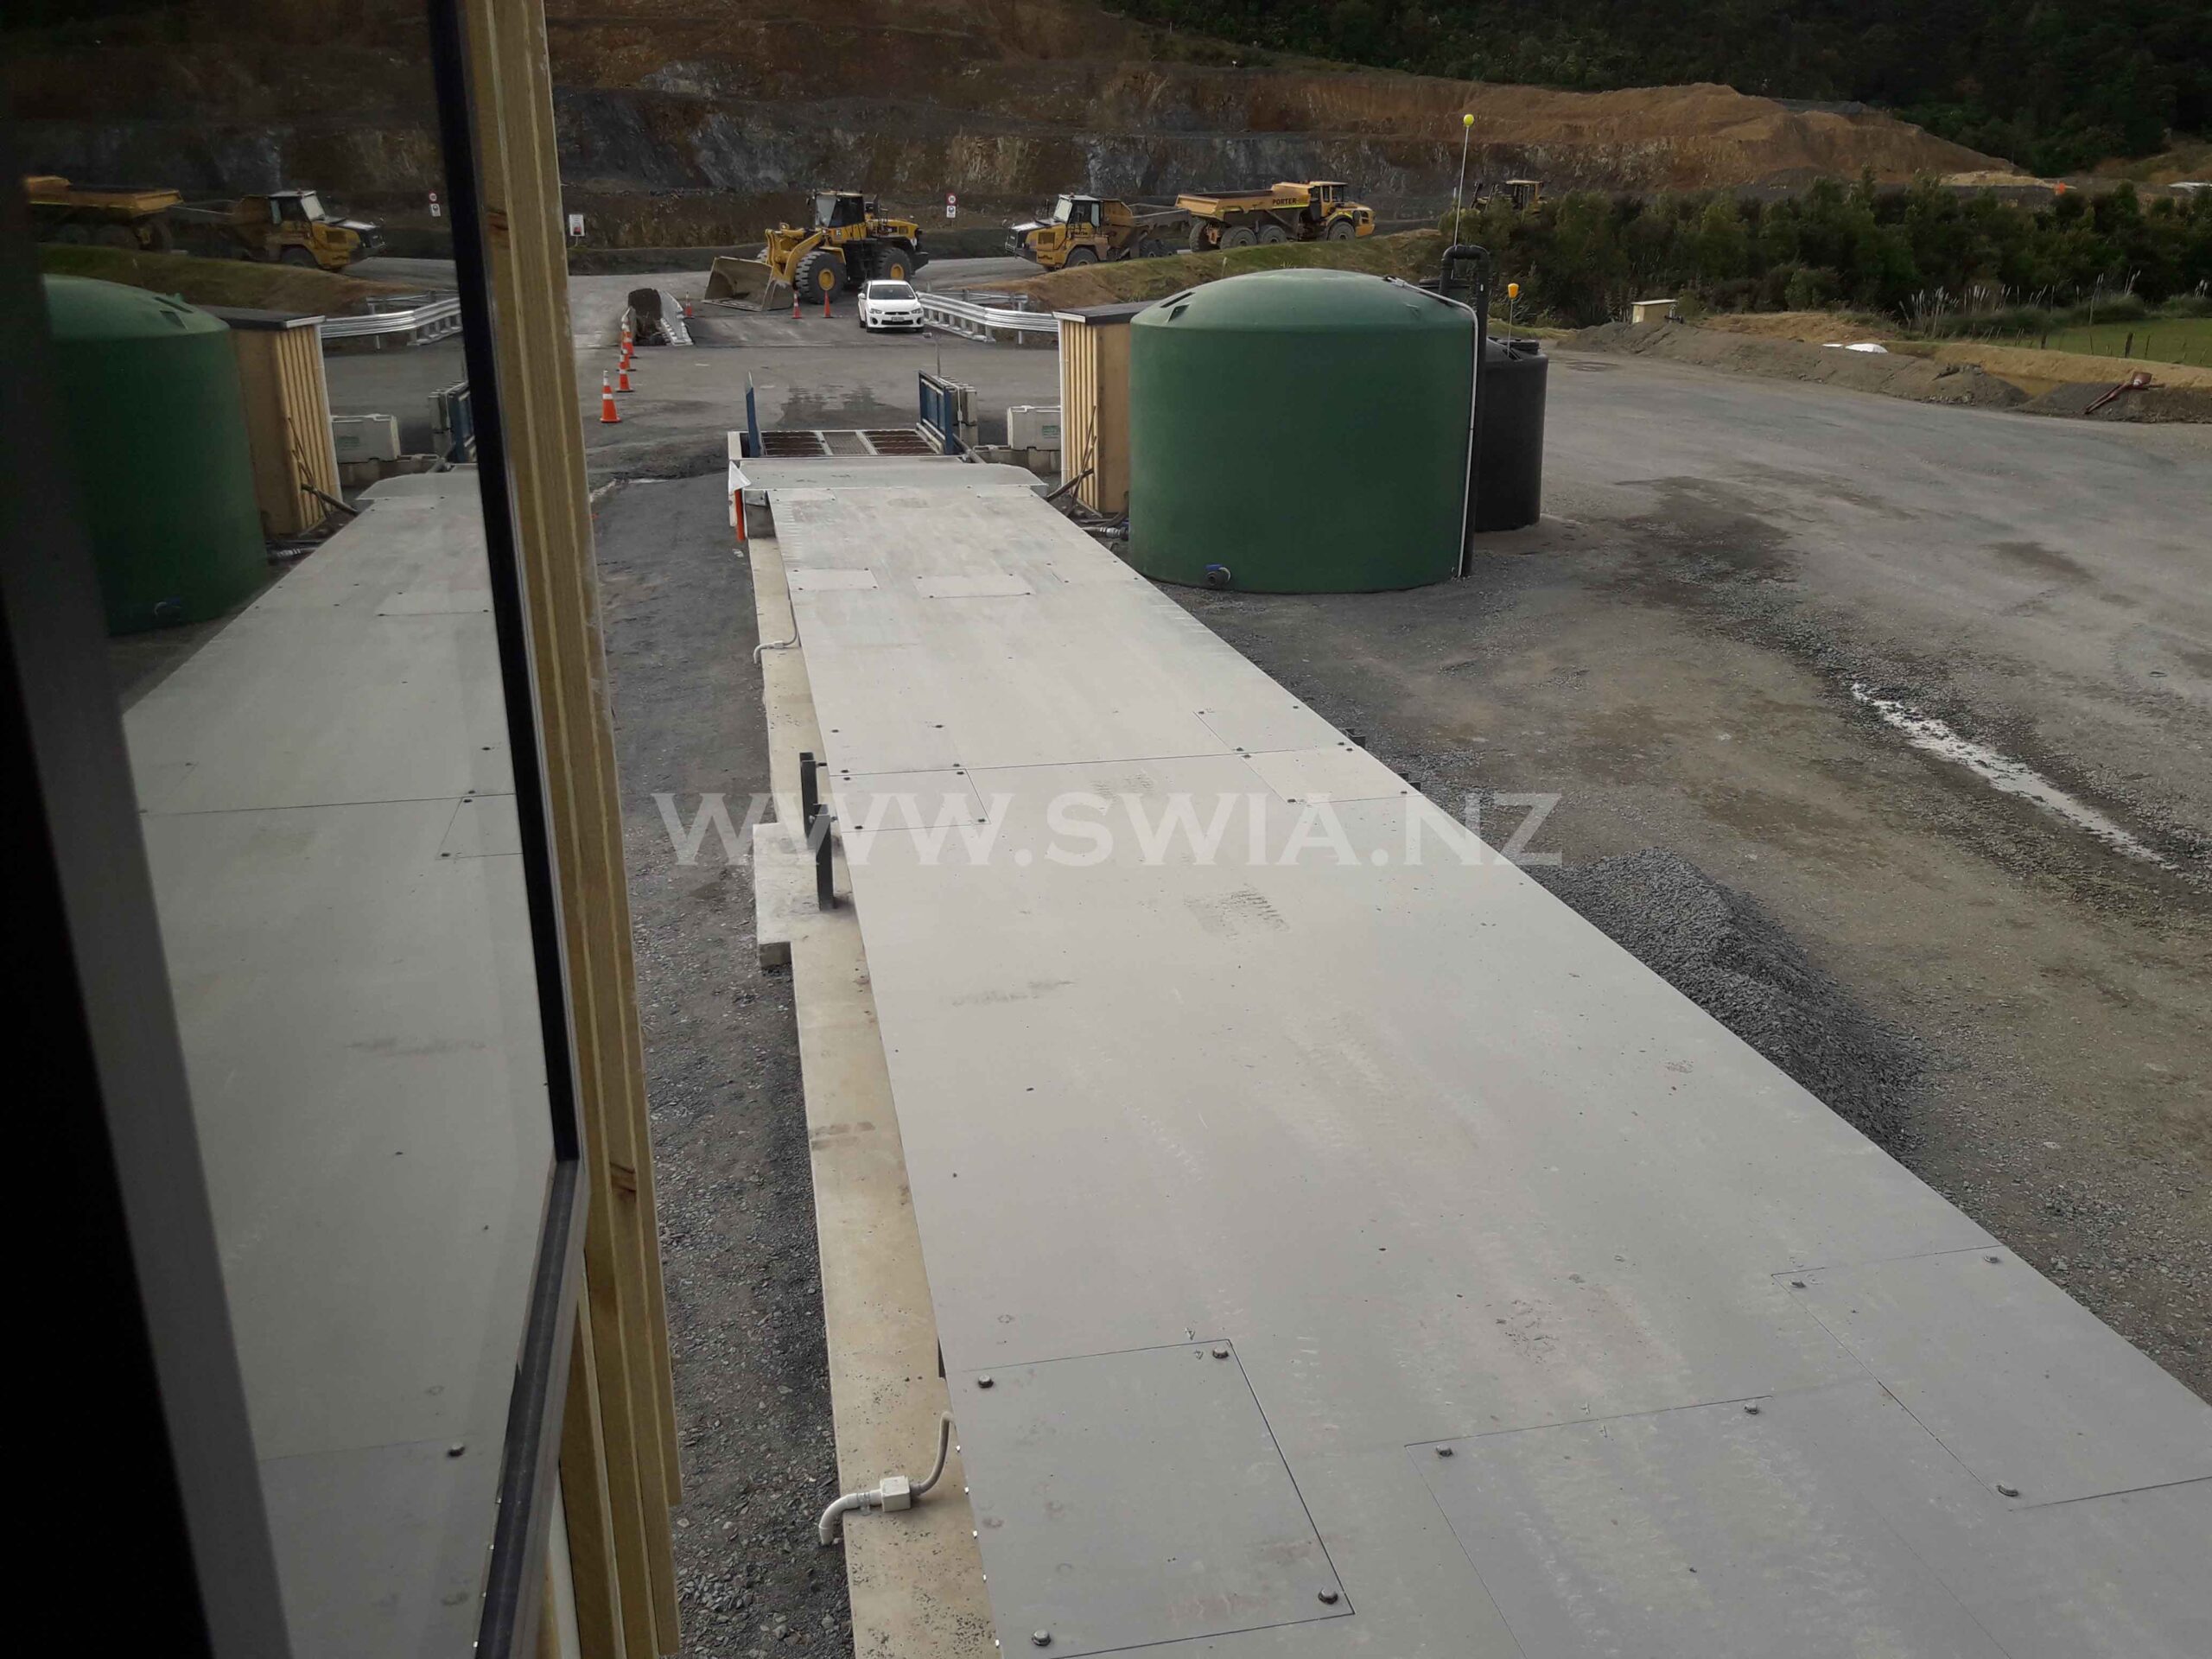
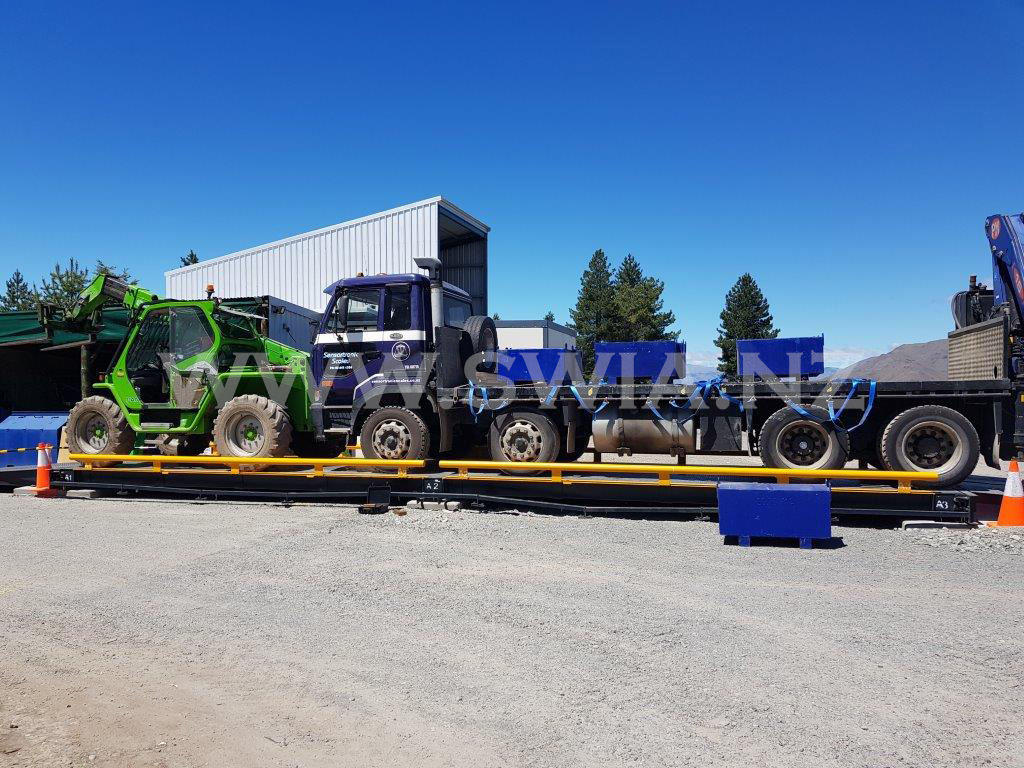
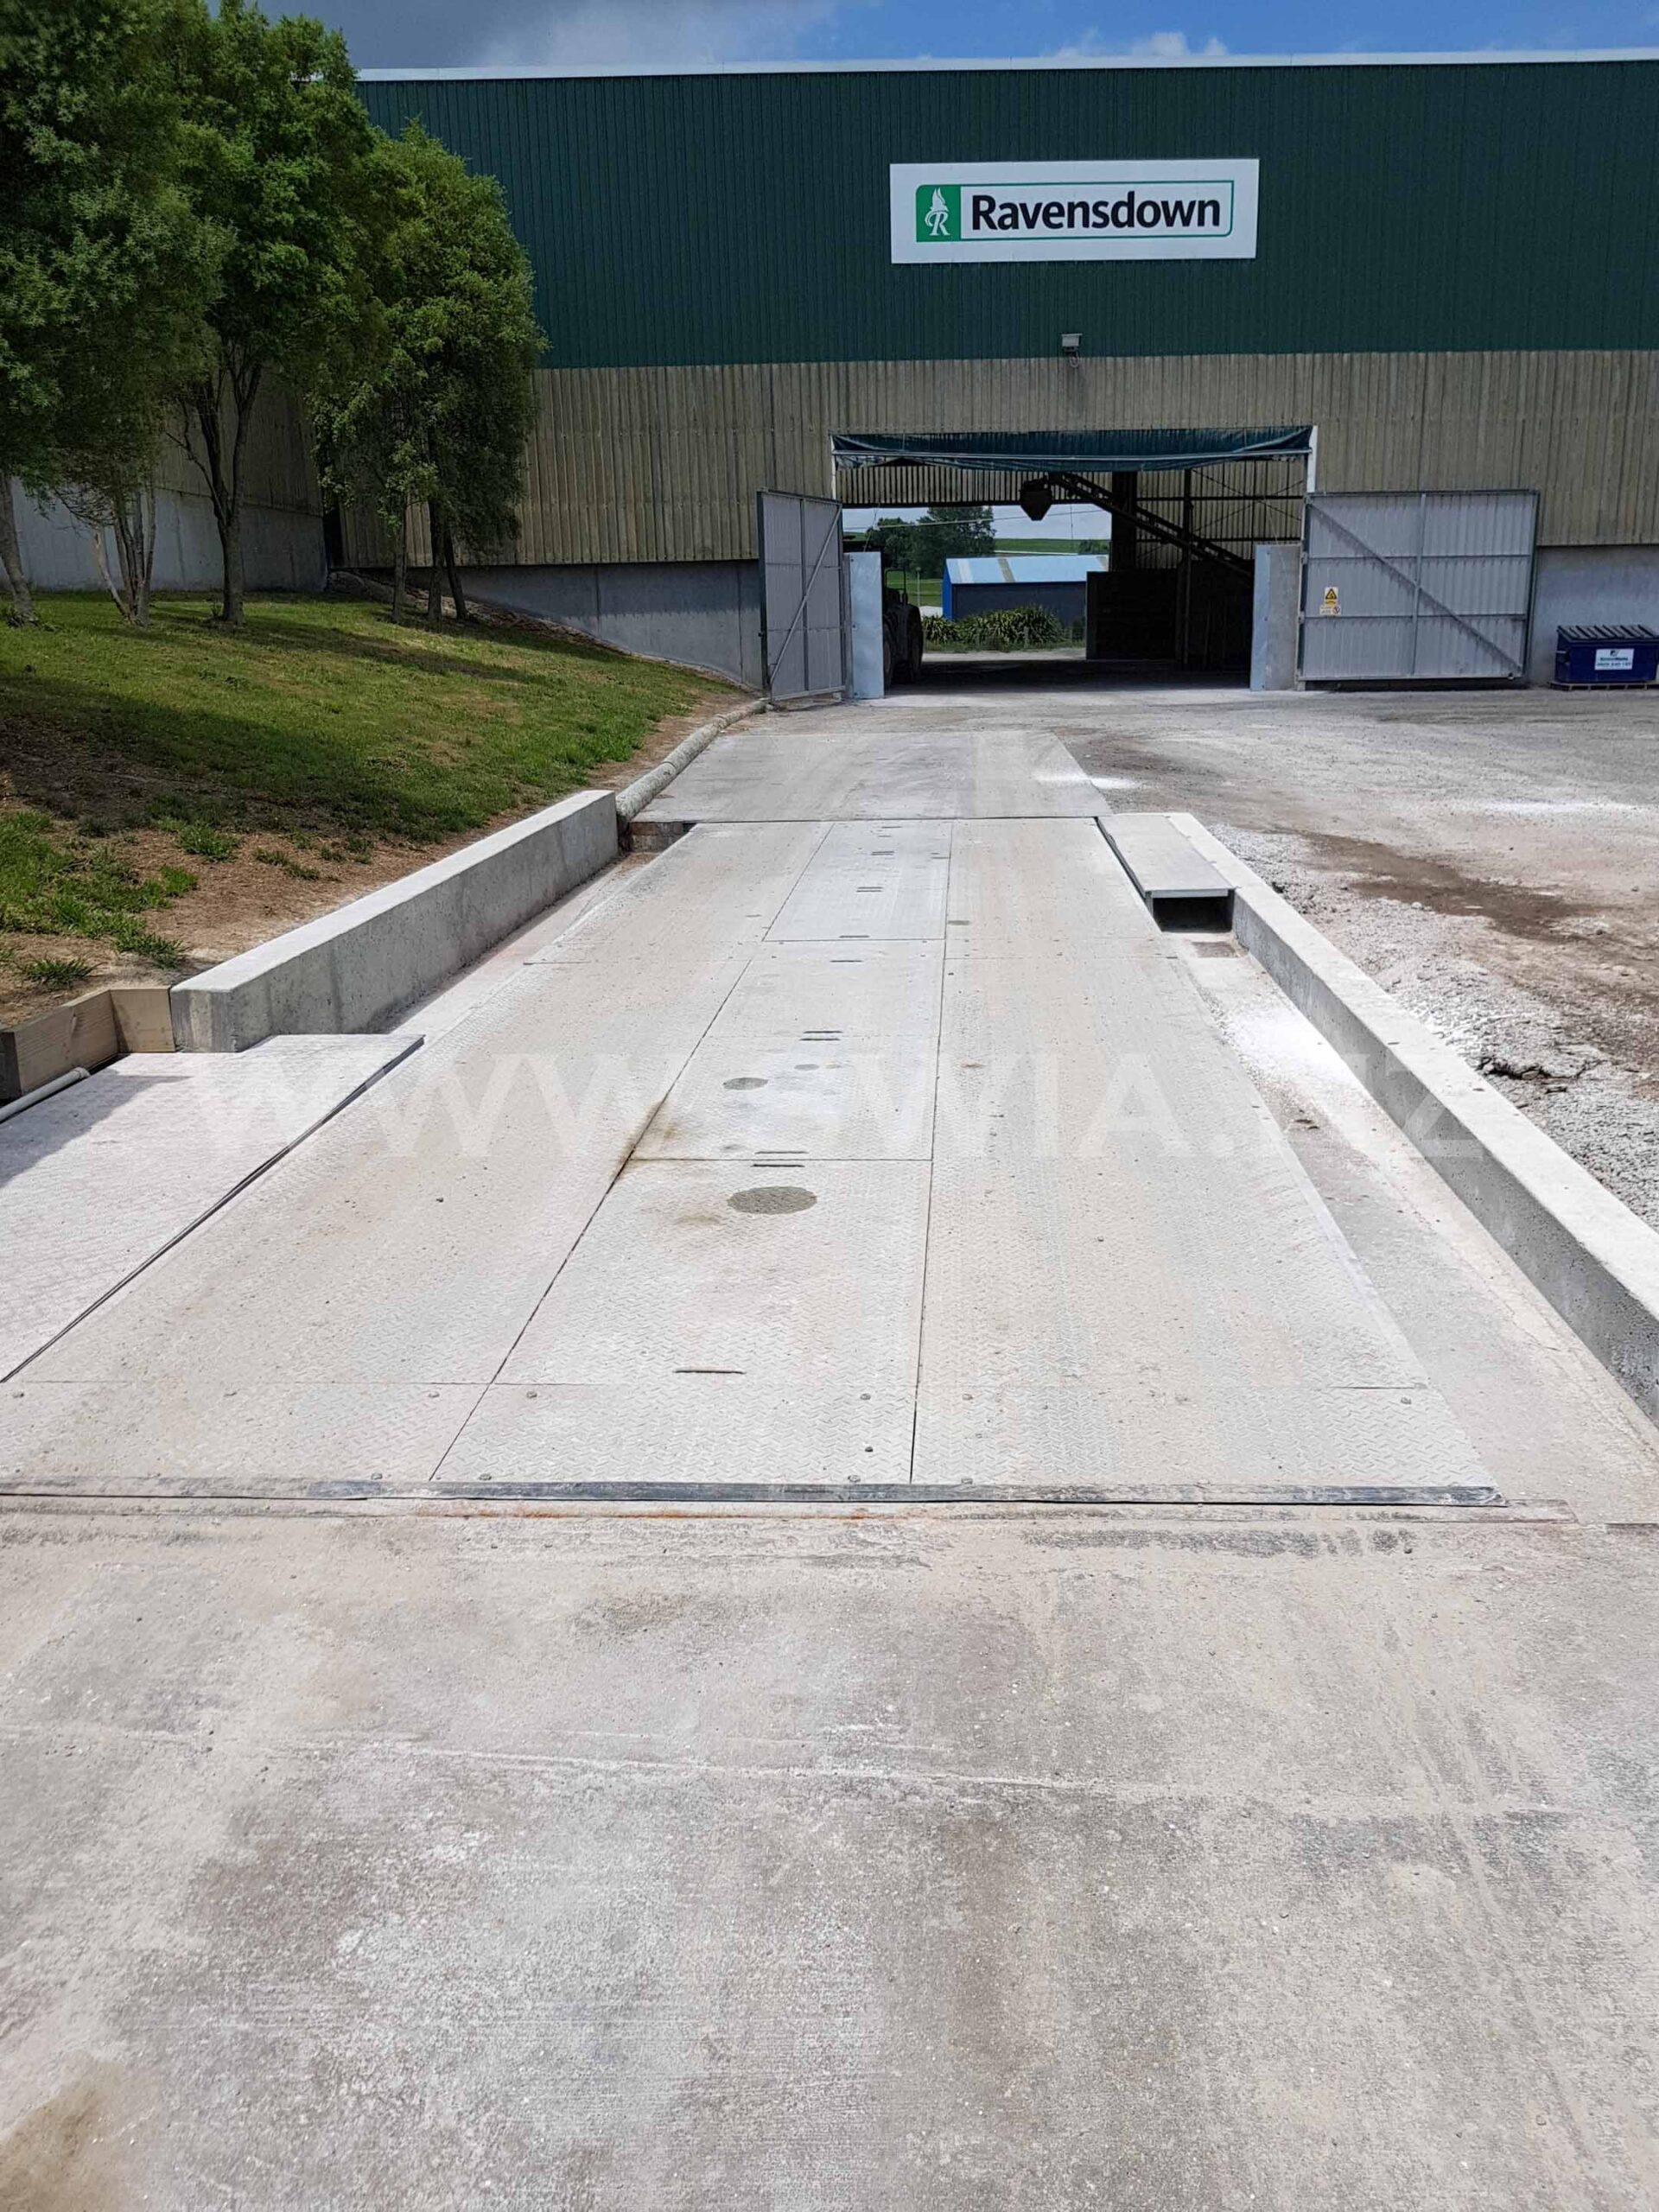
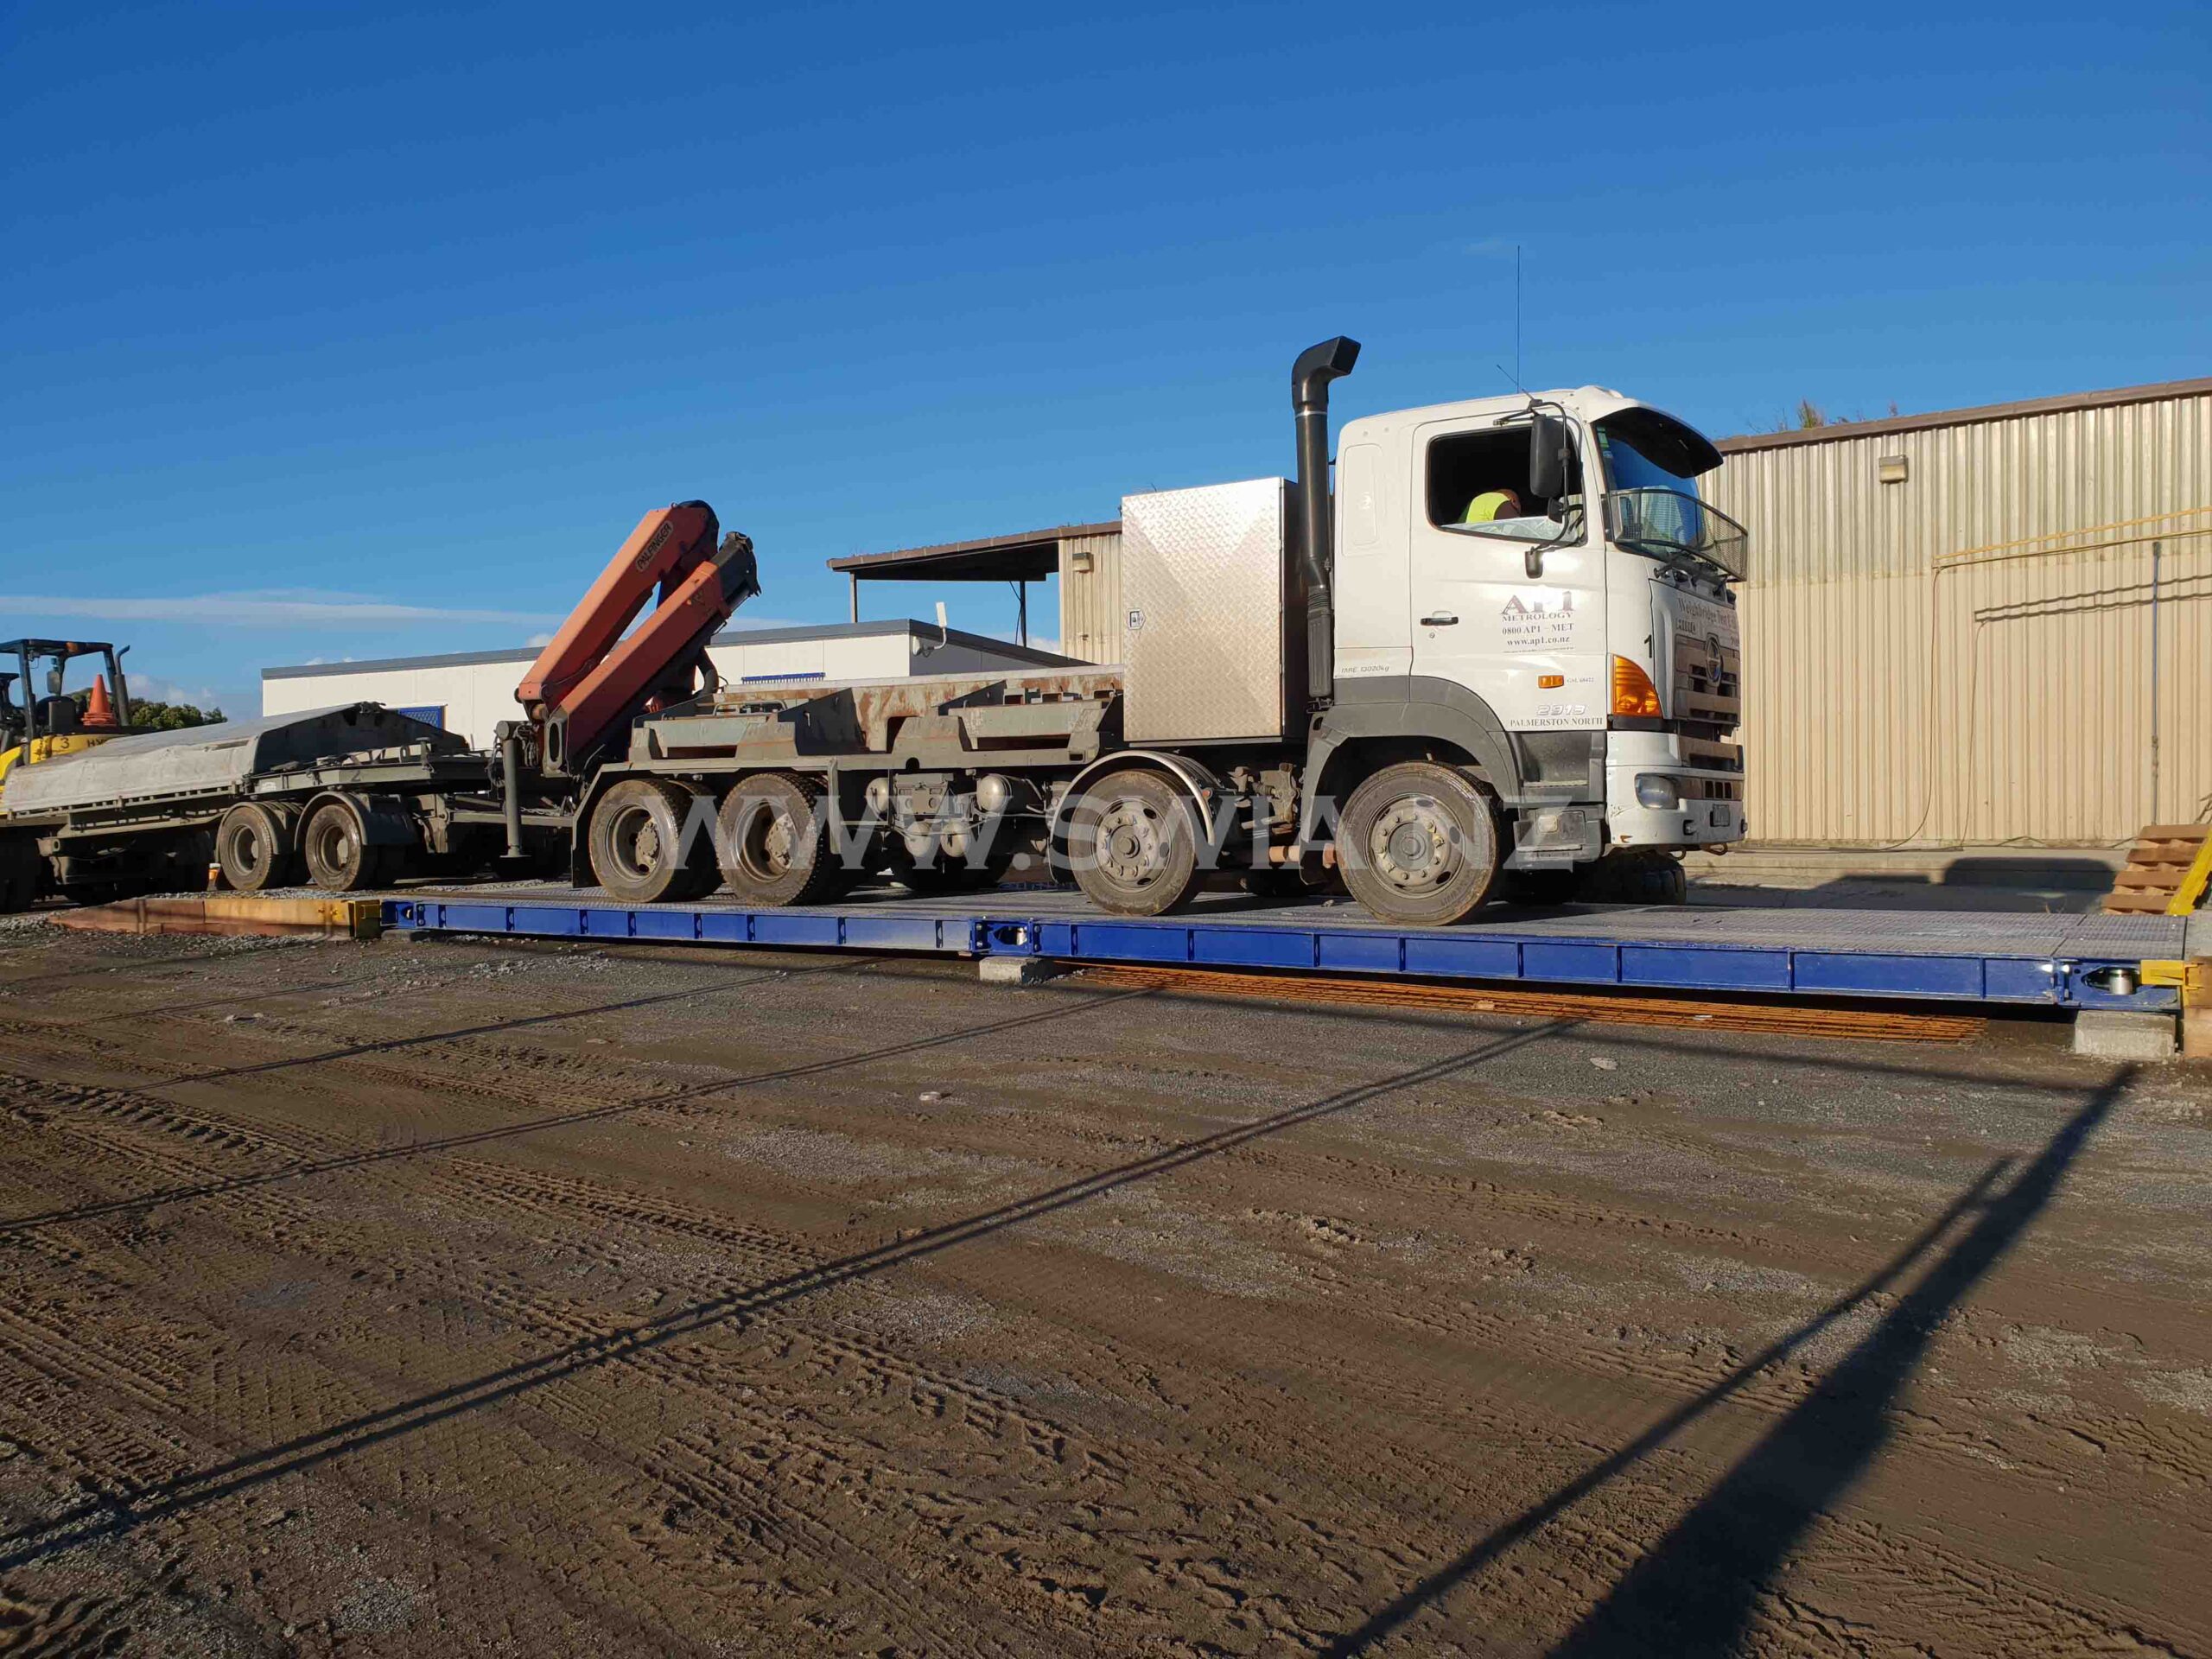
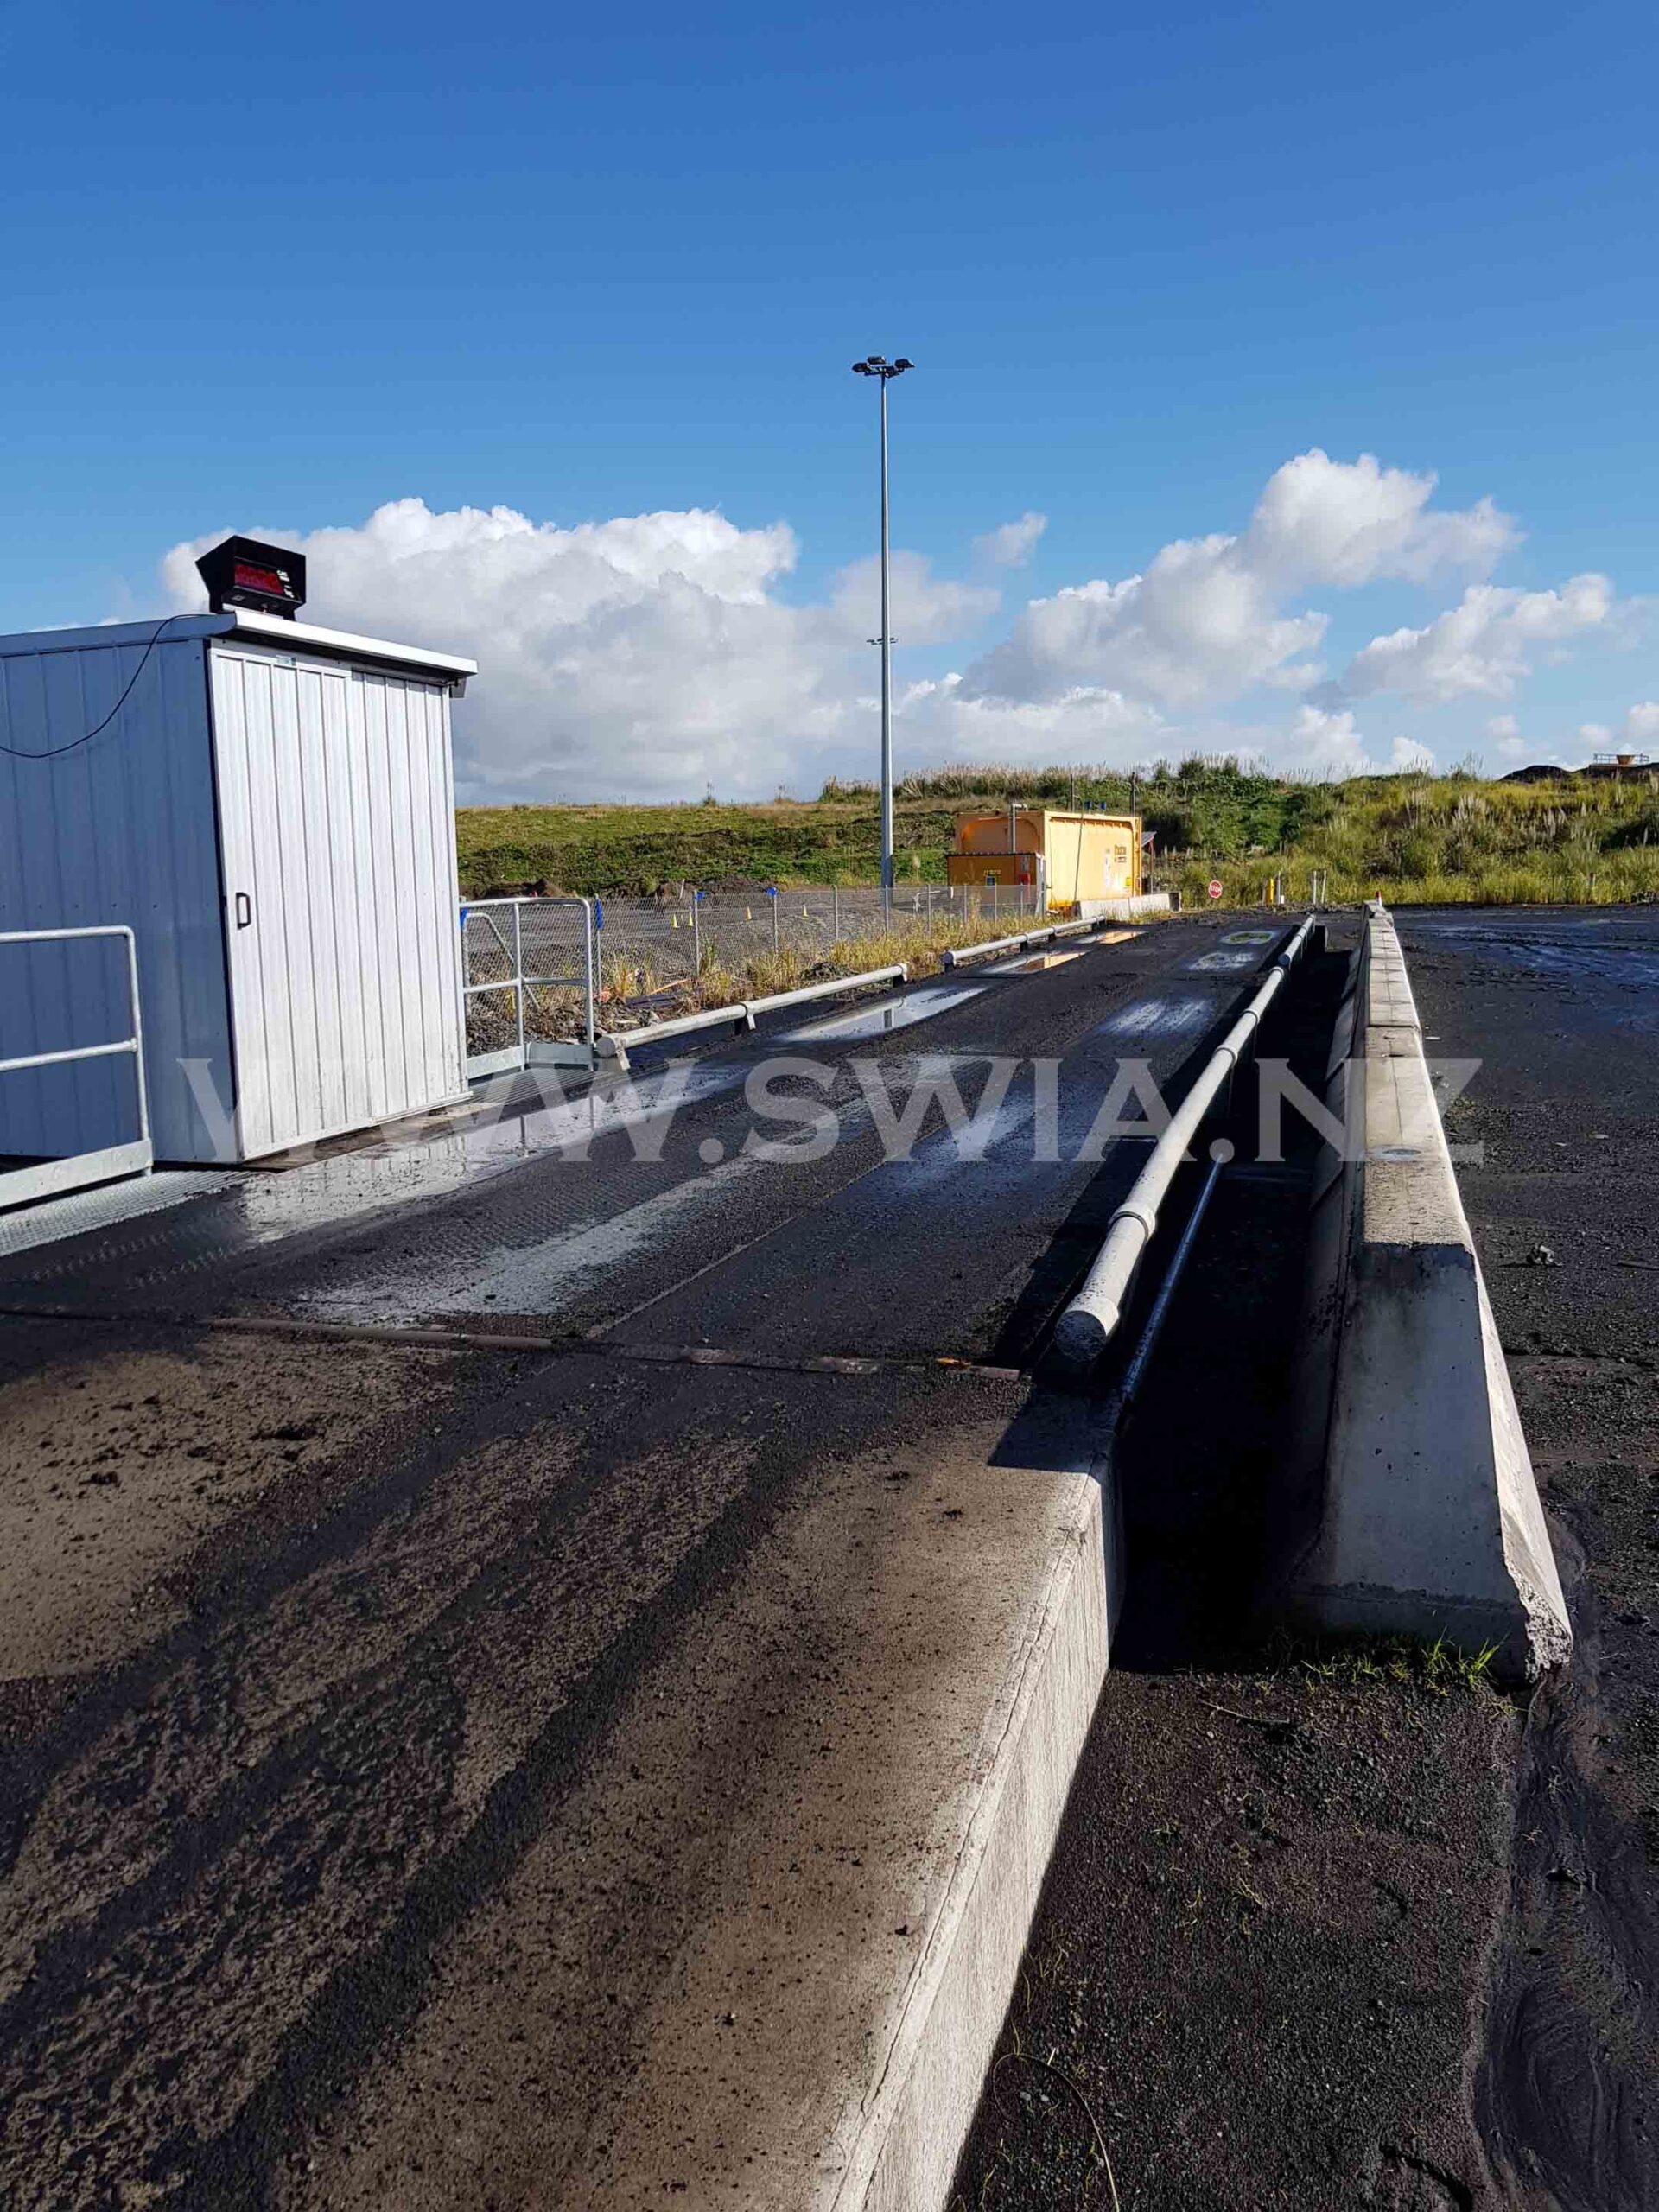
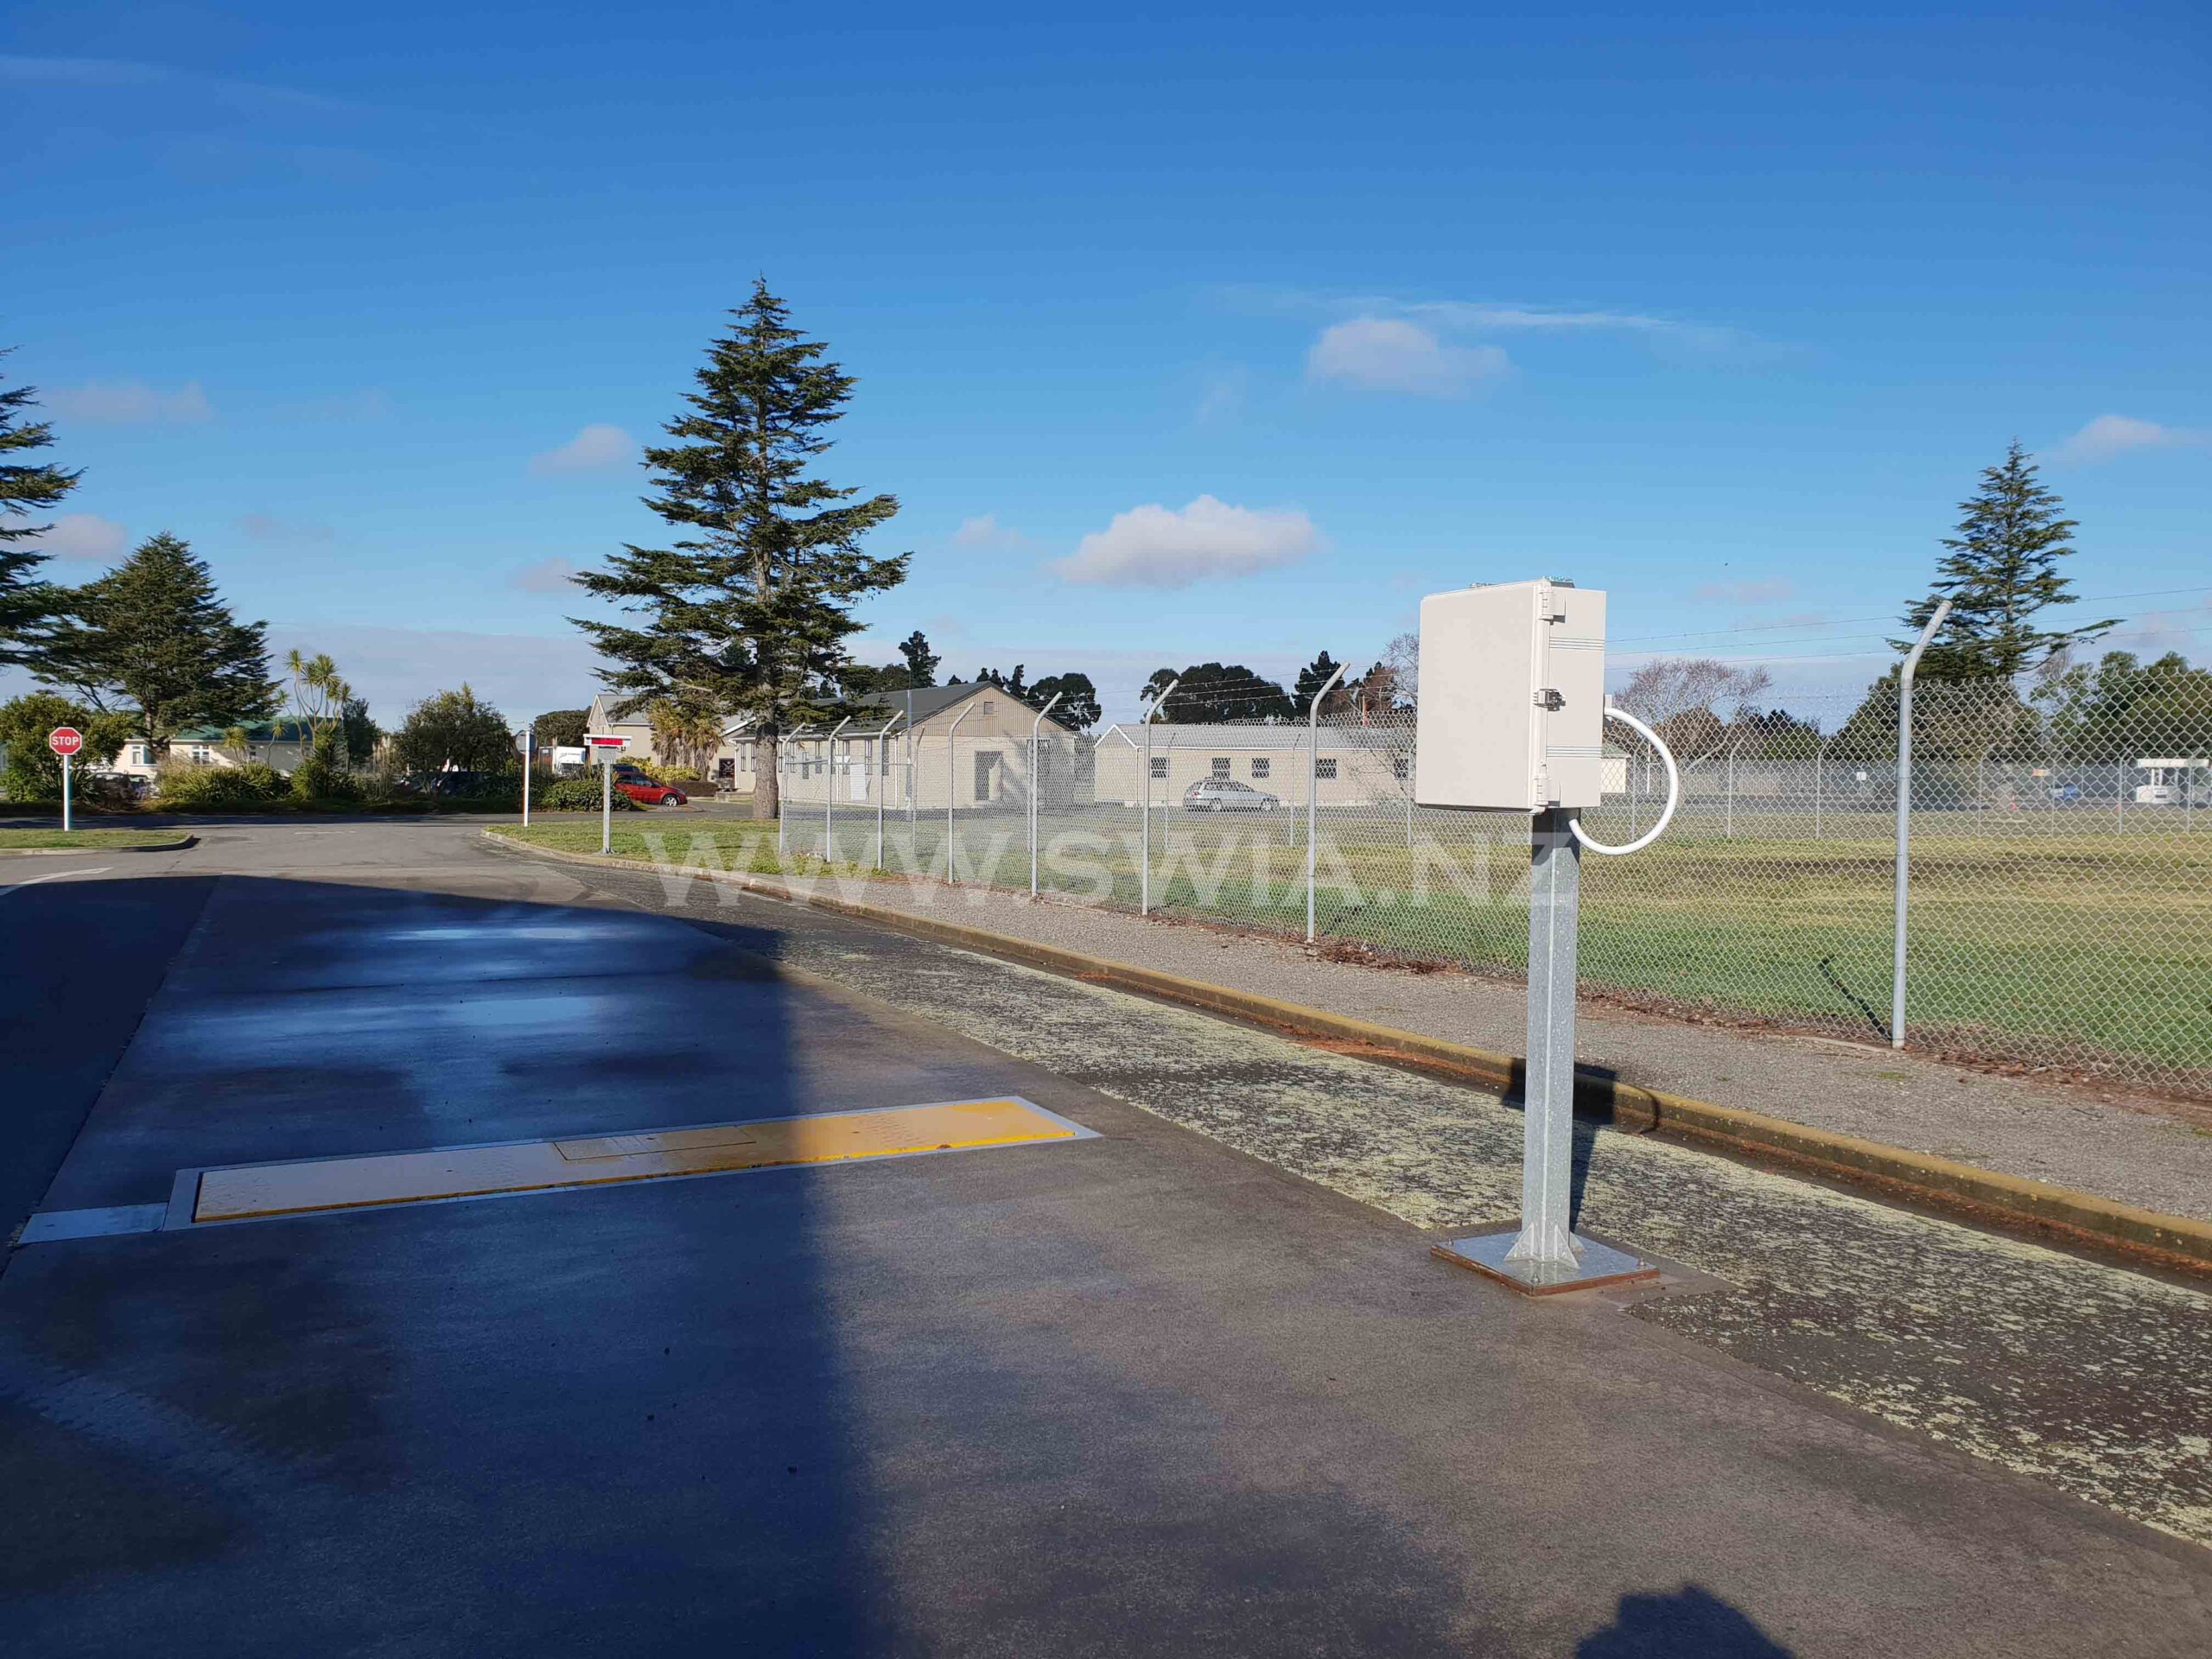
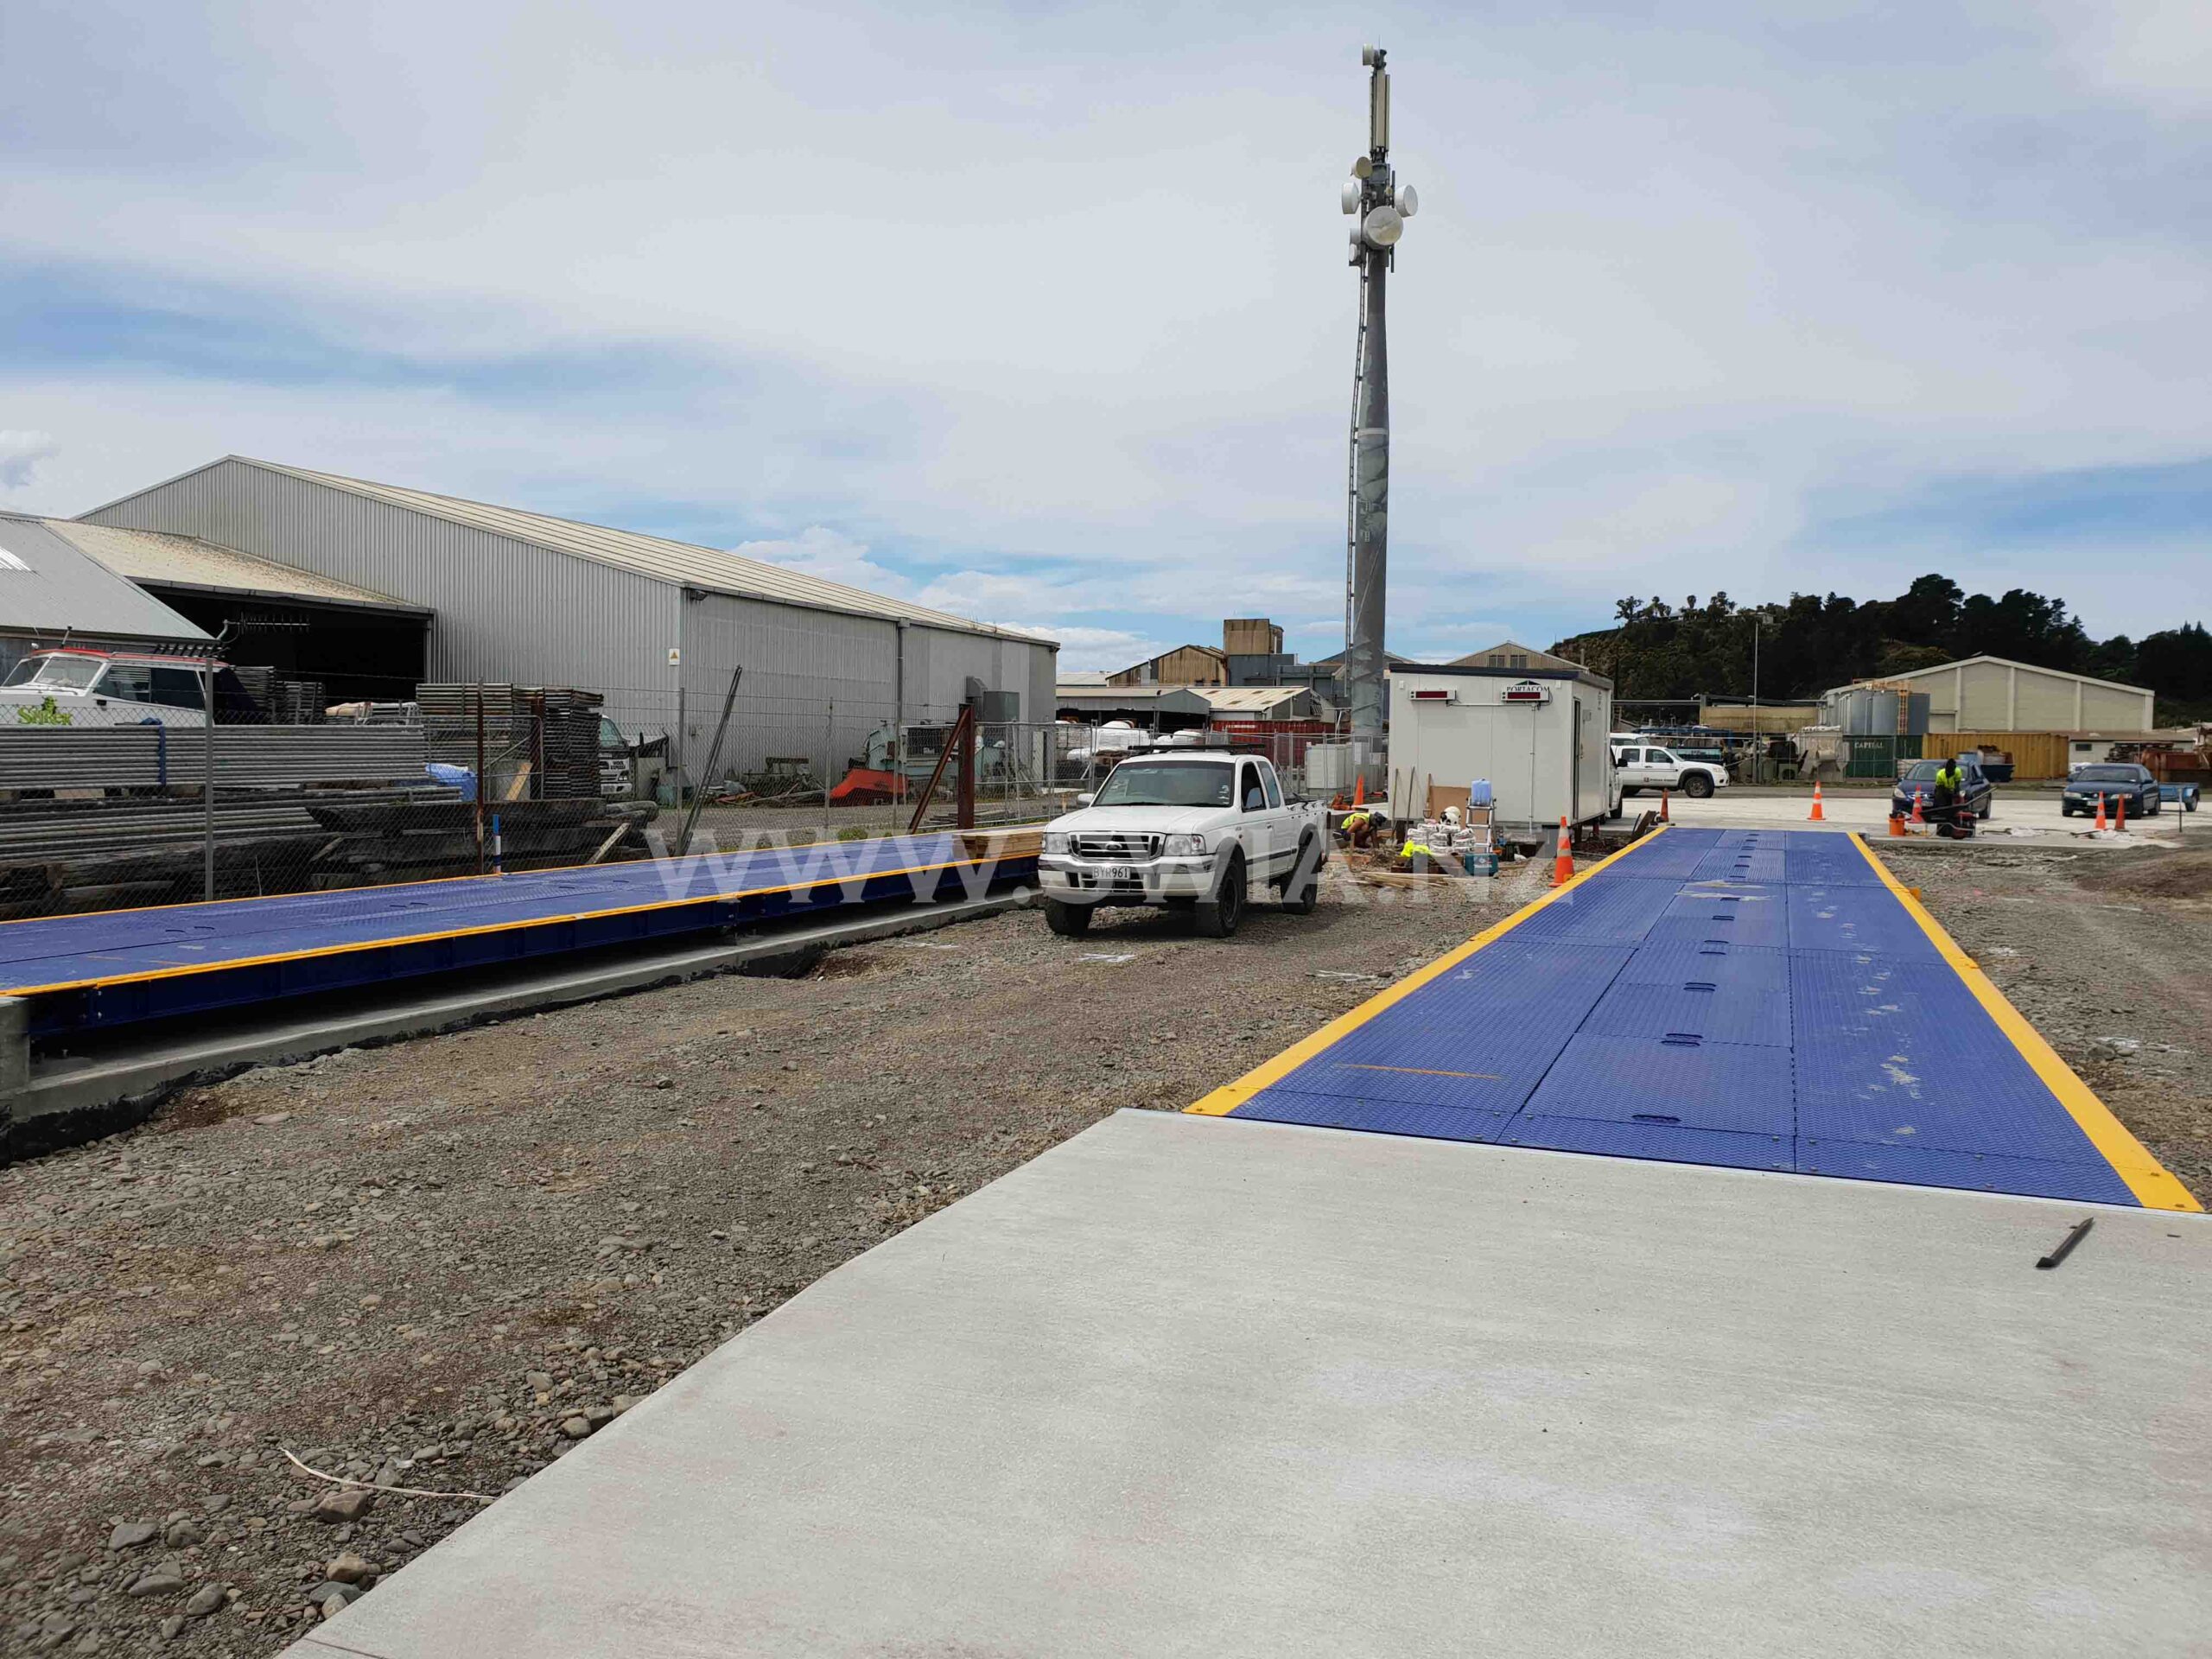
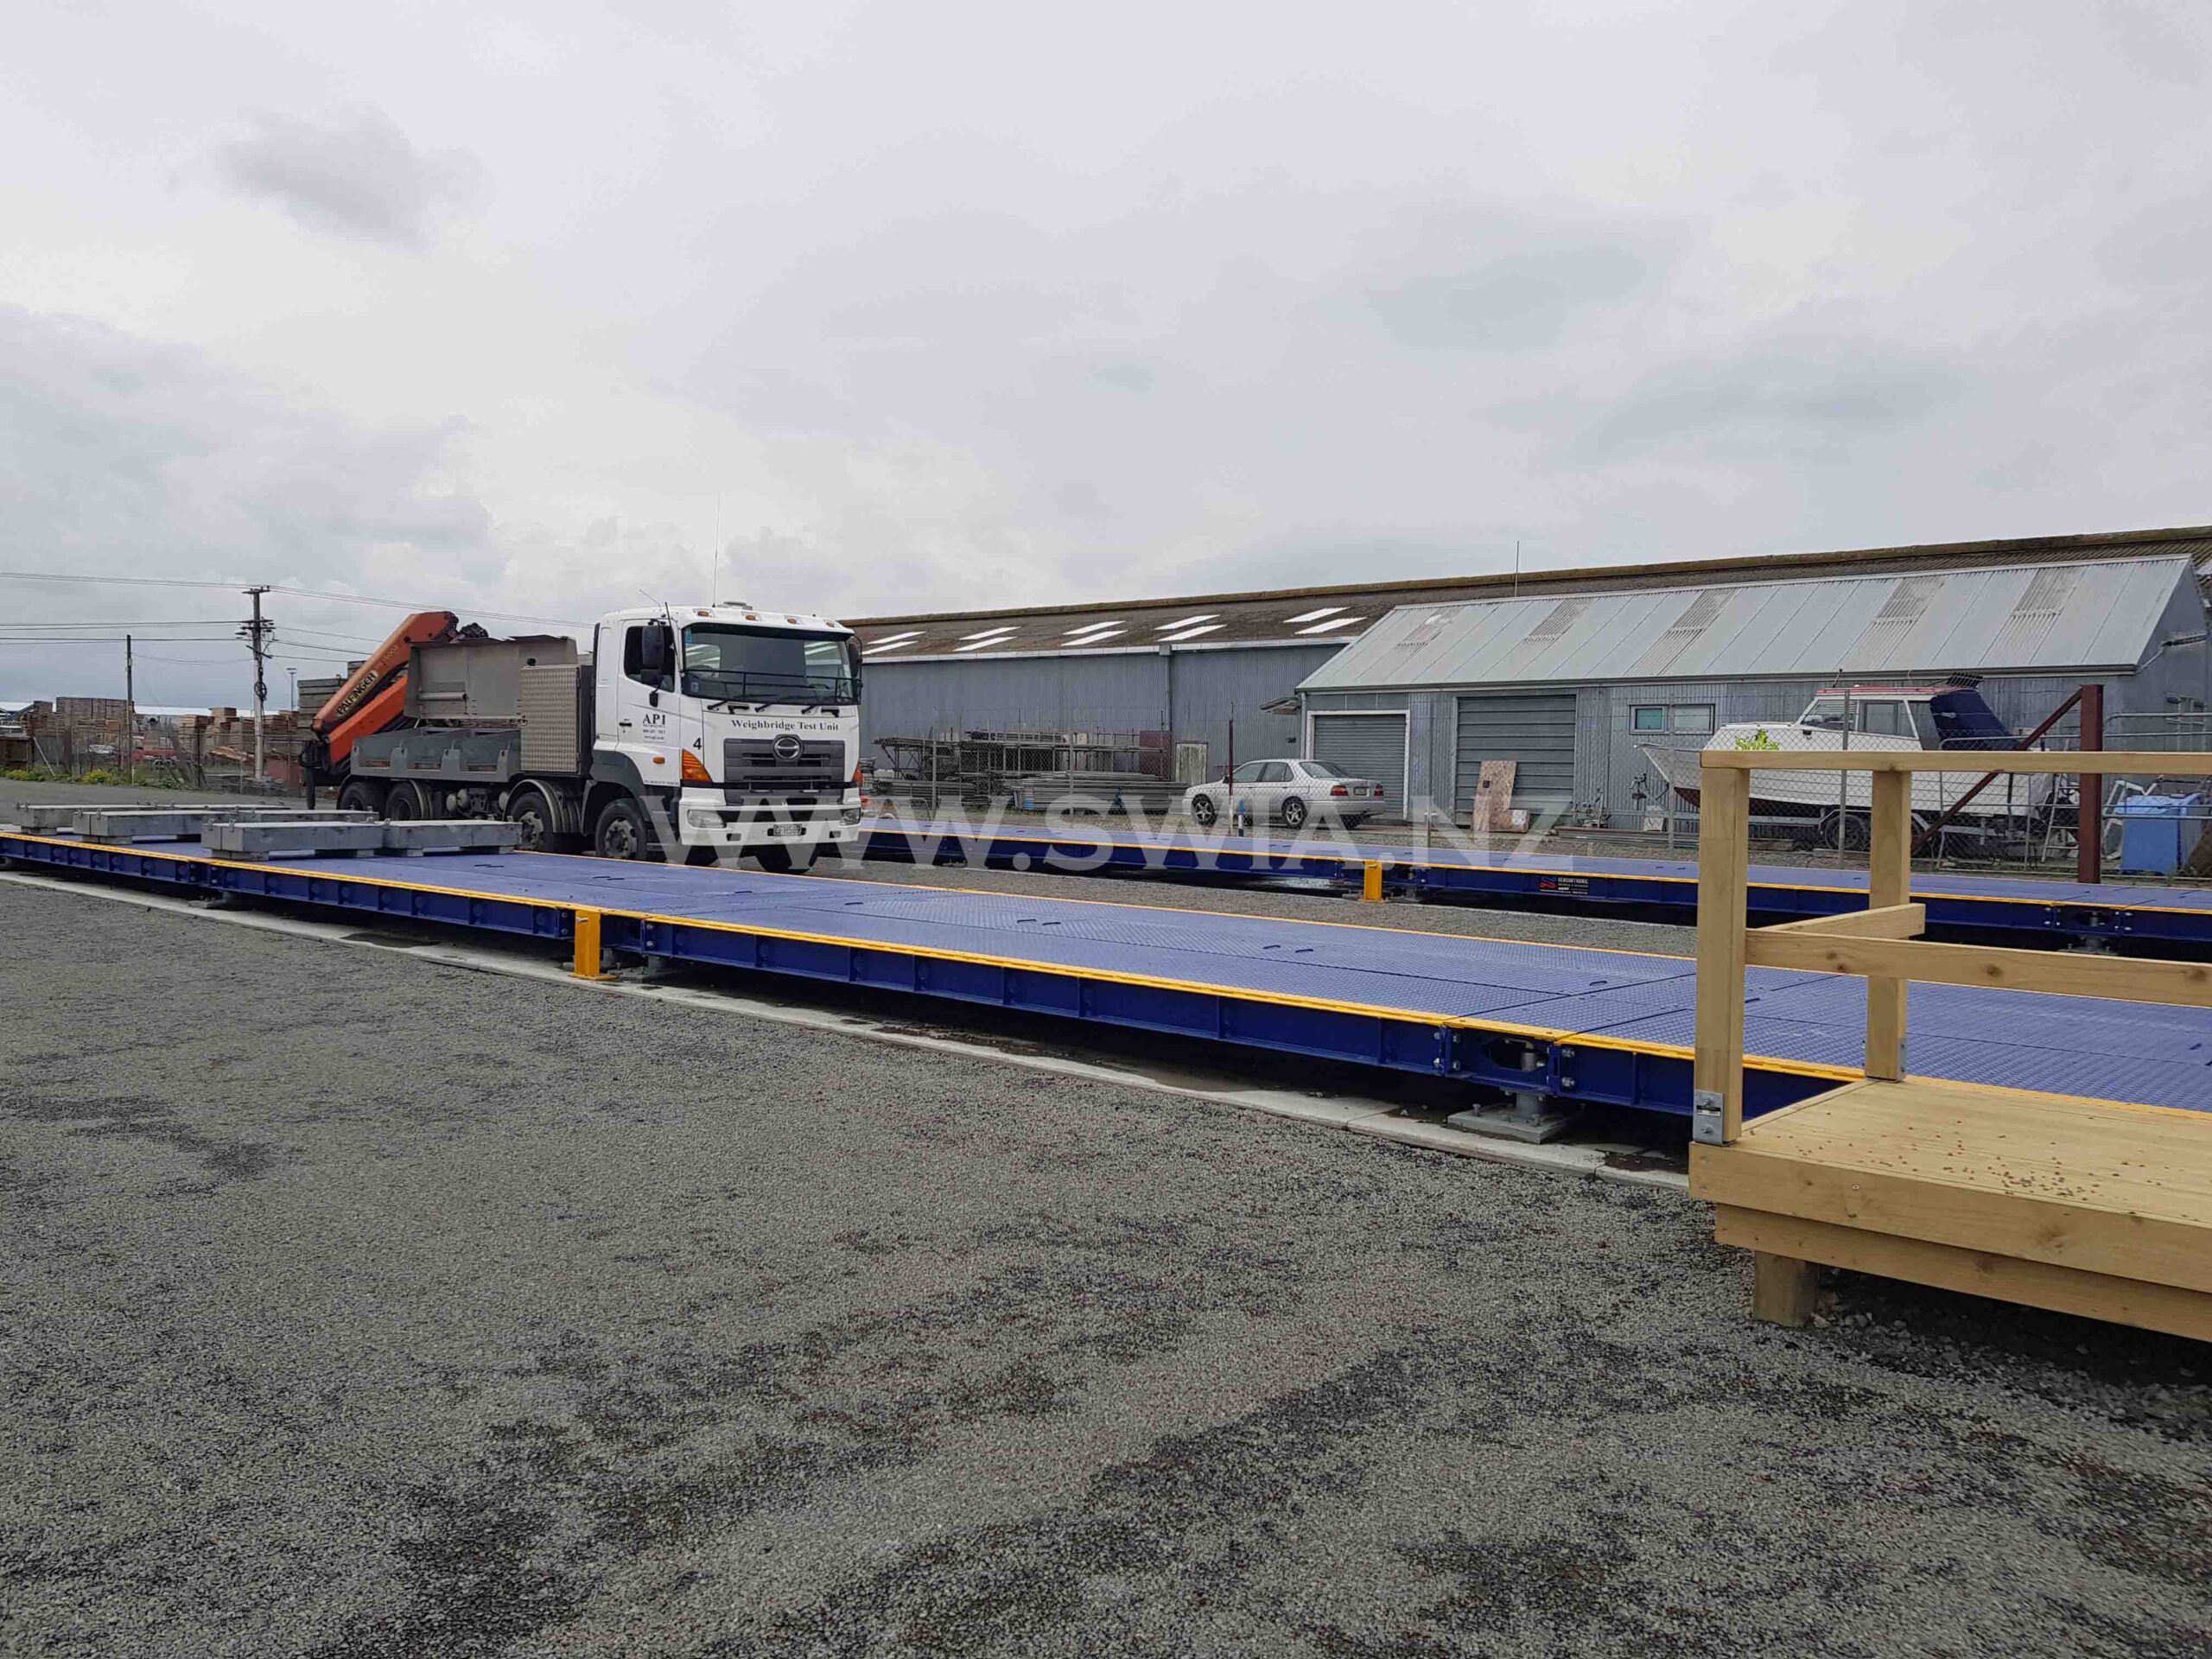
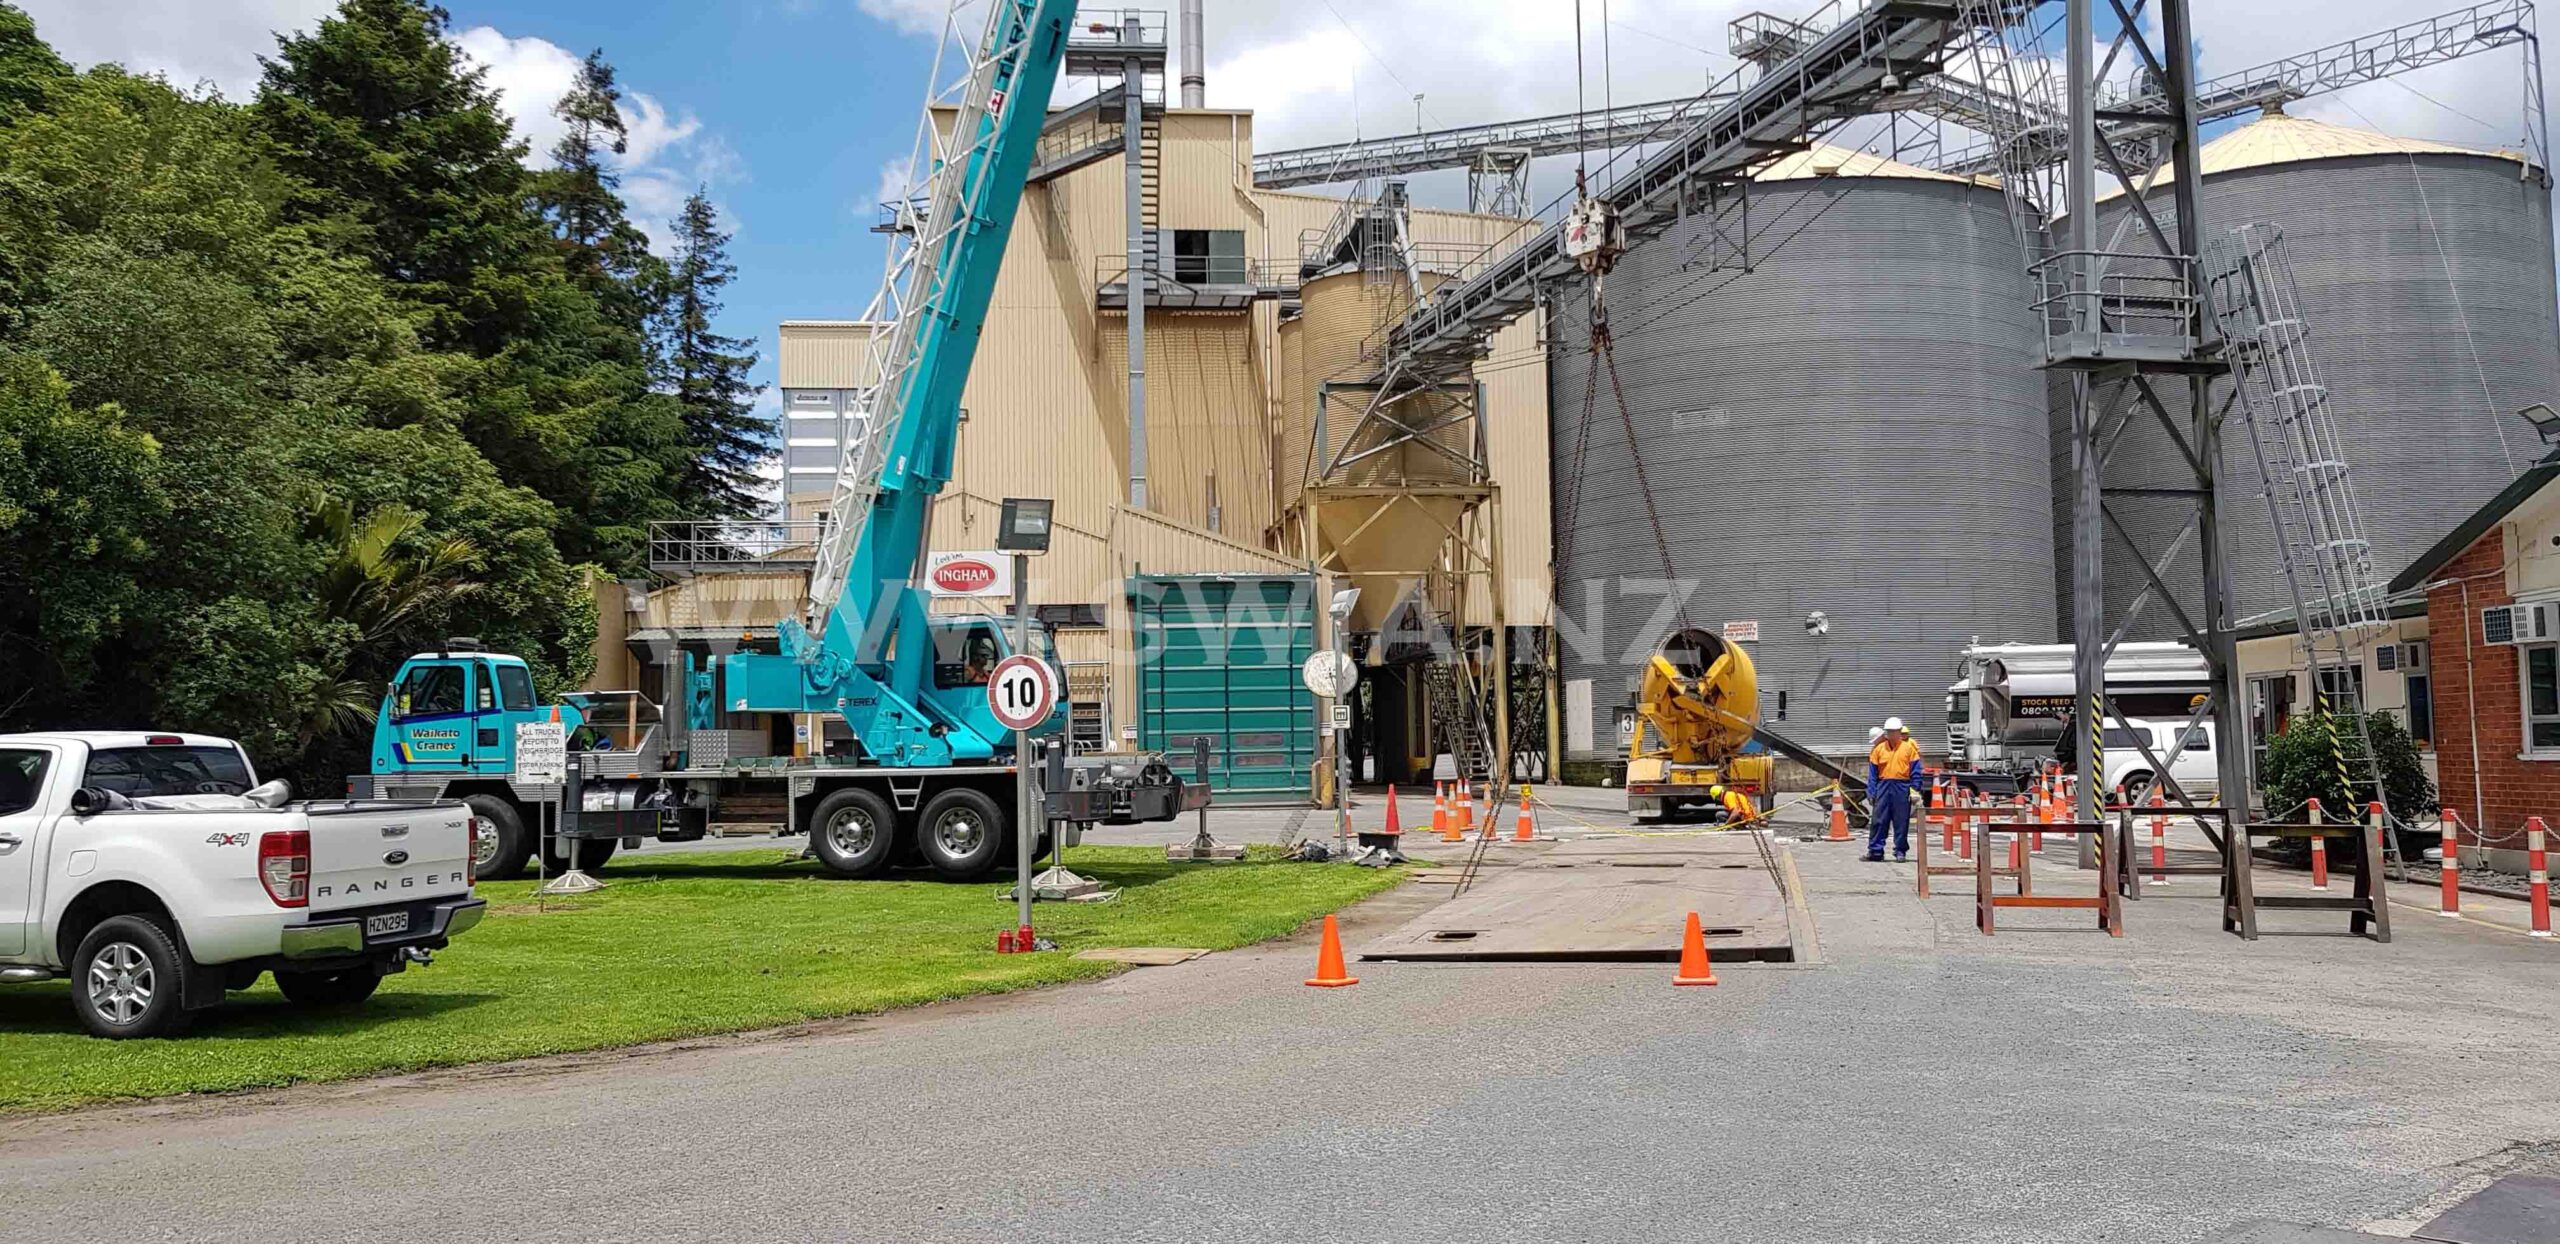
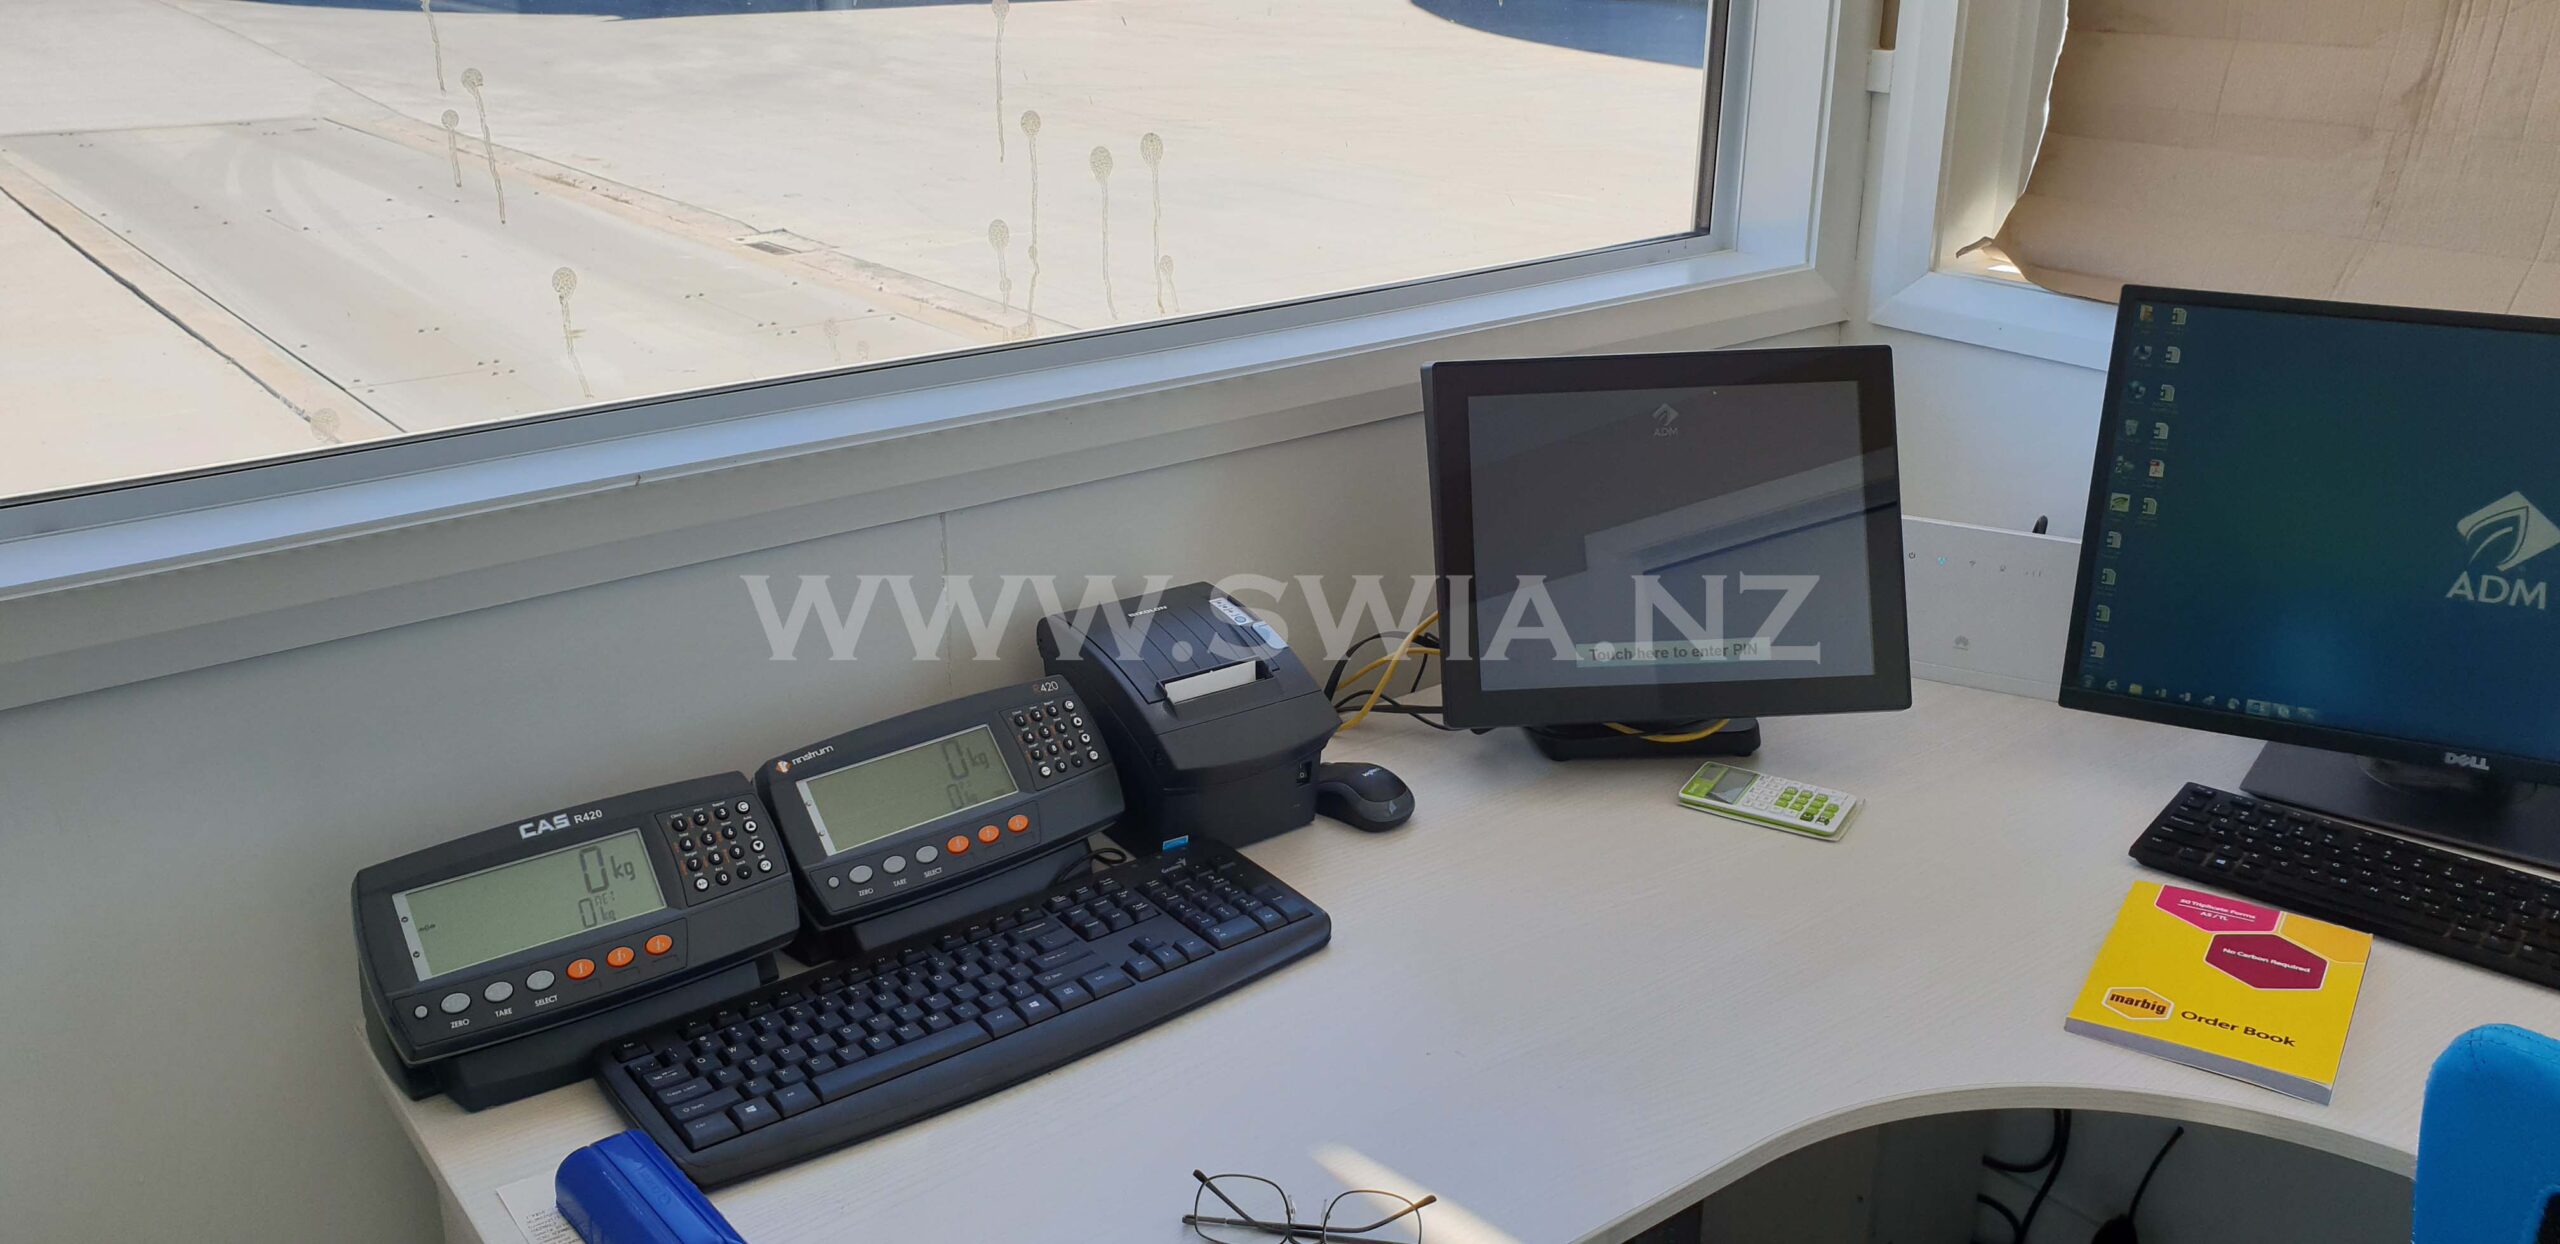
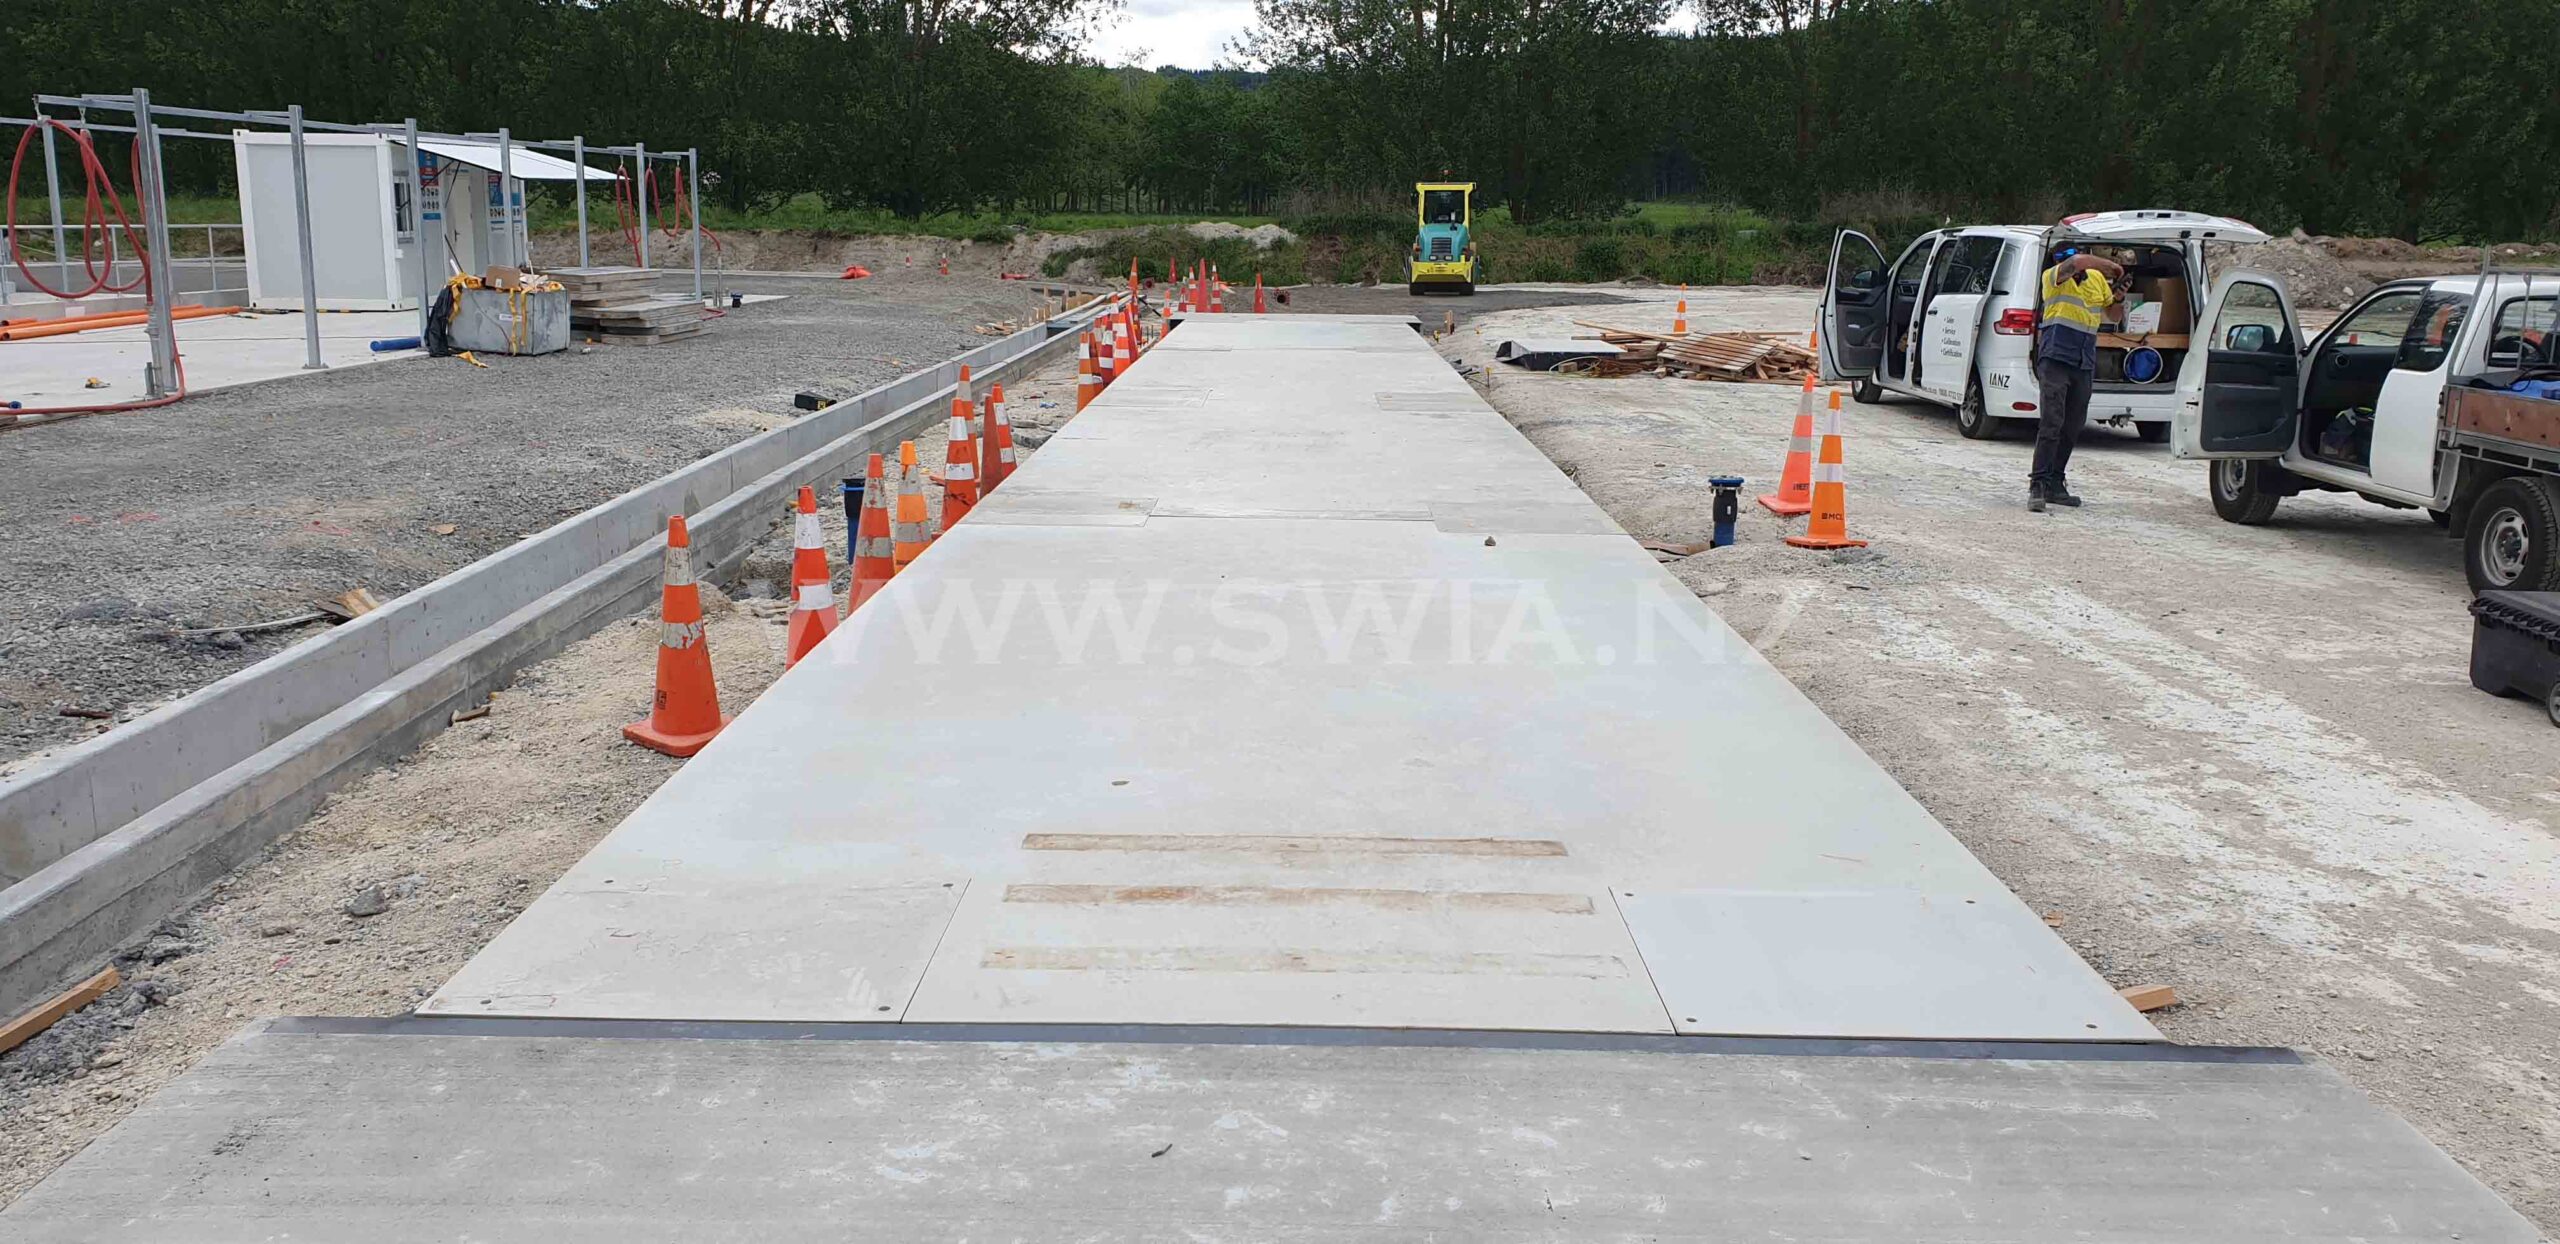
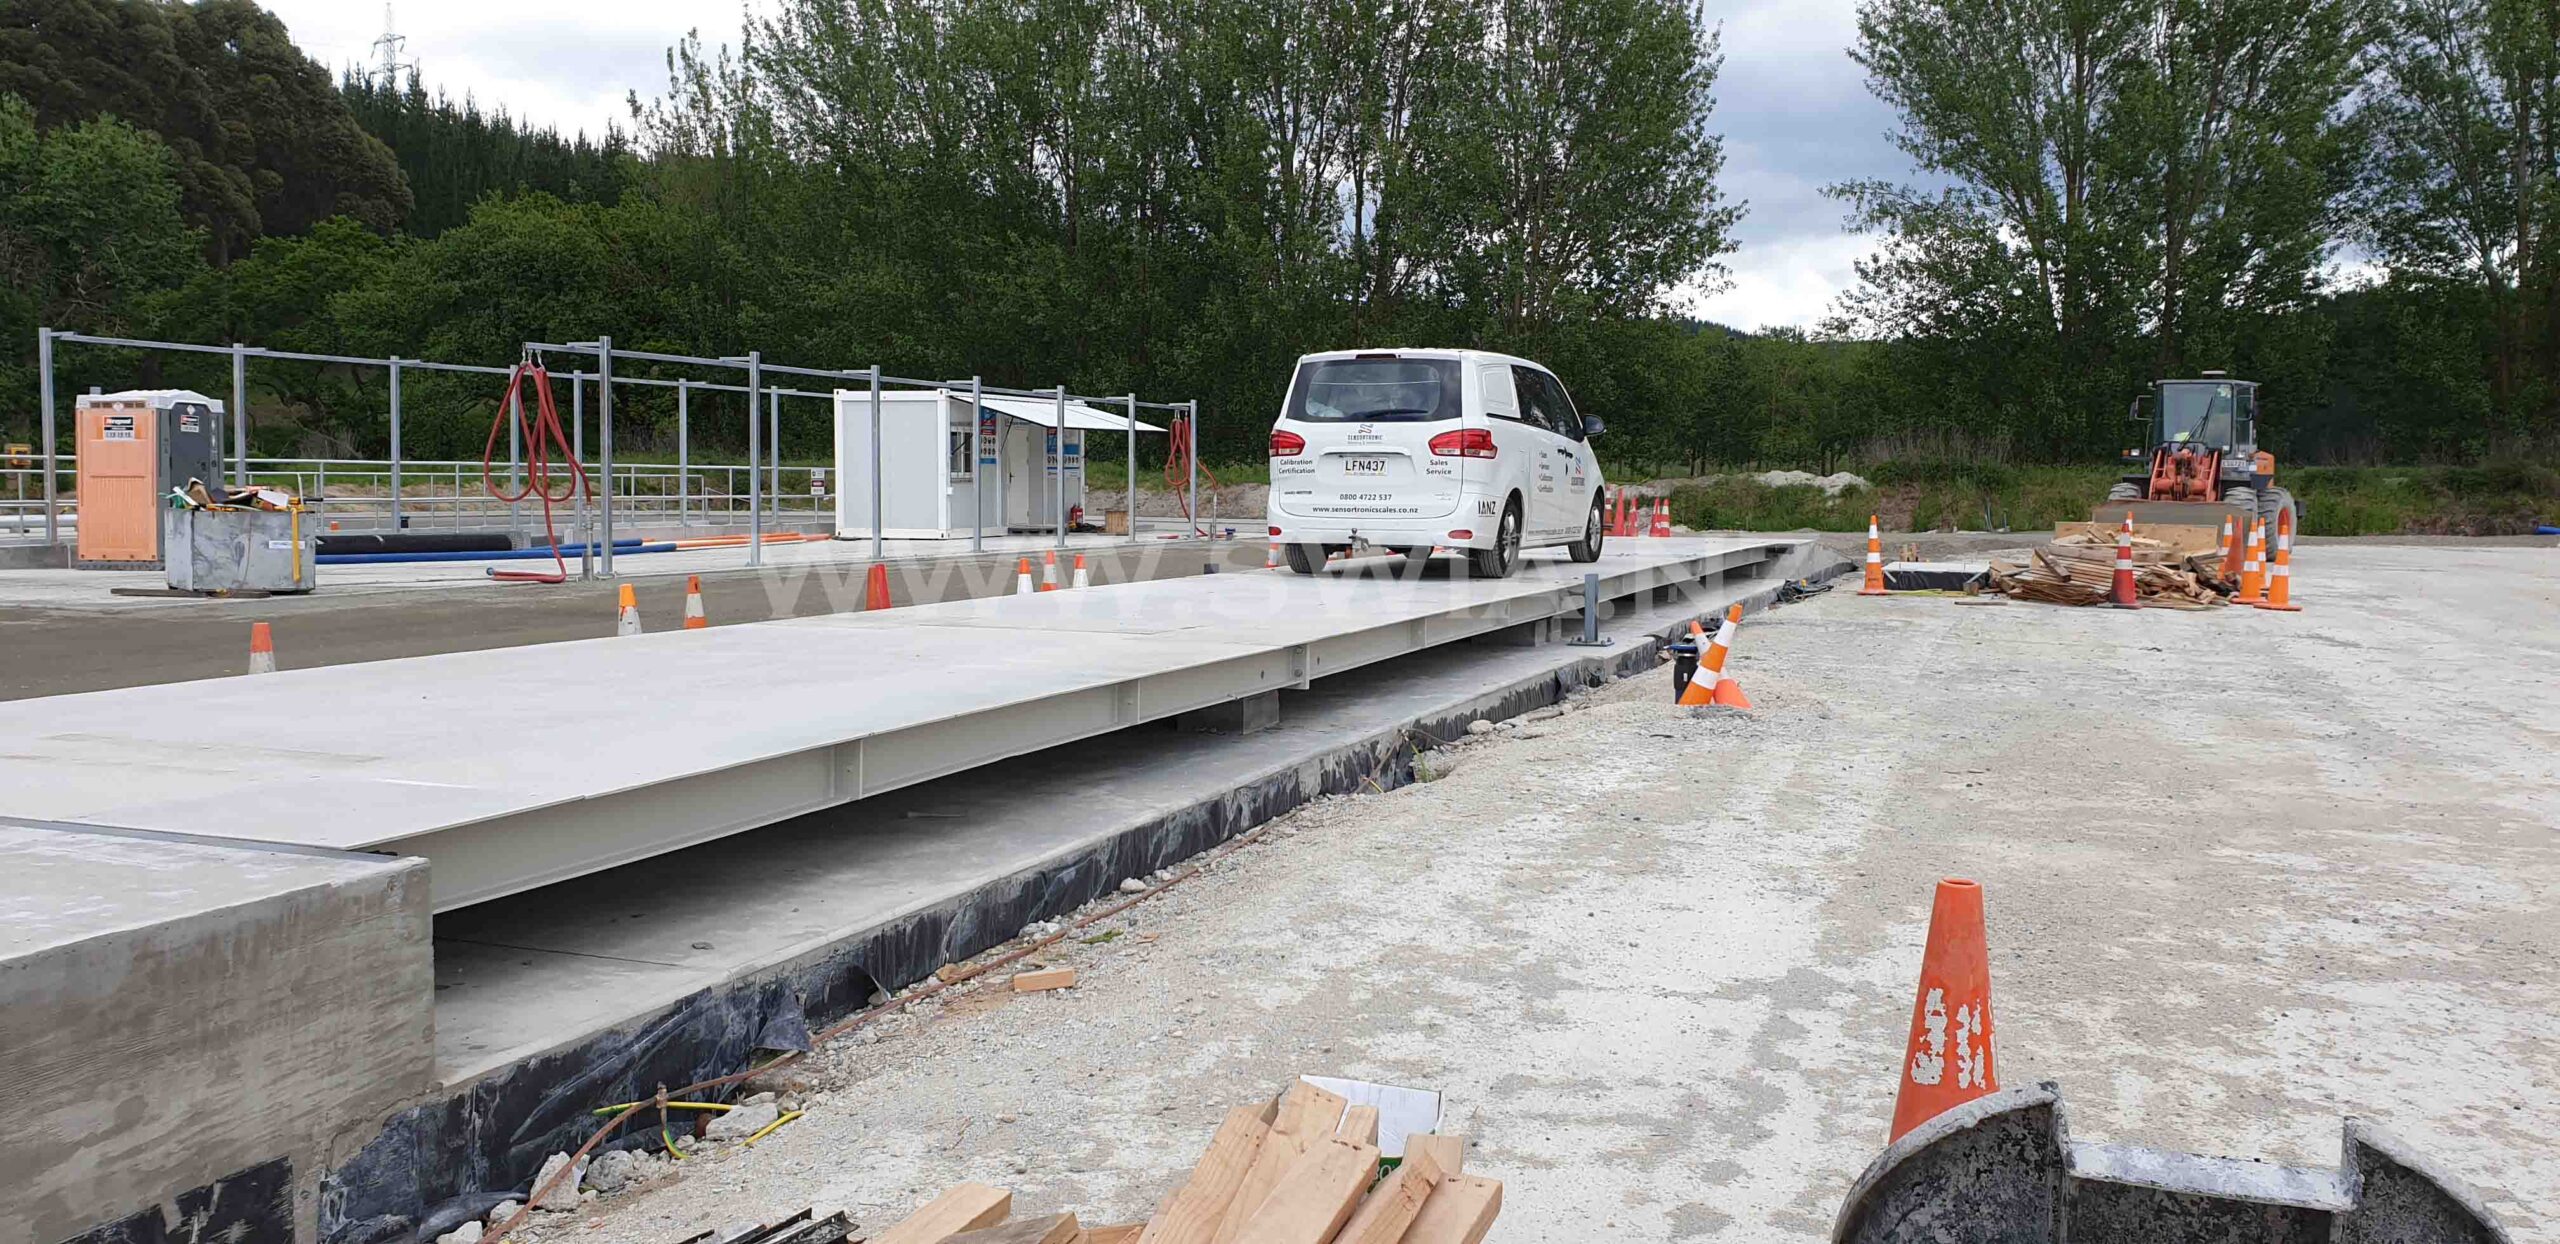
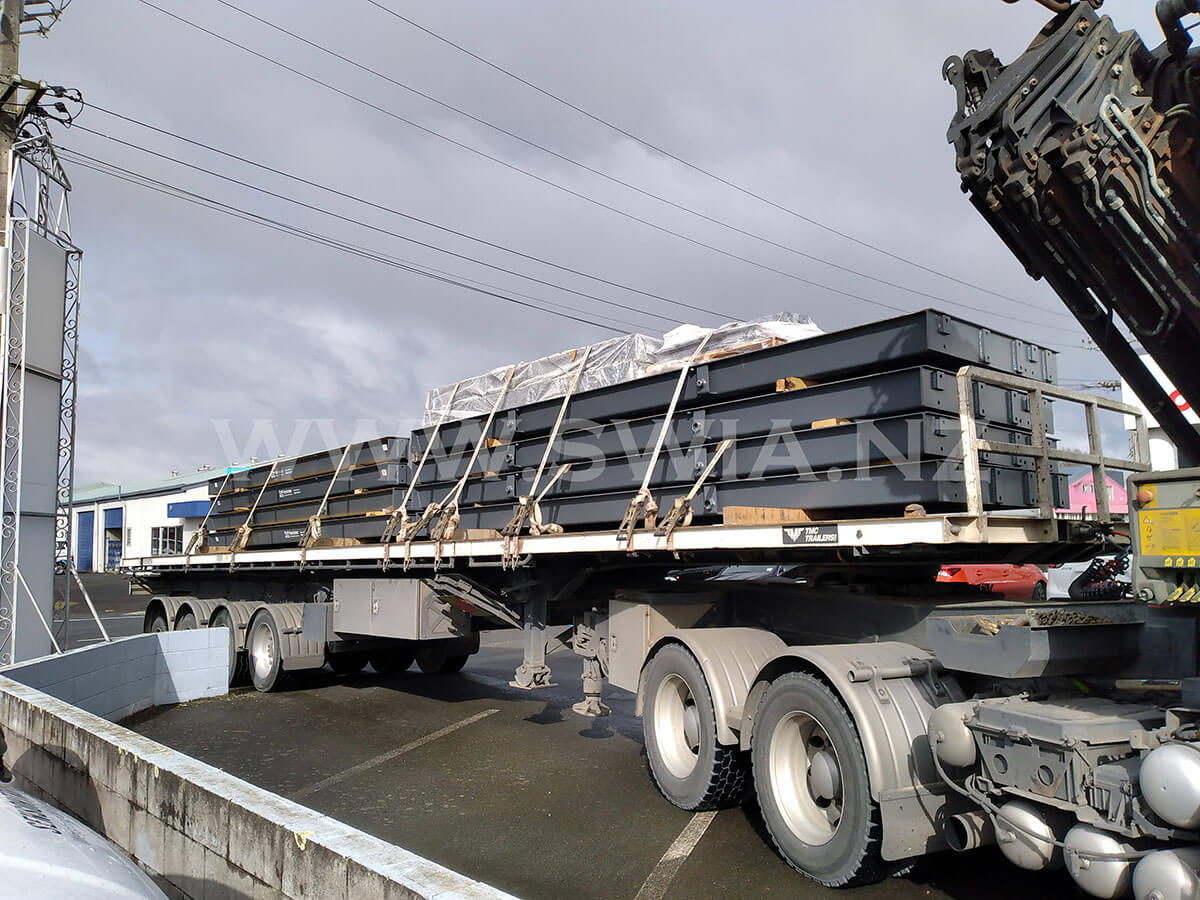
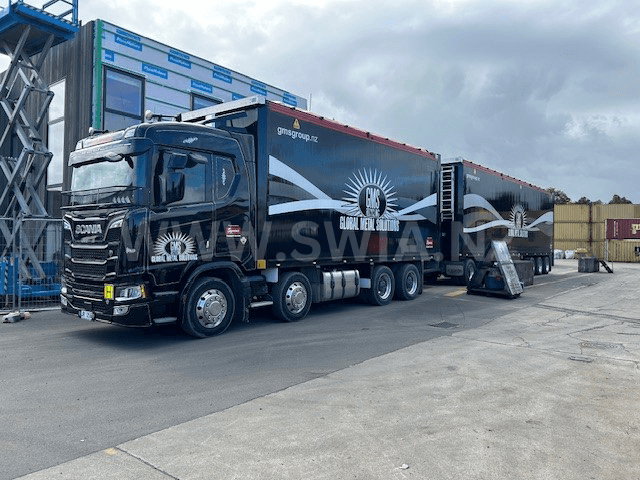
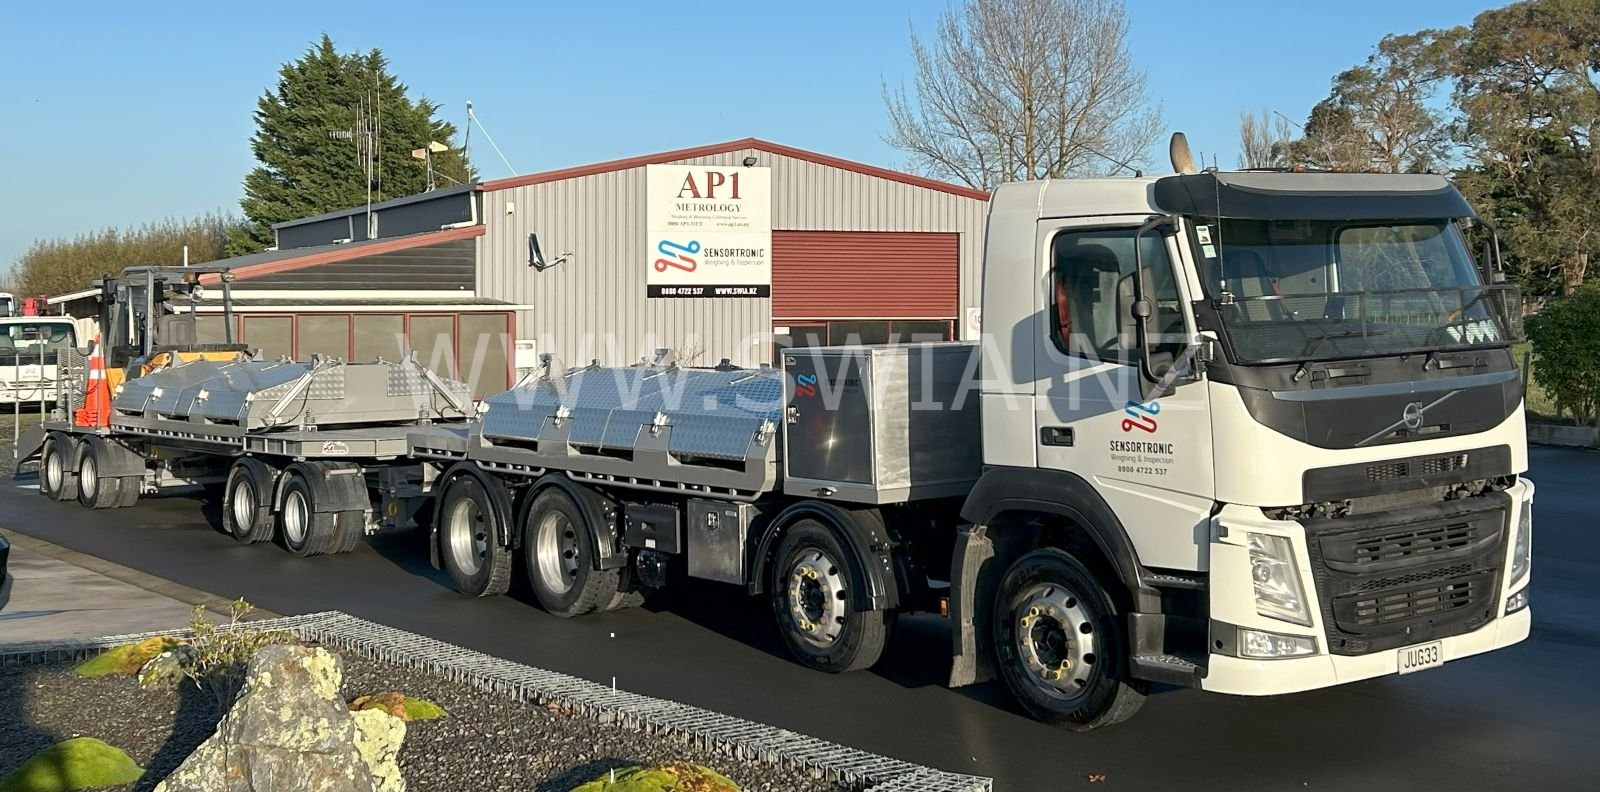
PROJECT PHOTOS
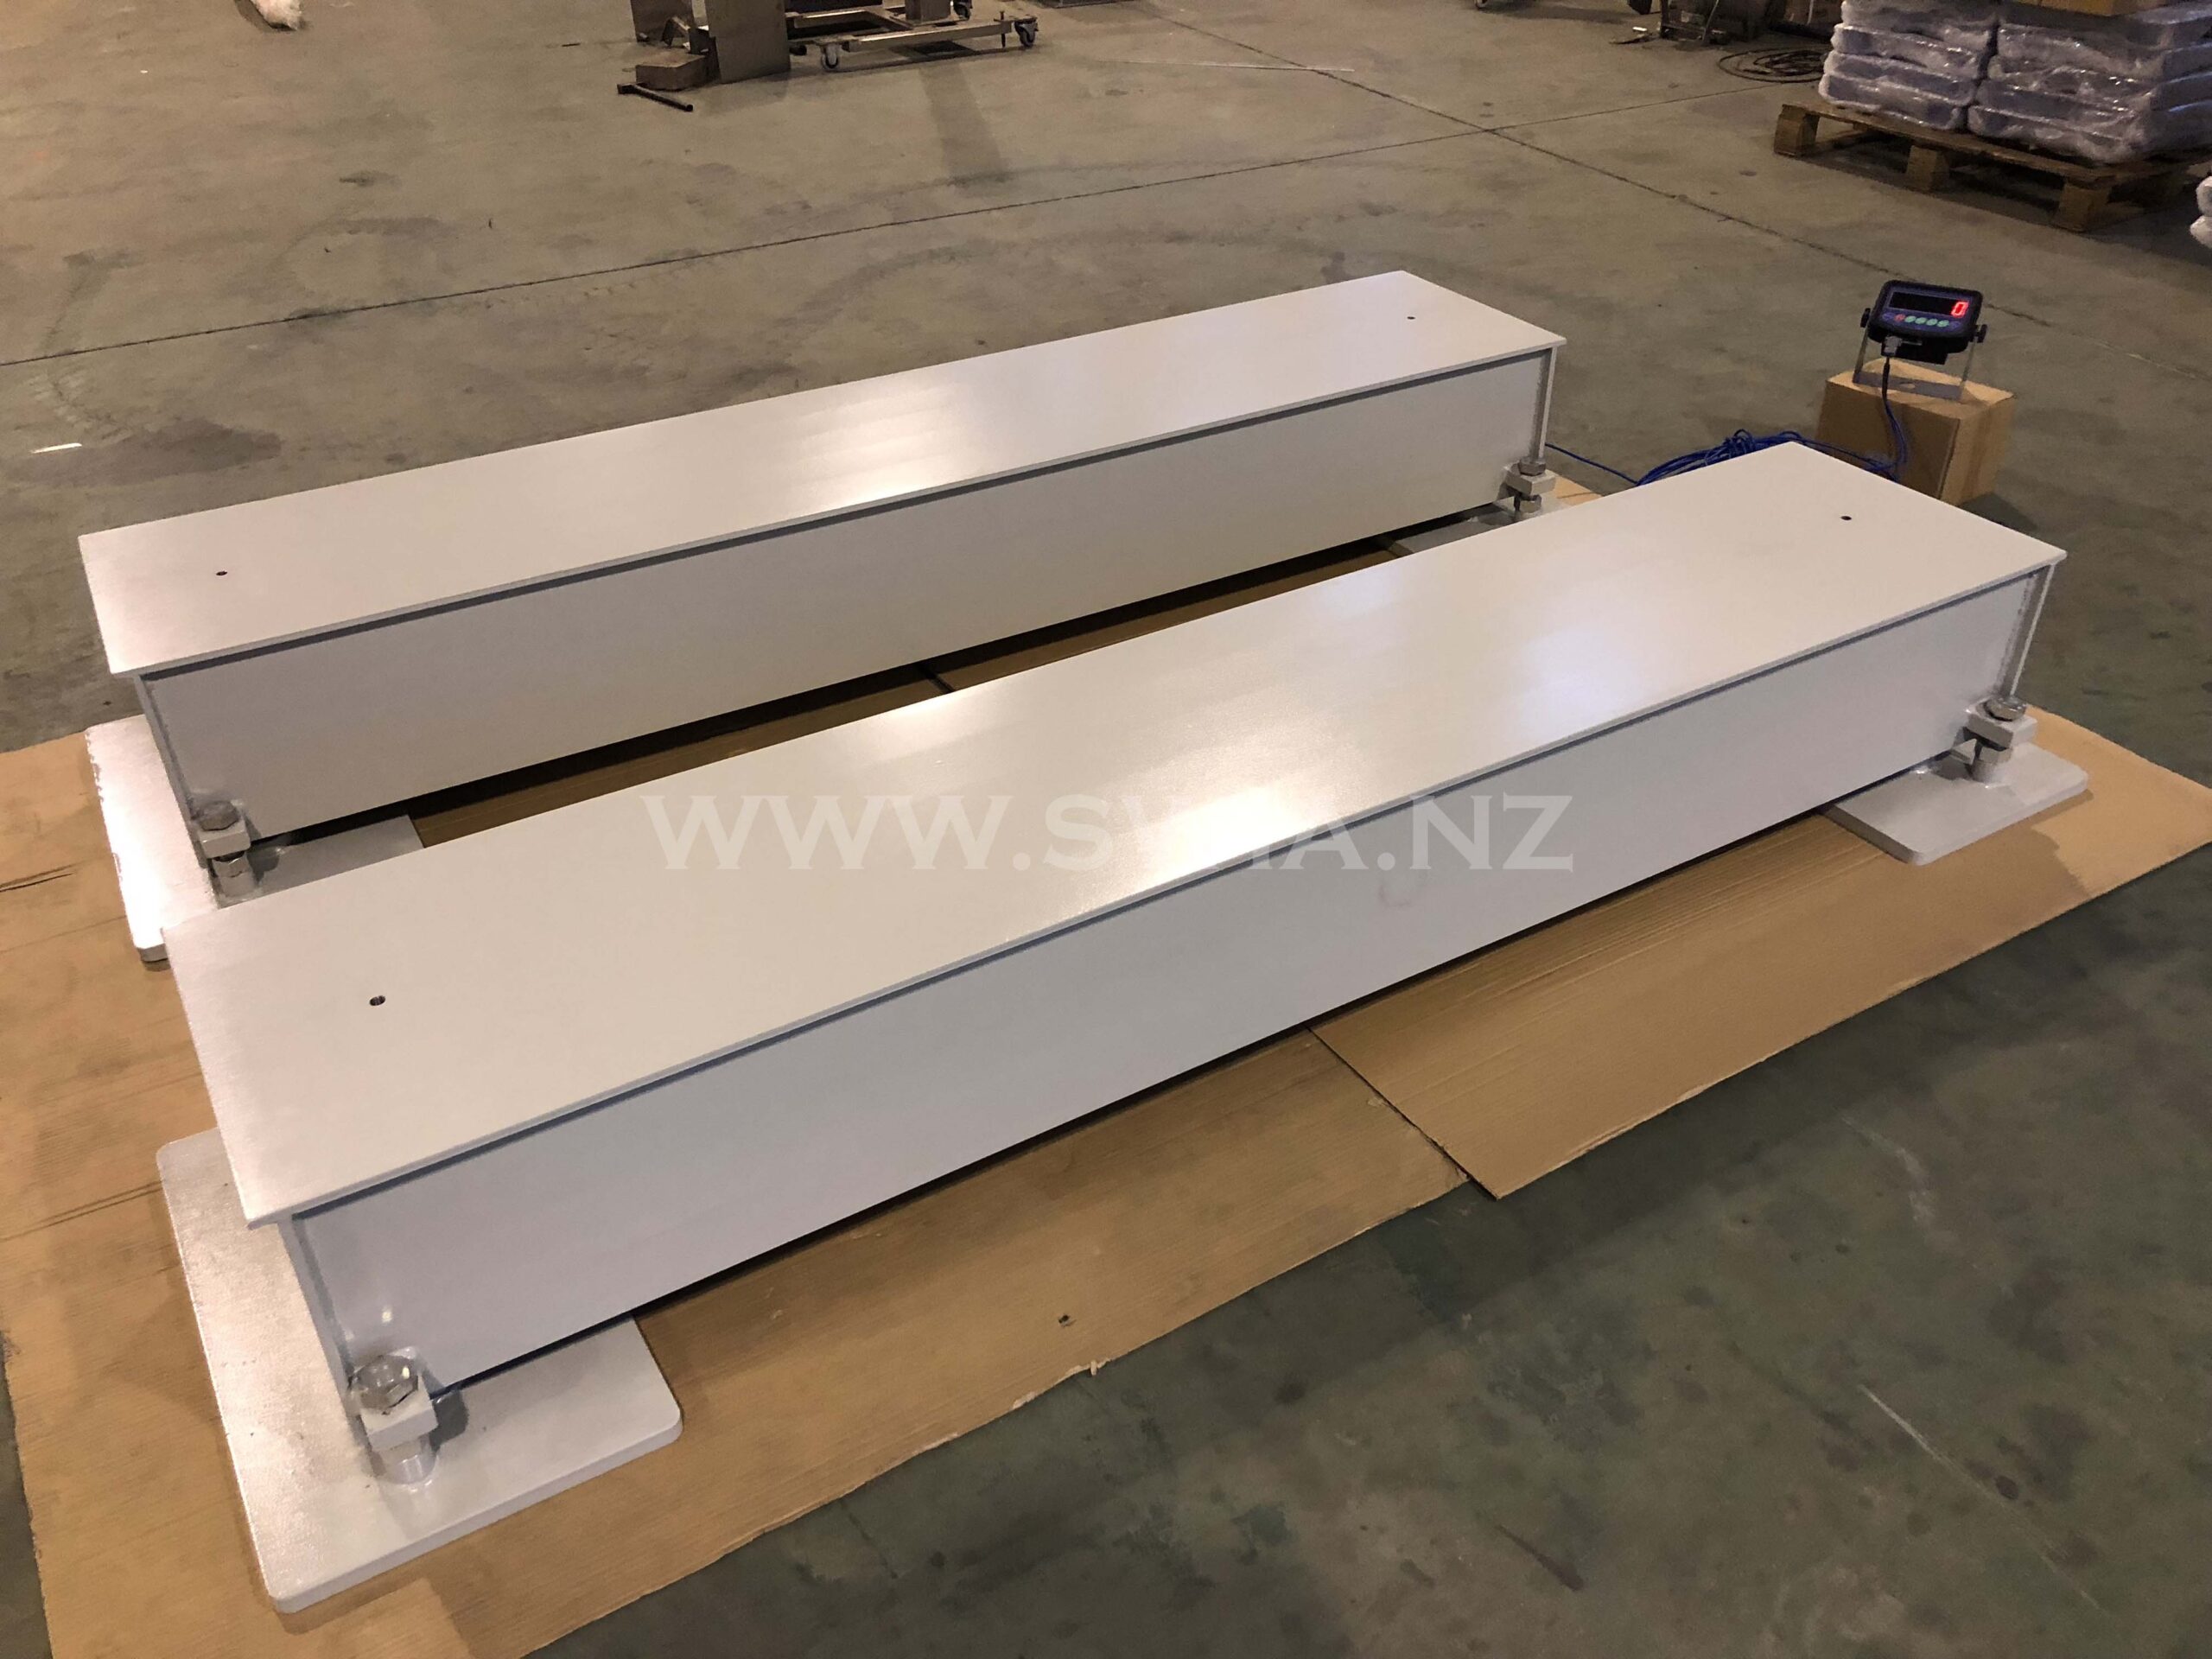
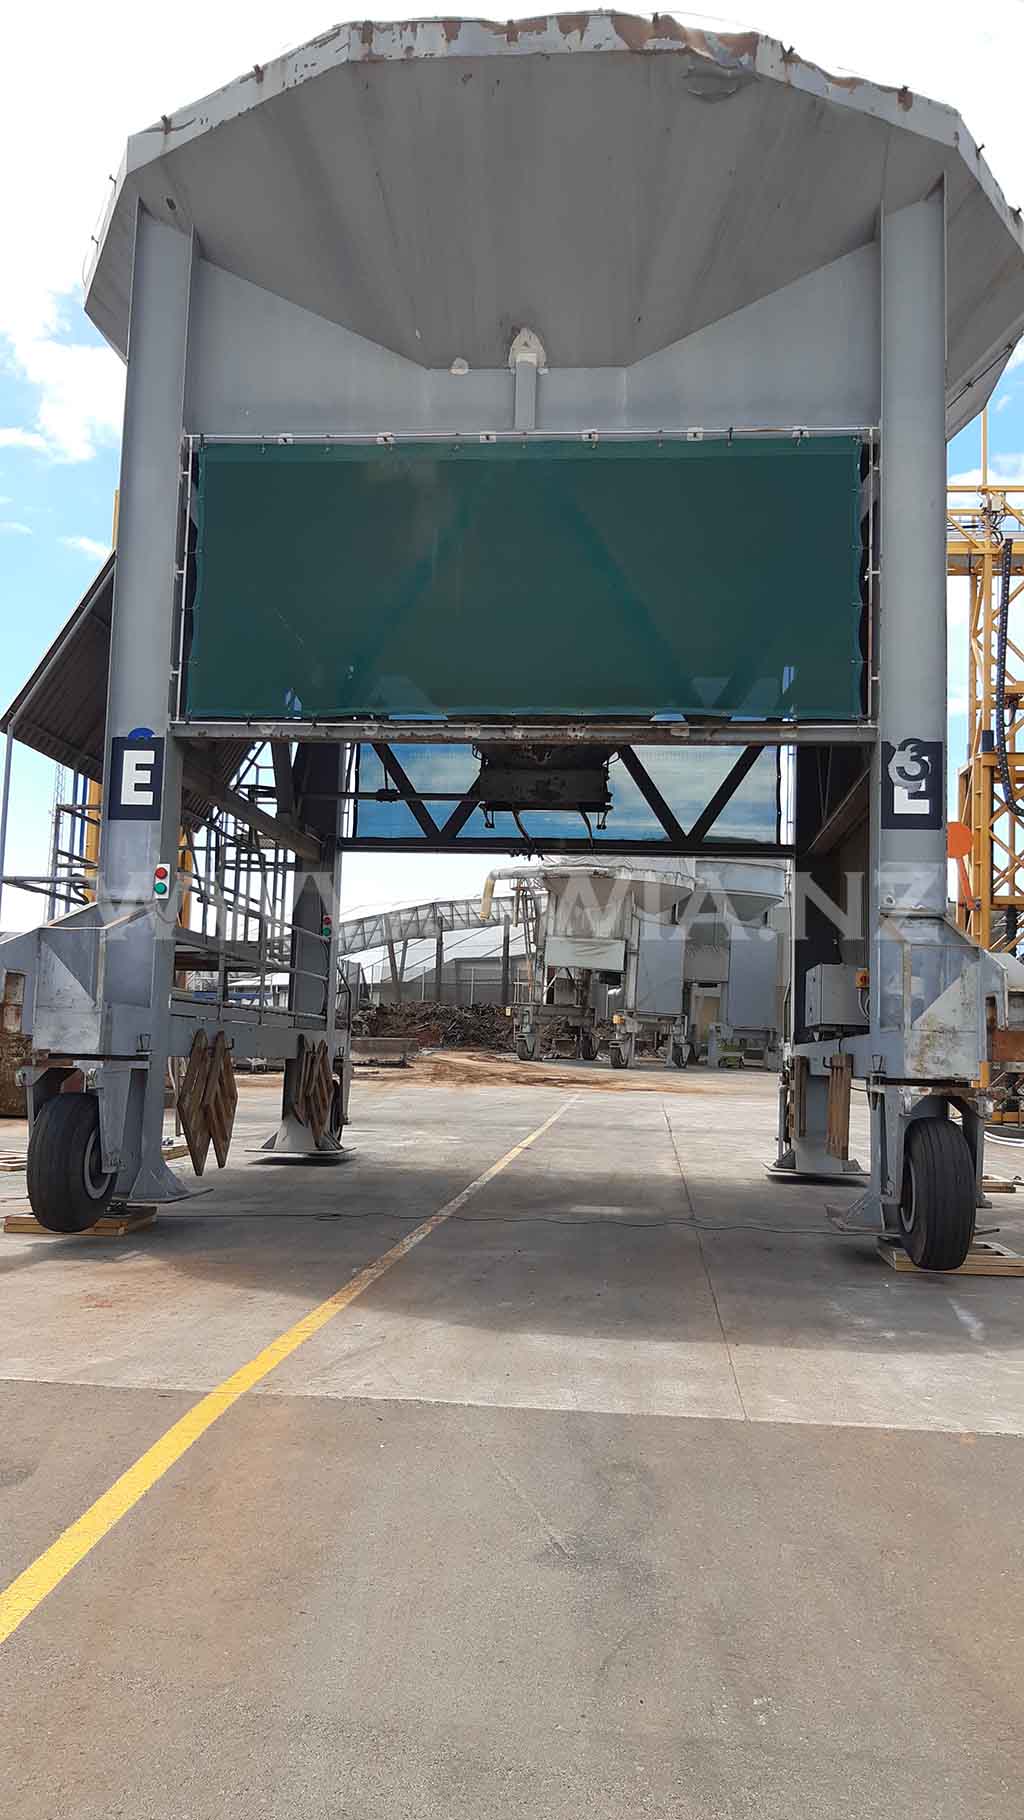
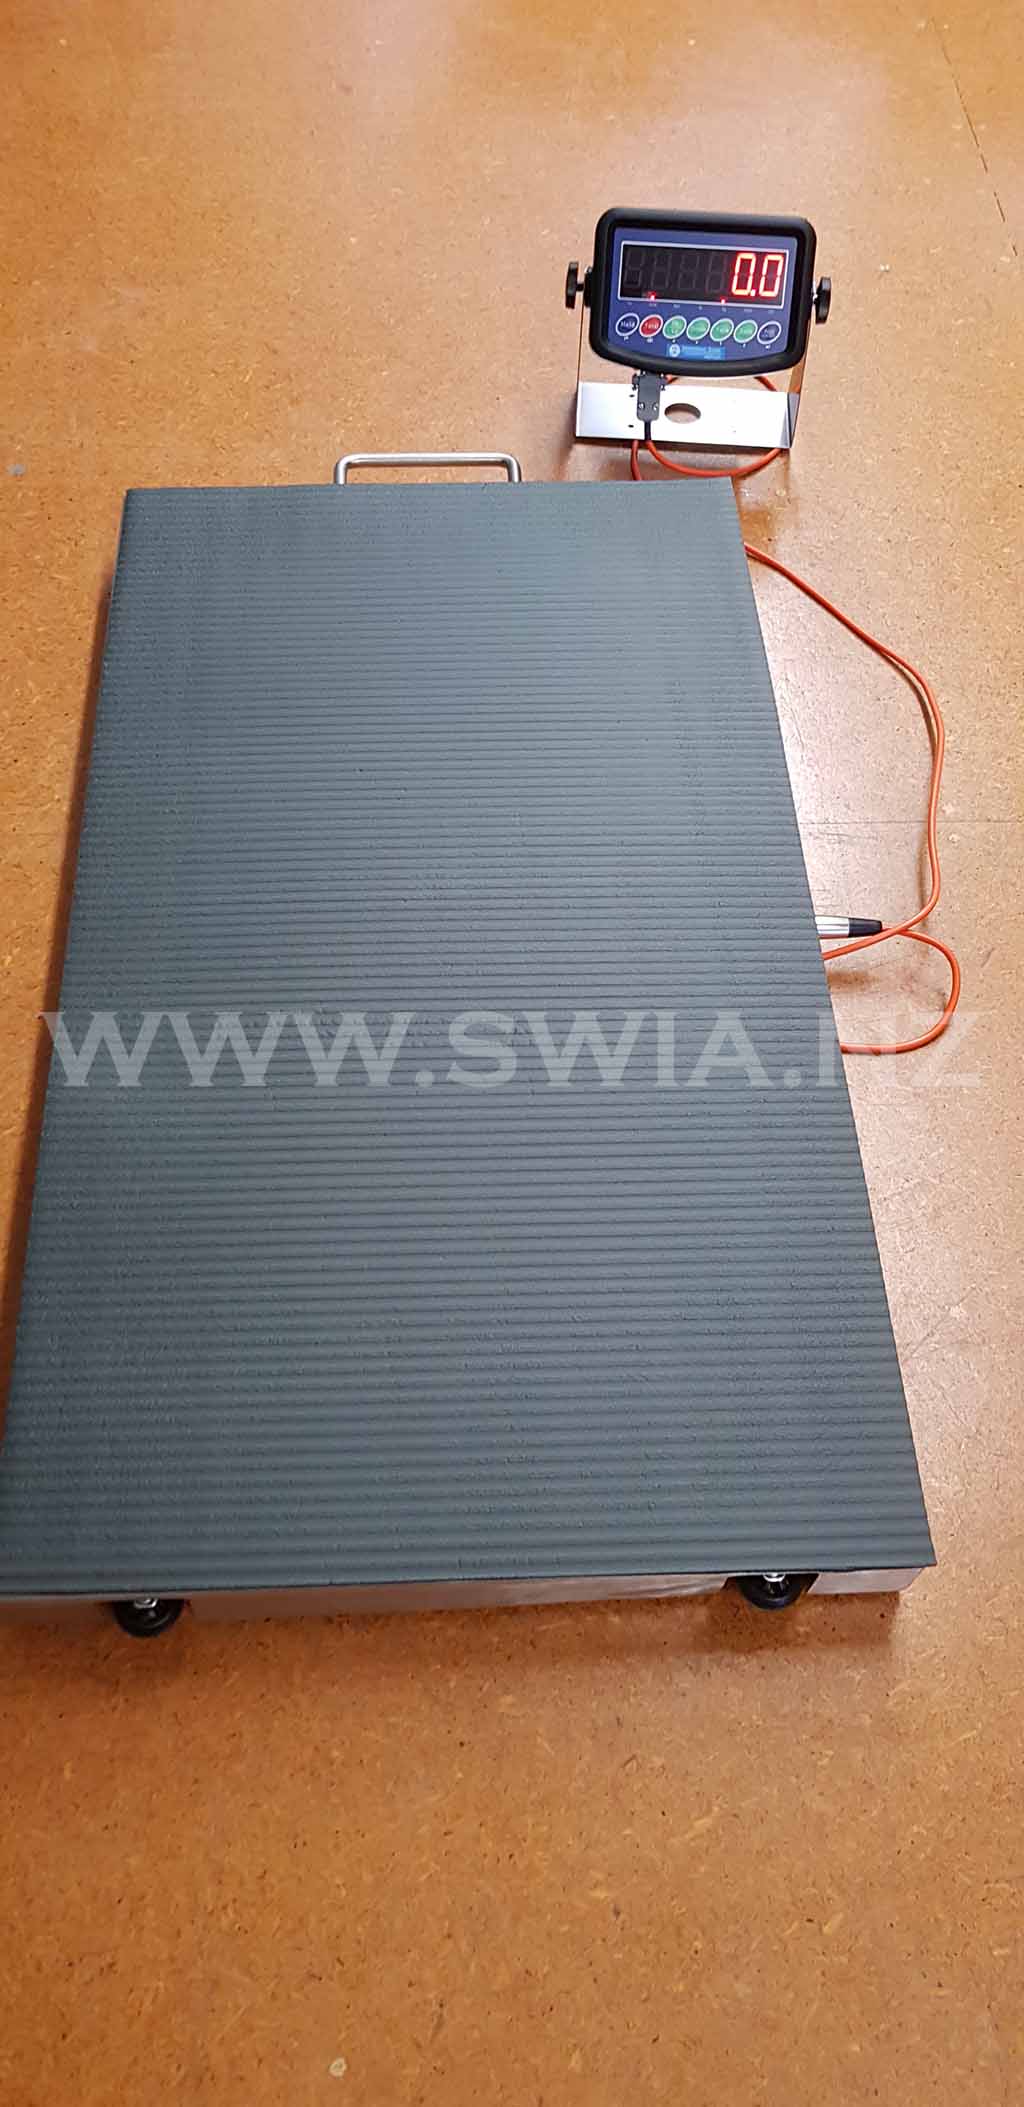
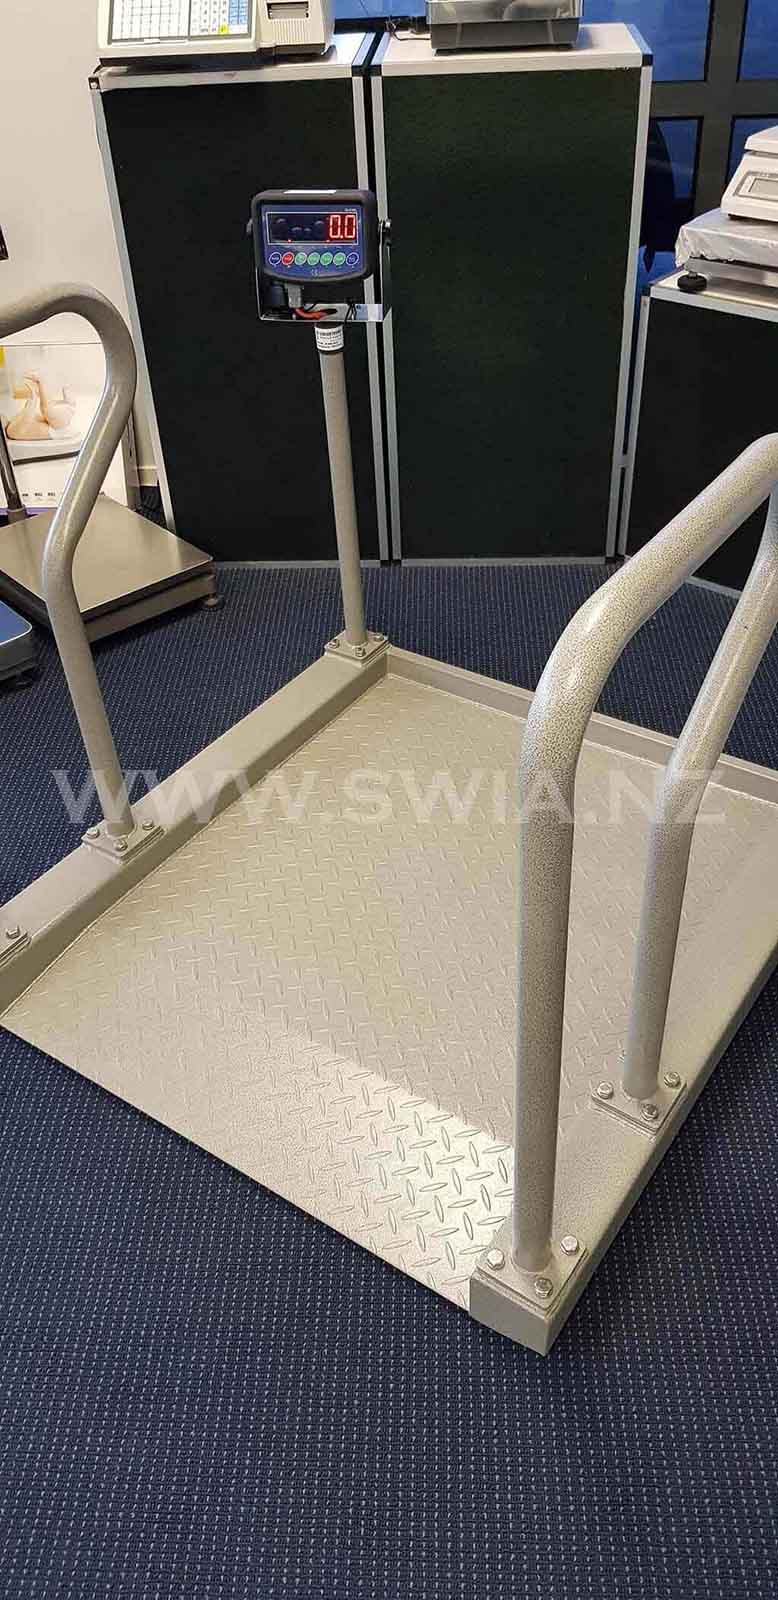
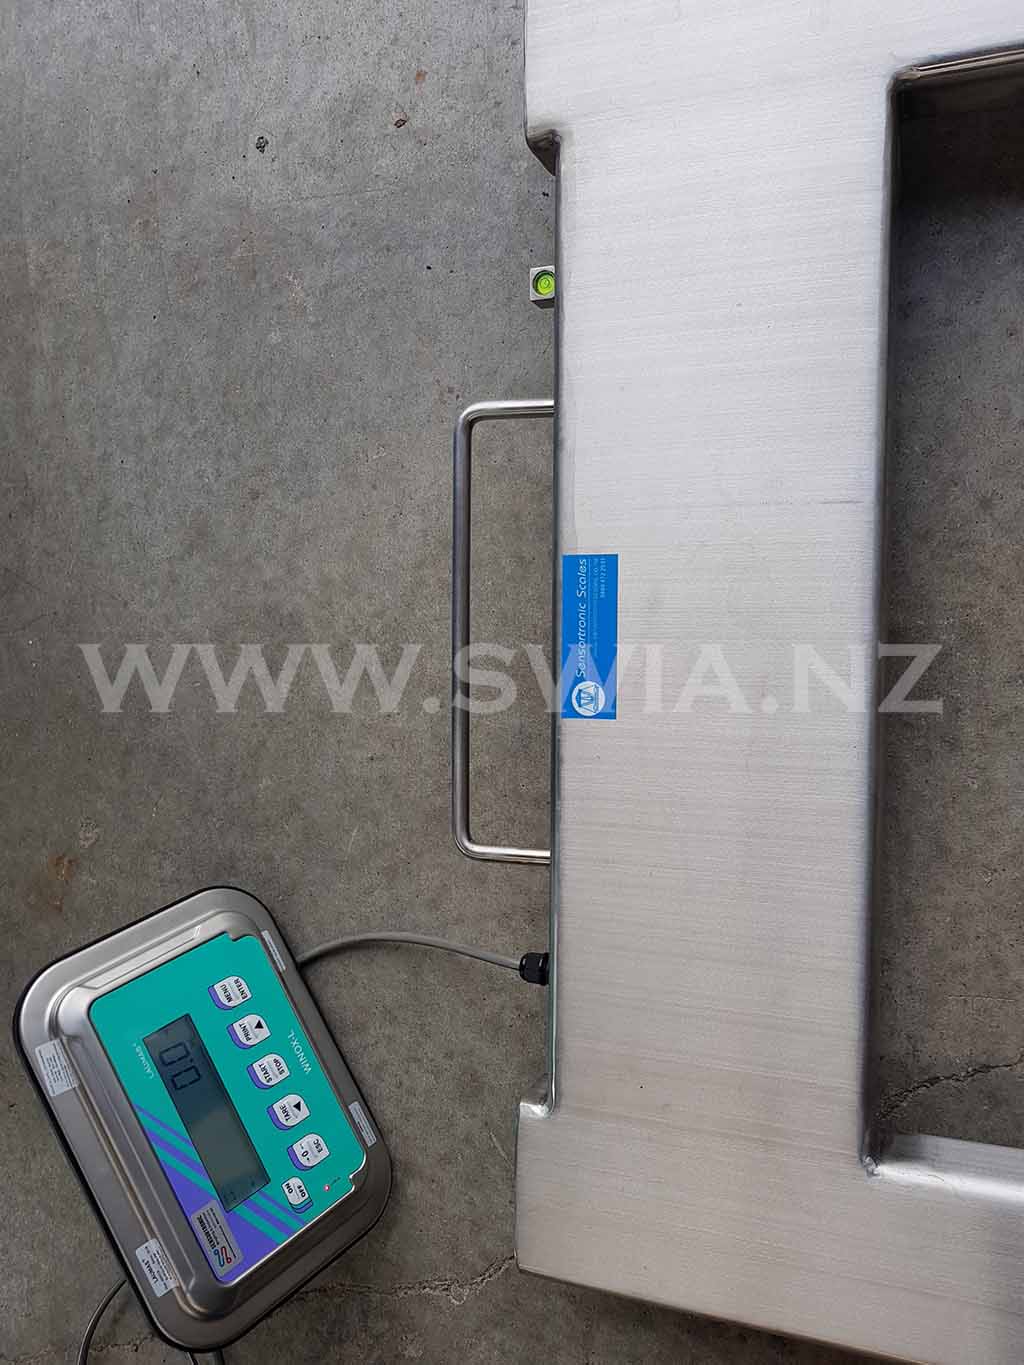
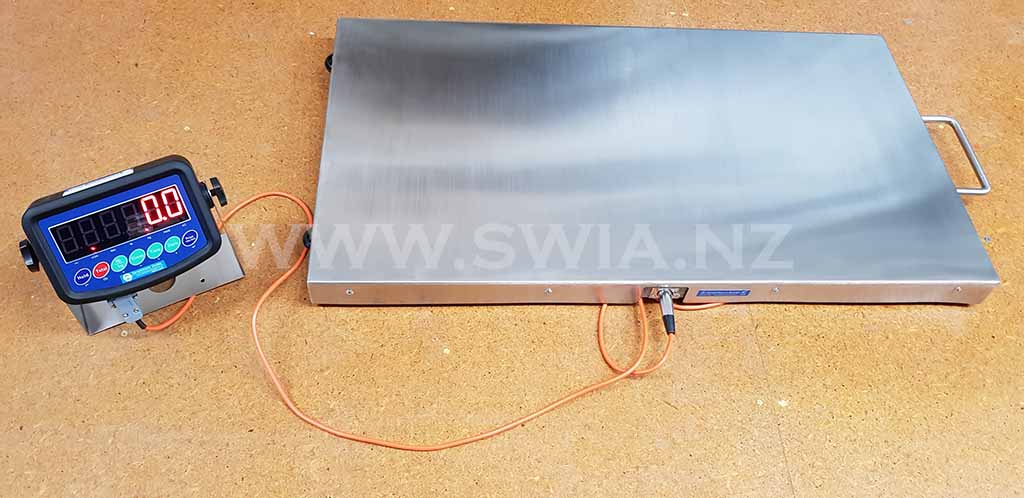
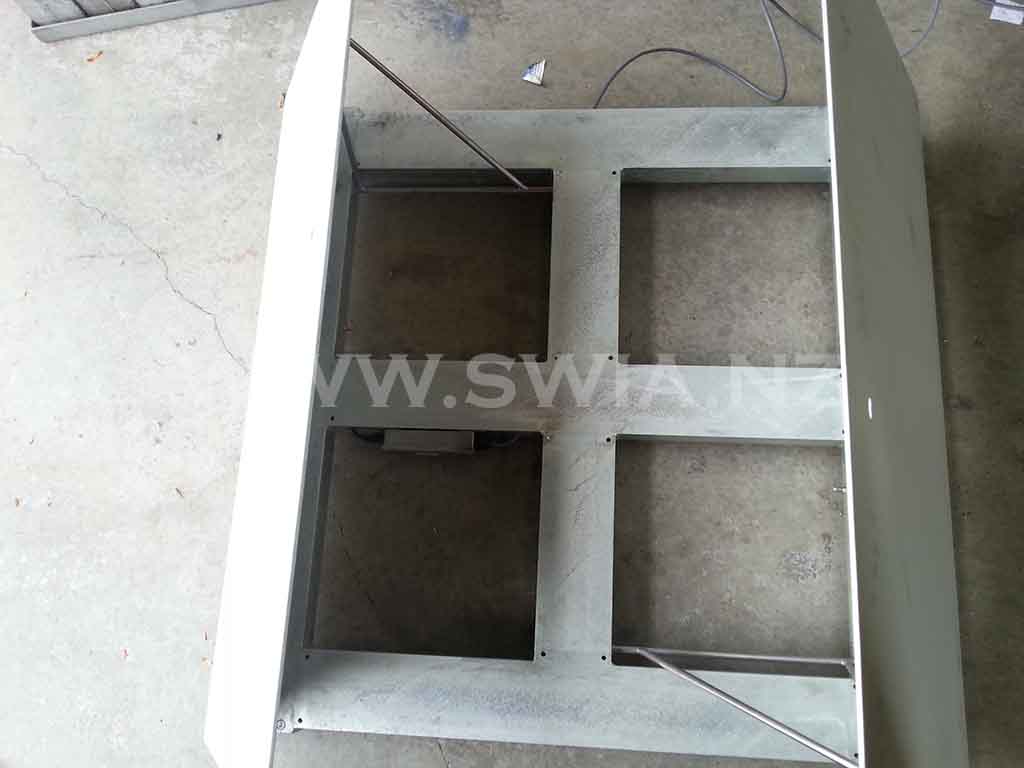
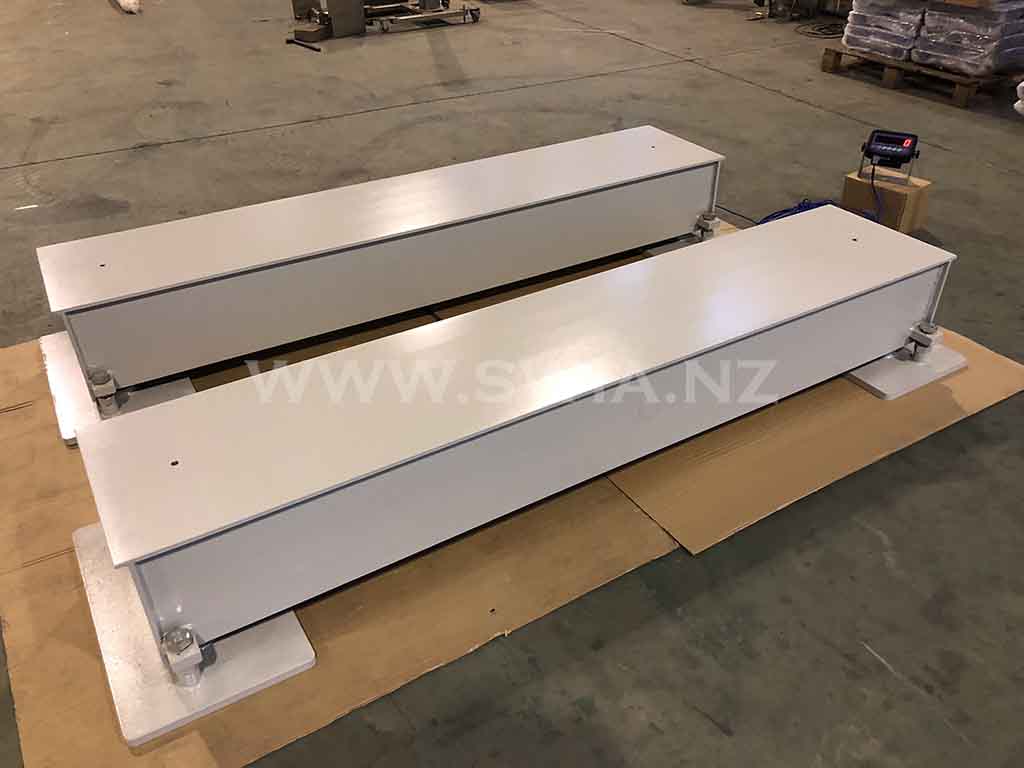
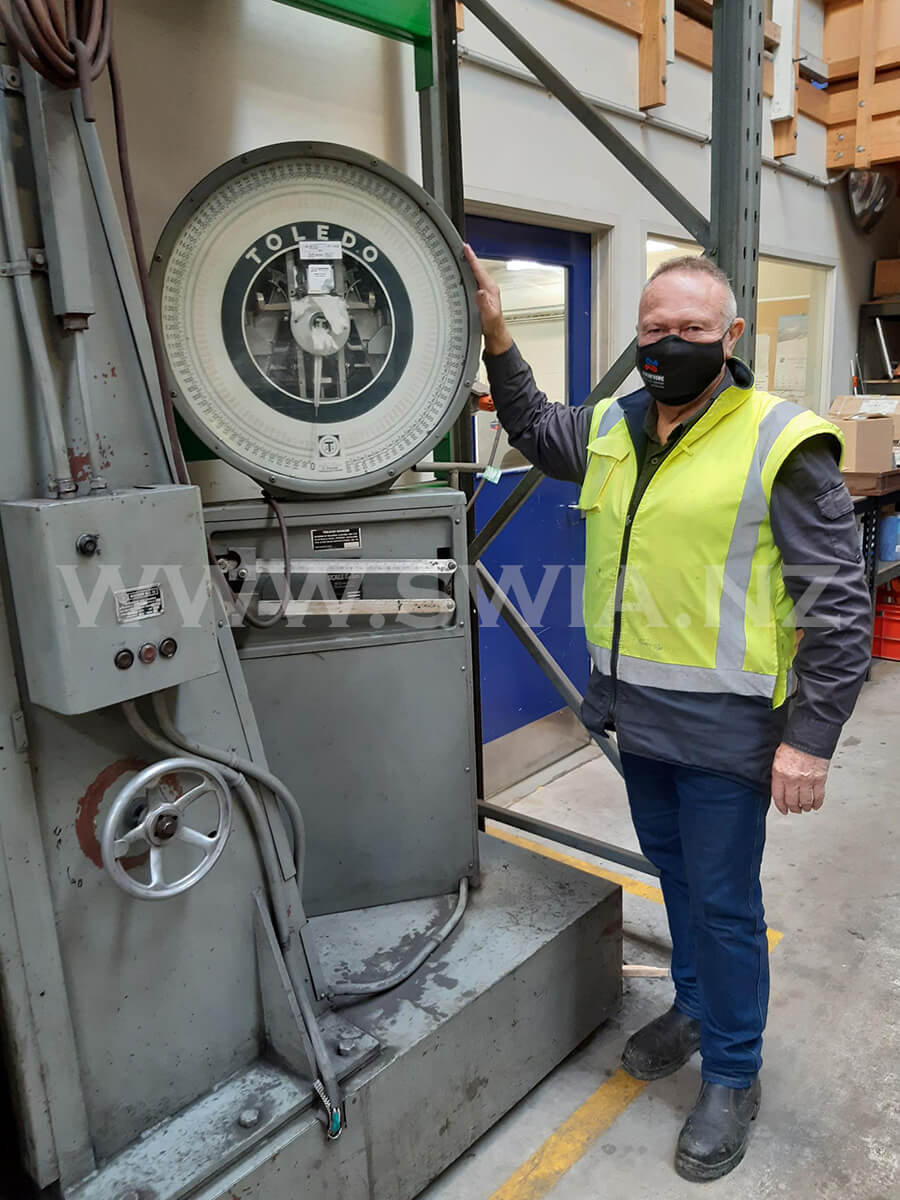
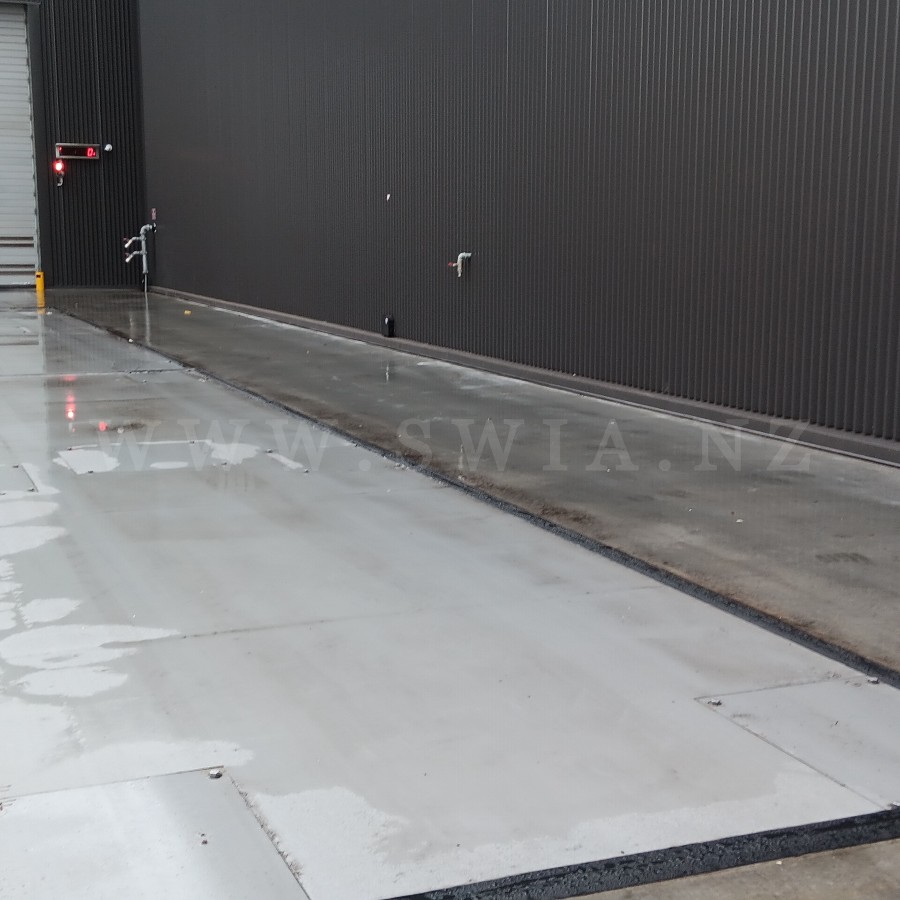
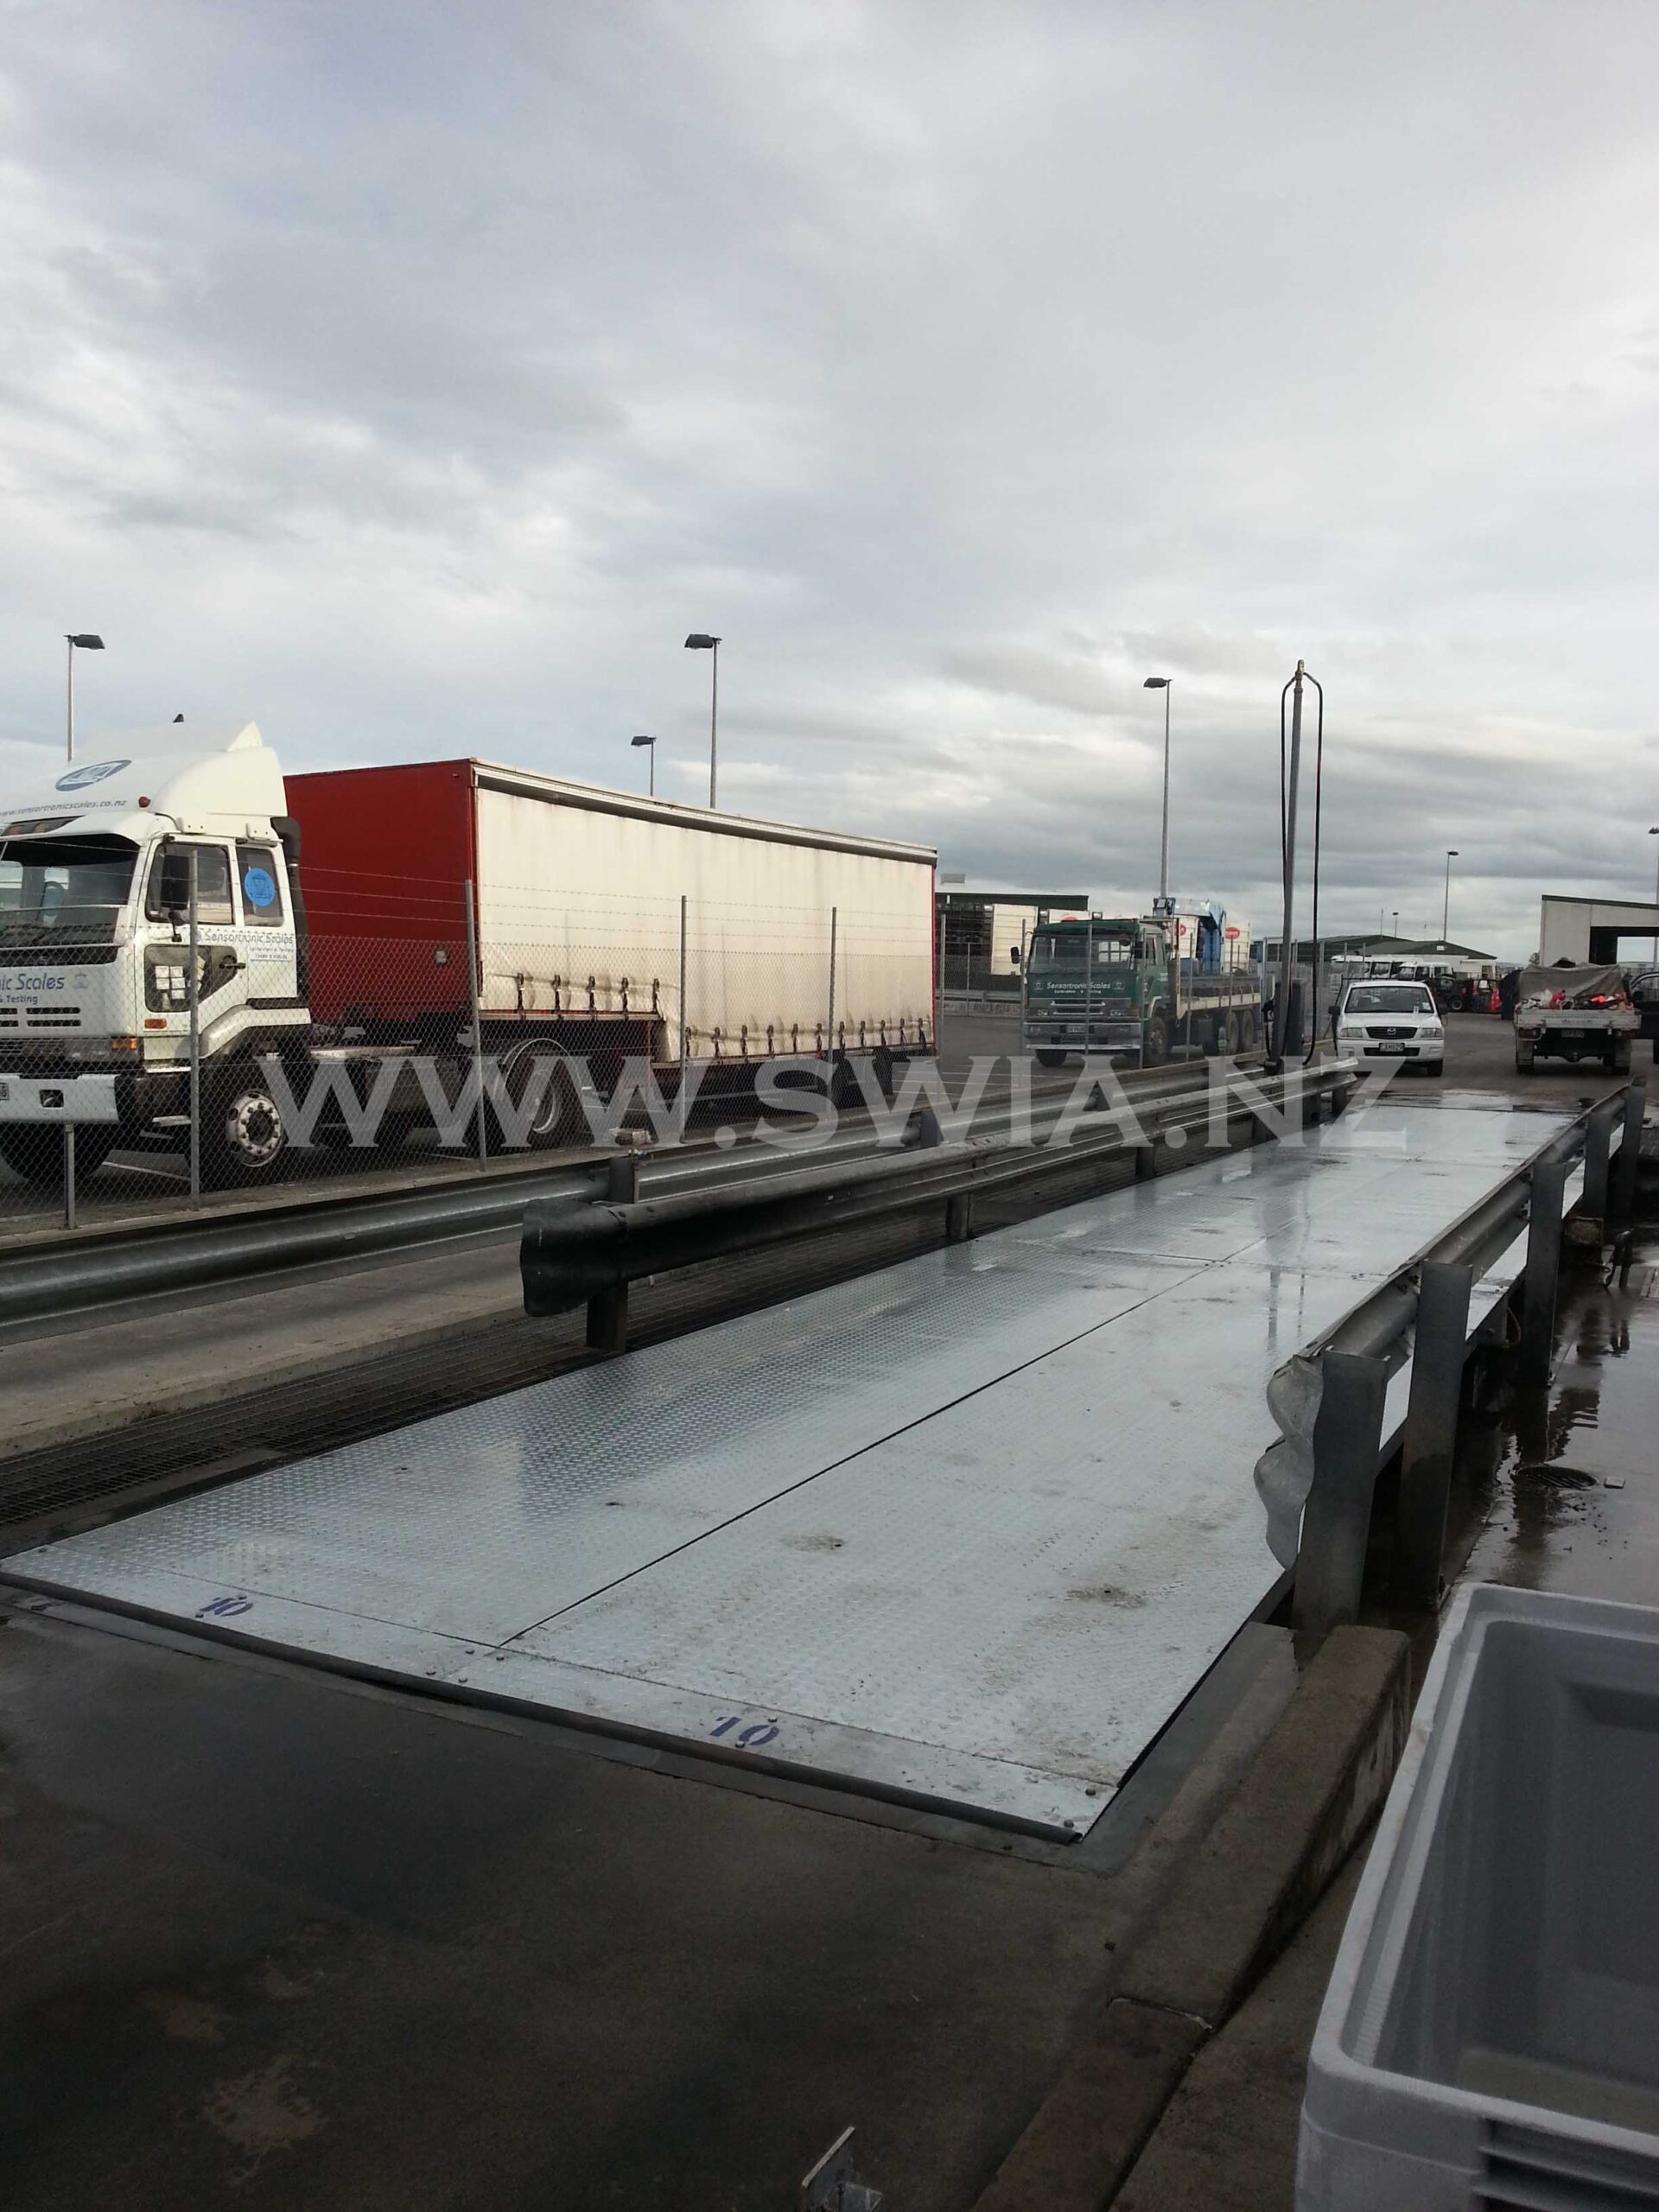
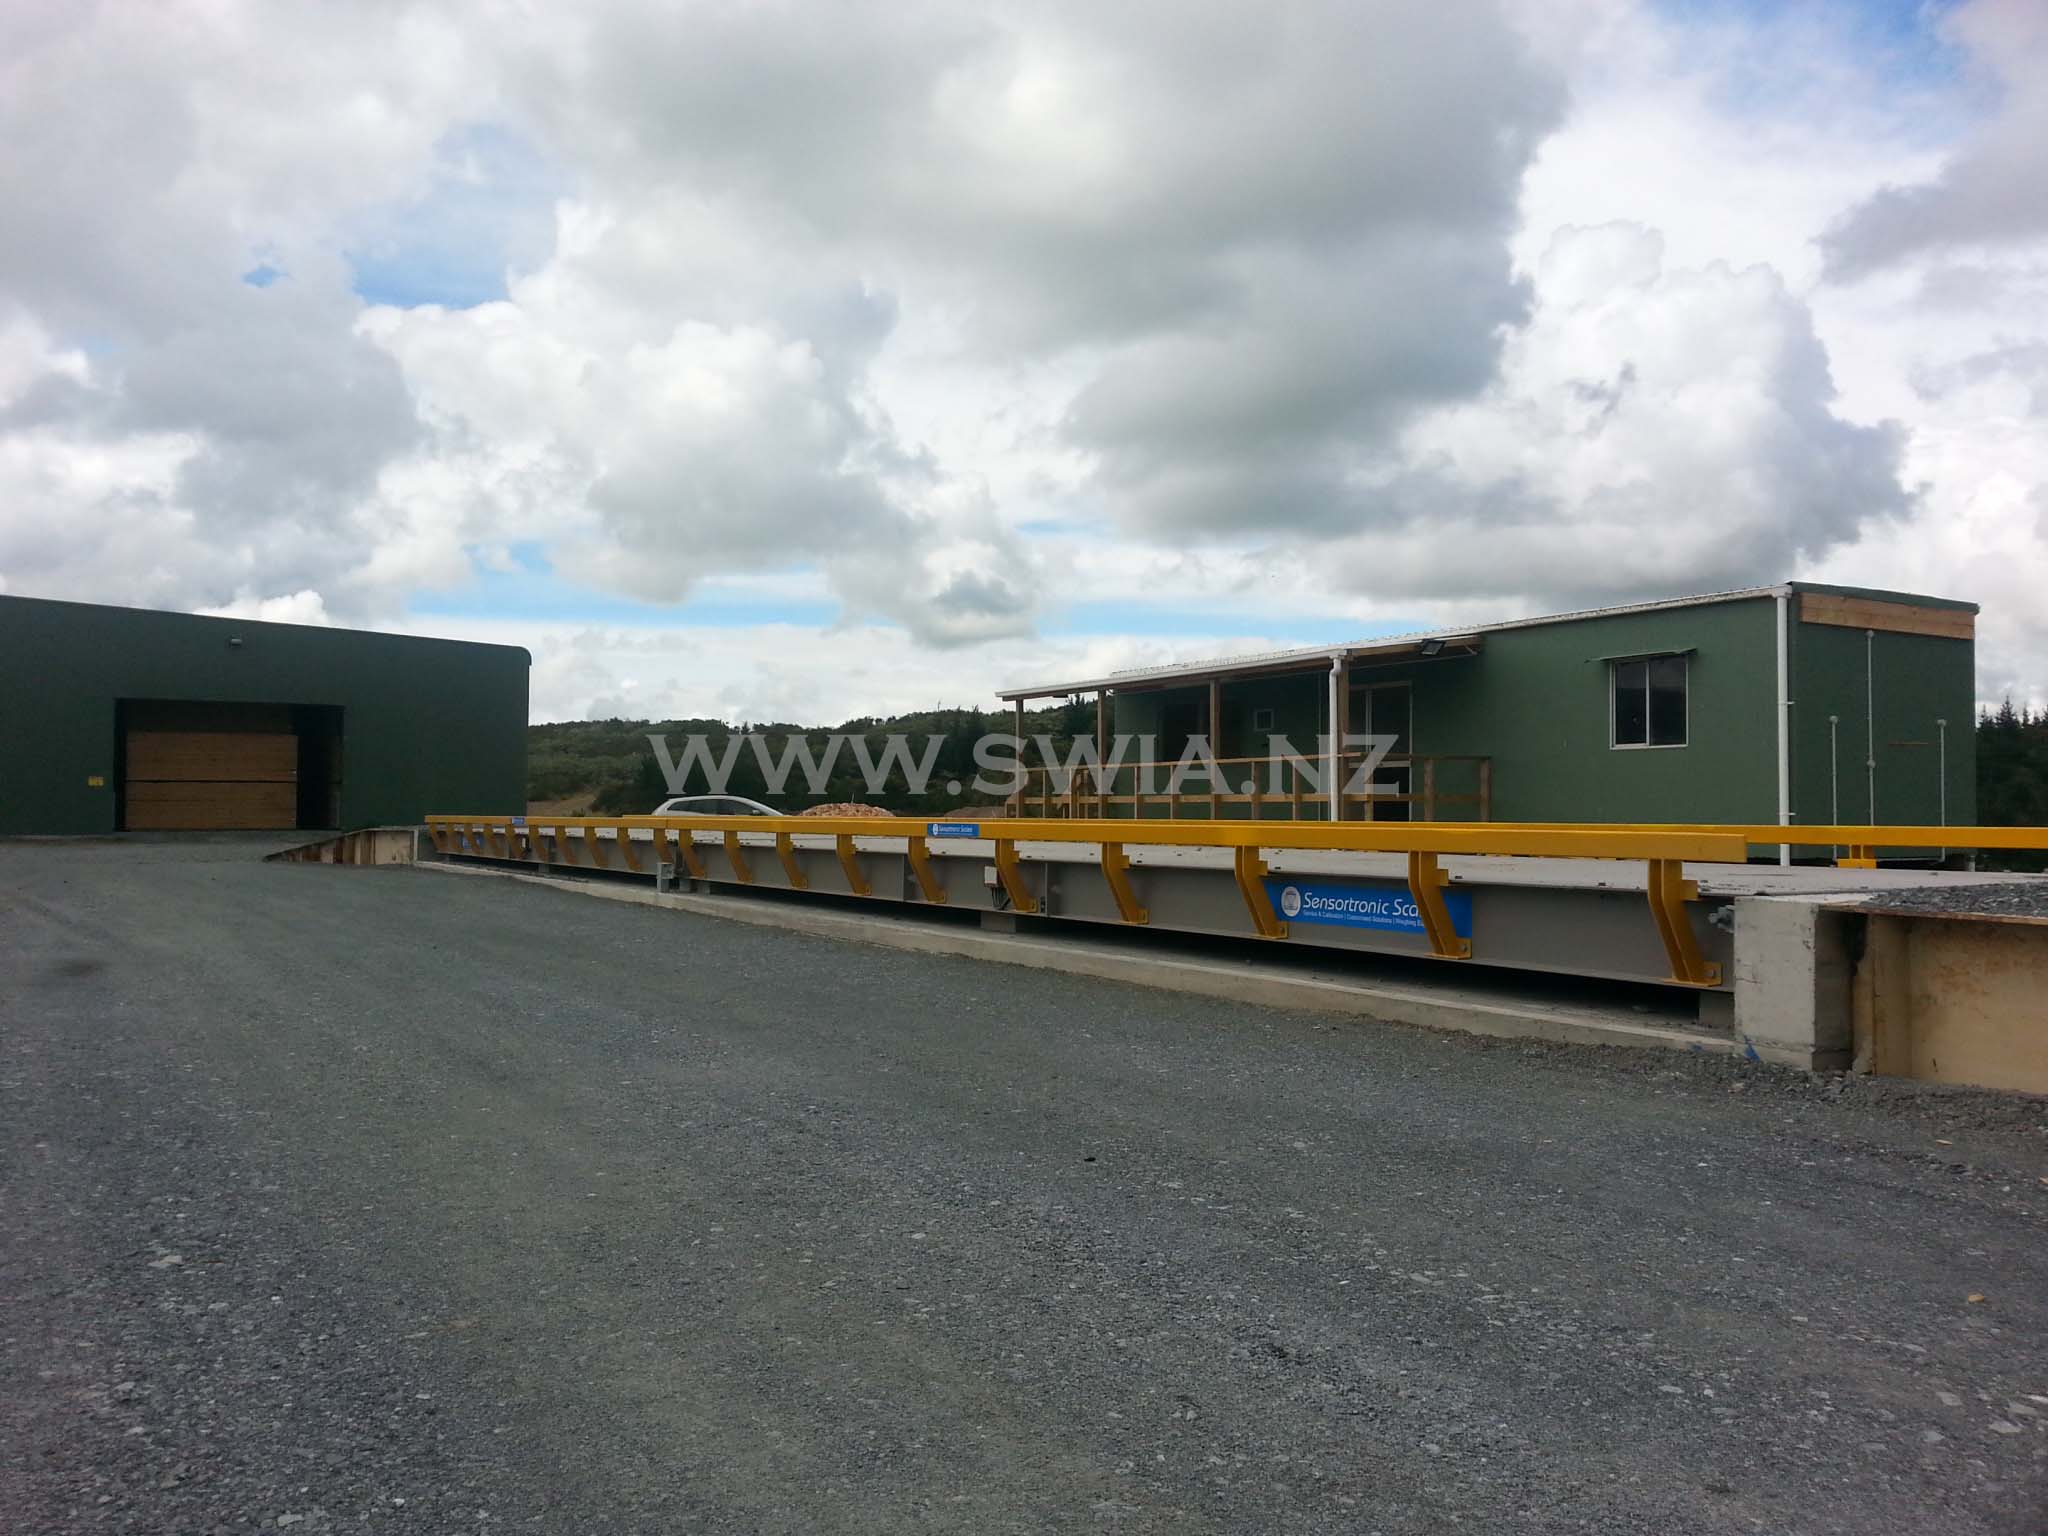
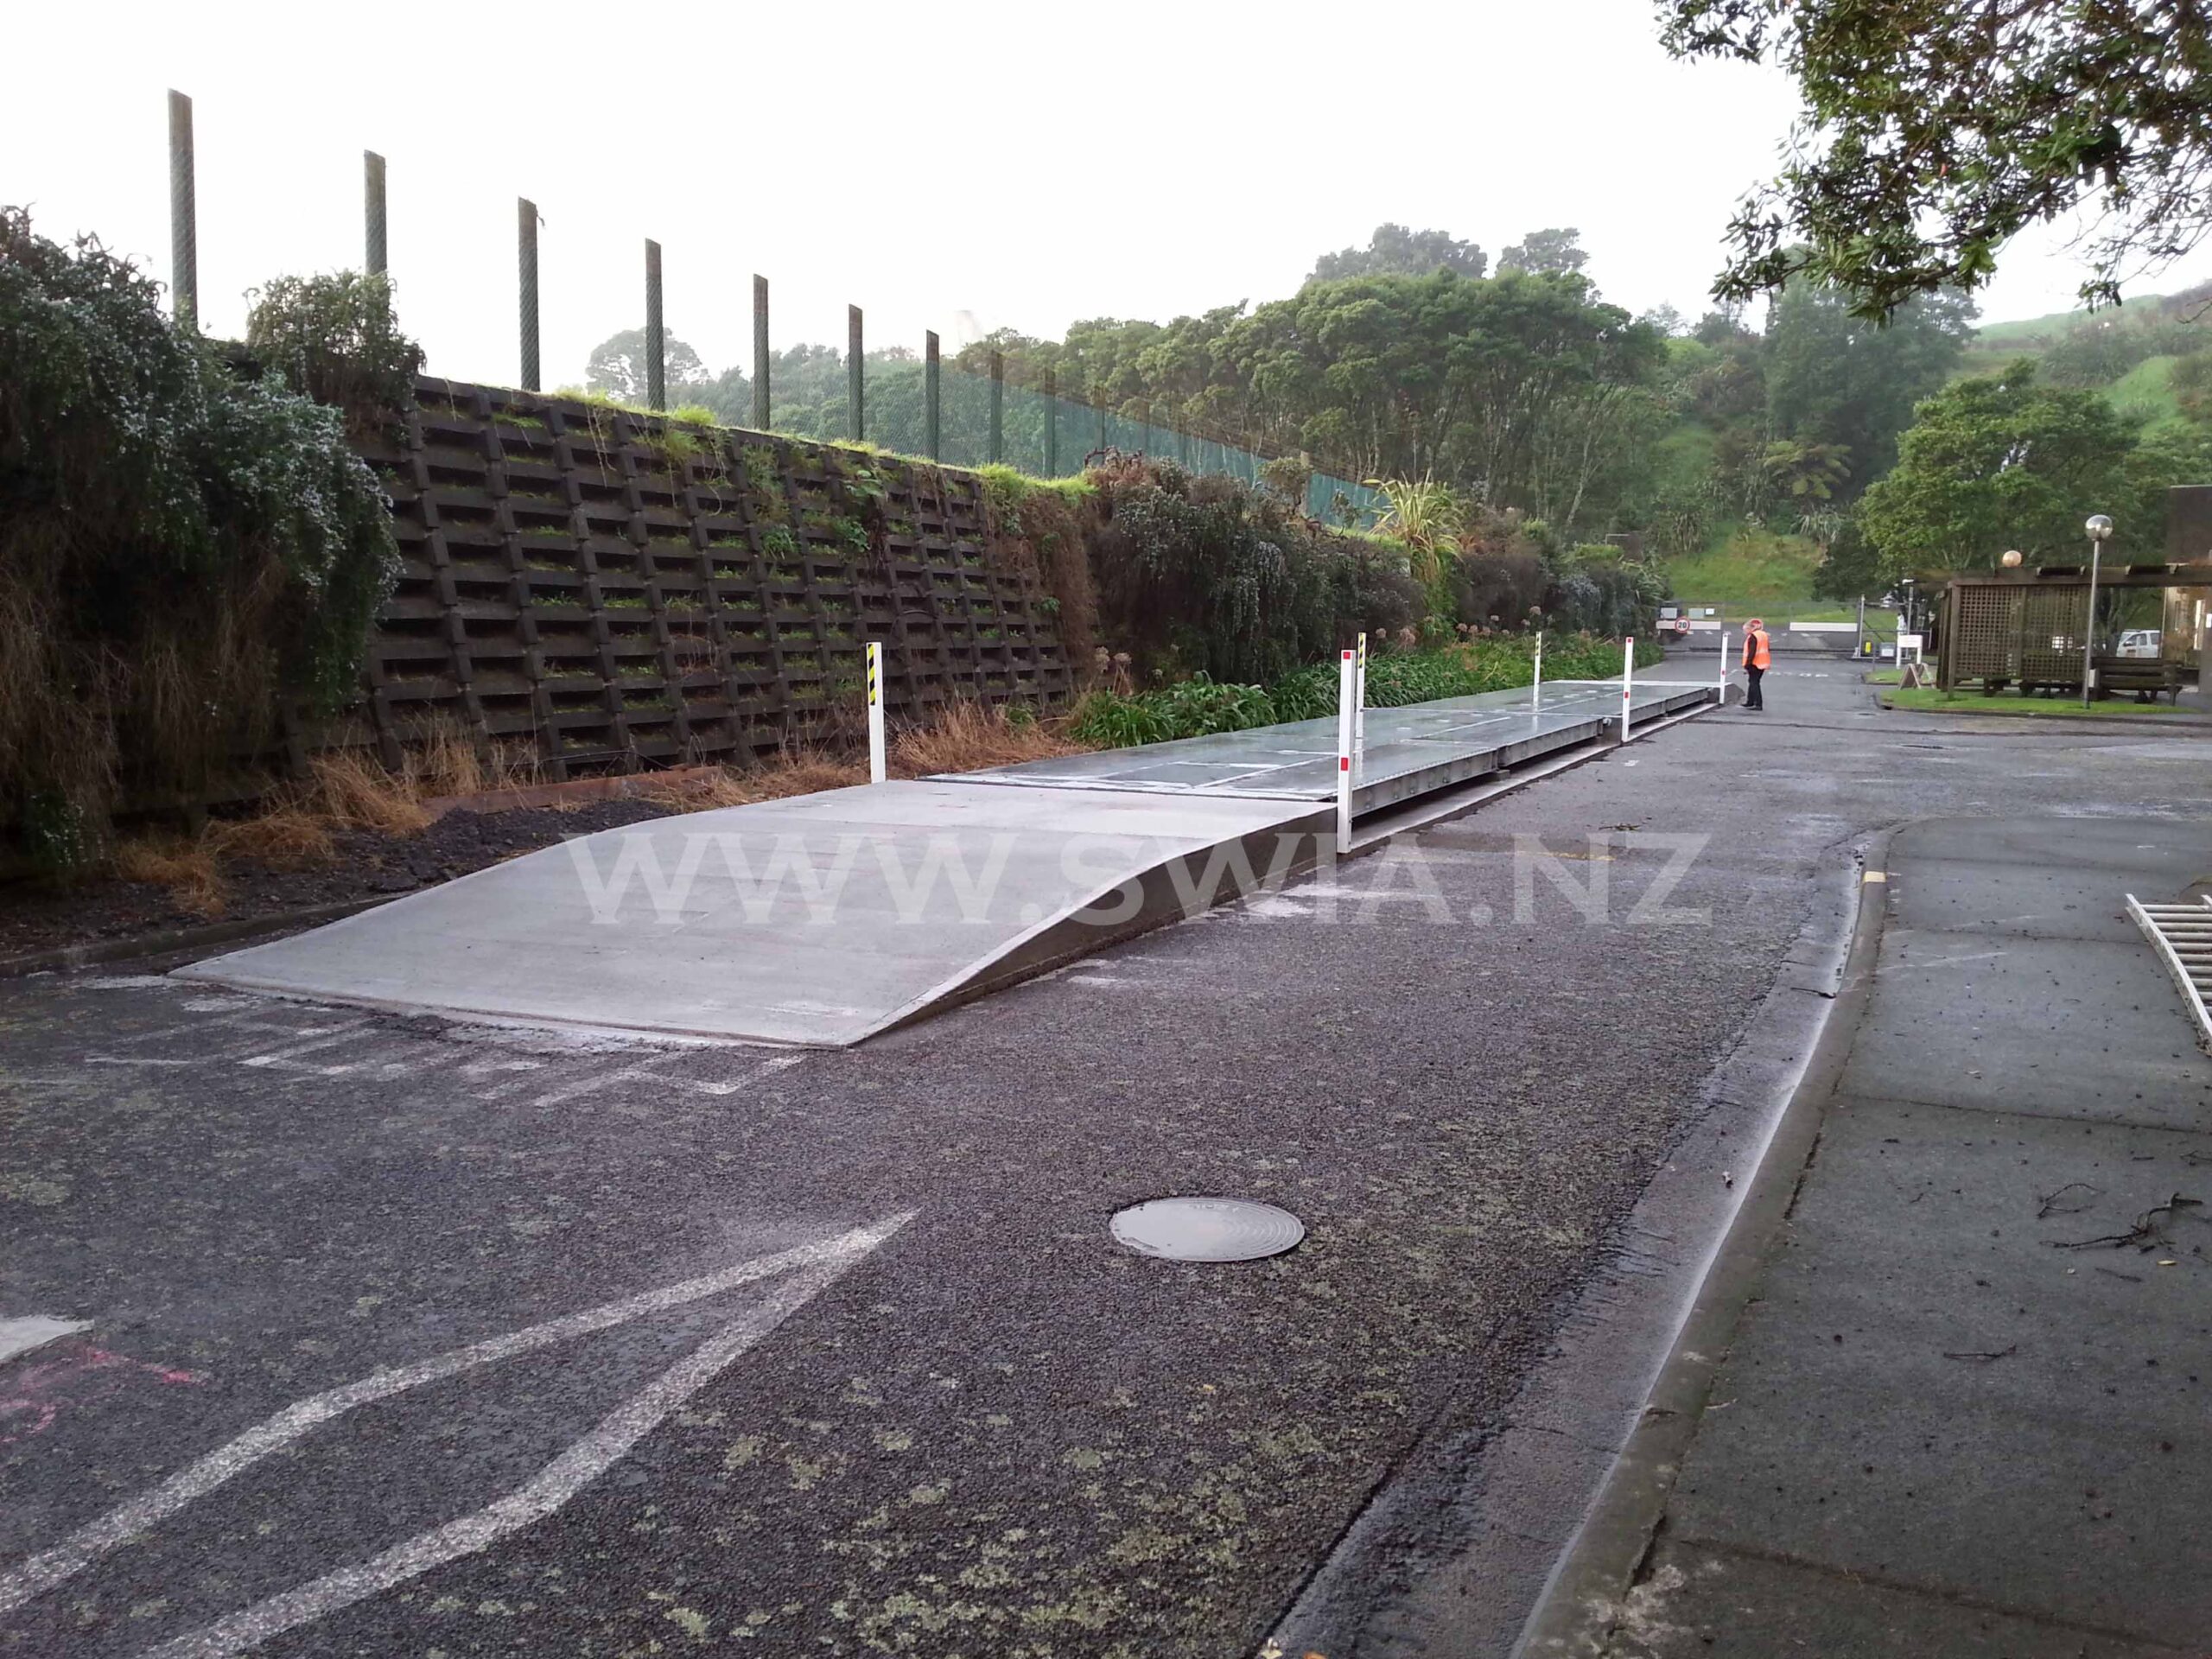
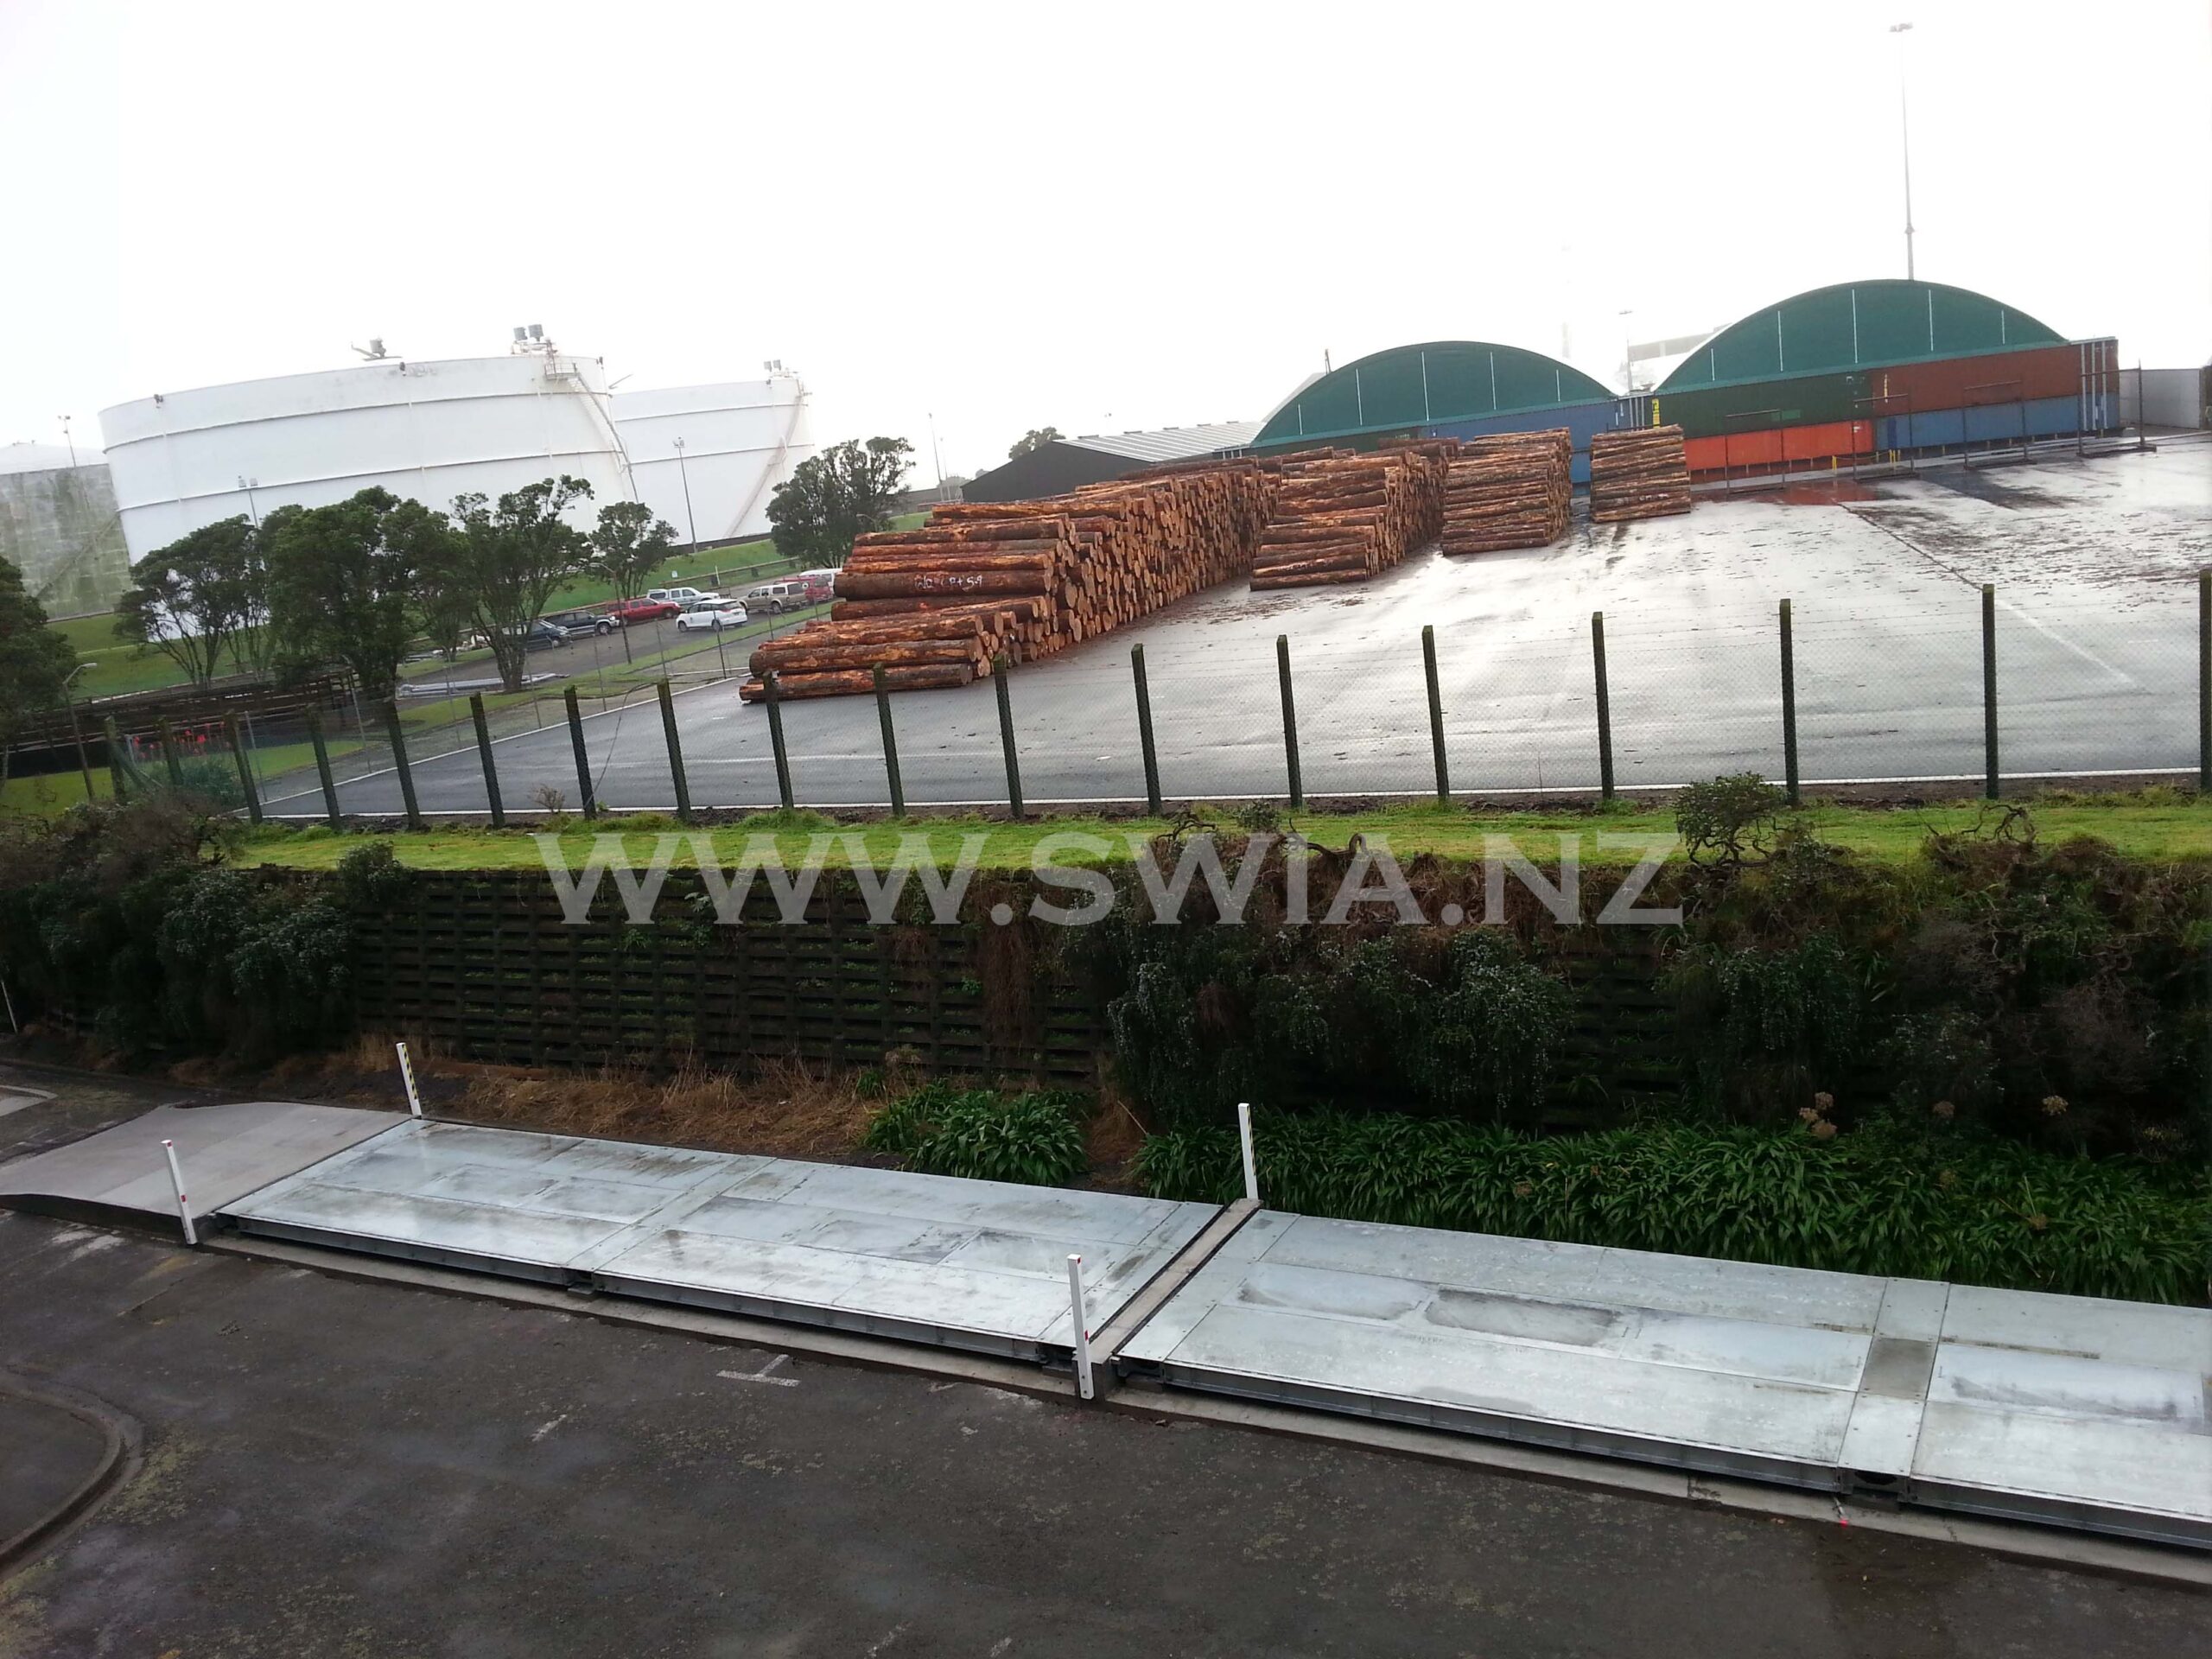
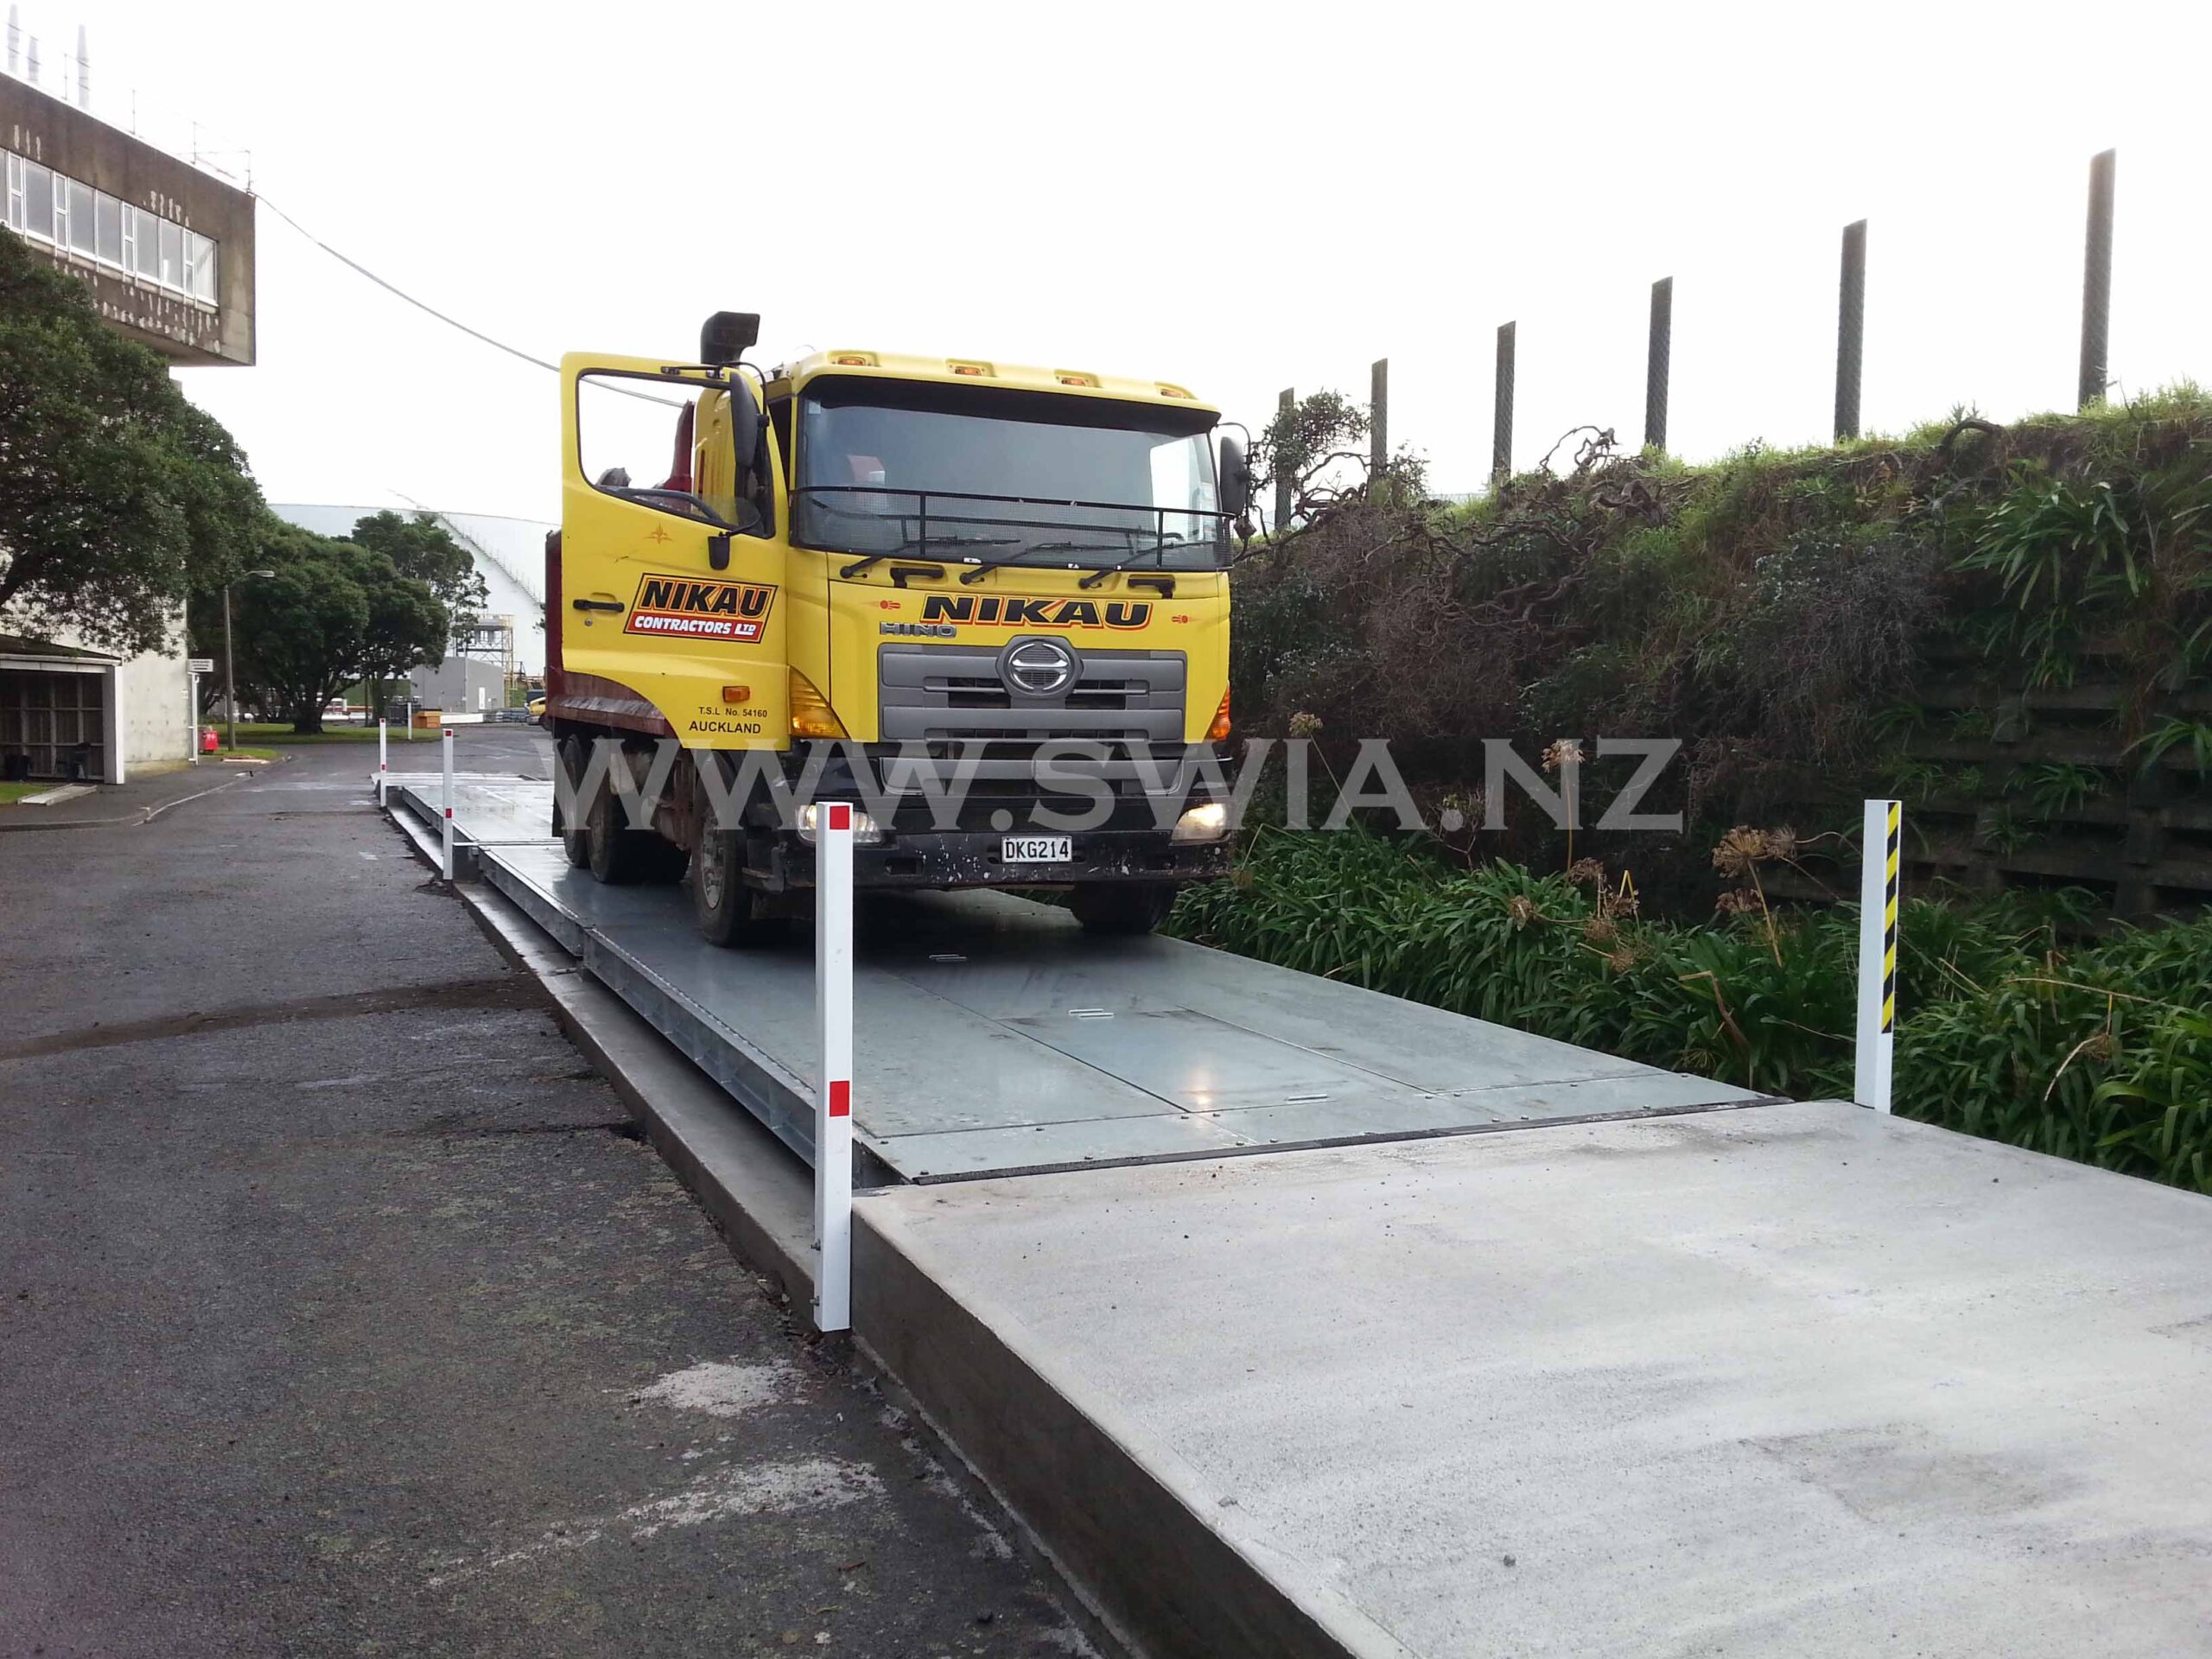
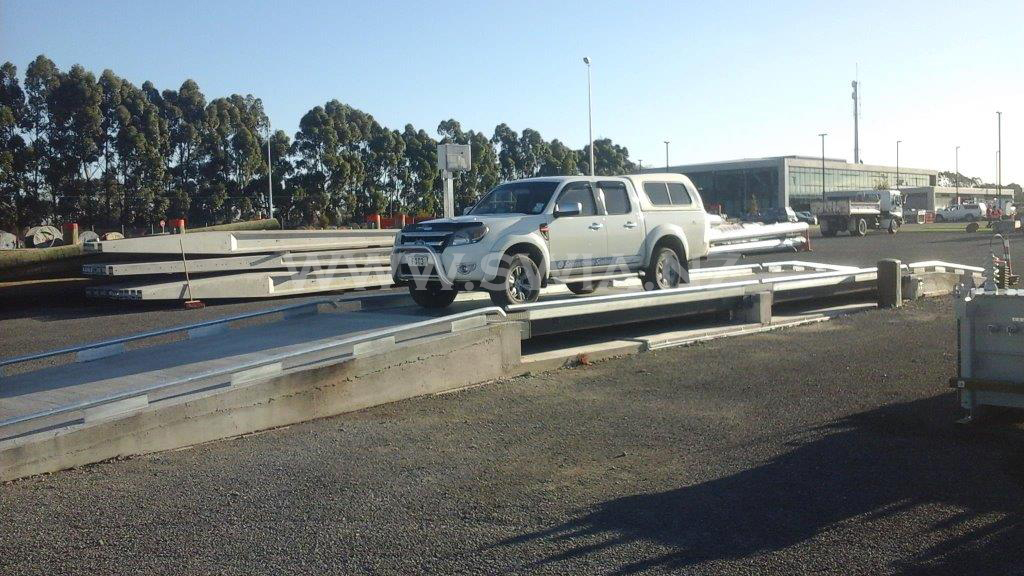
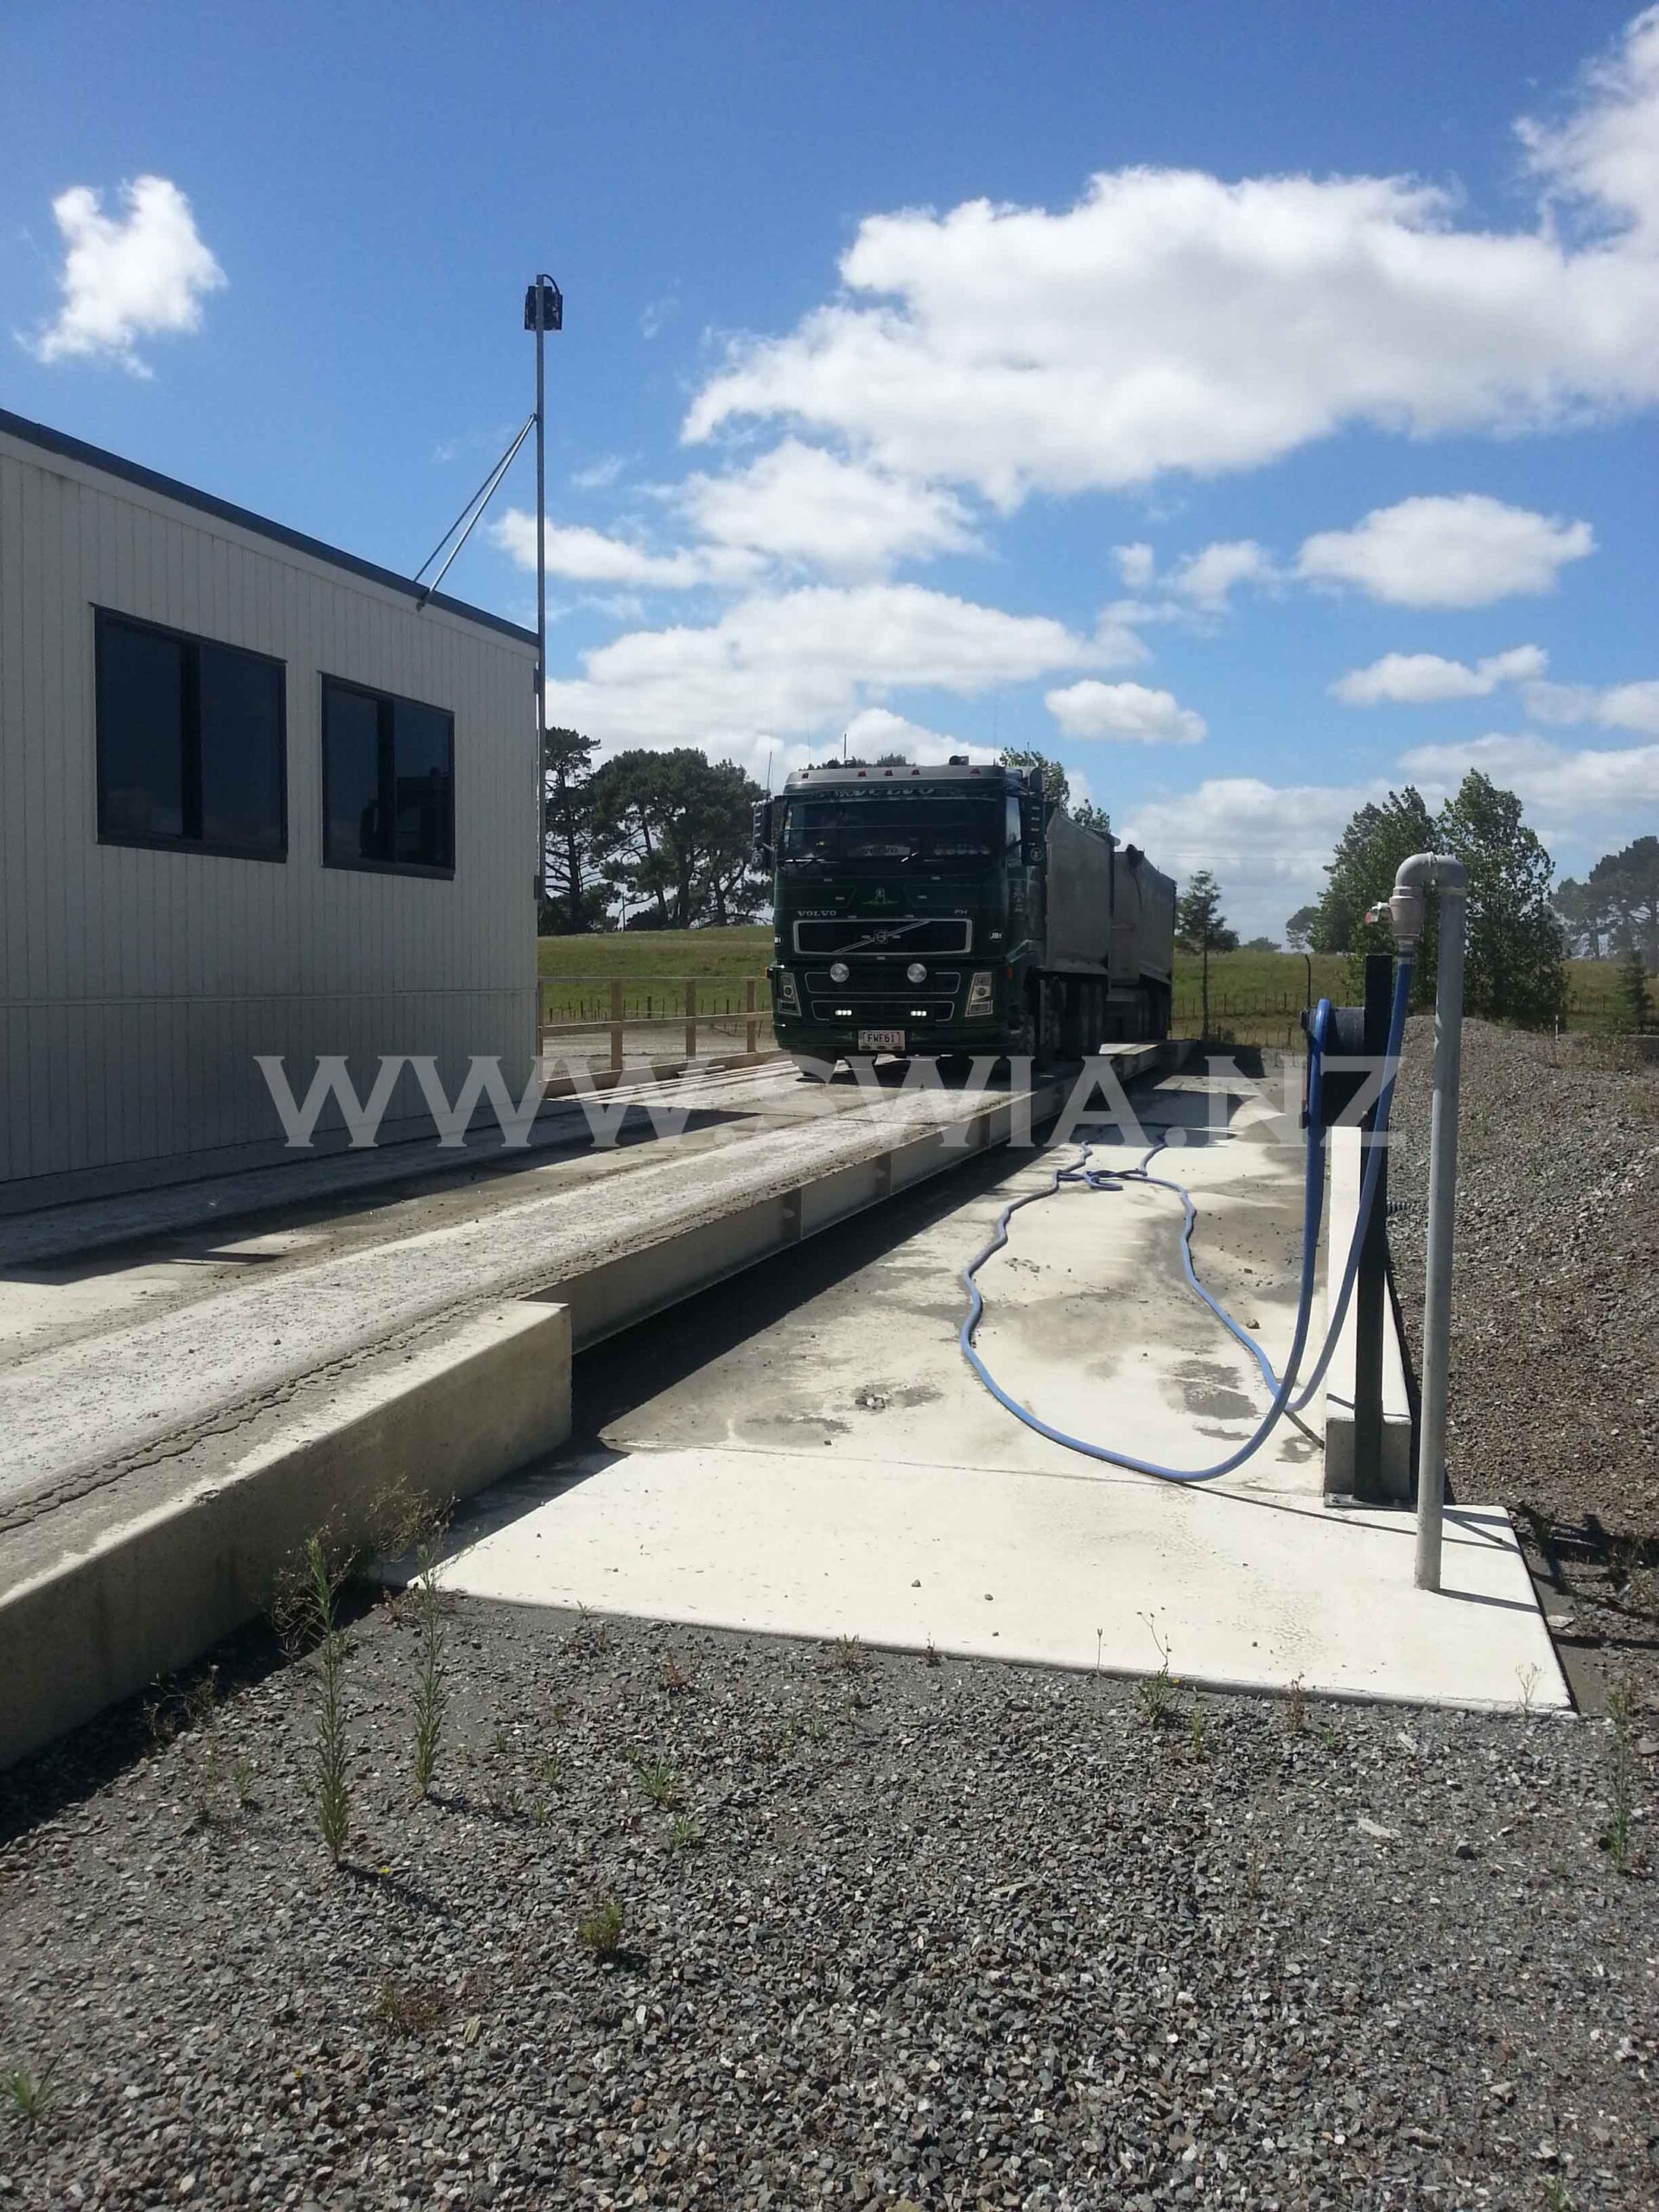
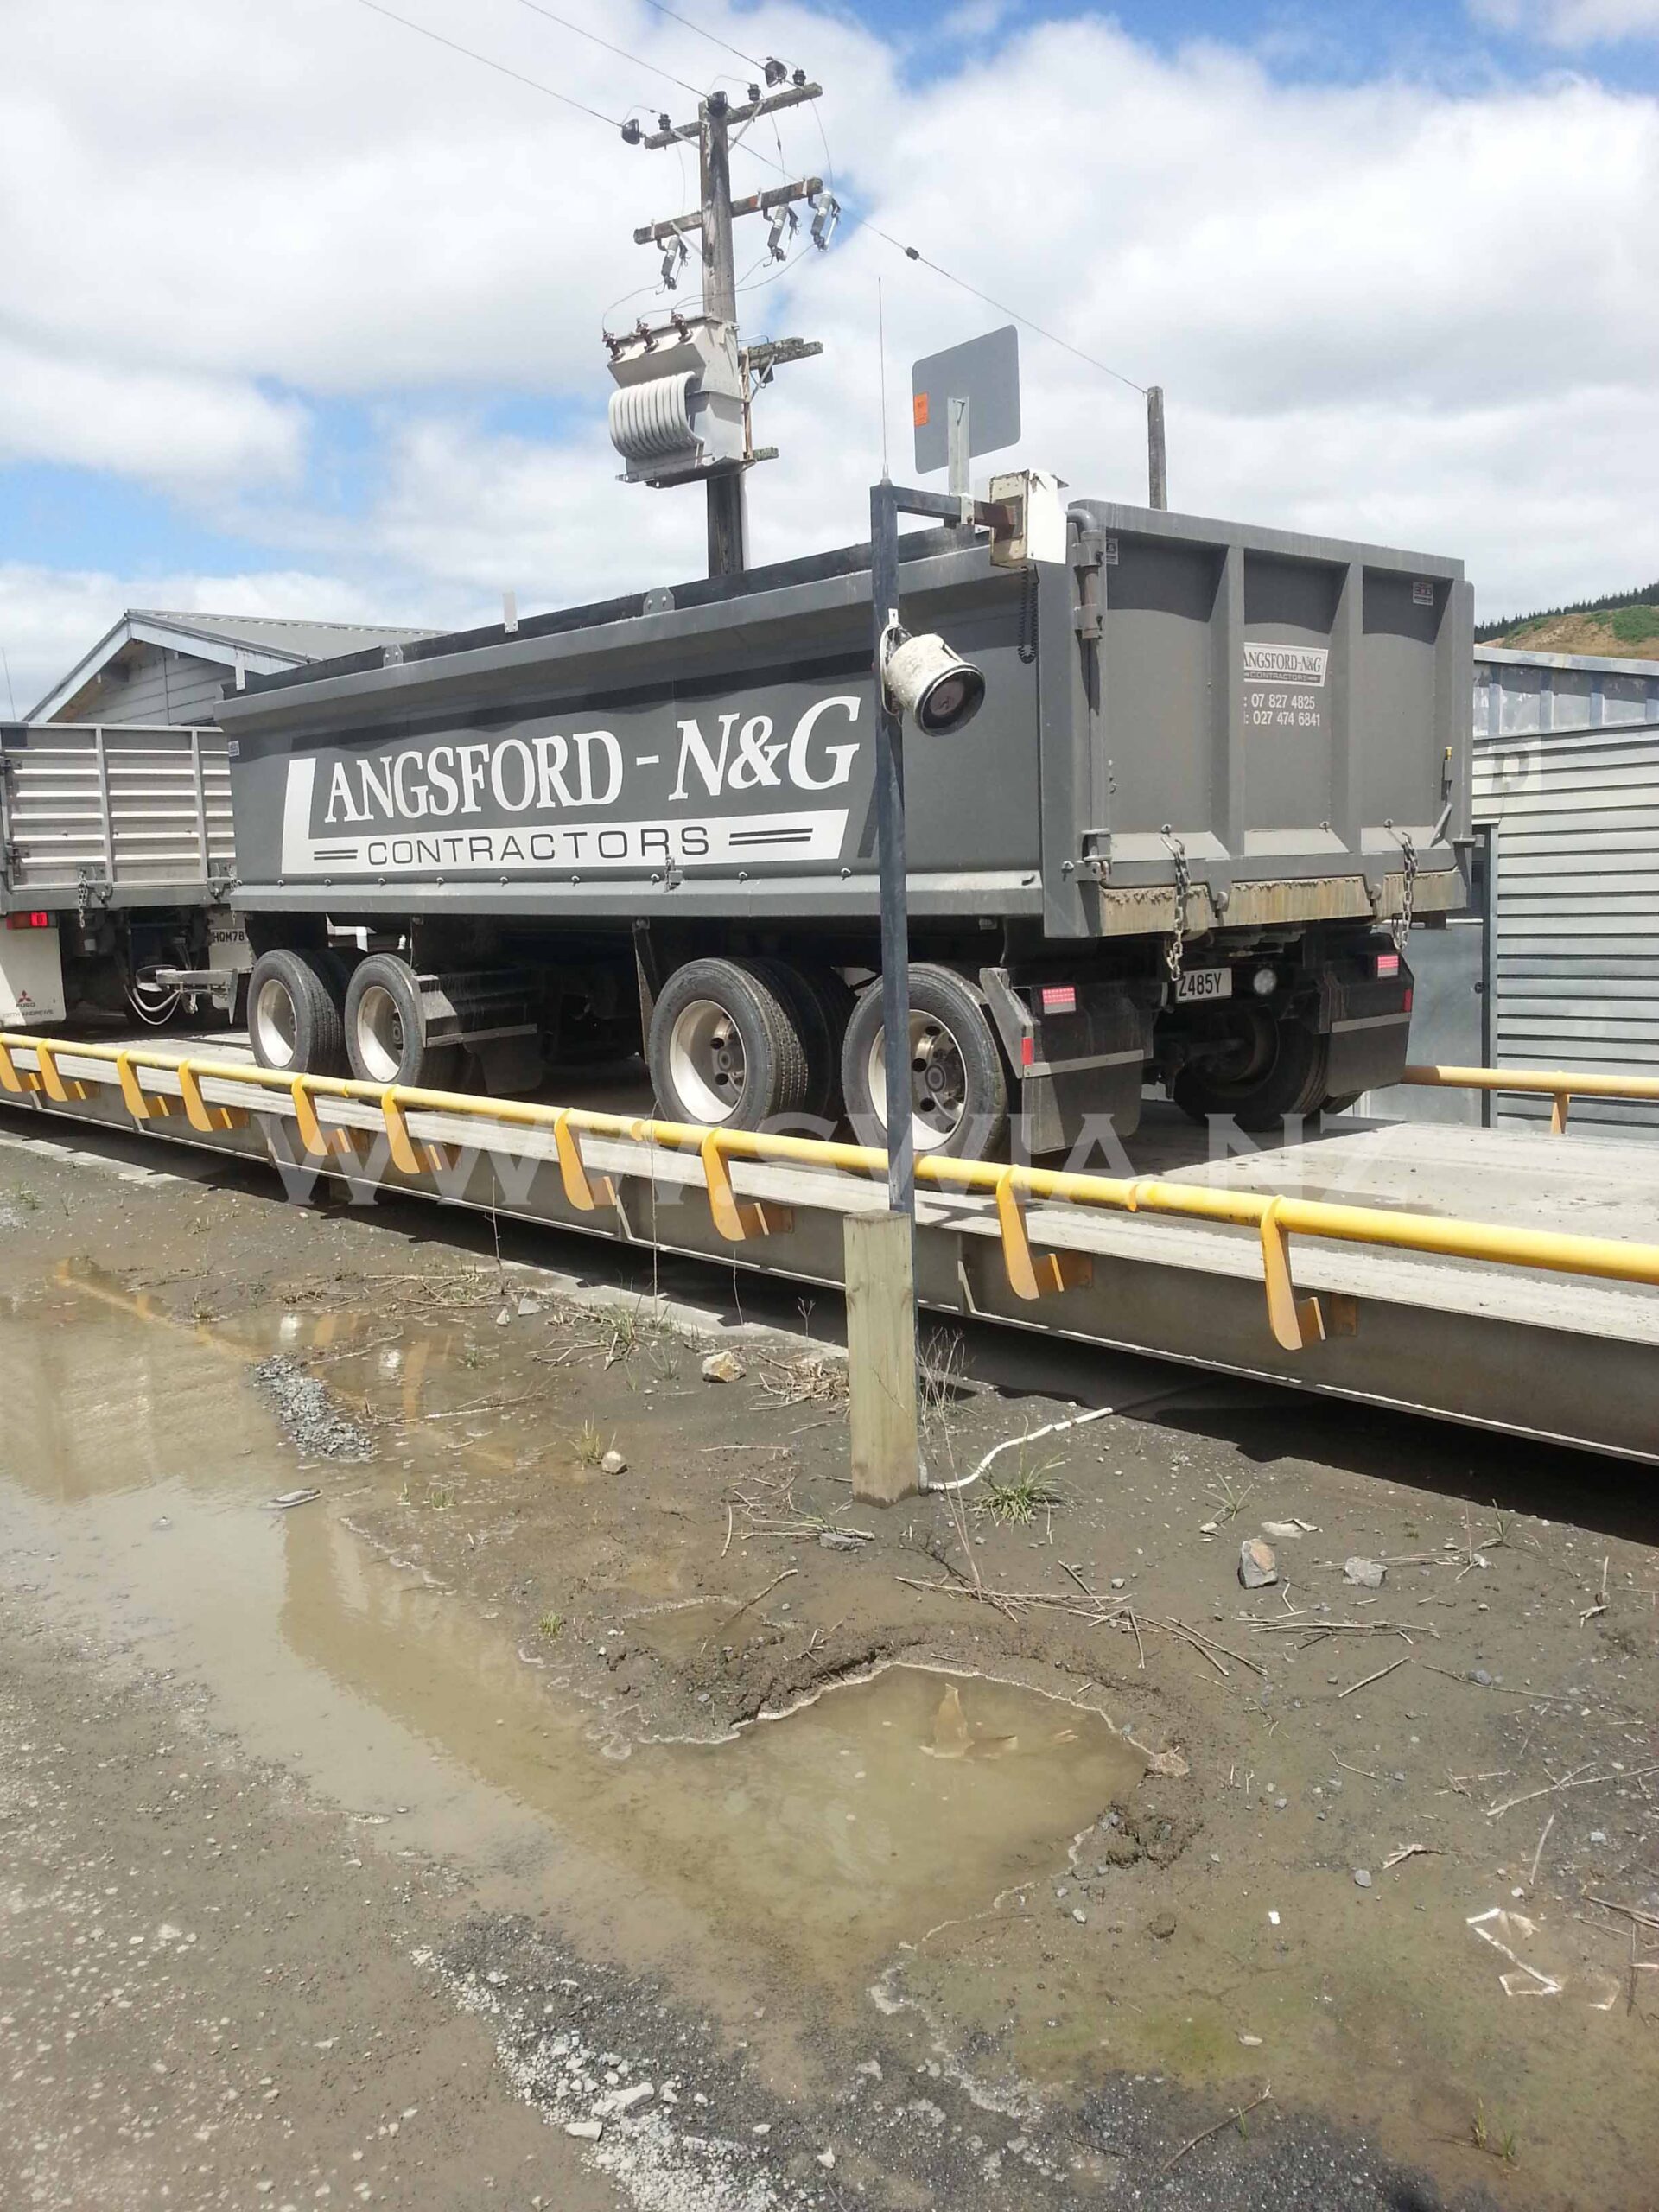
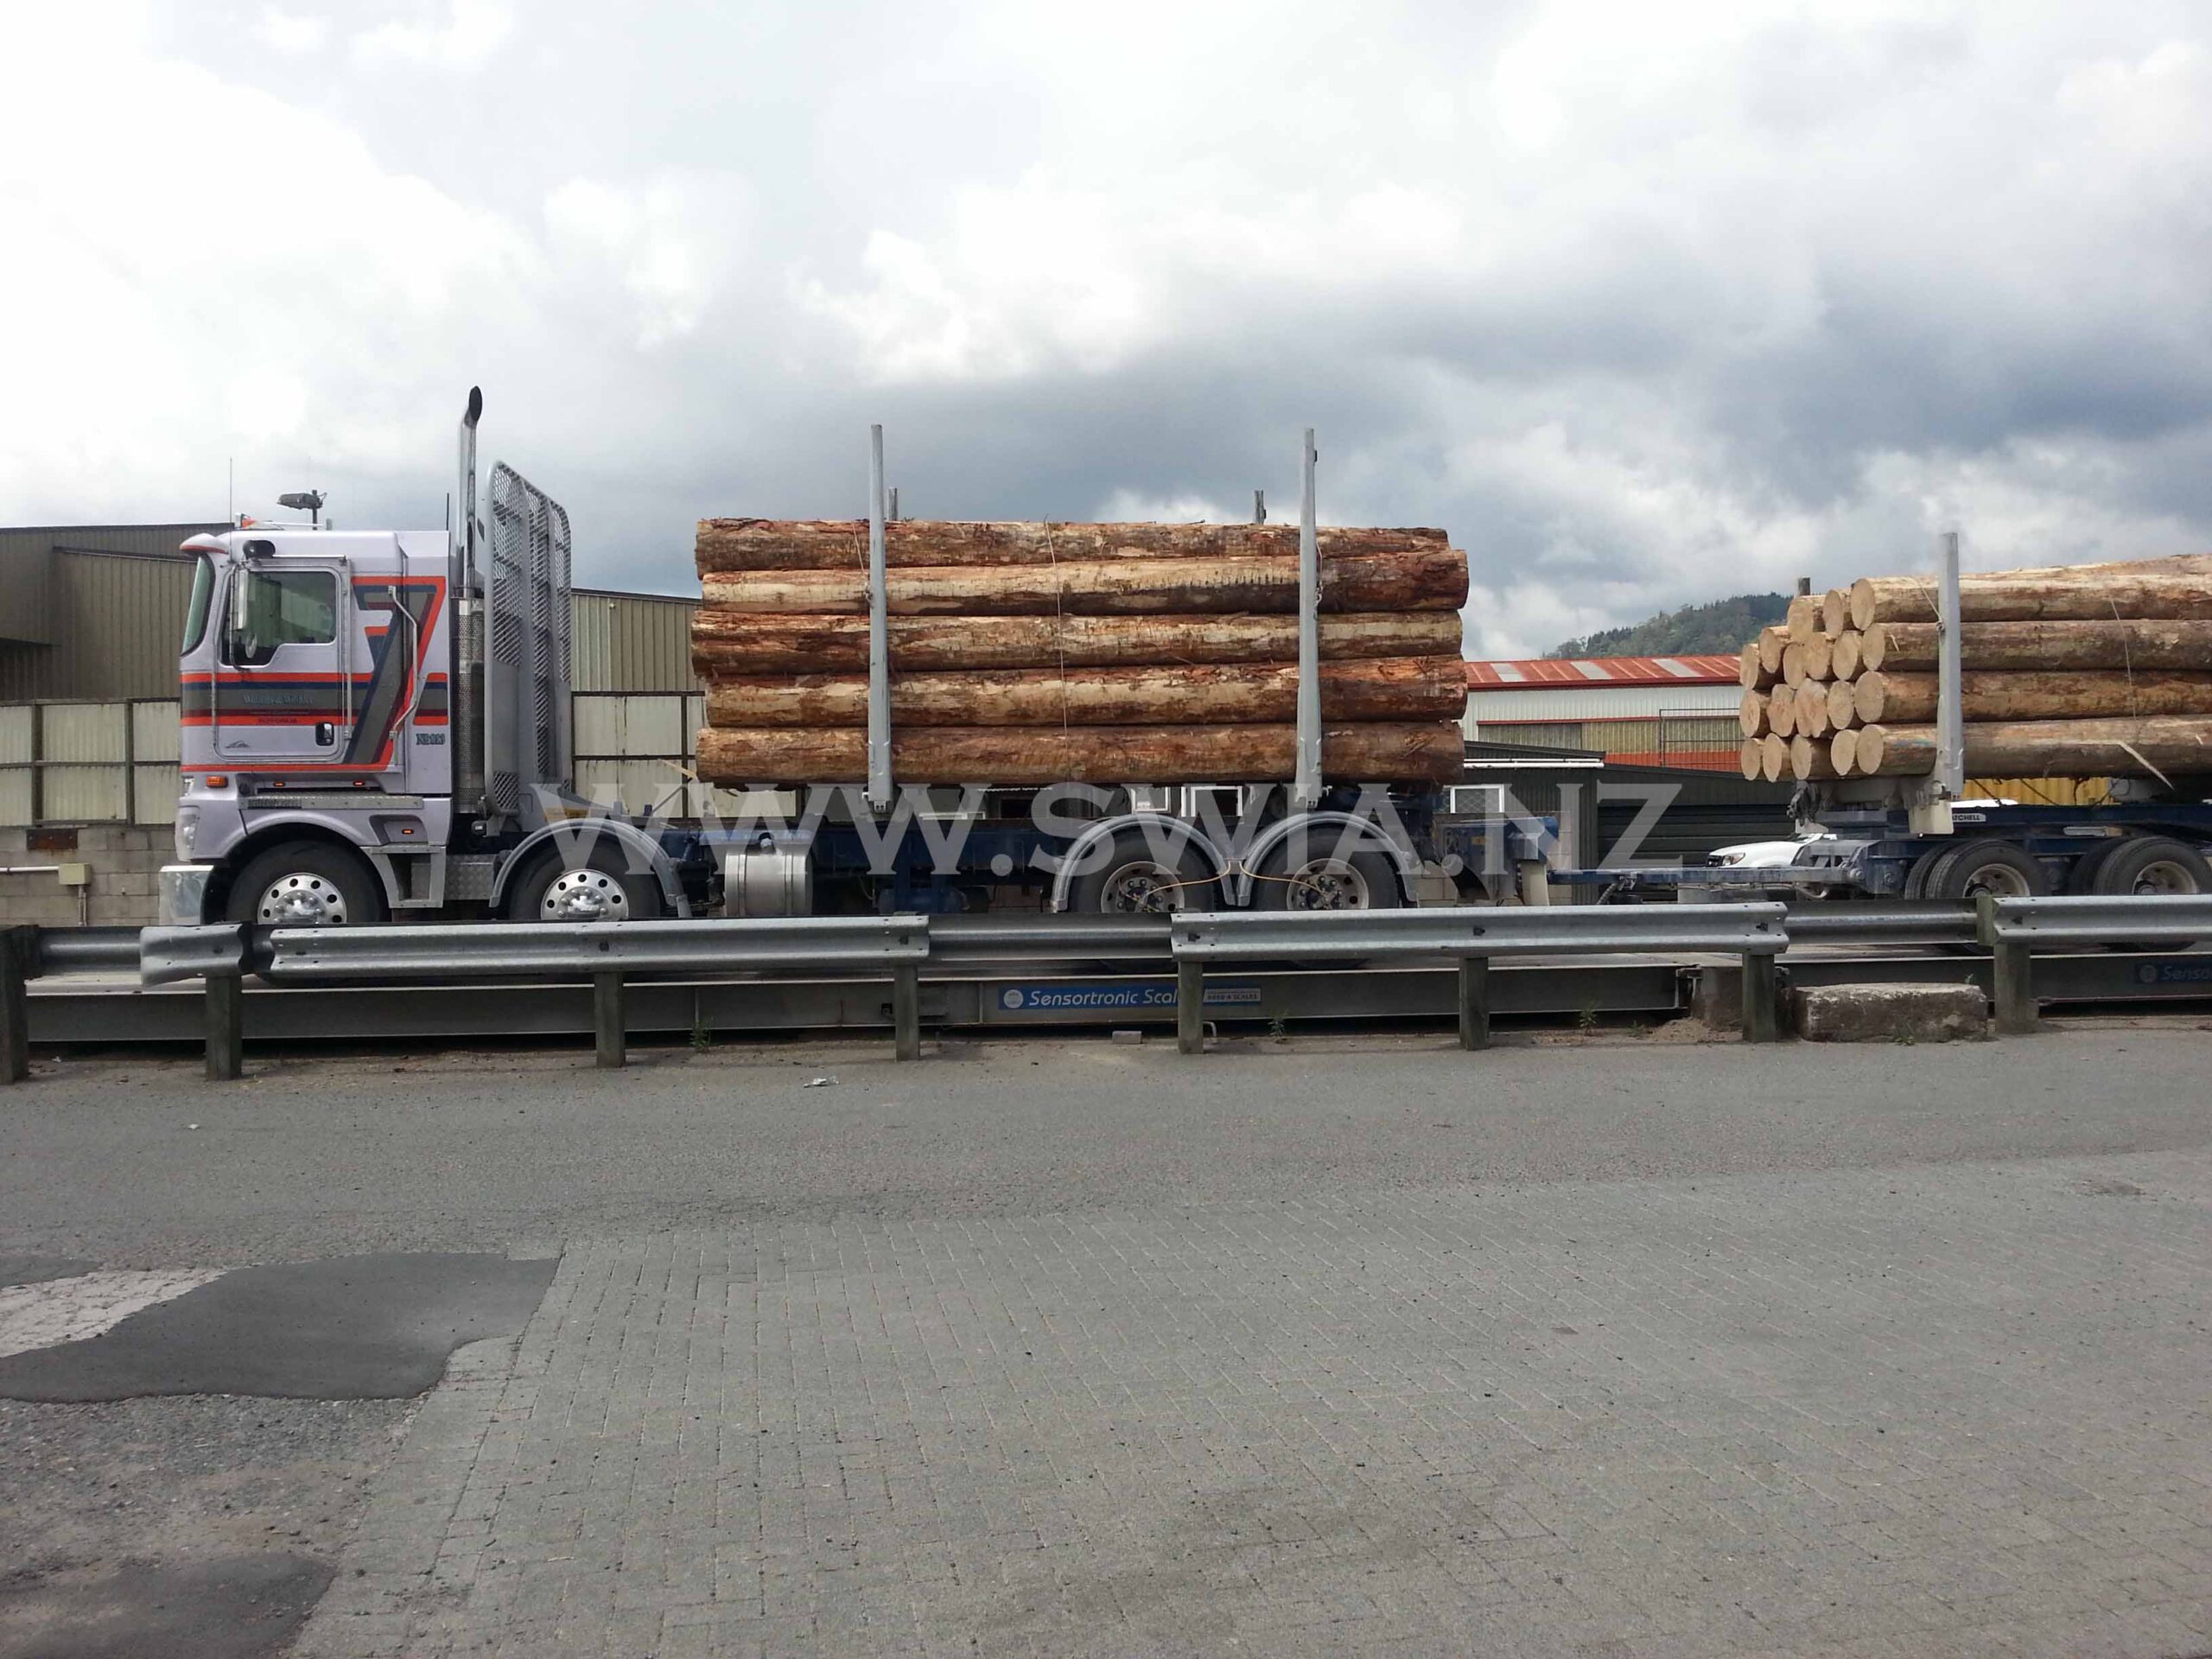
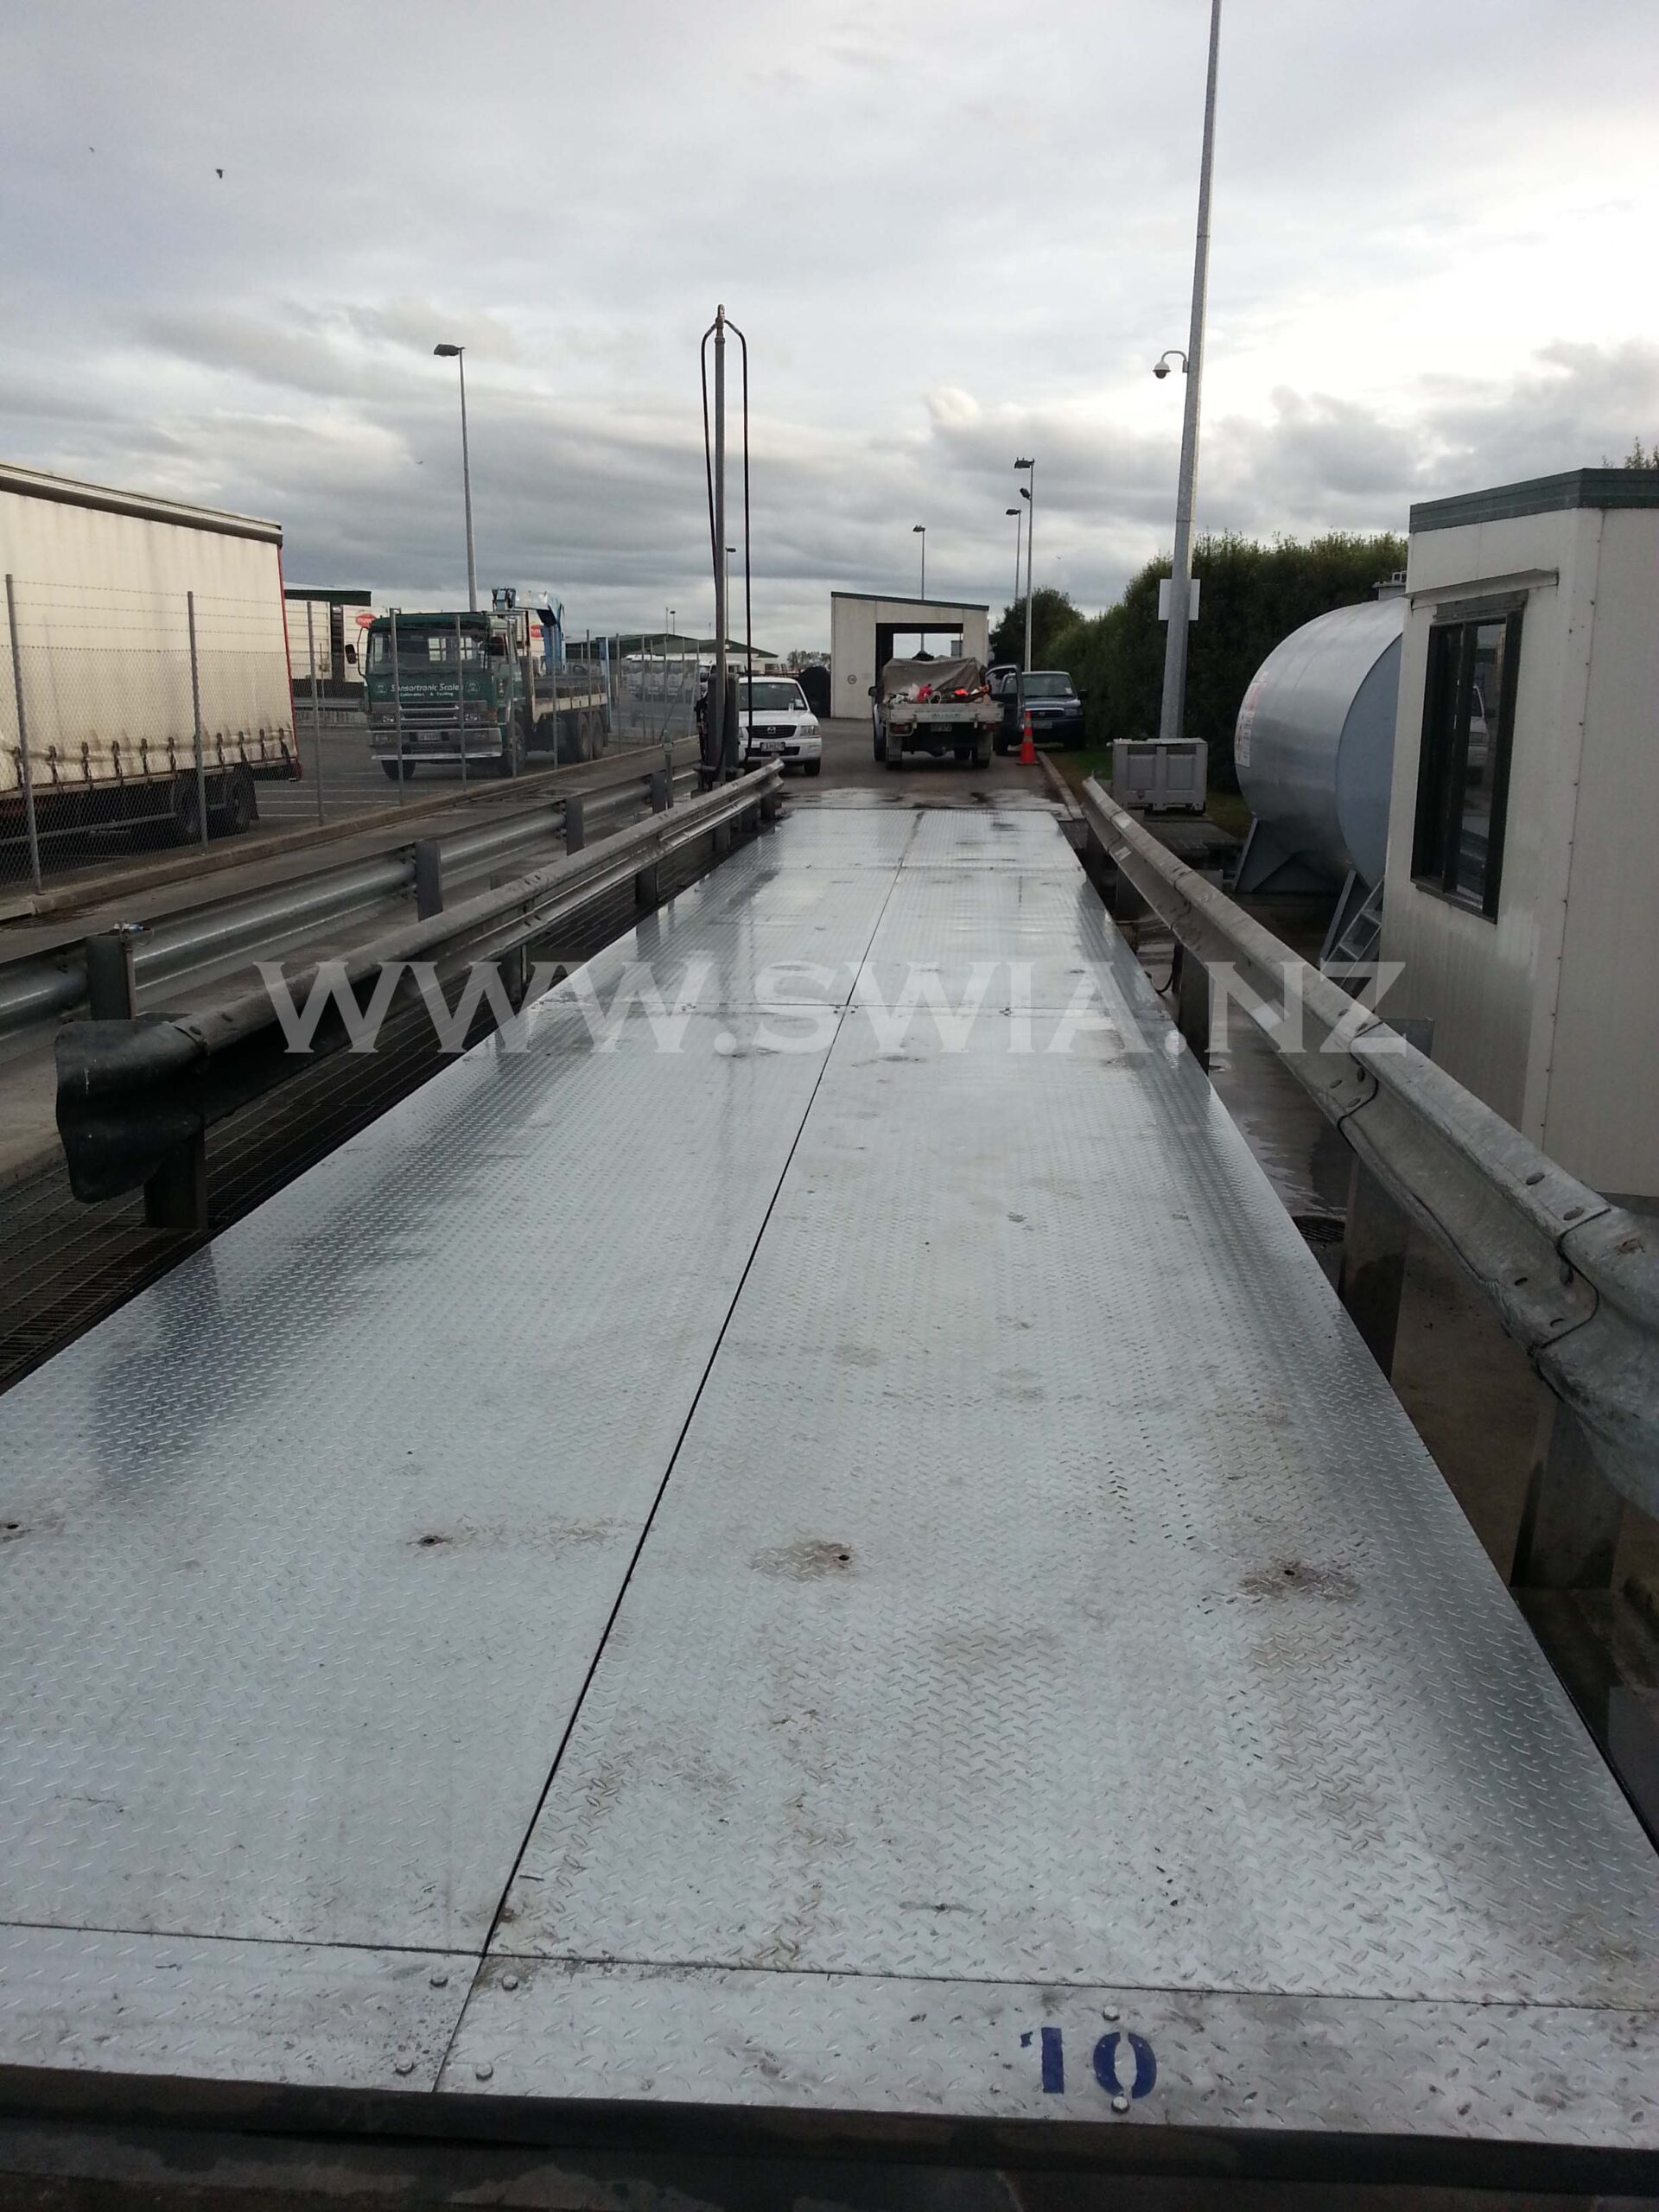
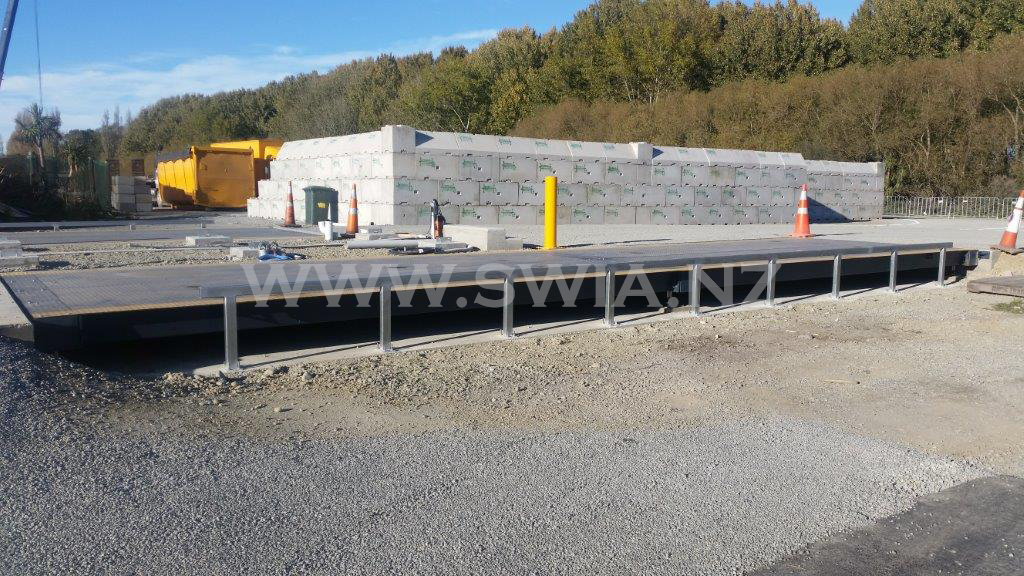
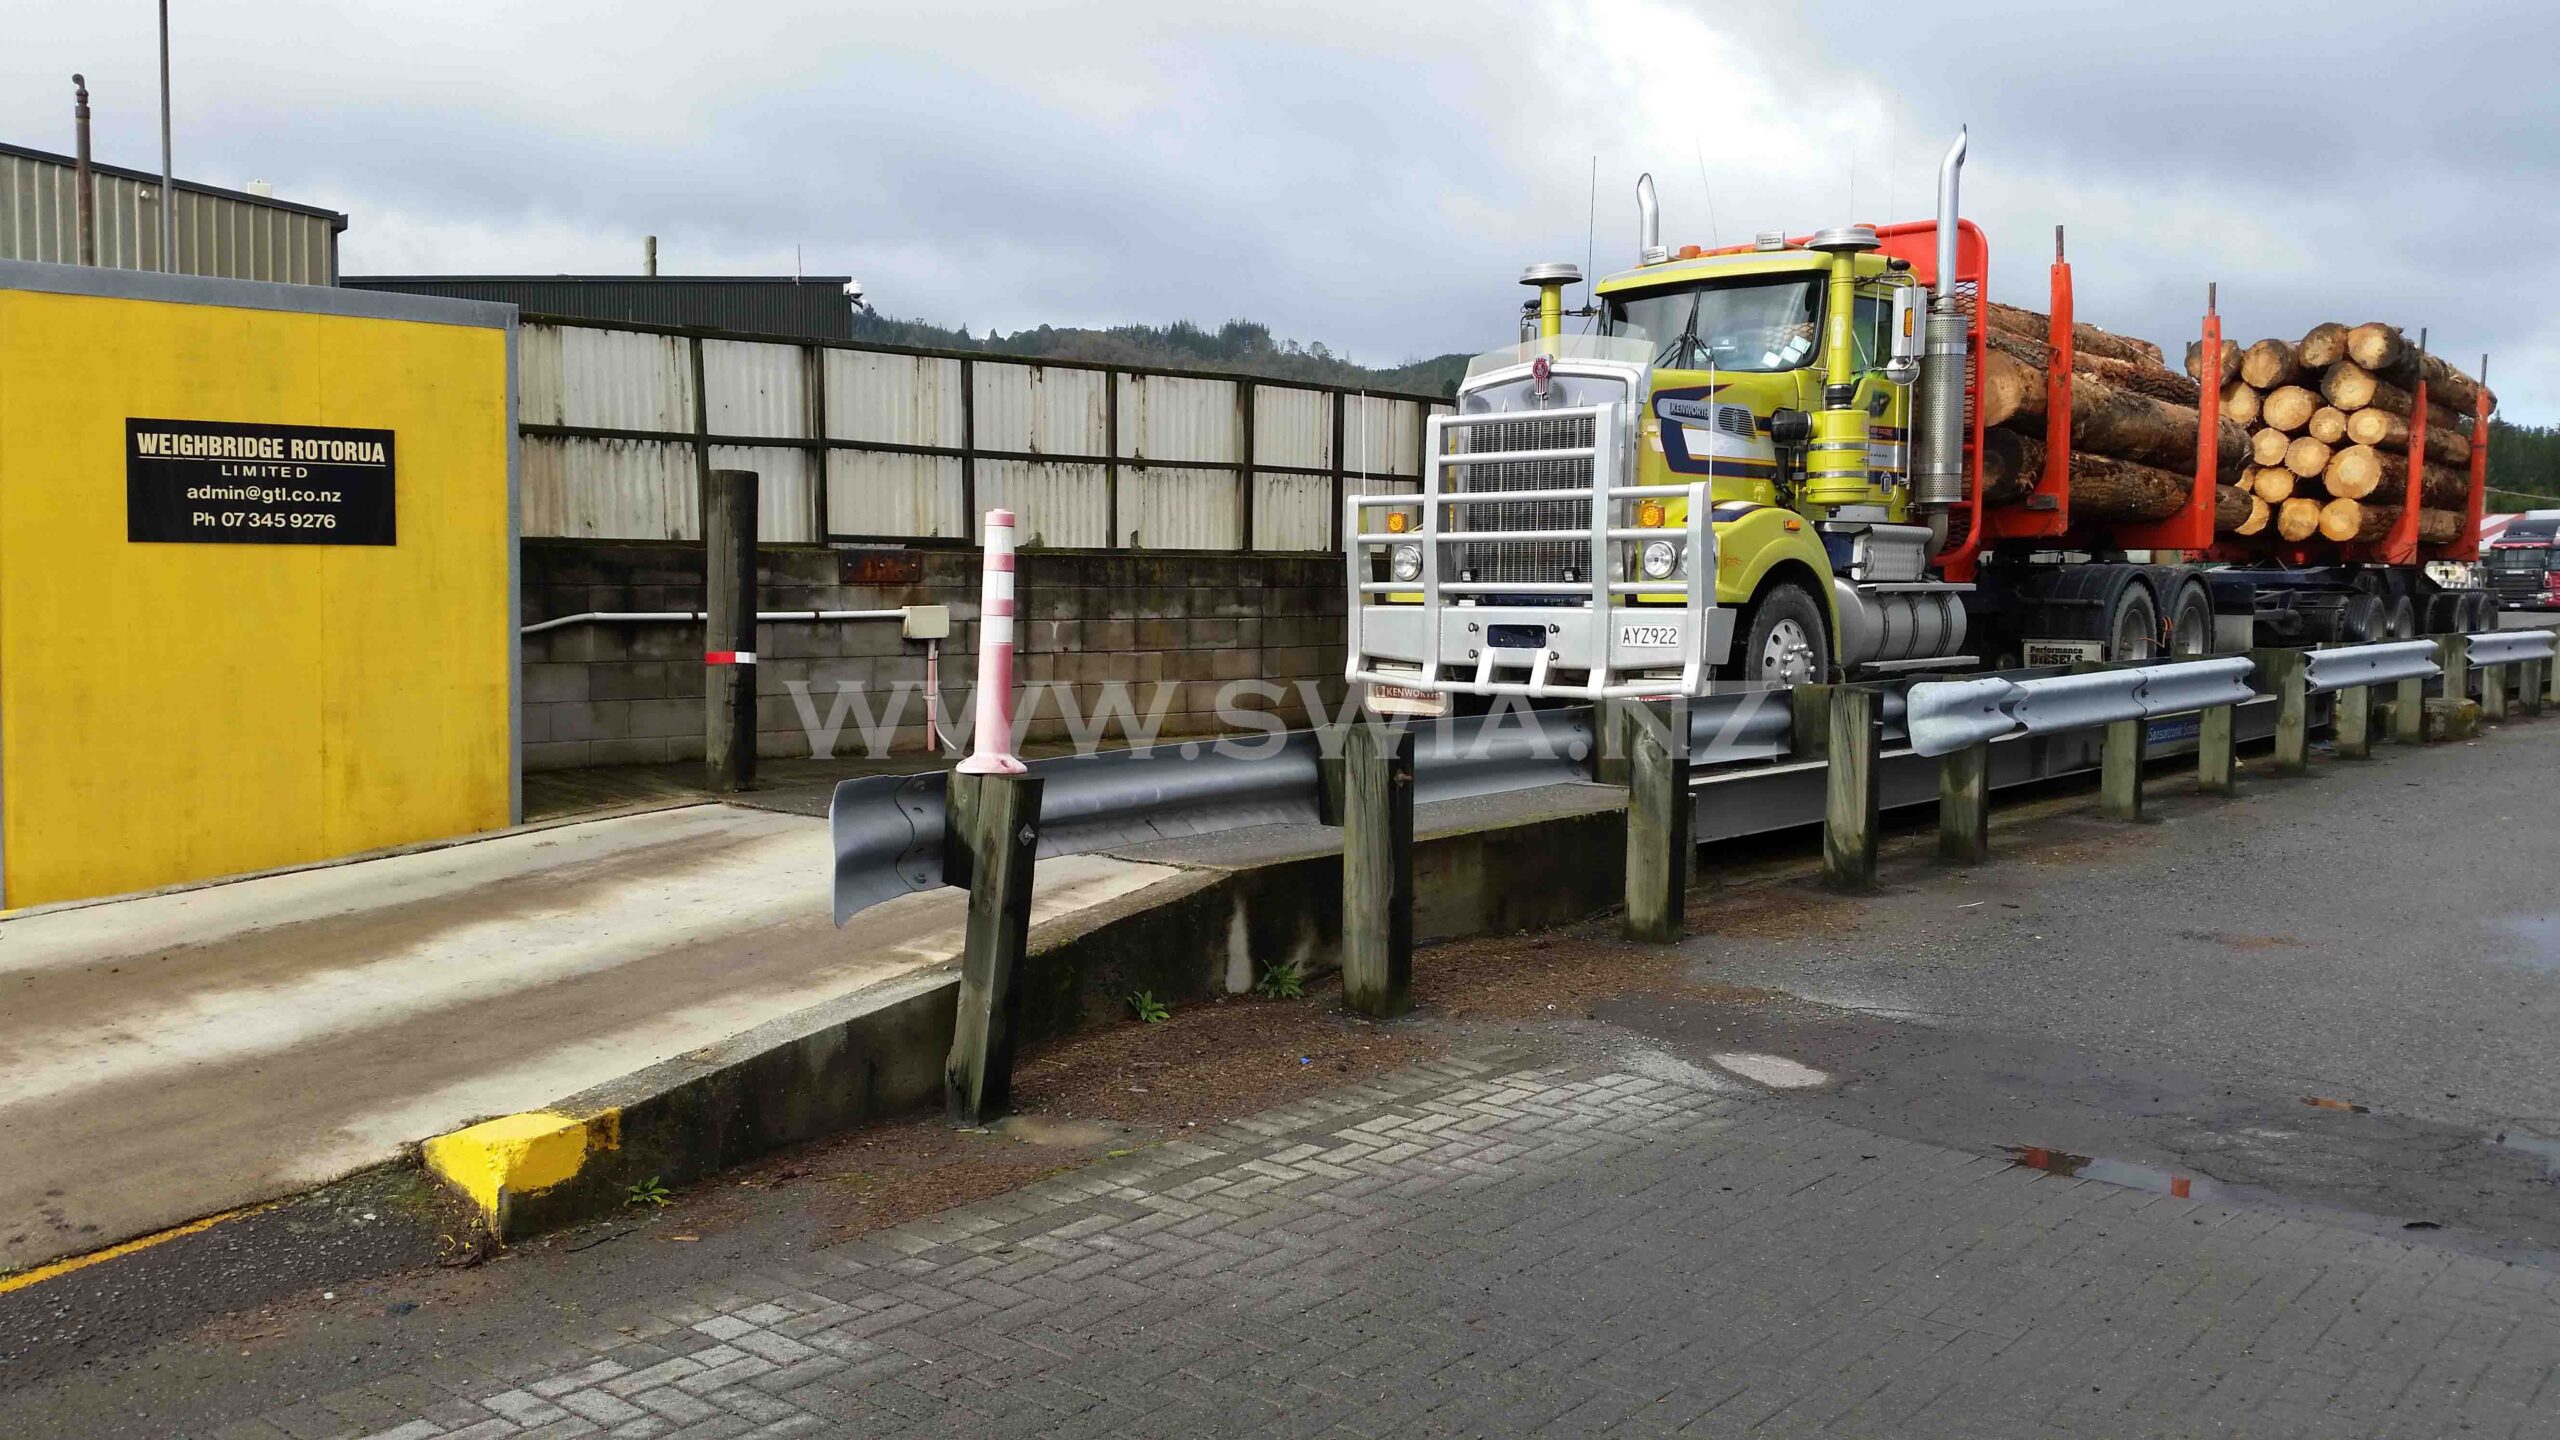
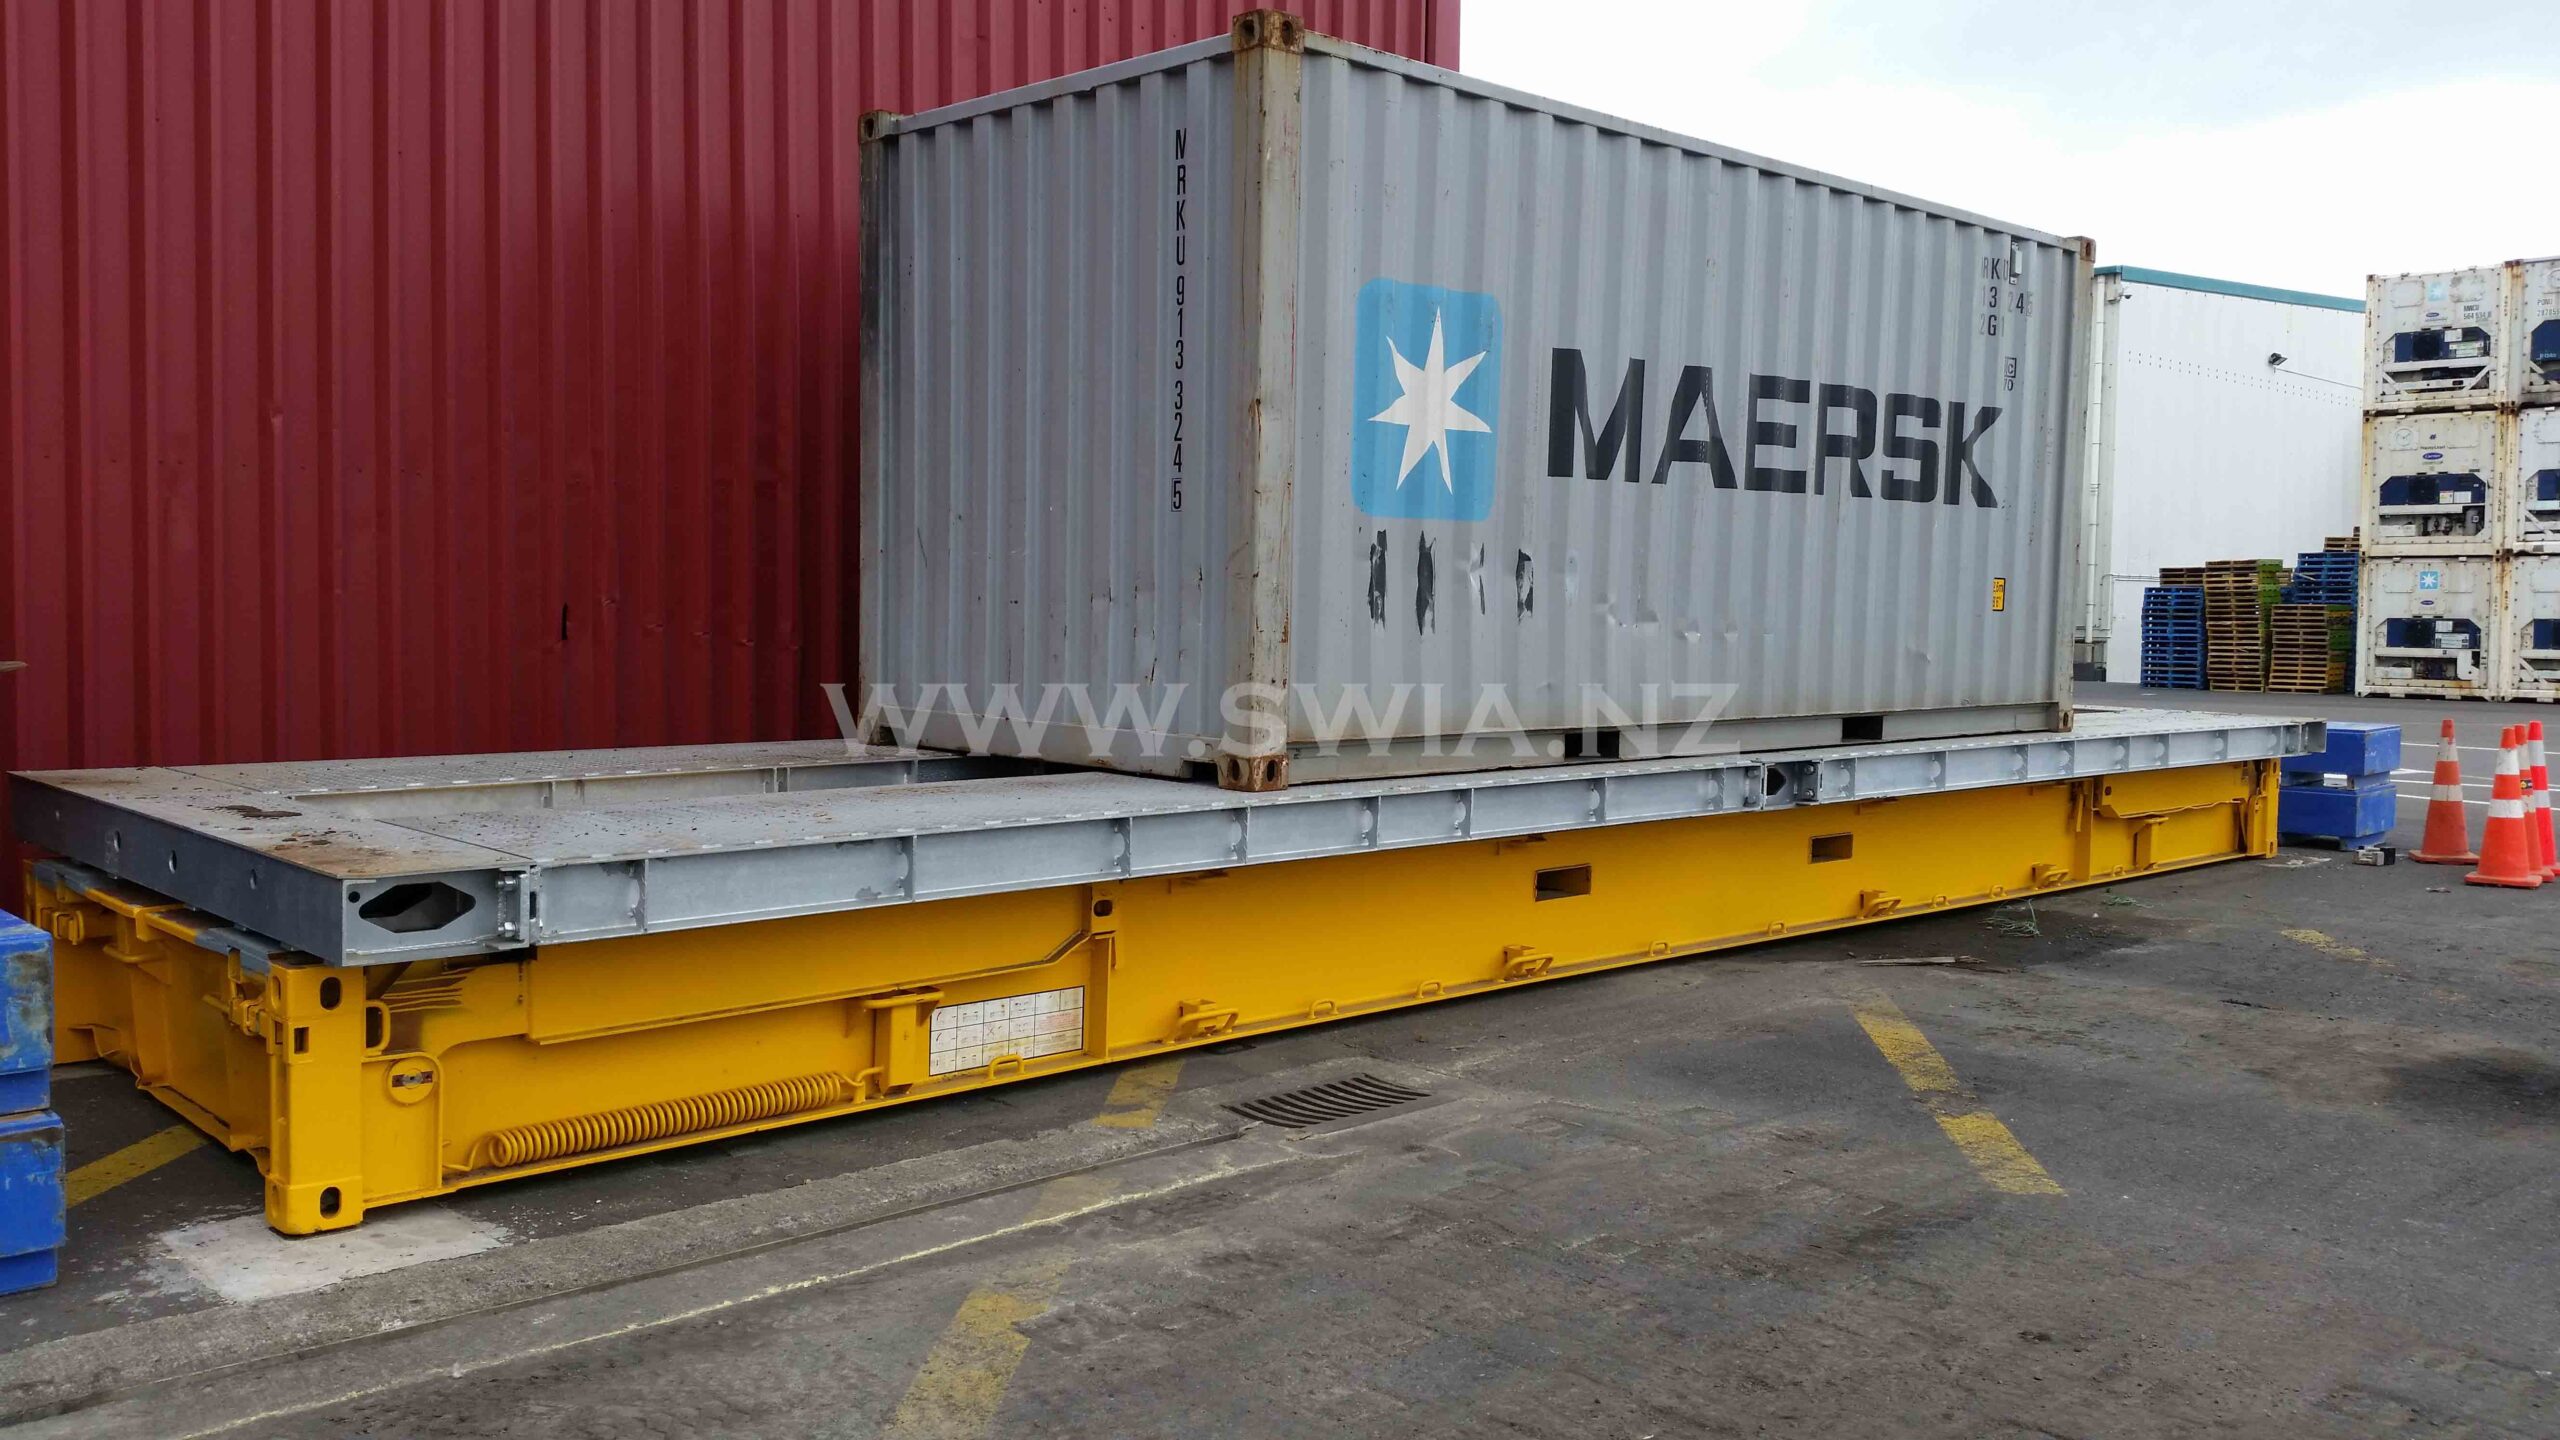
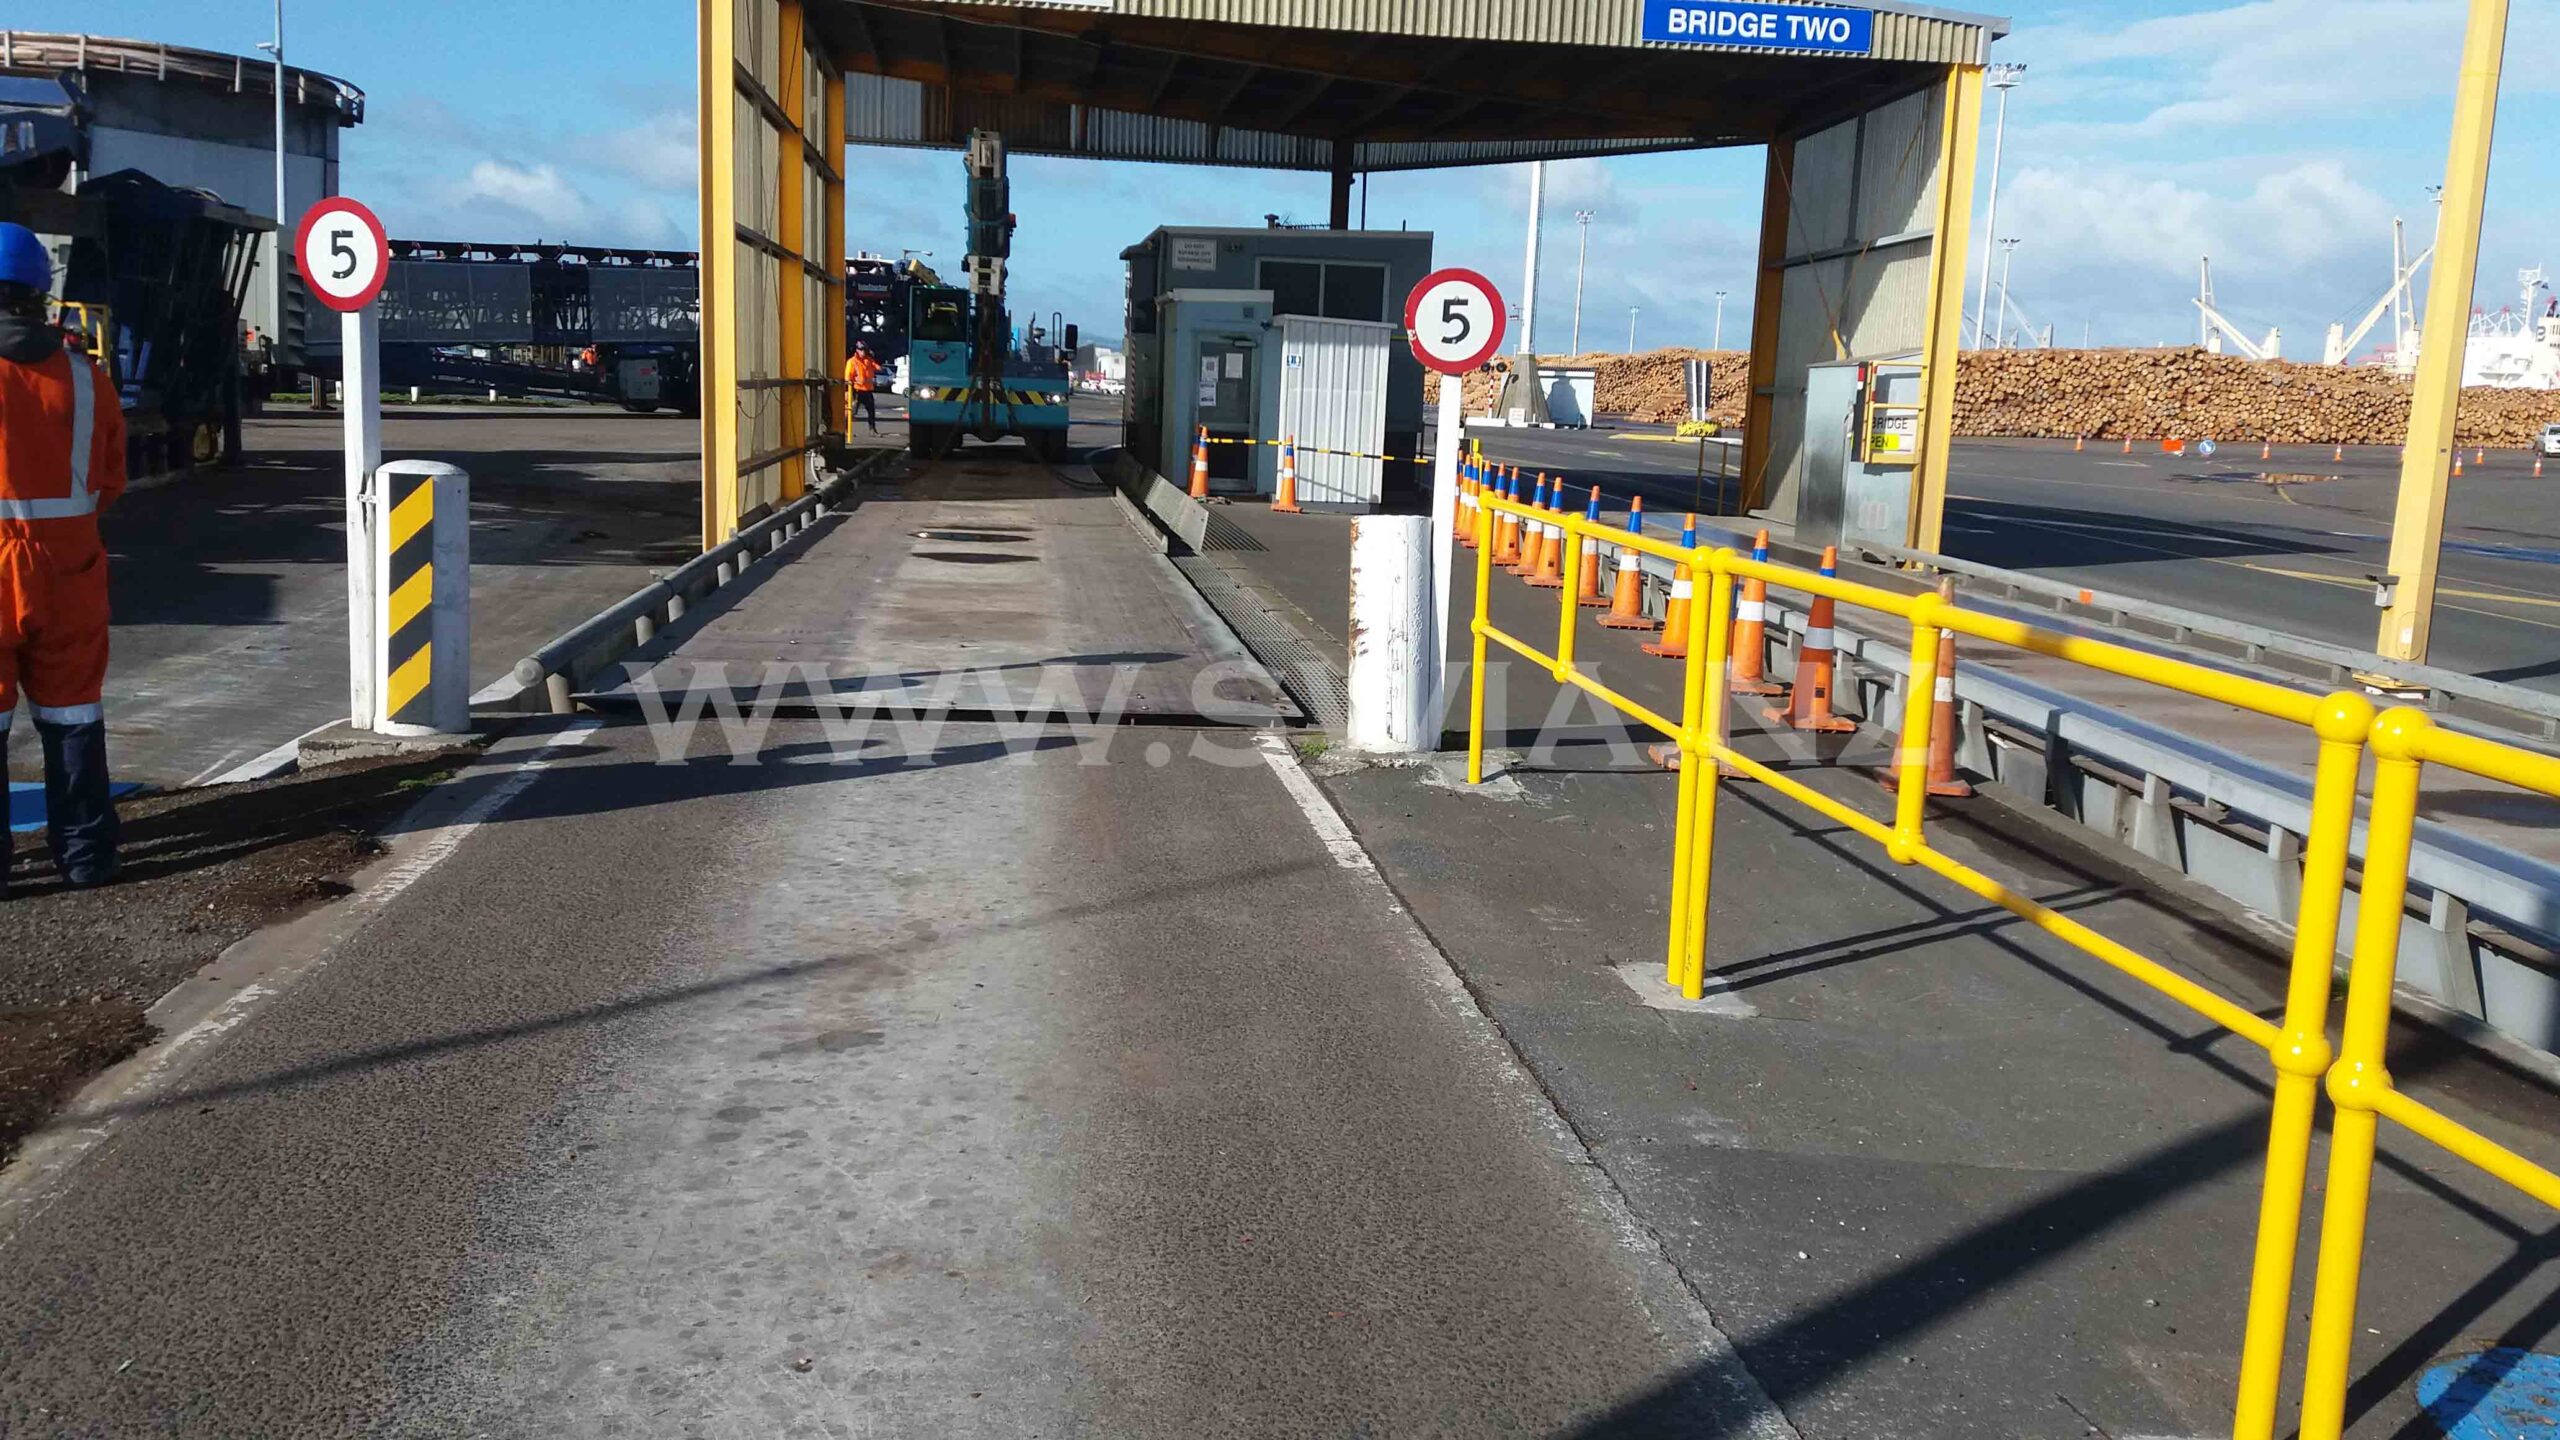
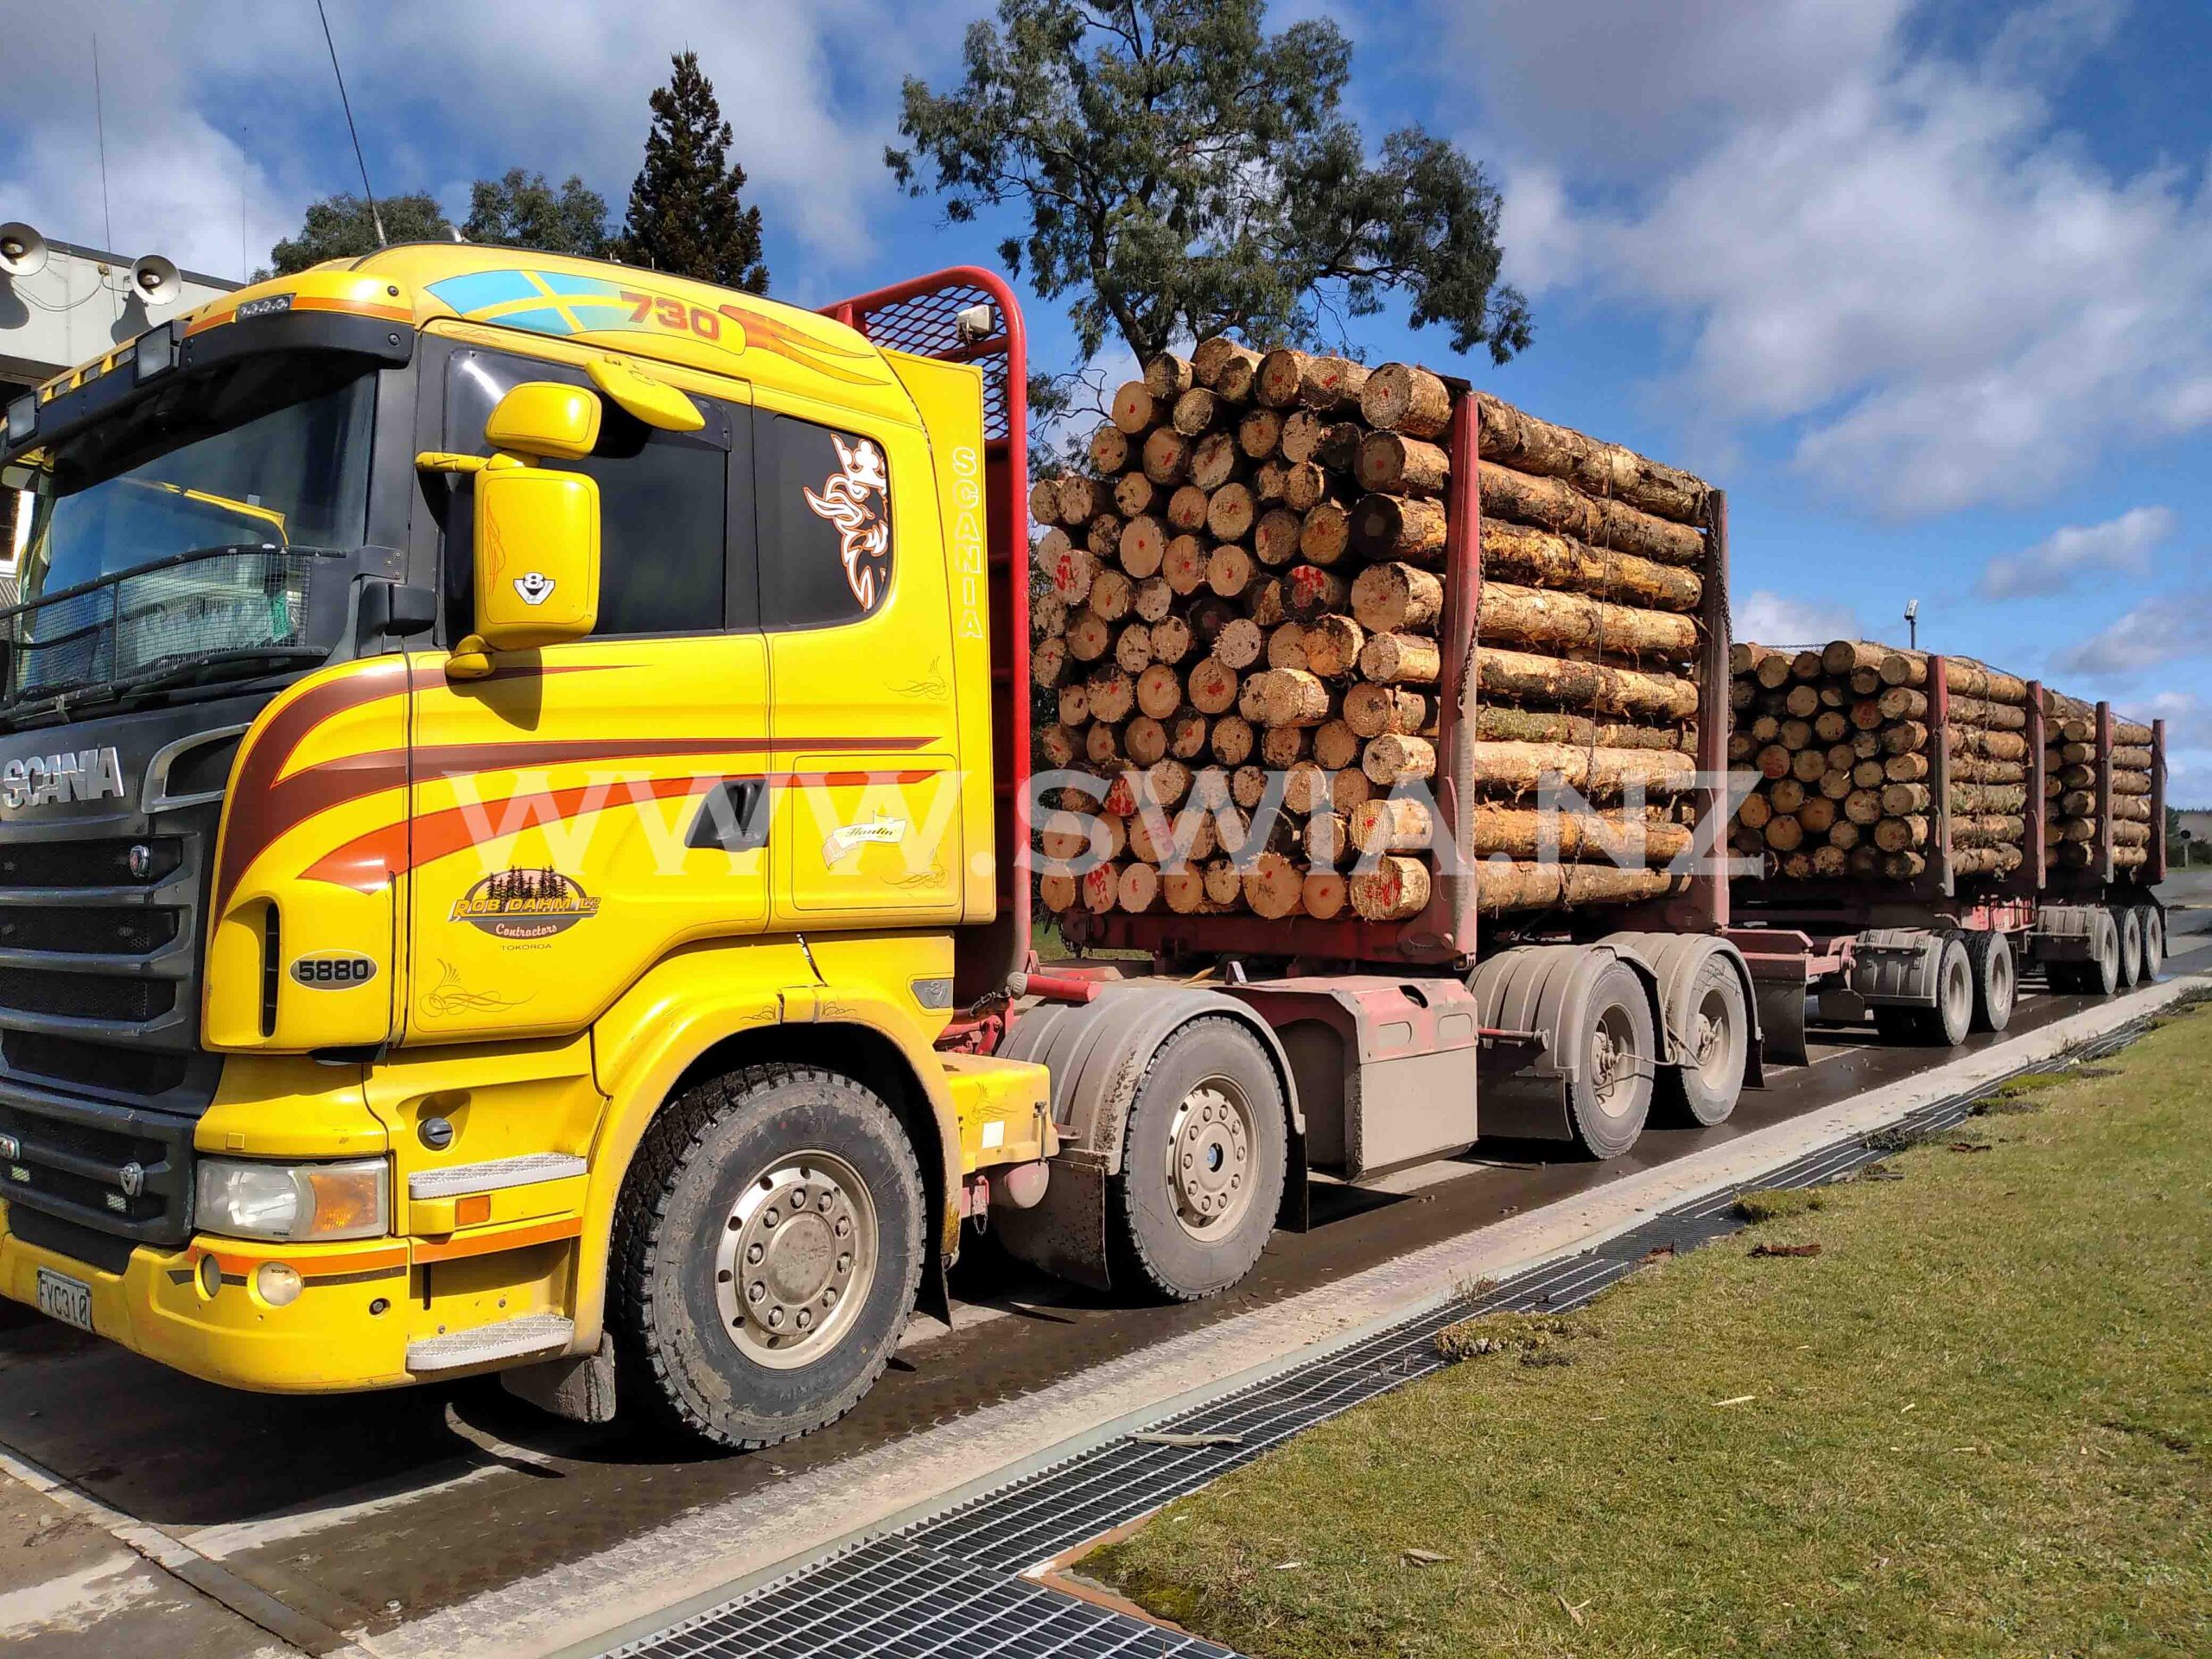
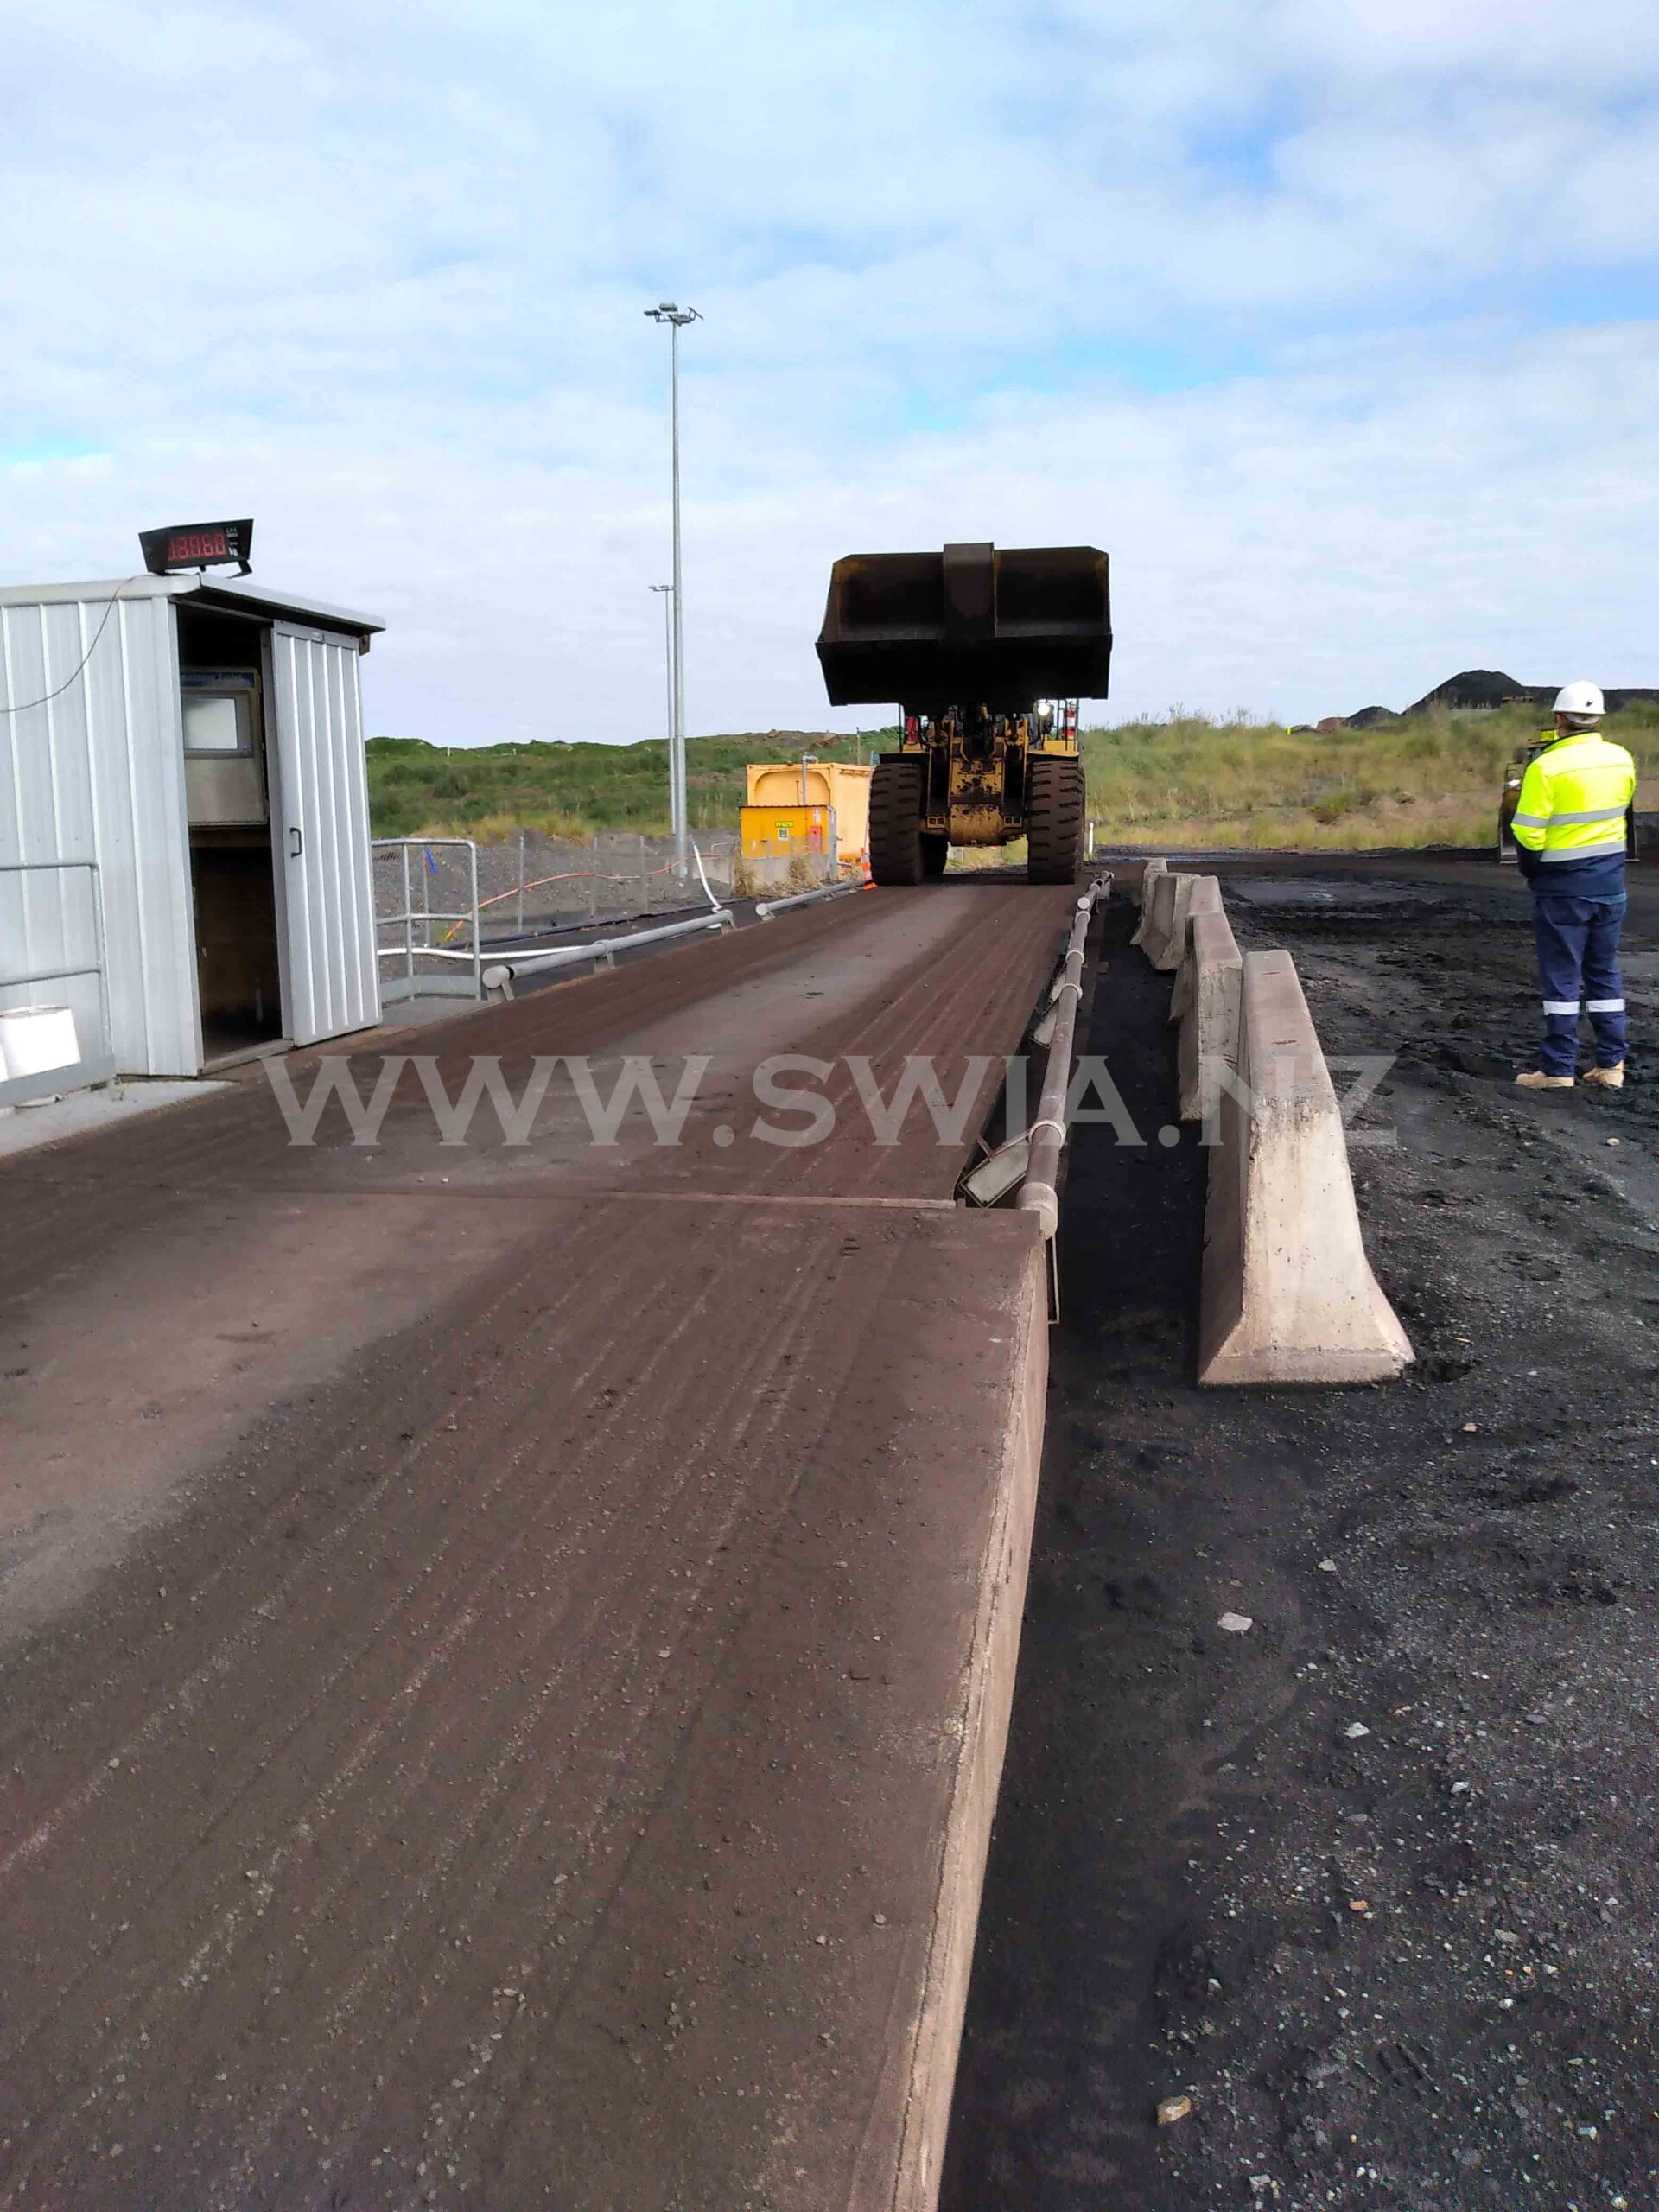
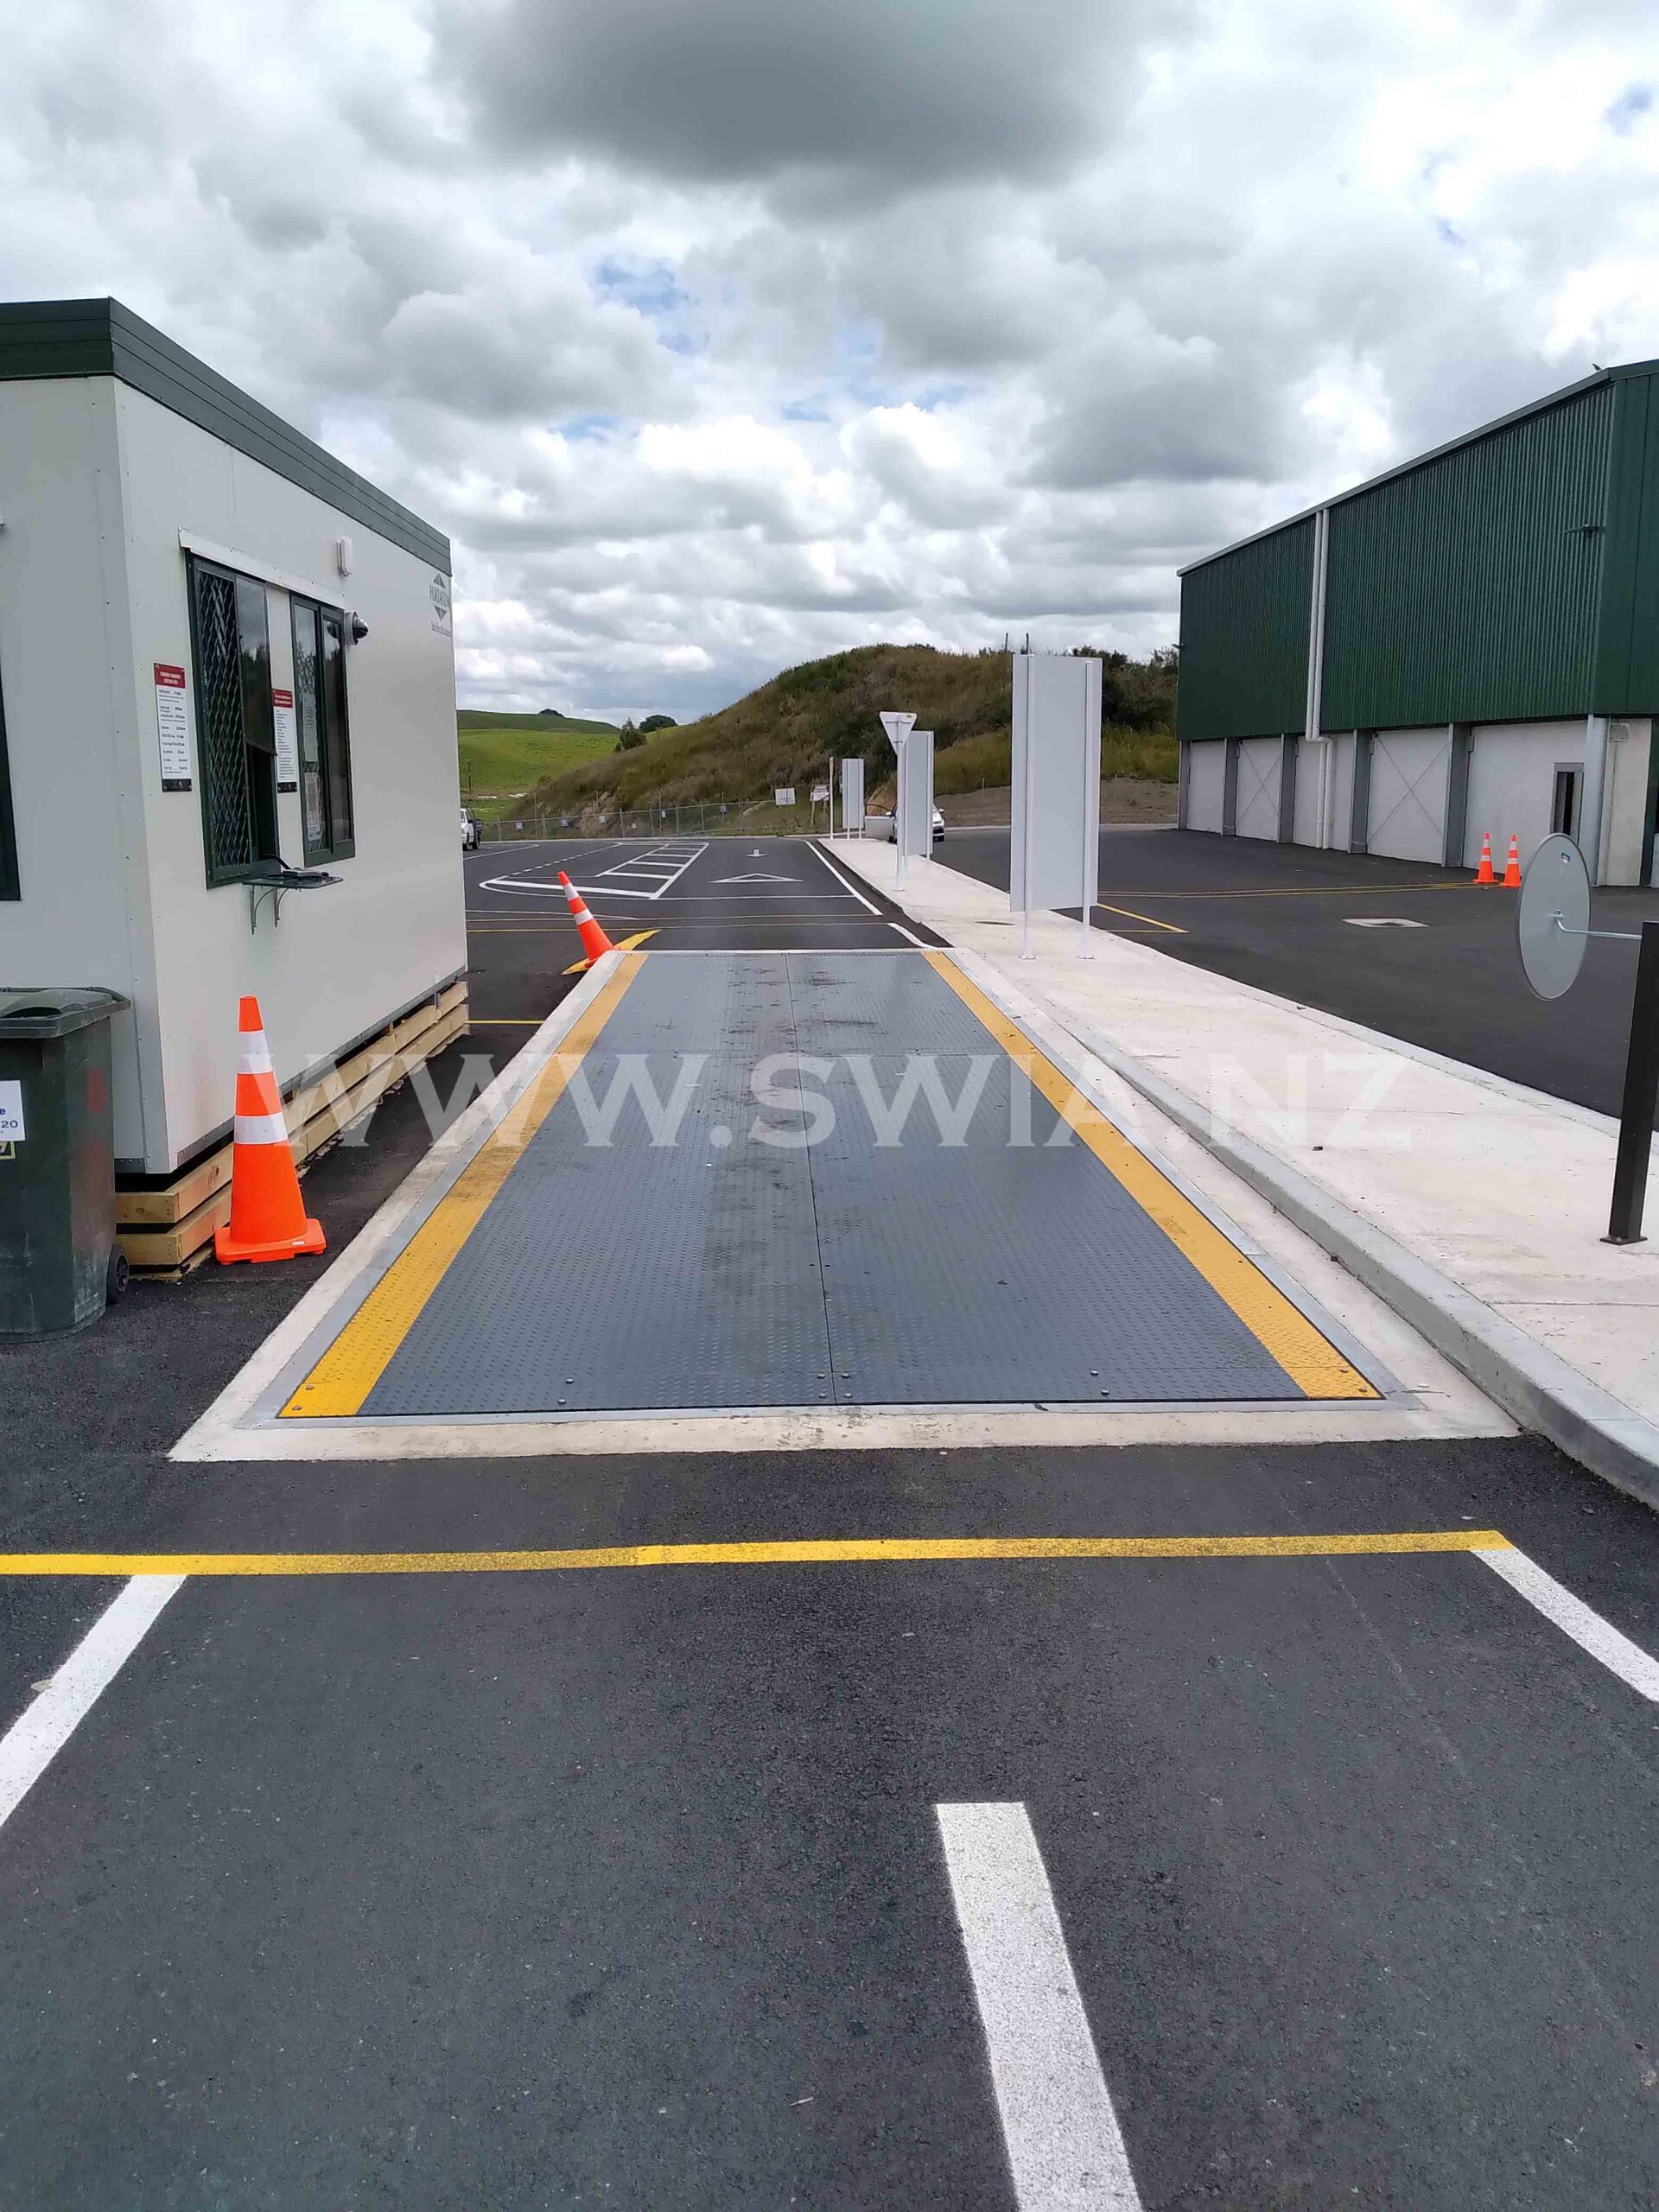
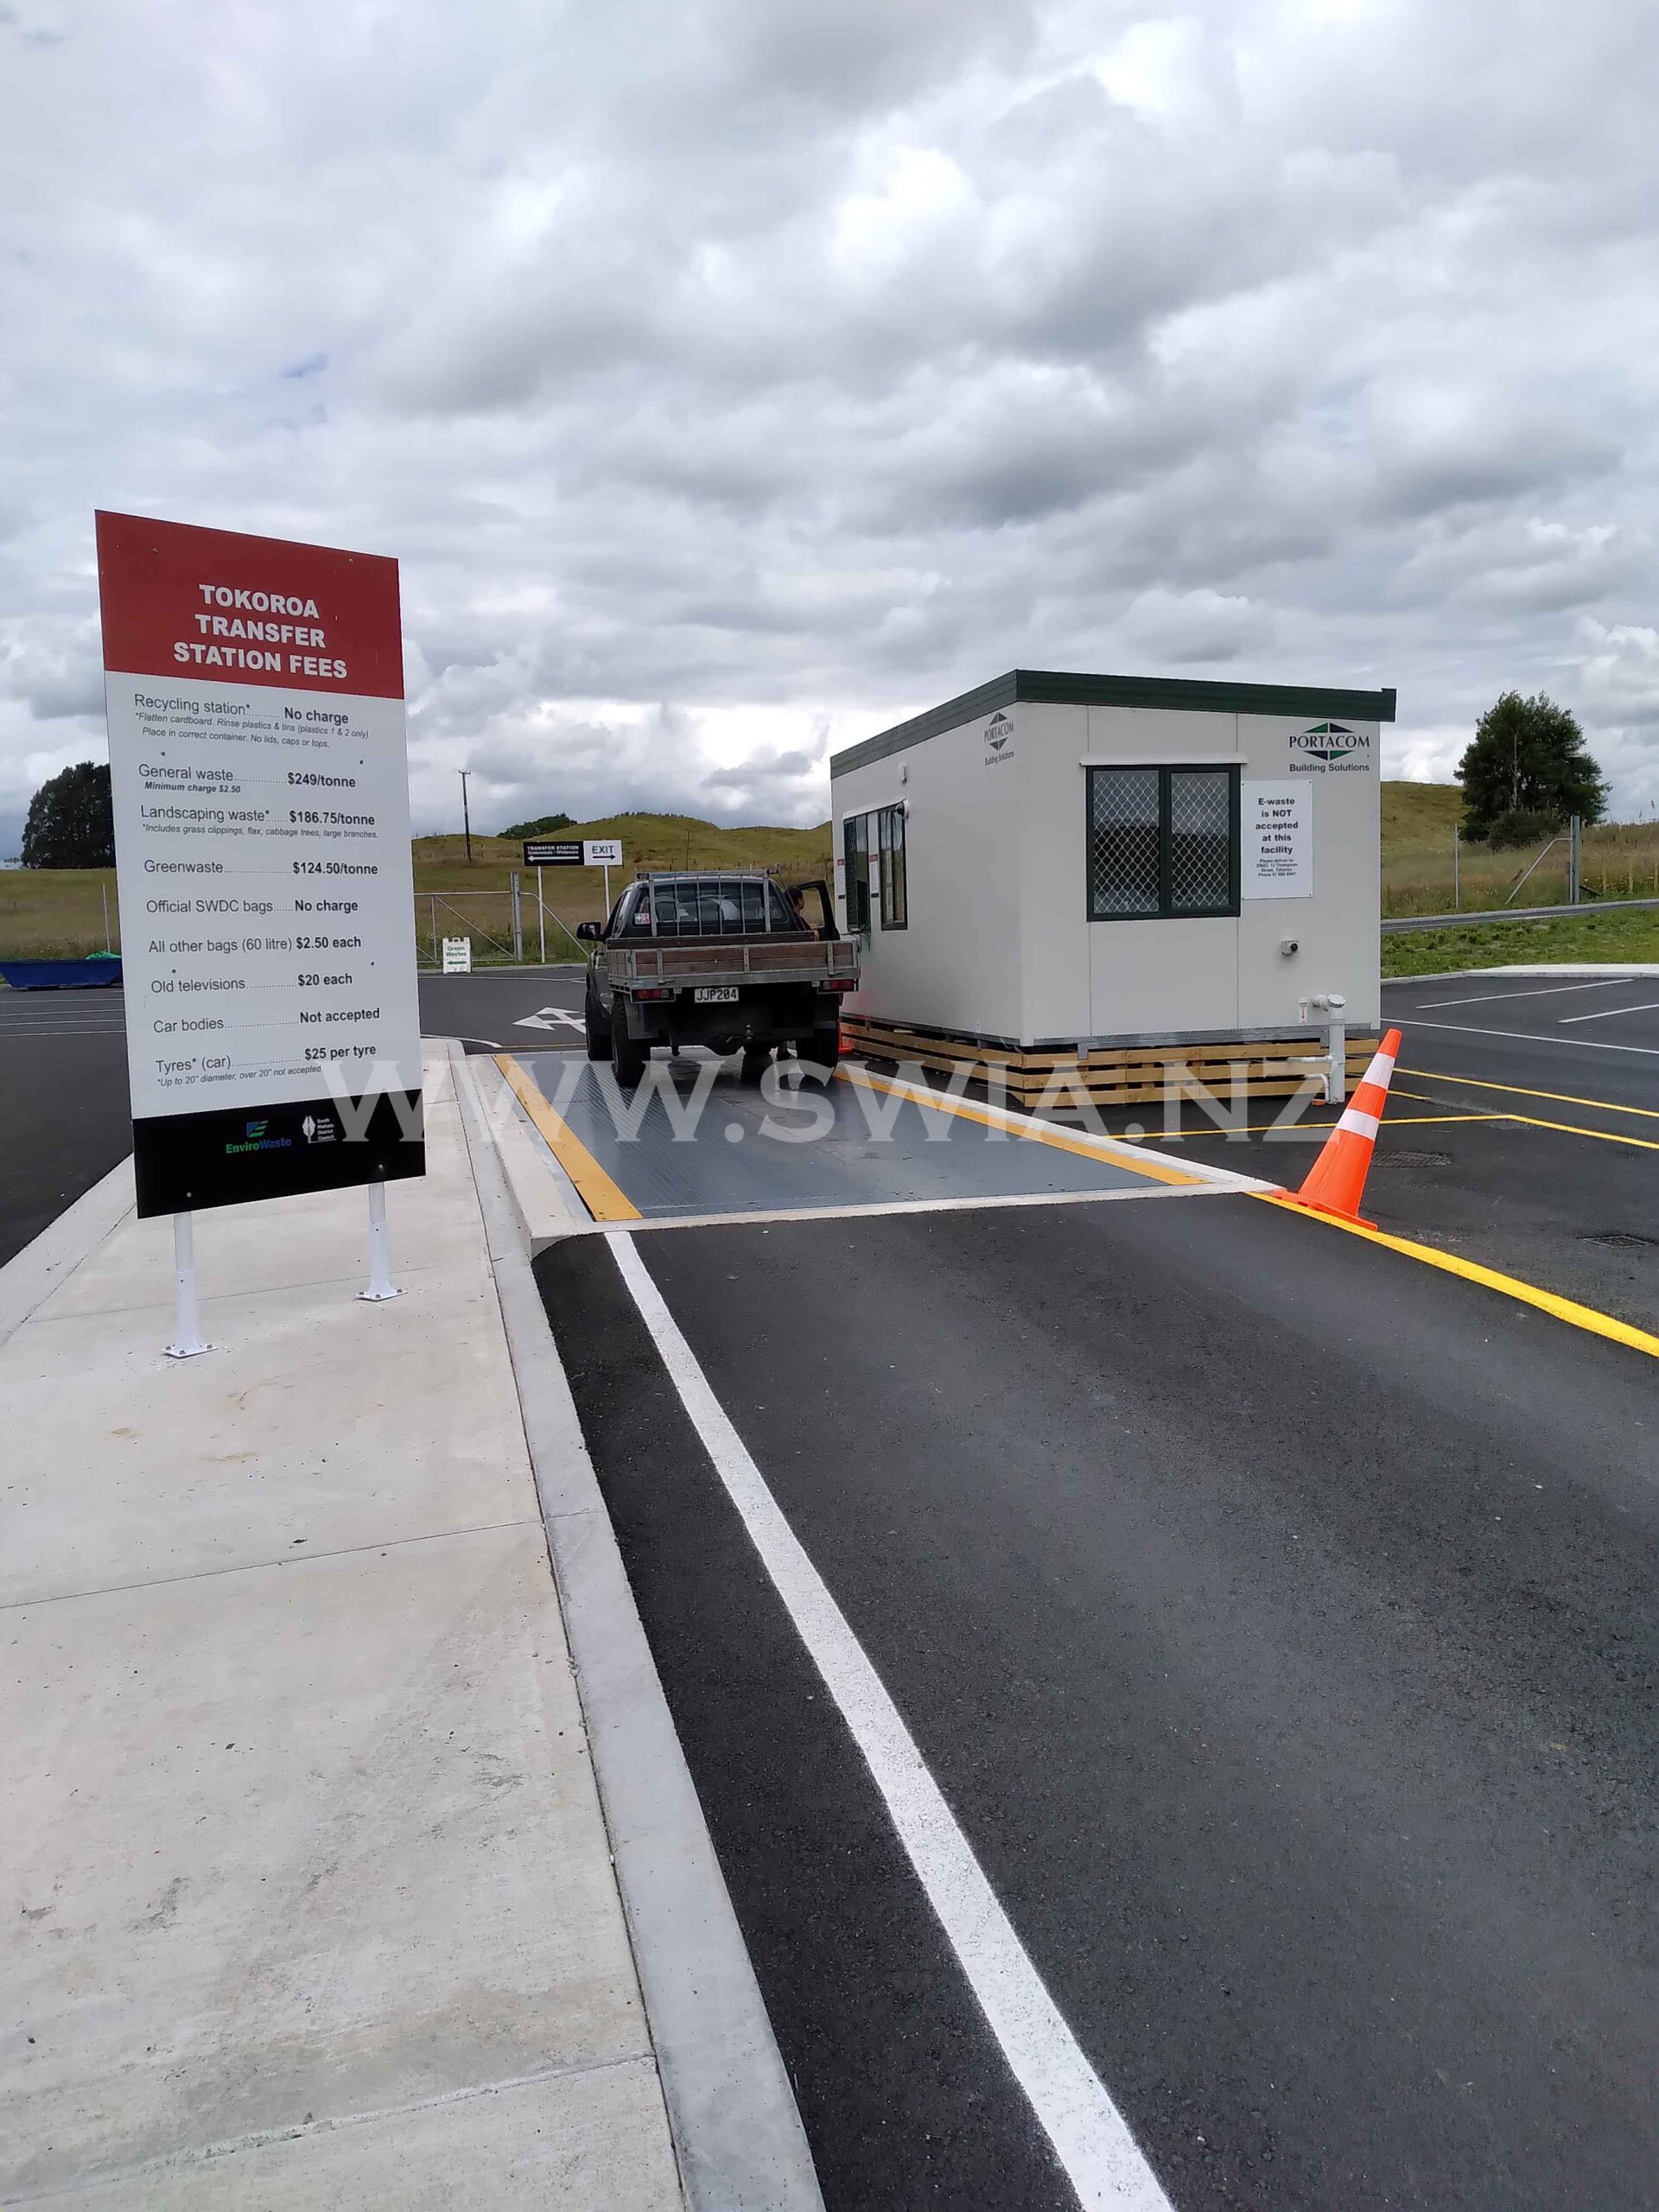
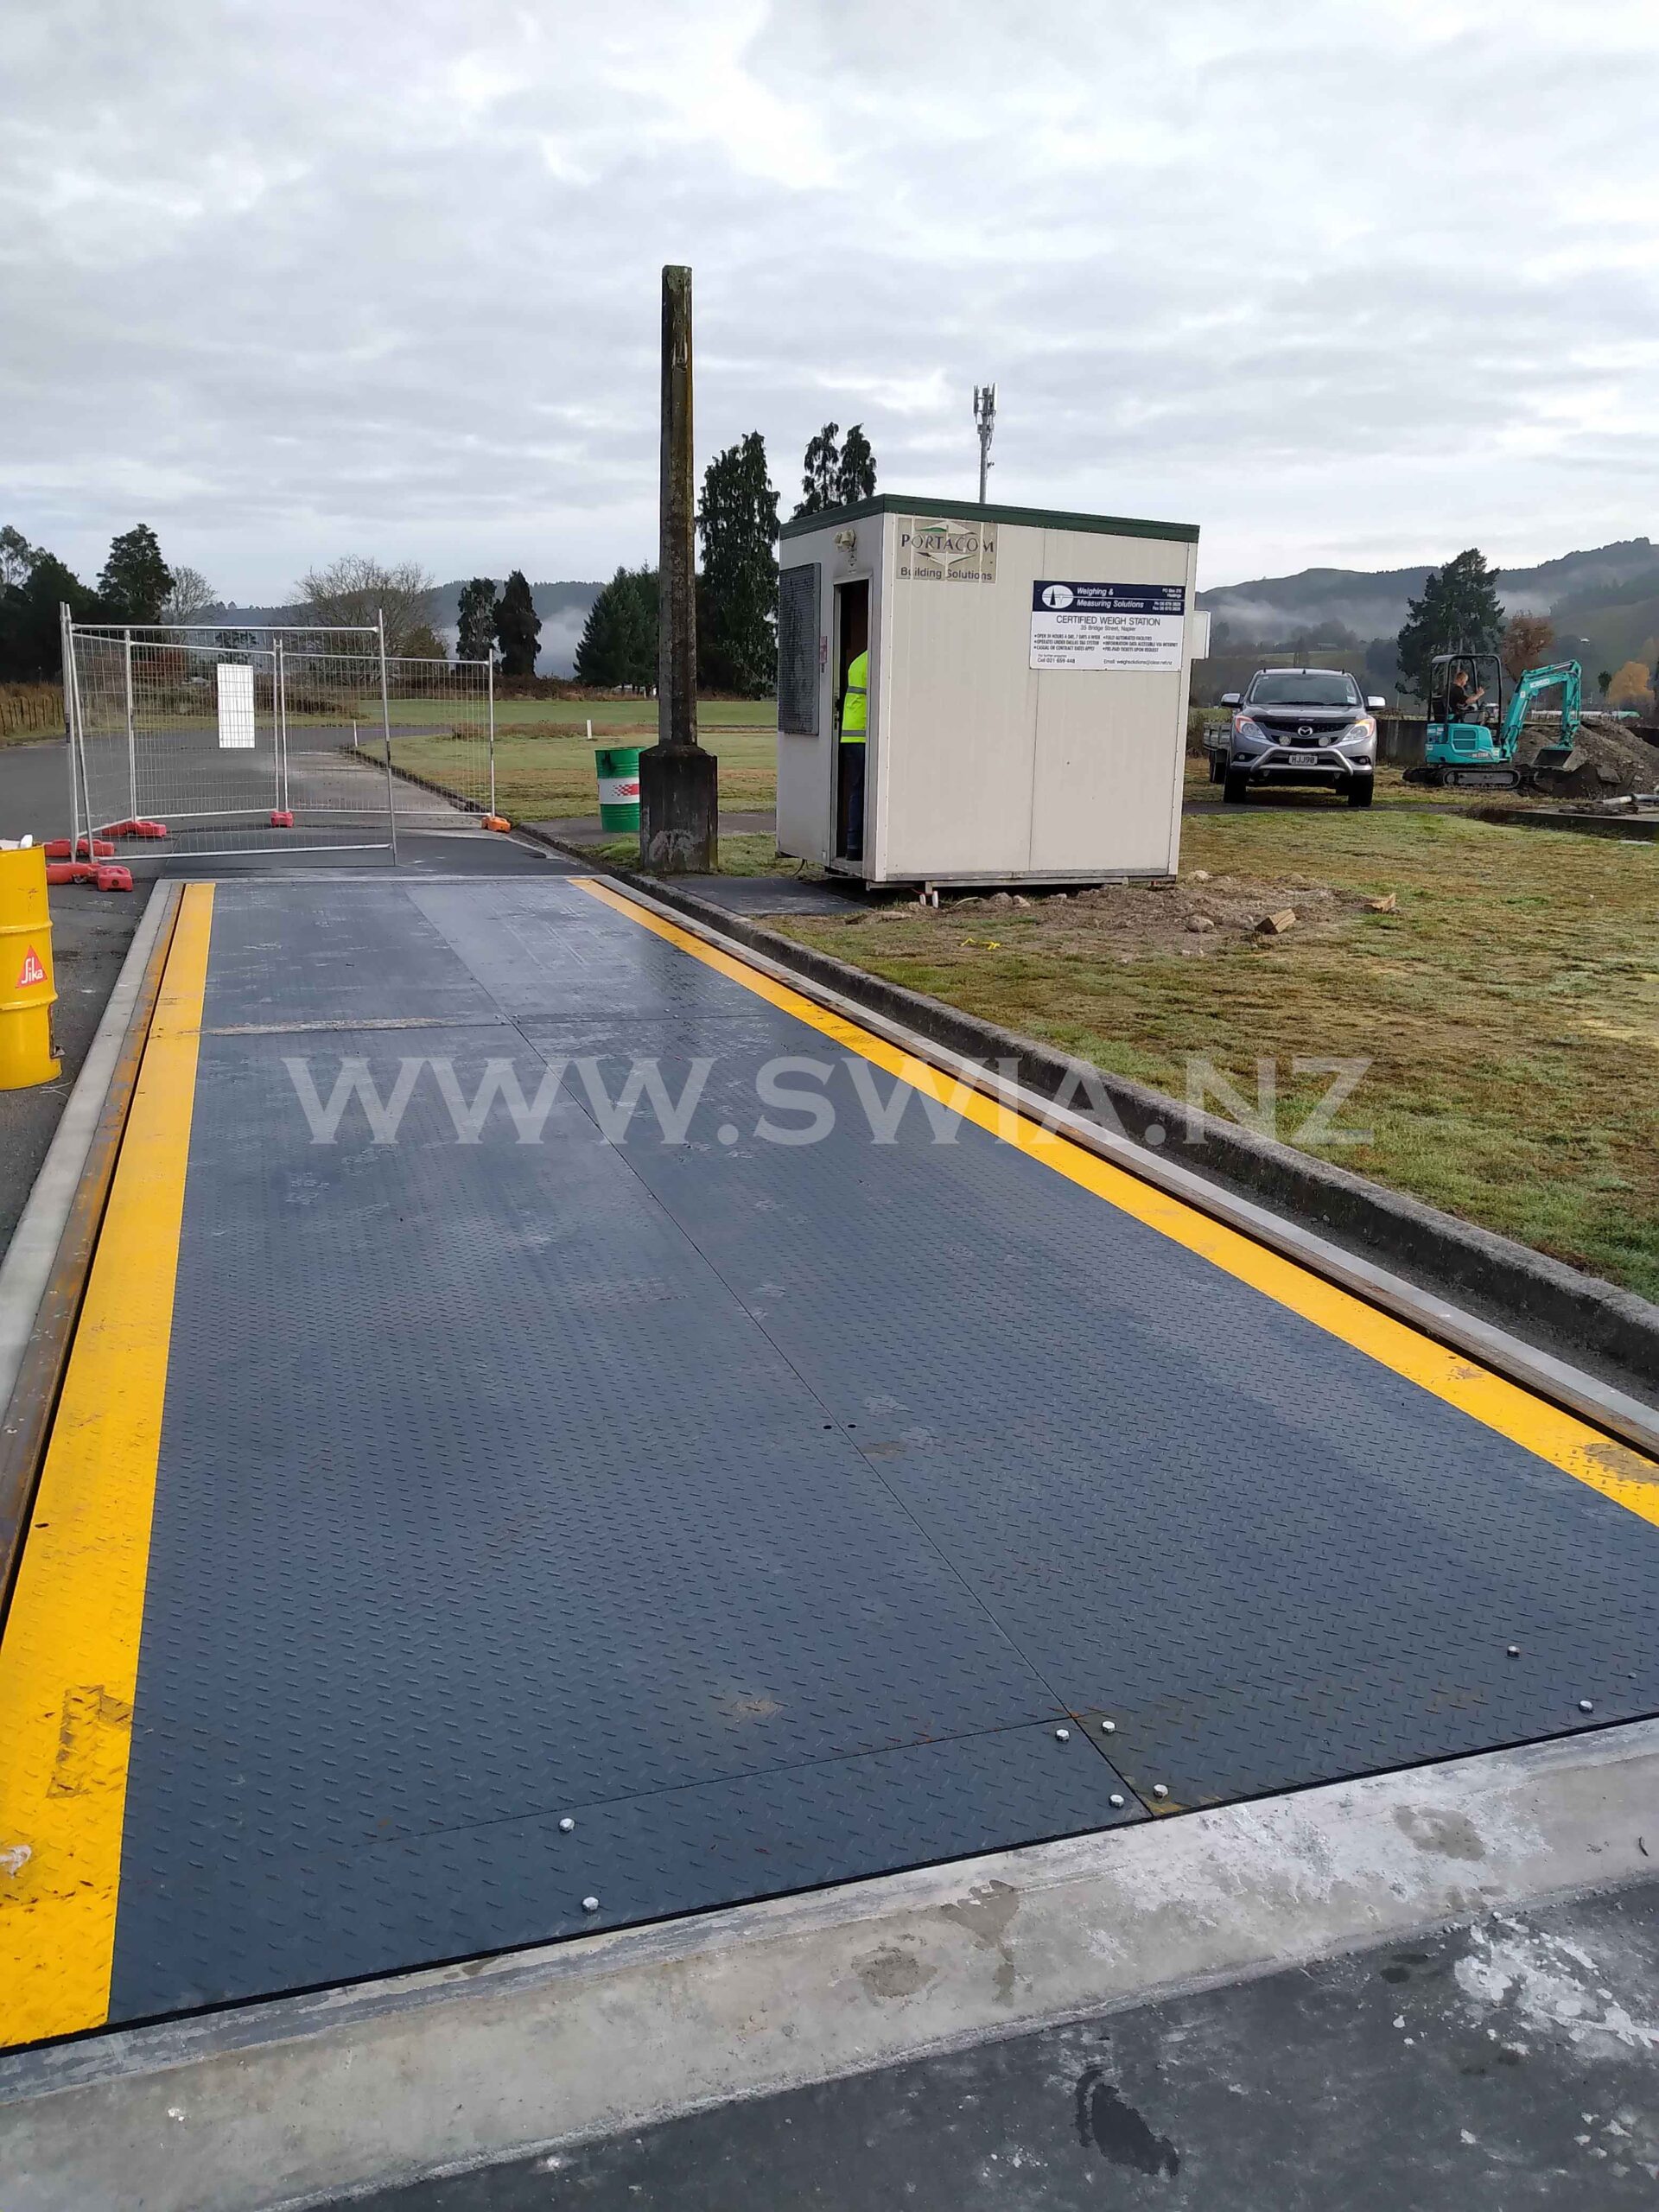
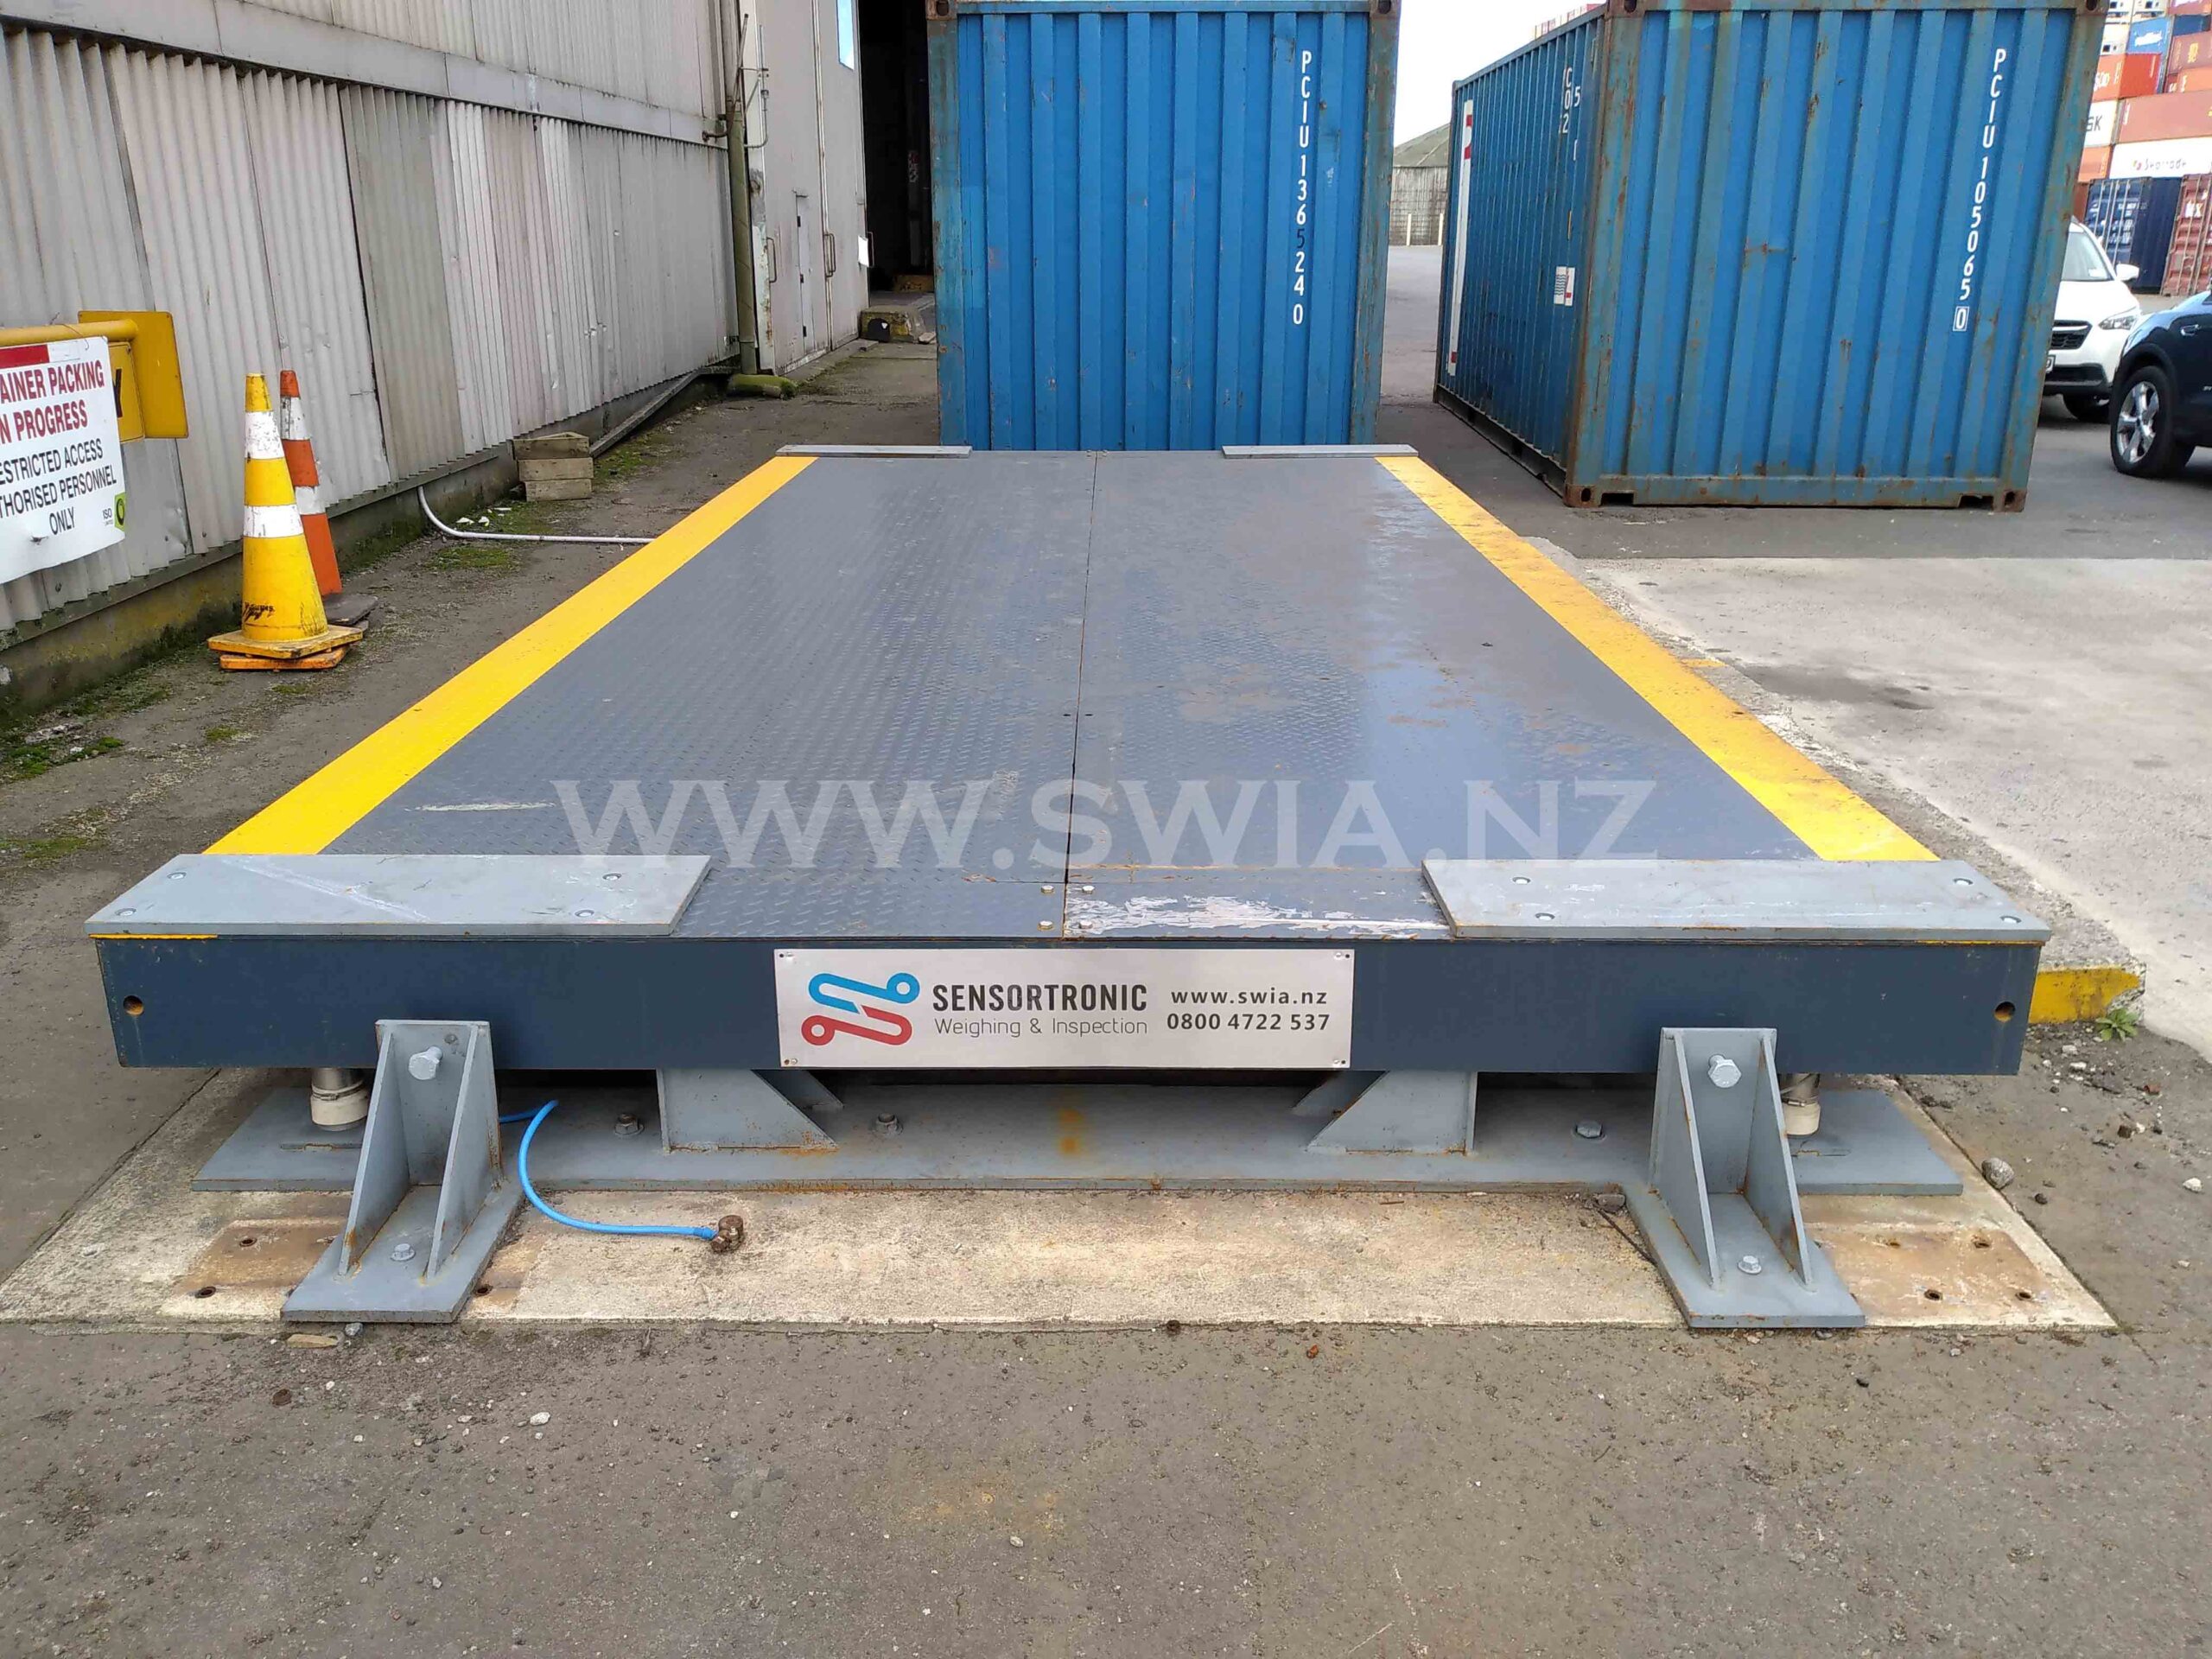
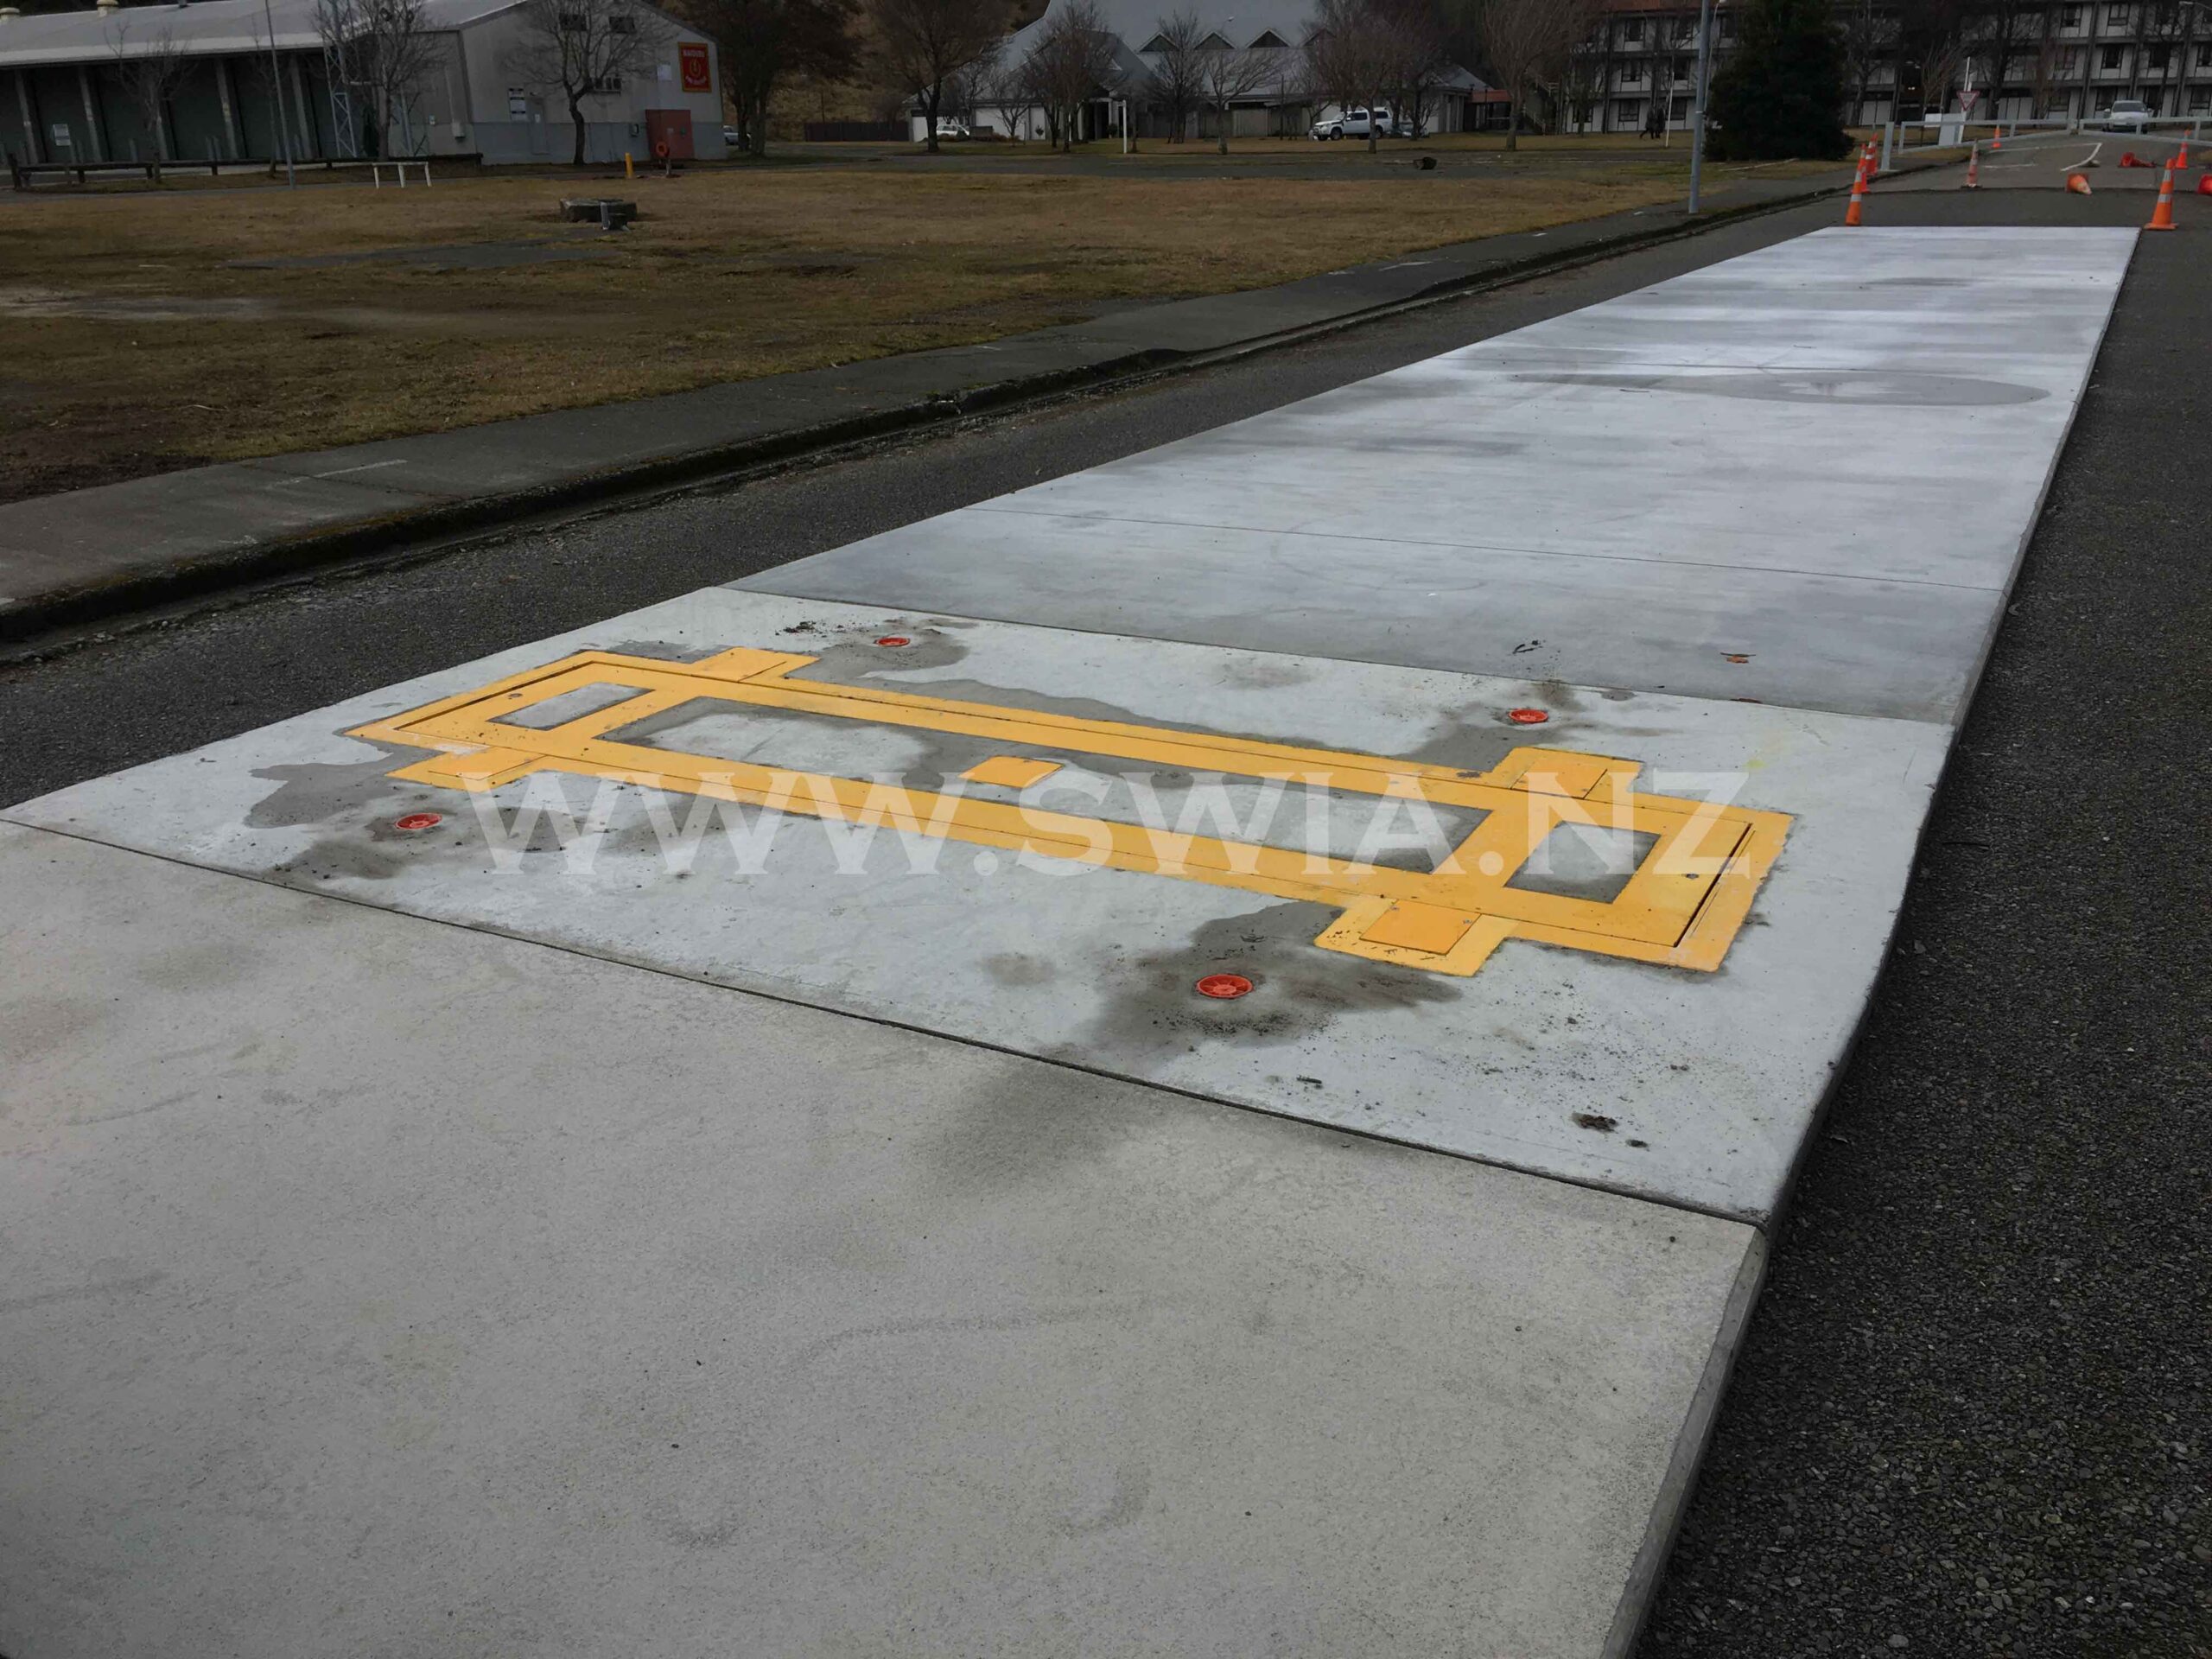
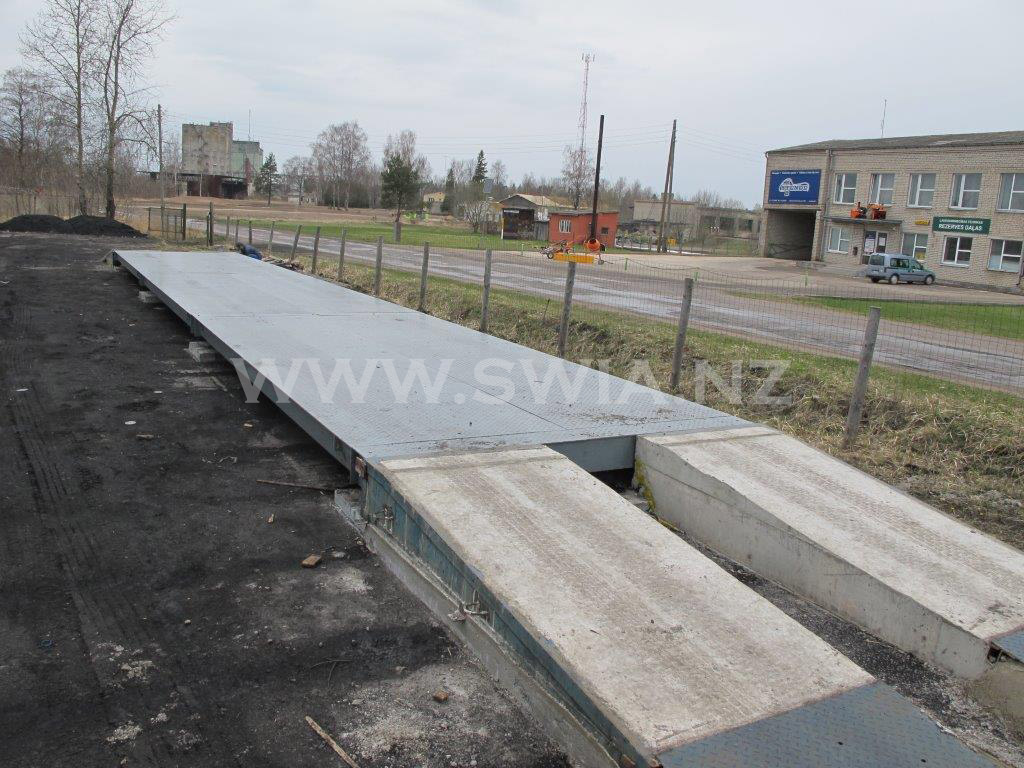
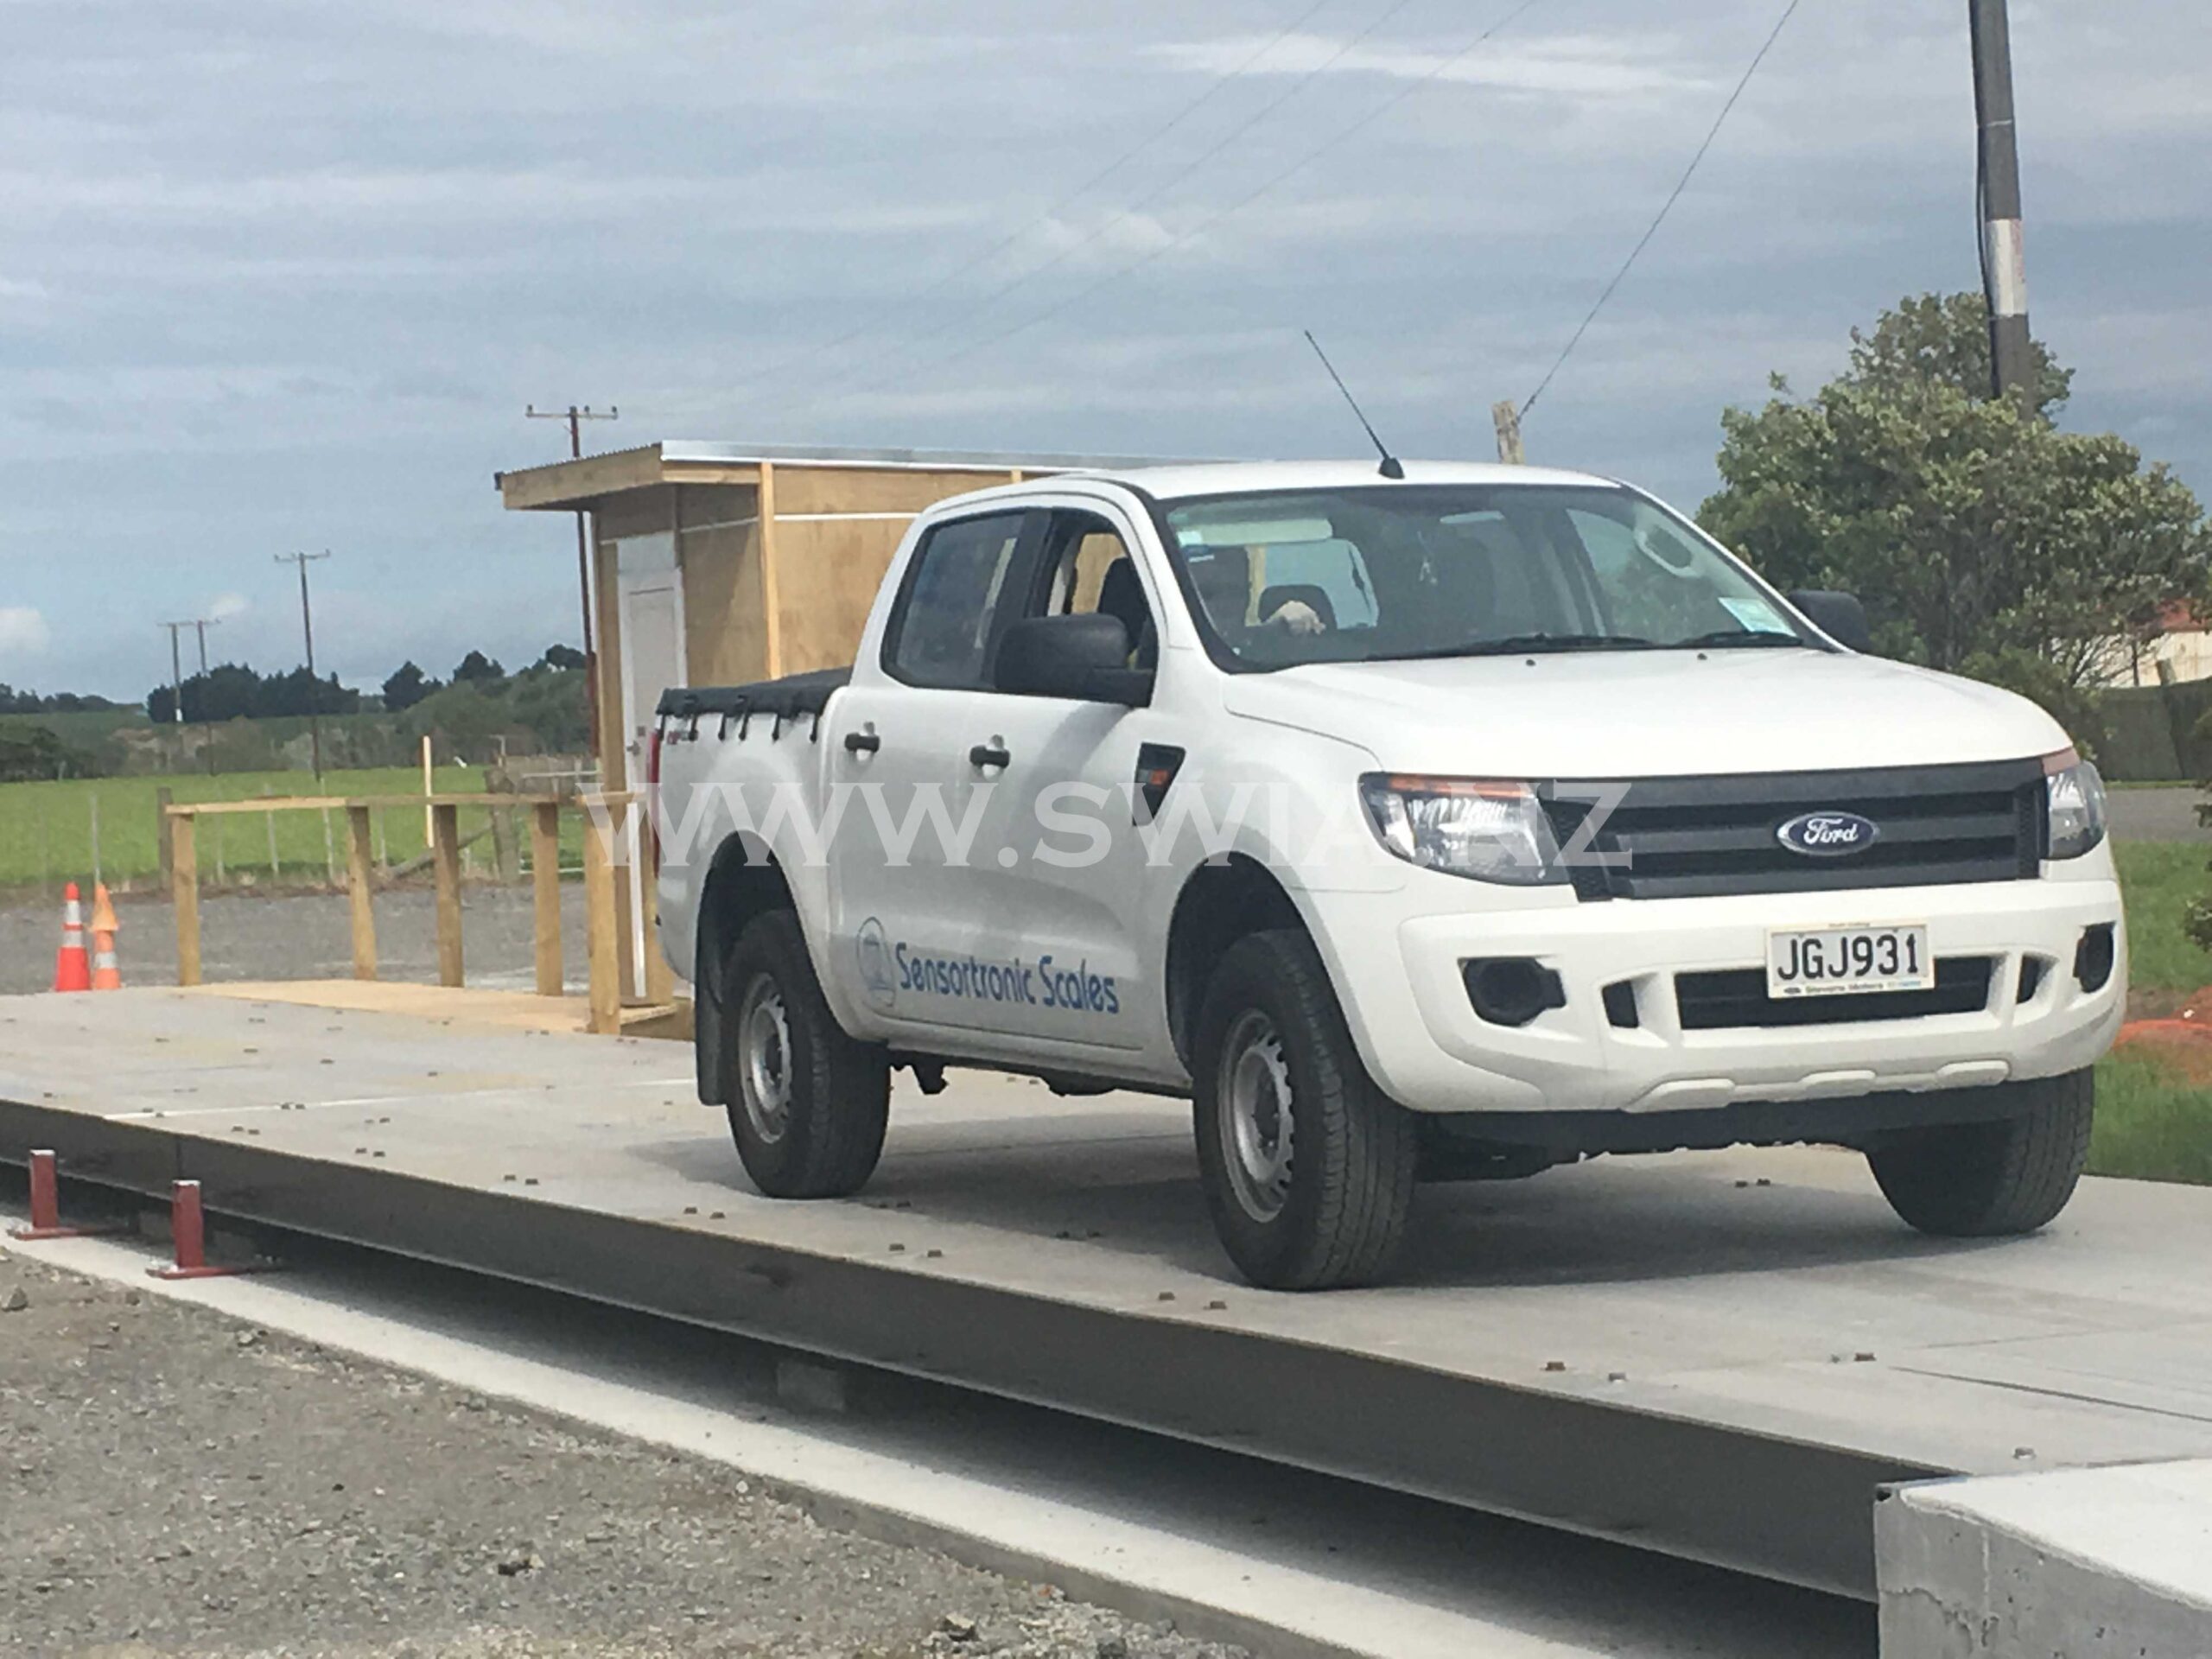
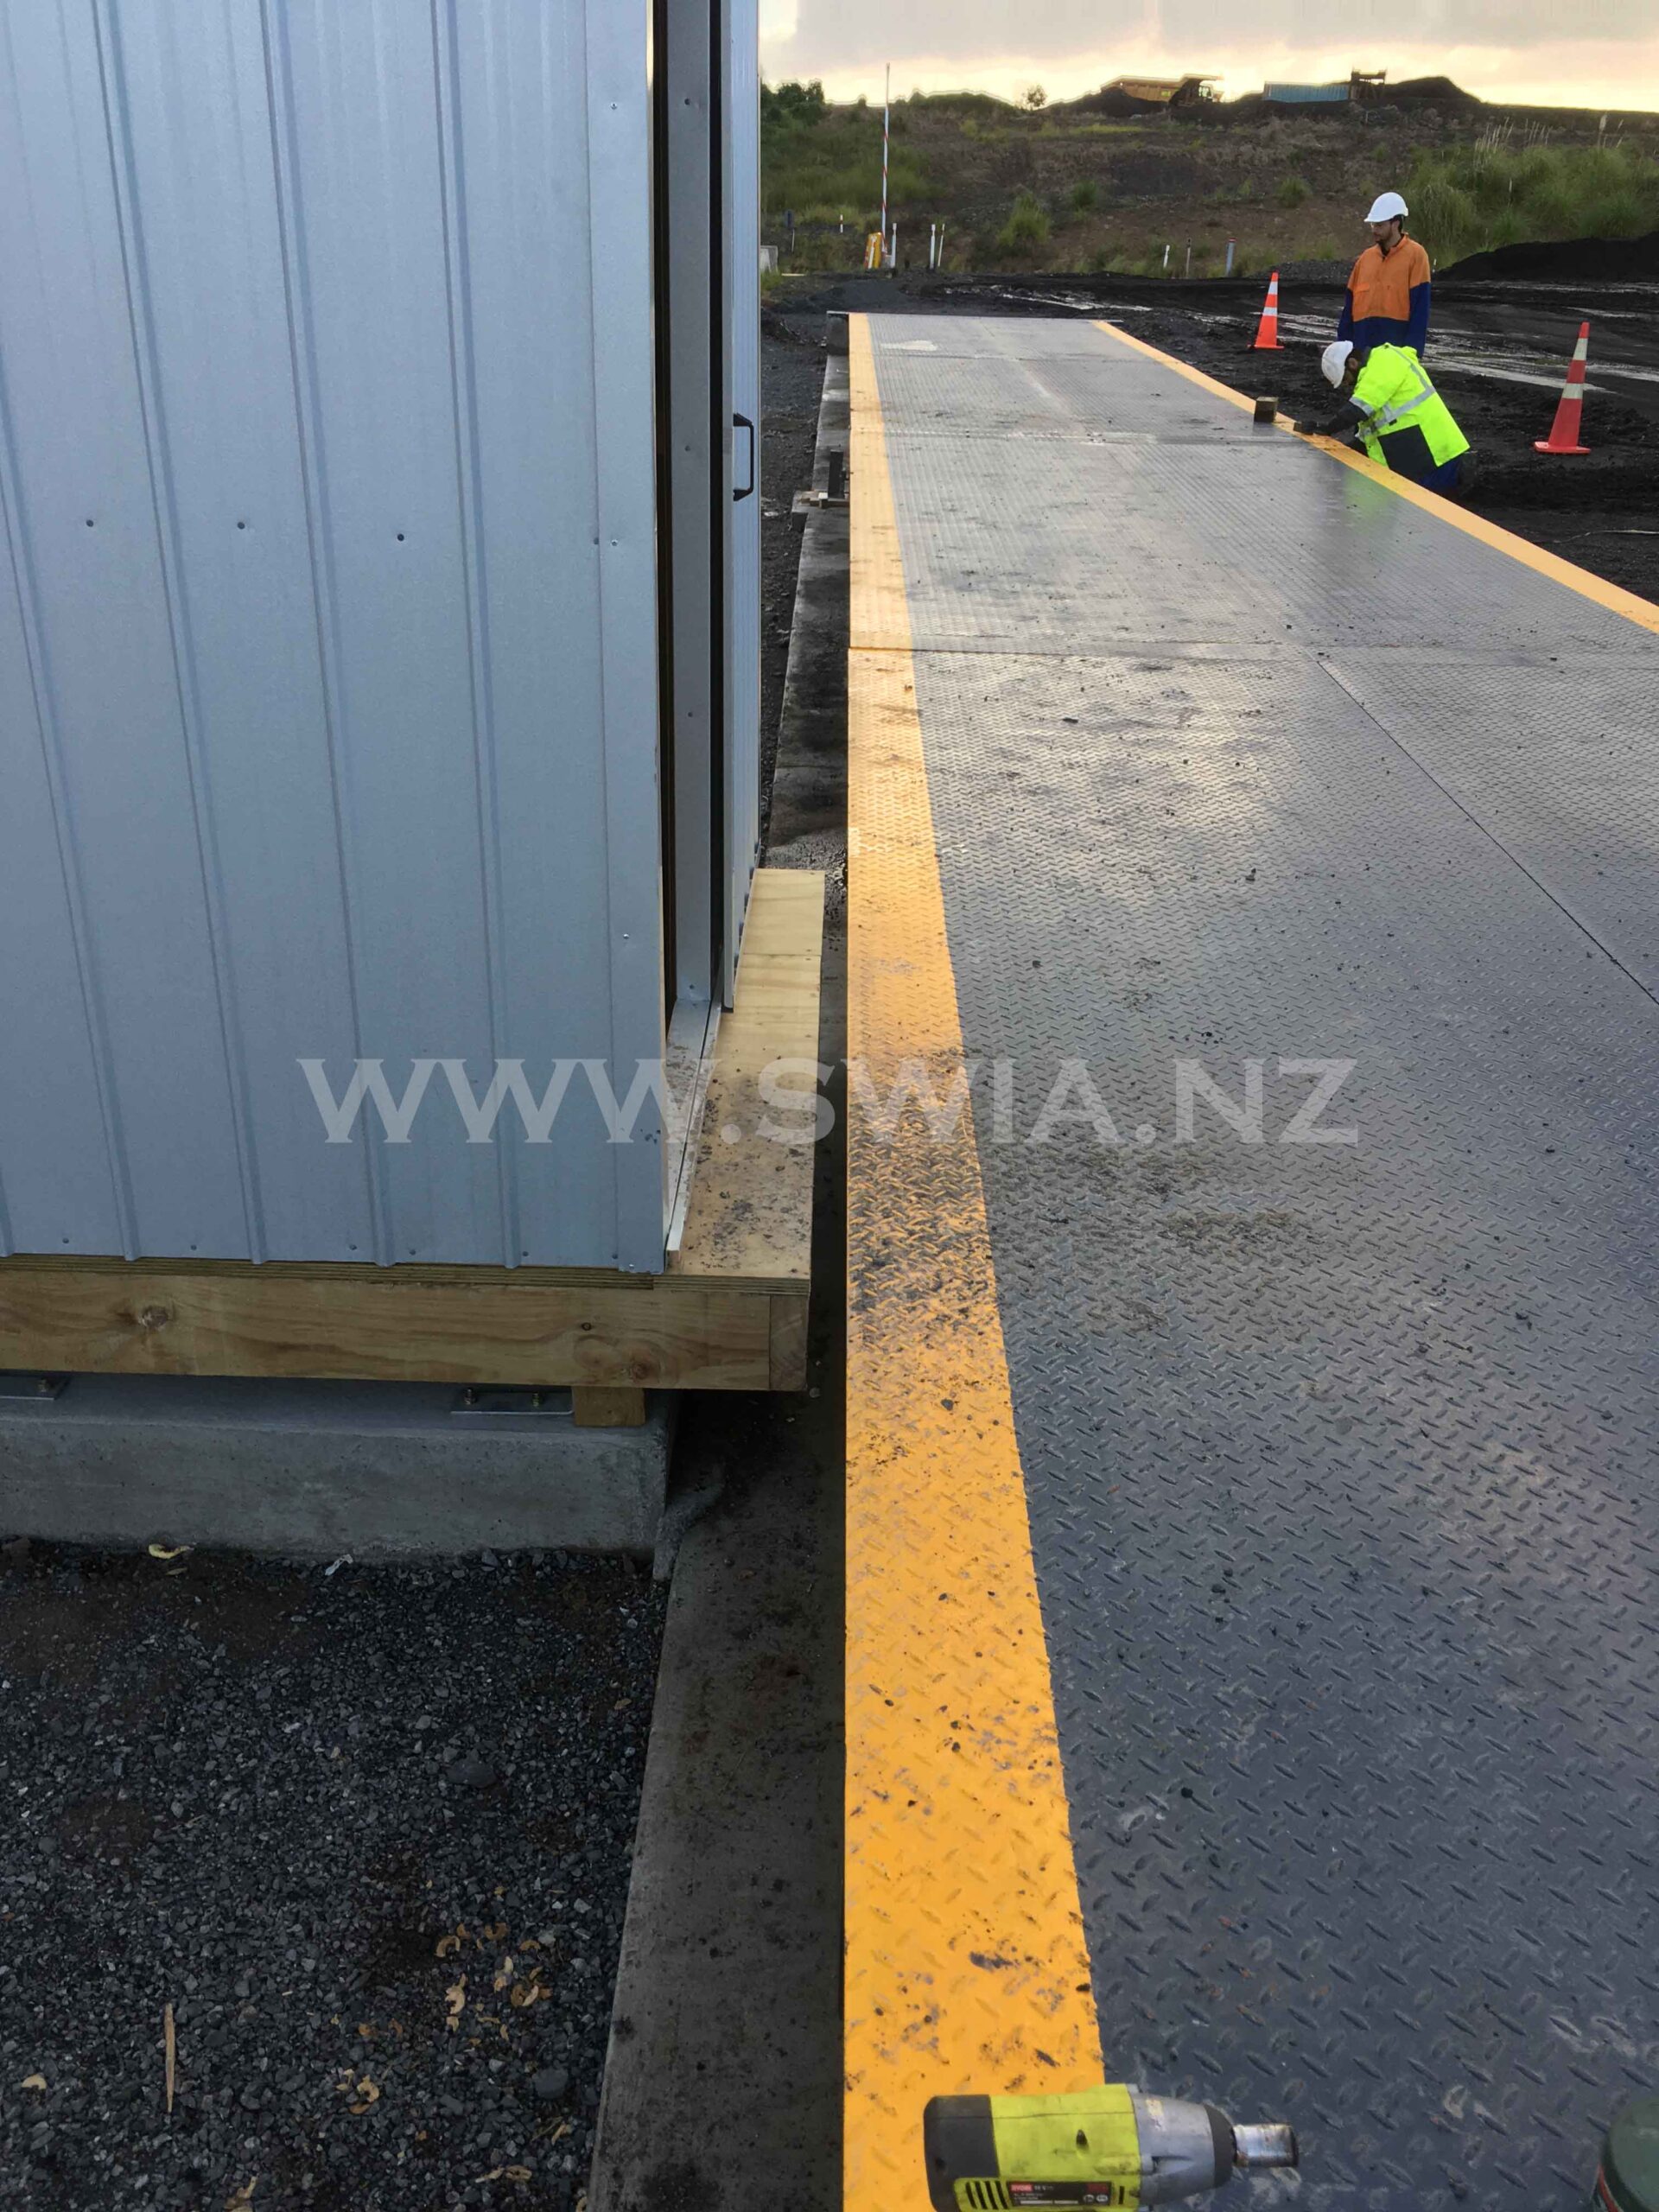
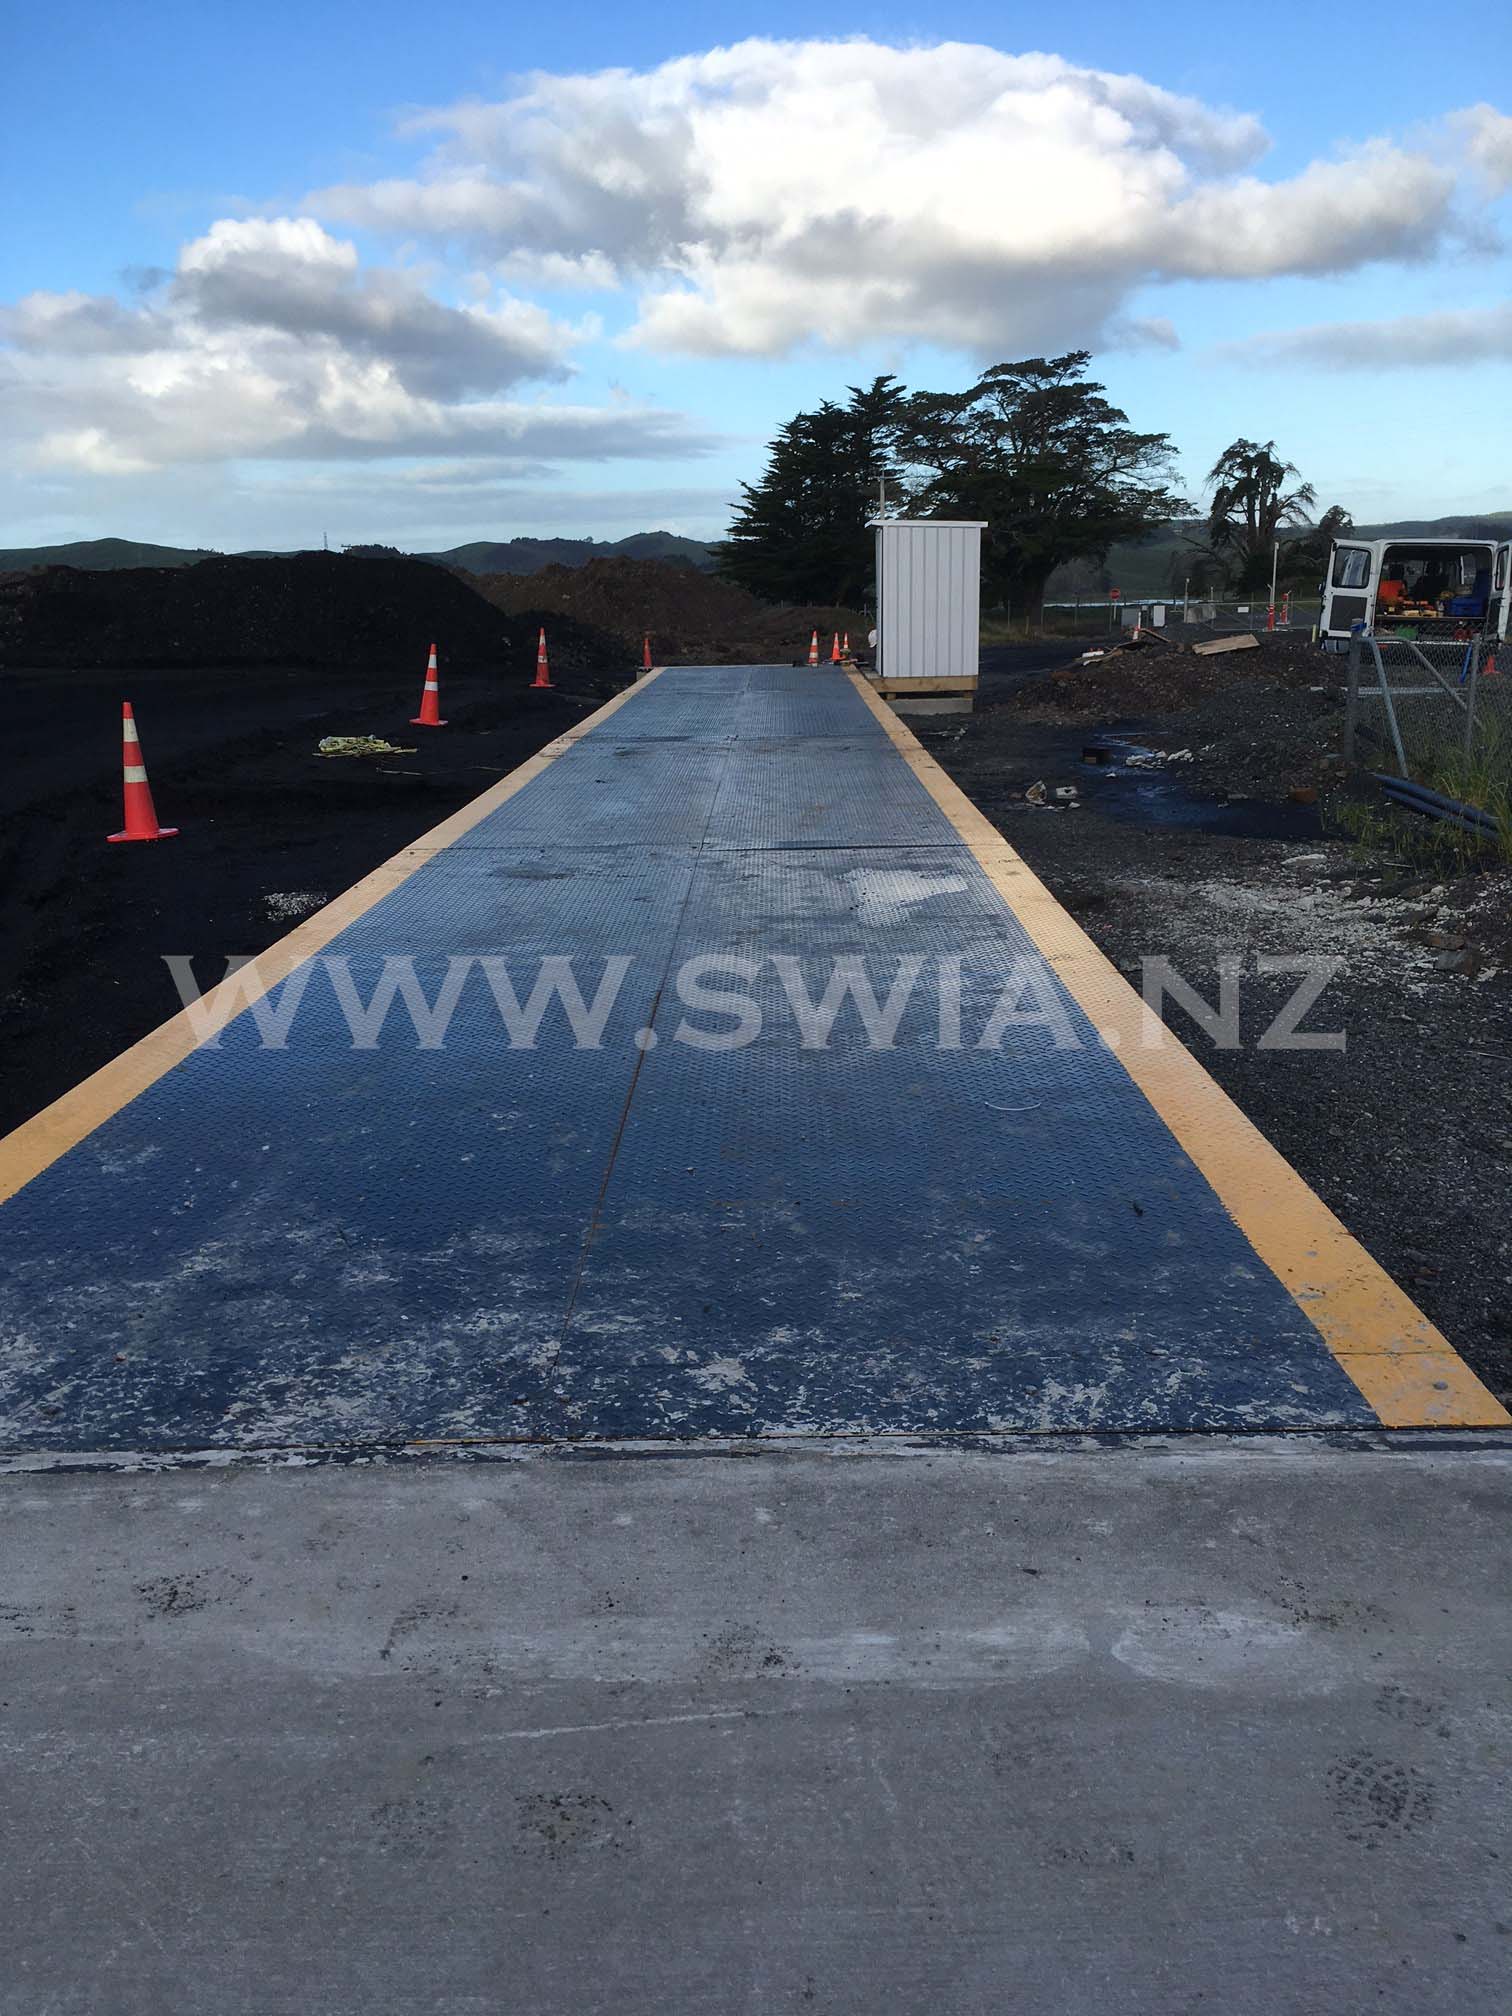
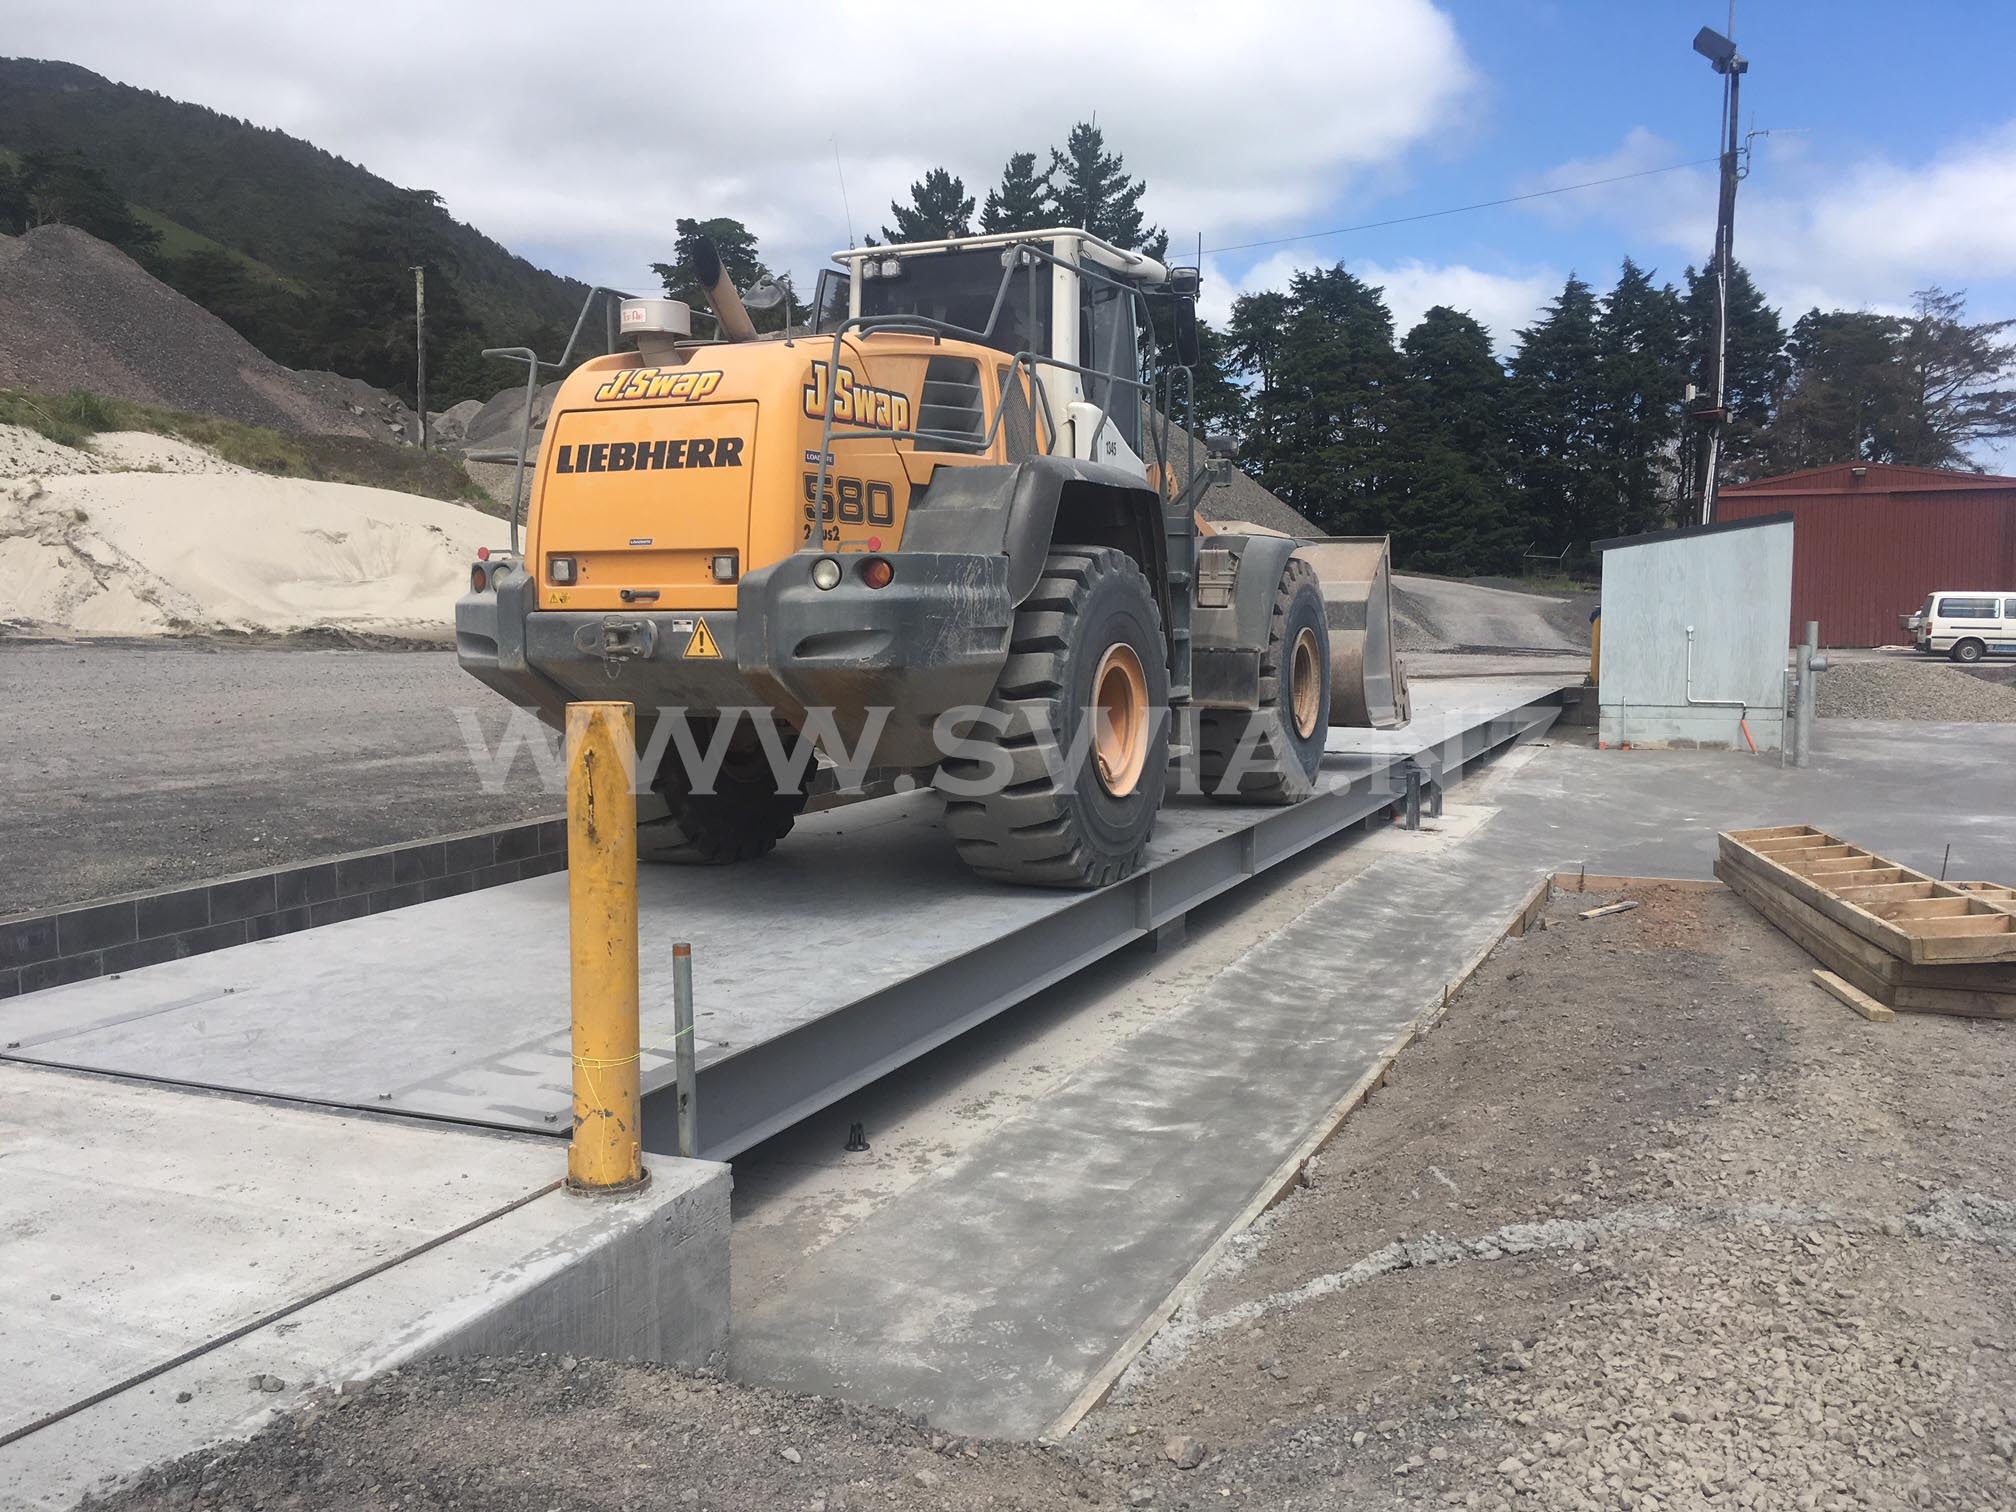
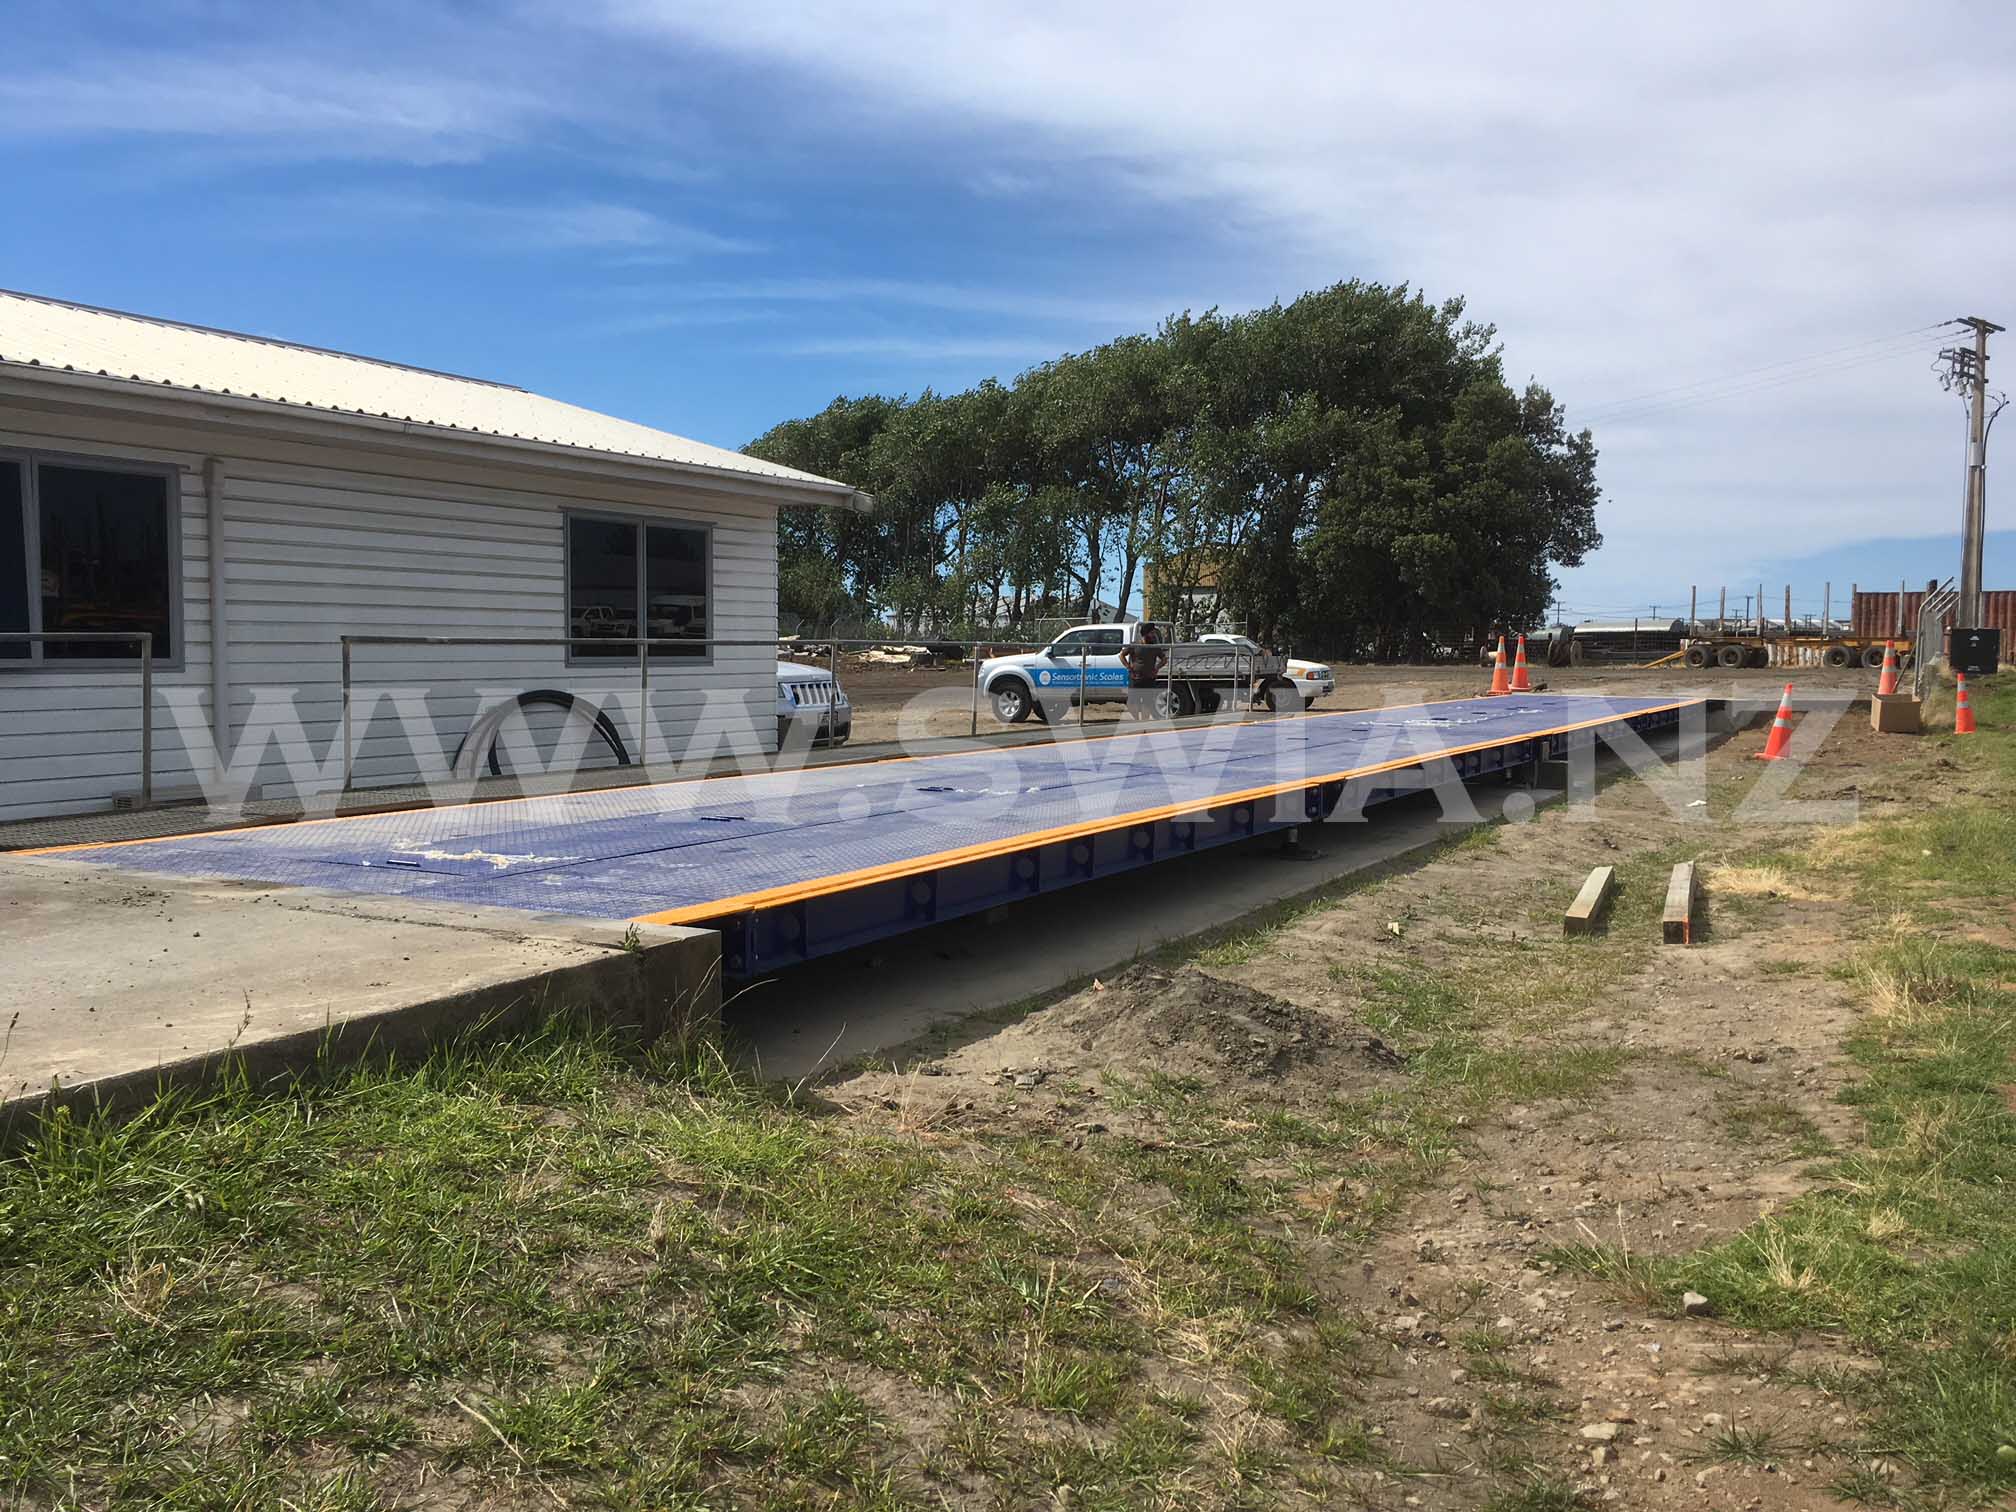
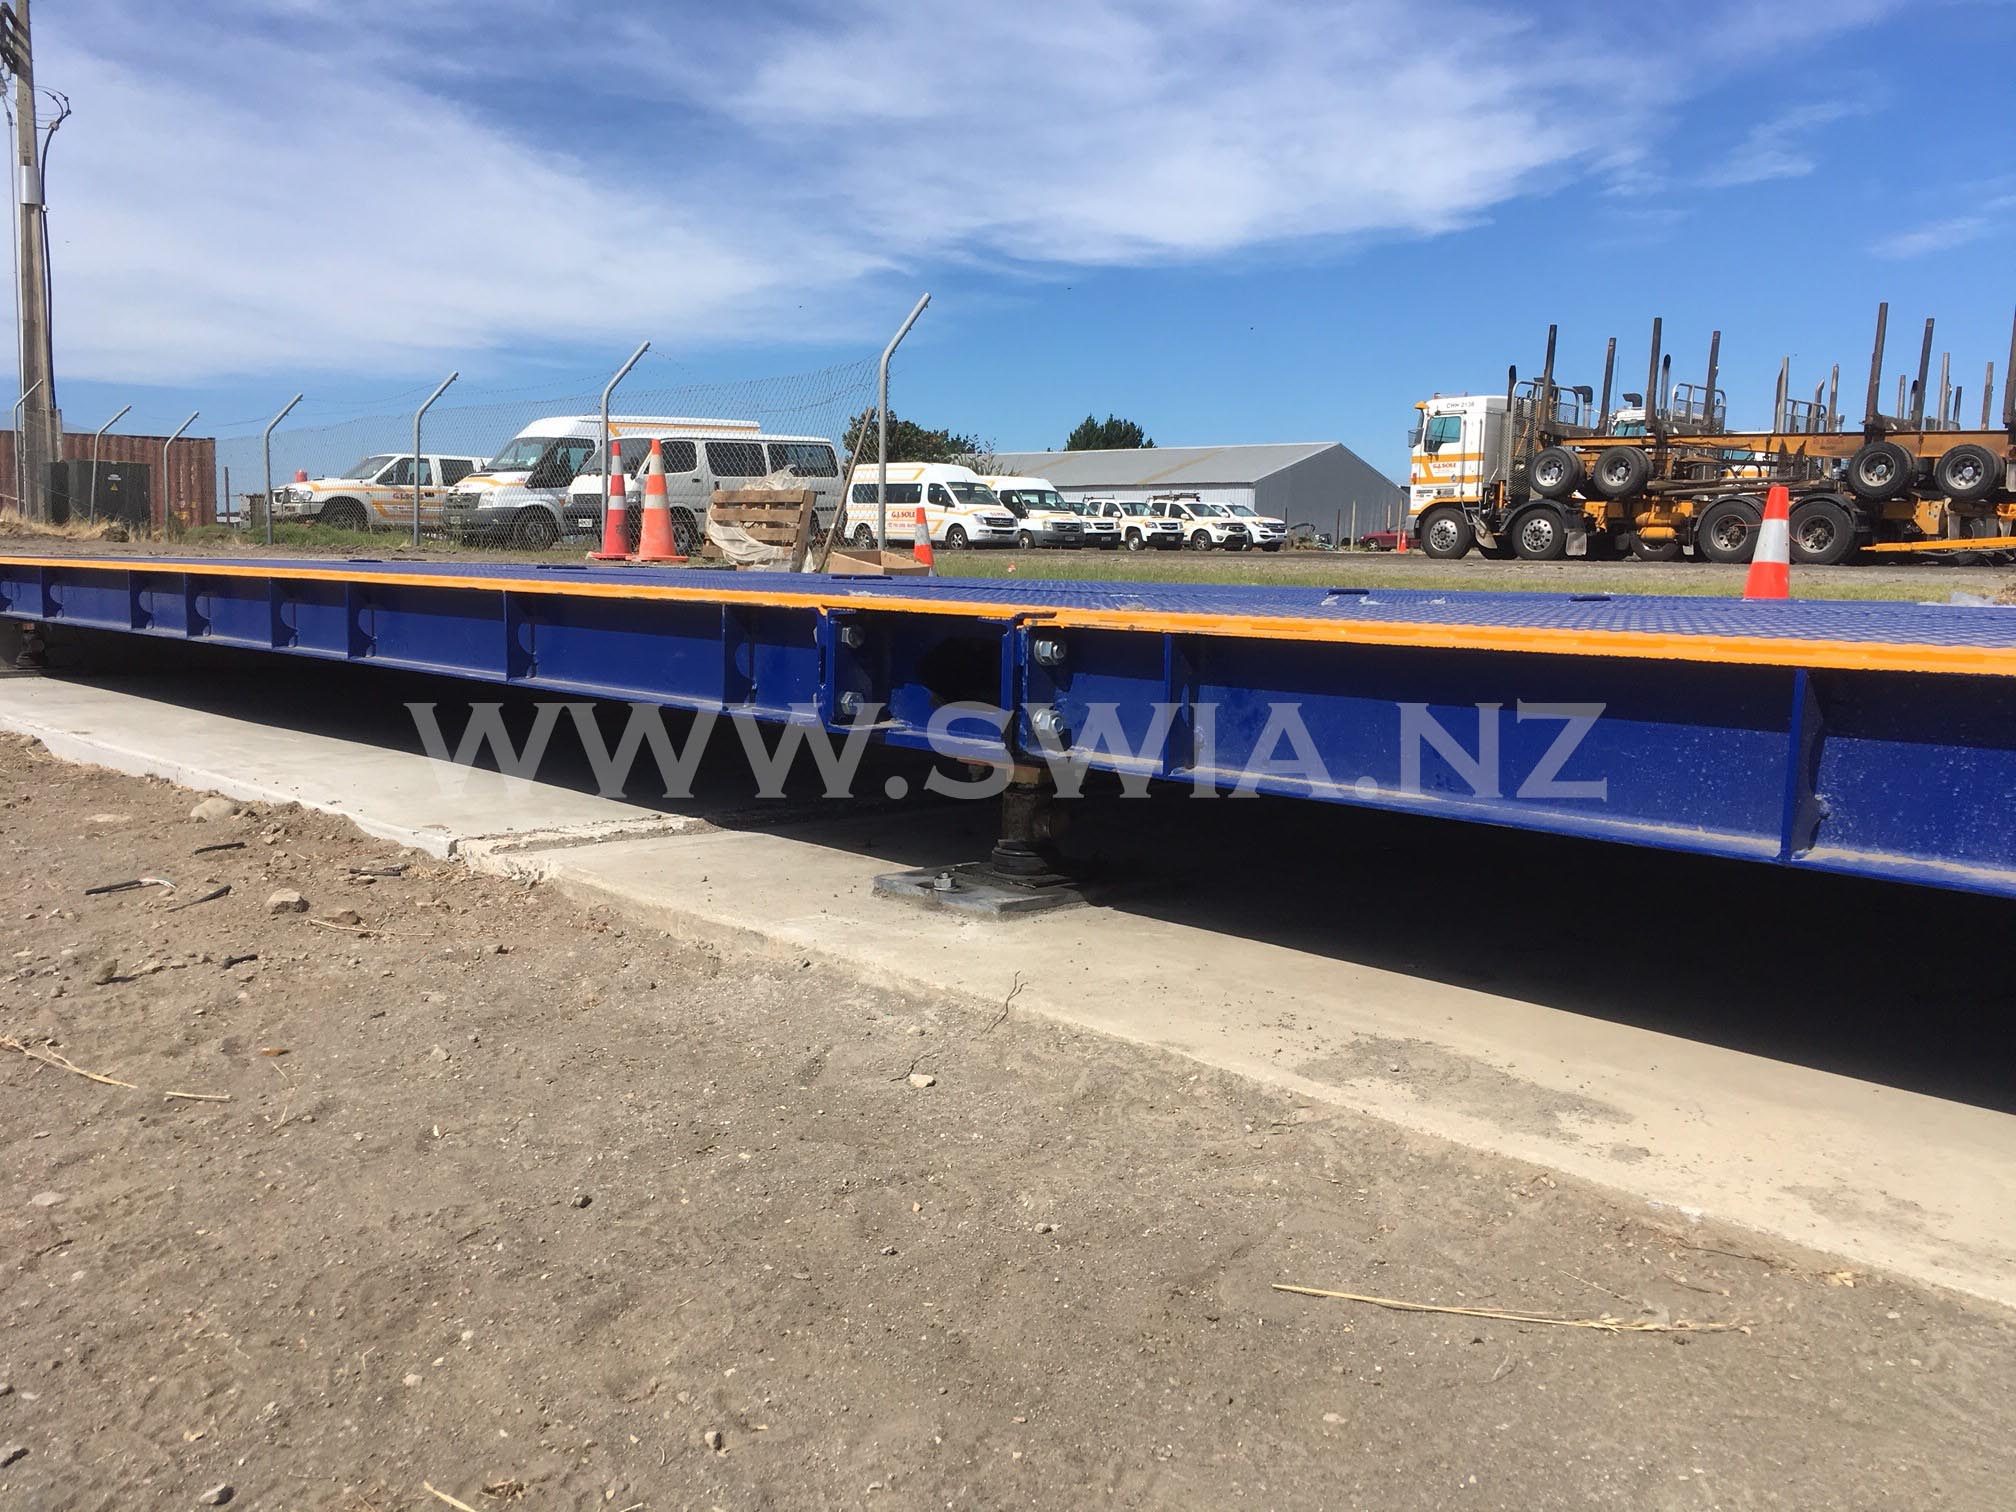
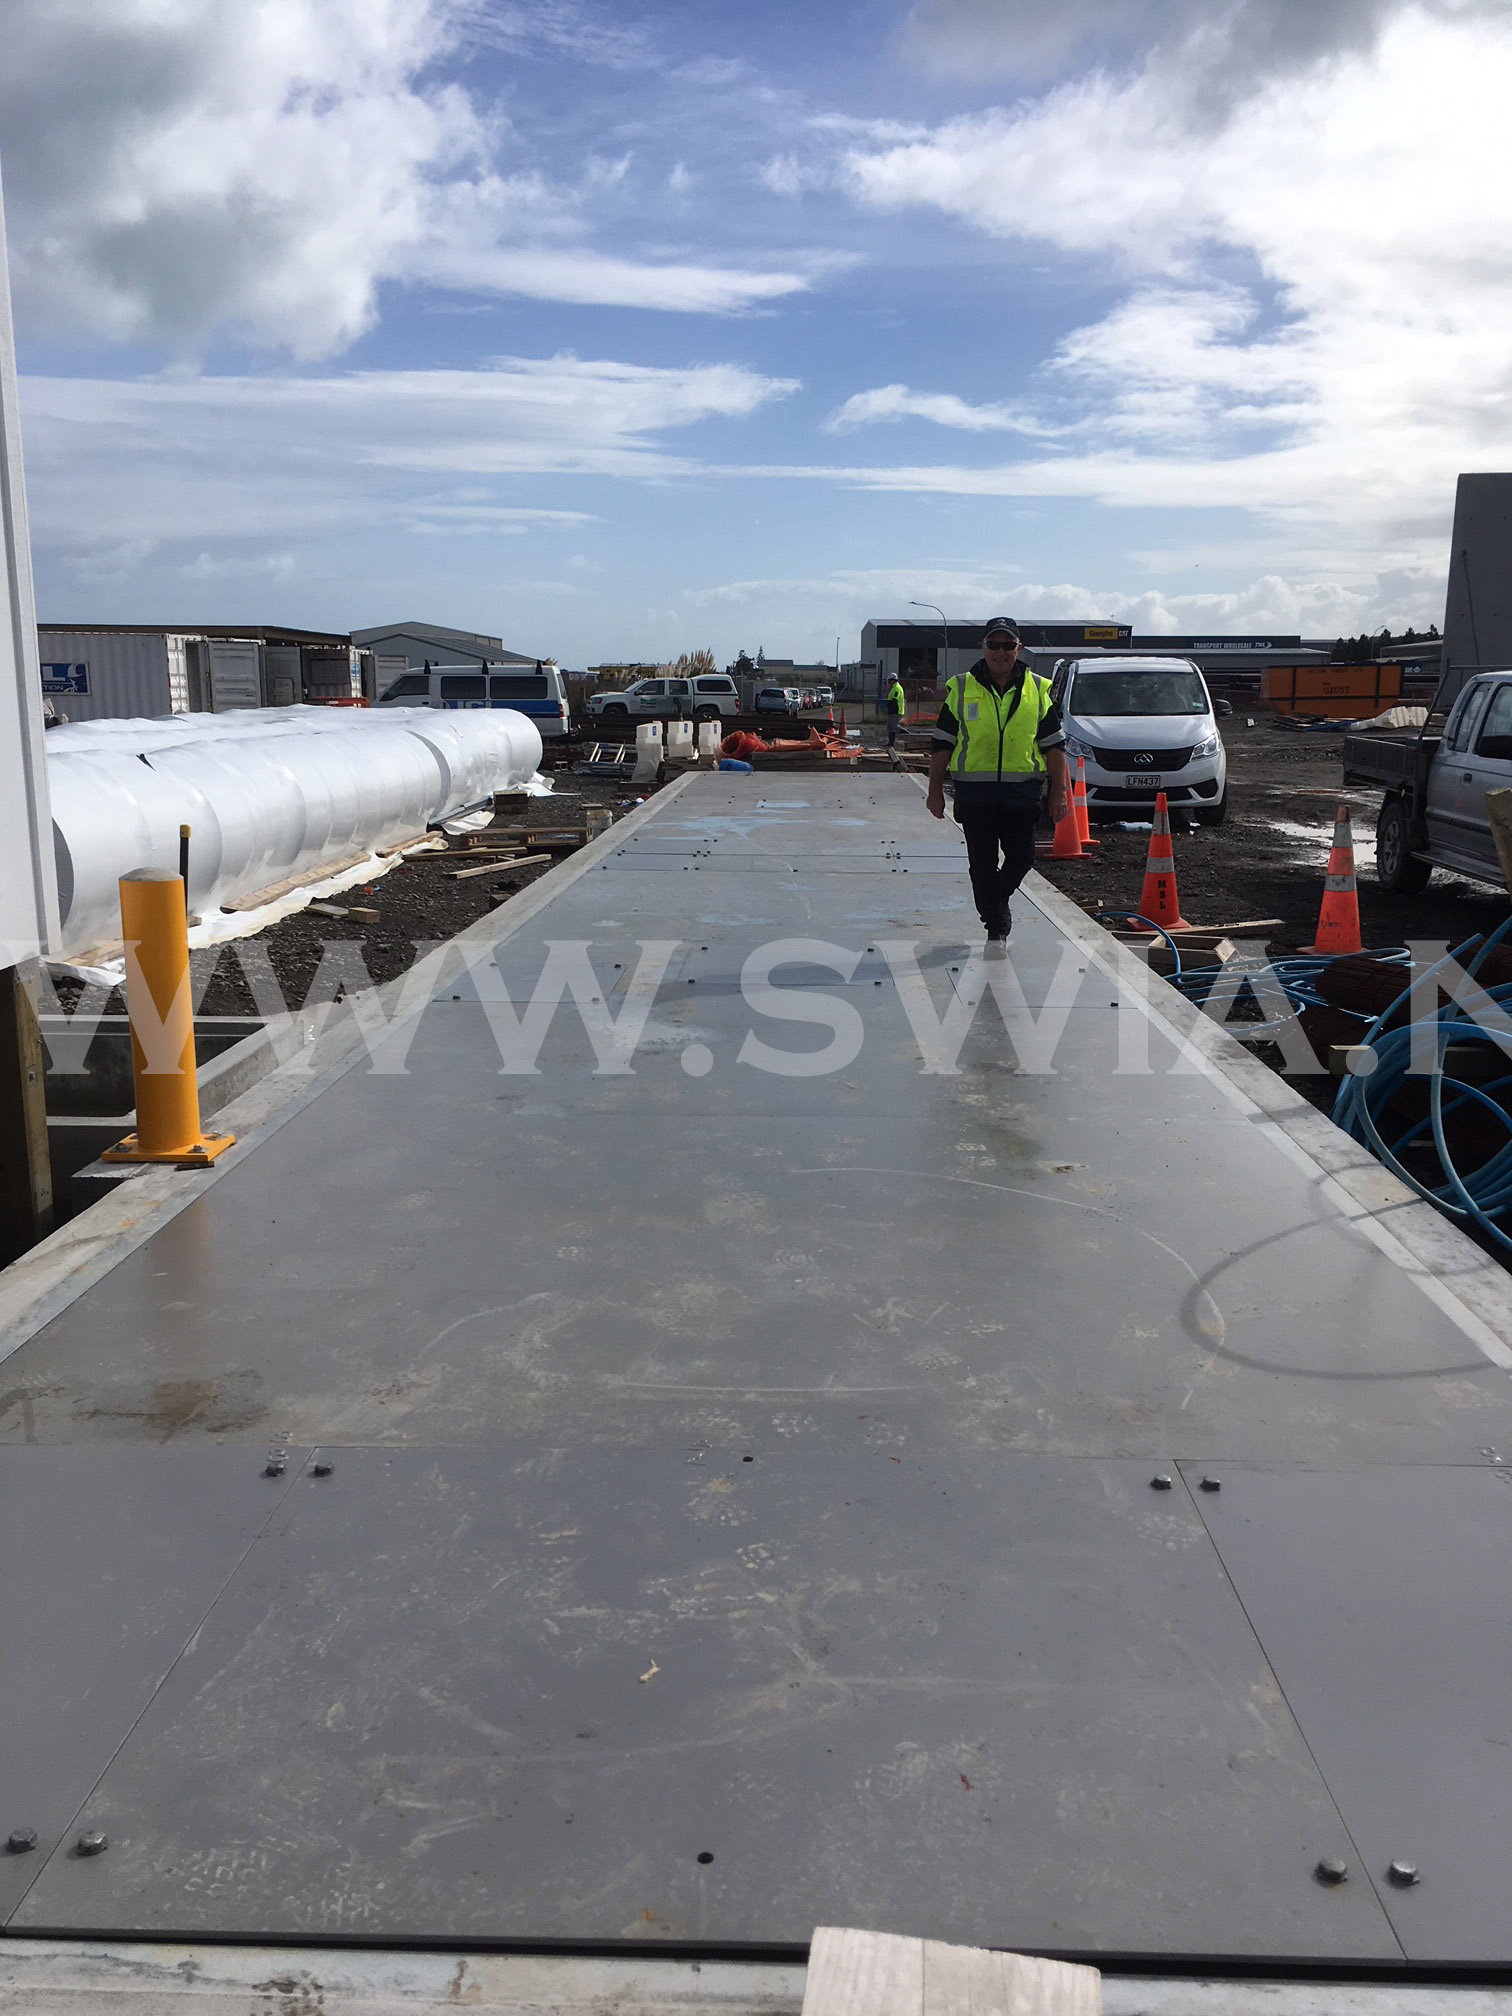
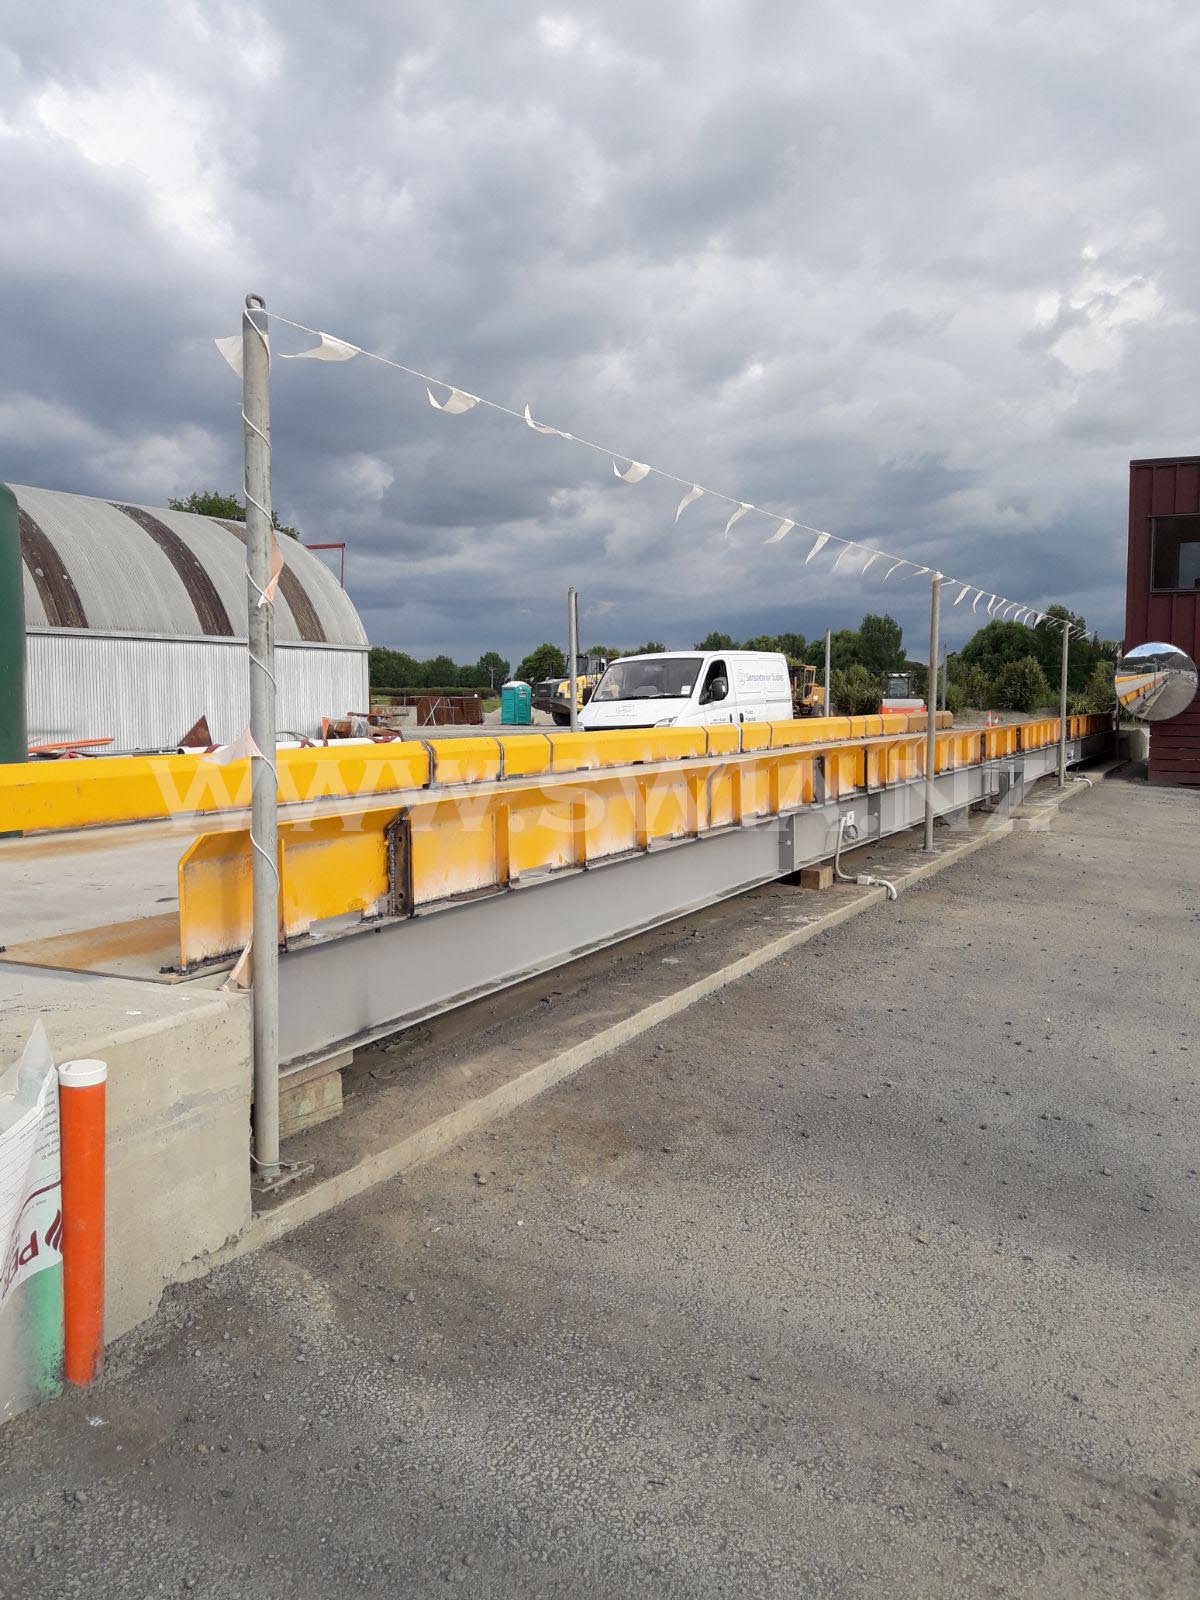
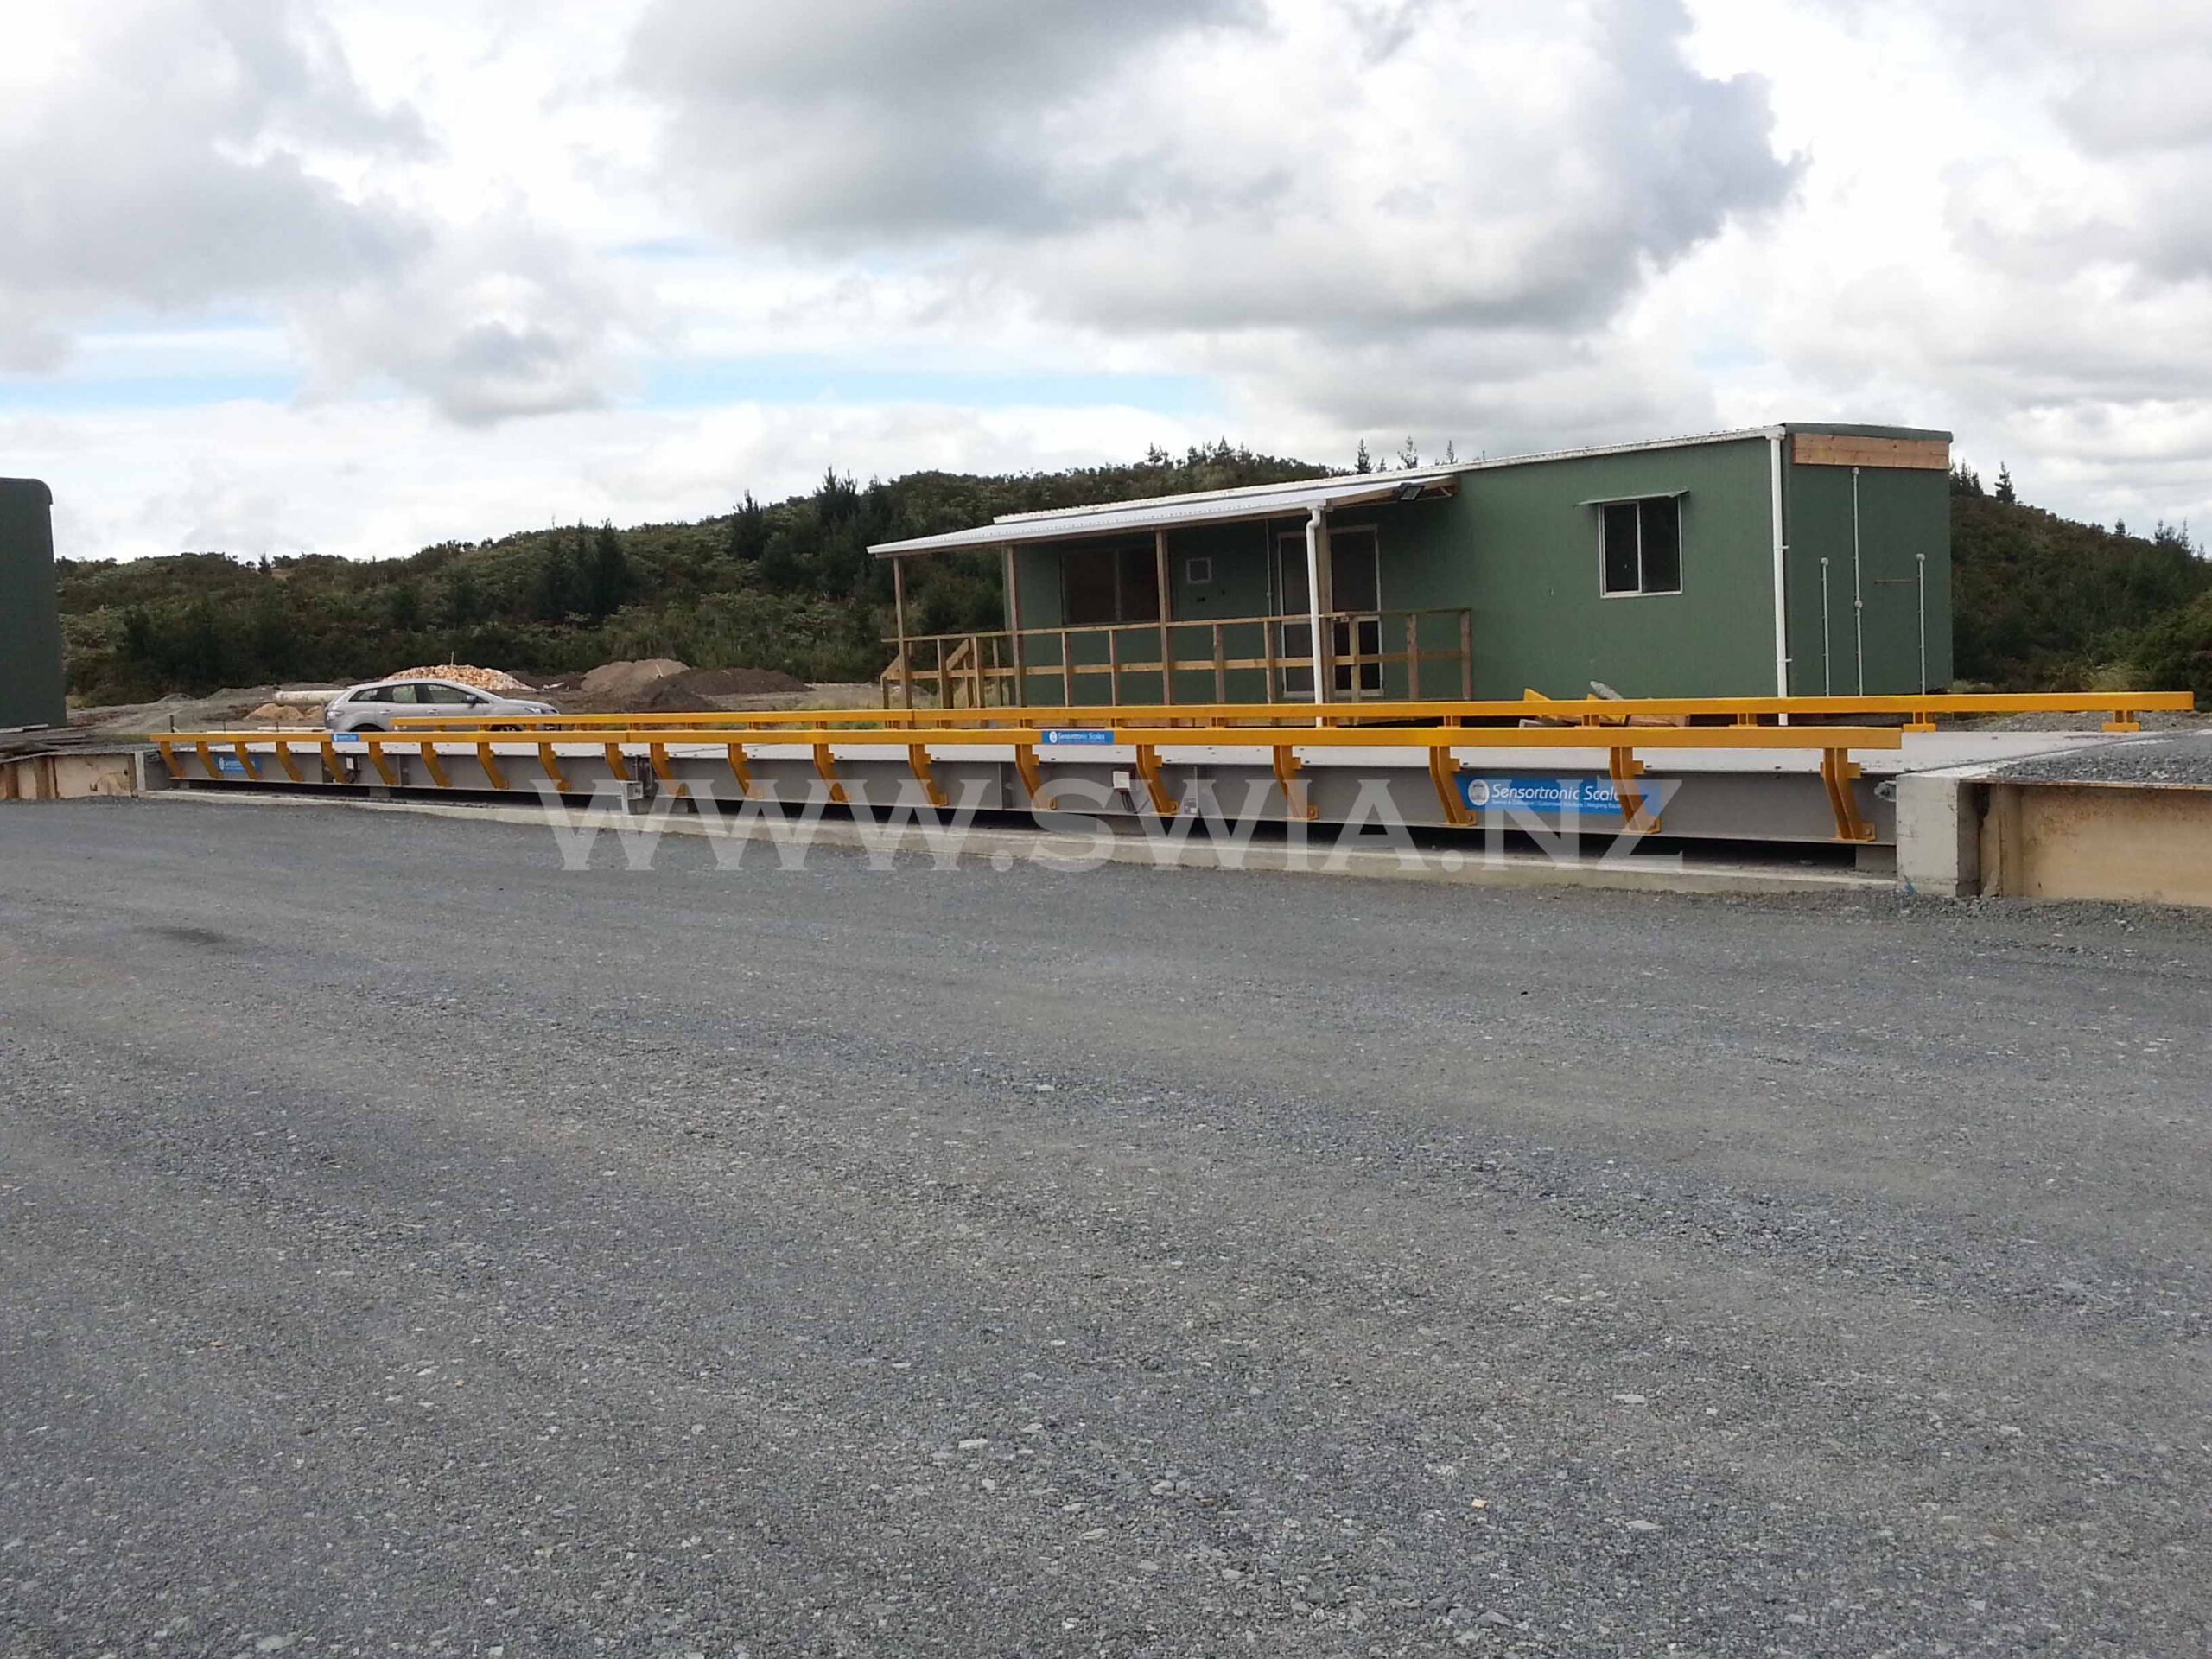
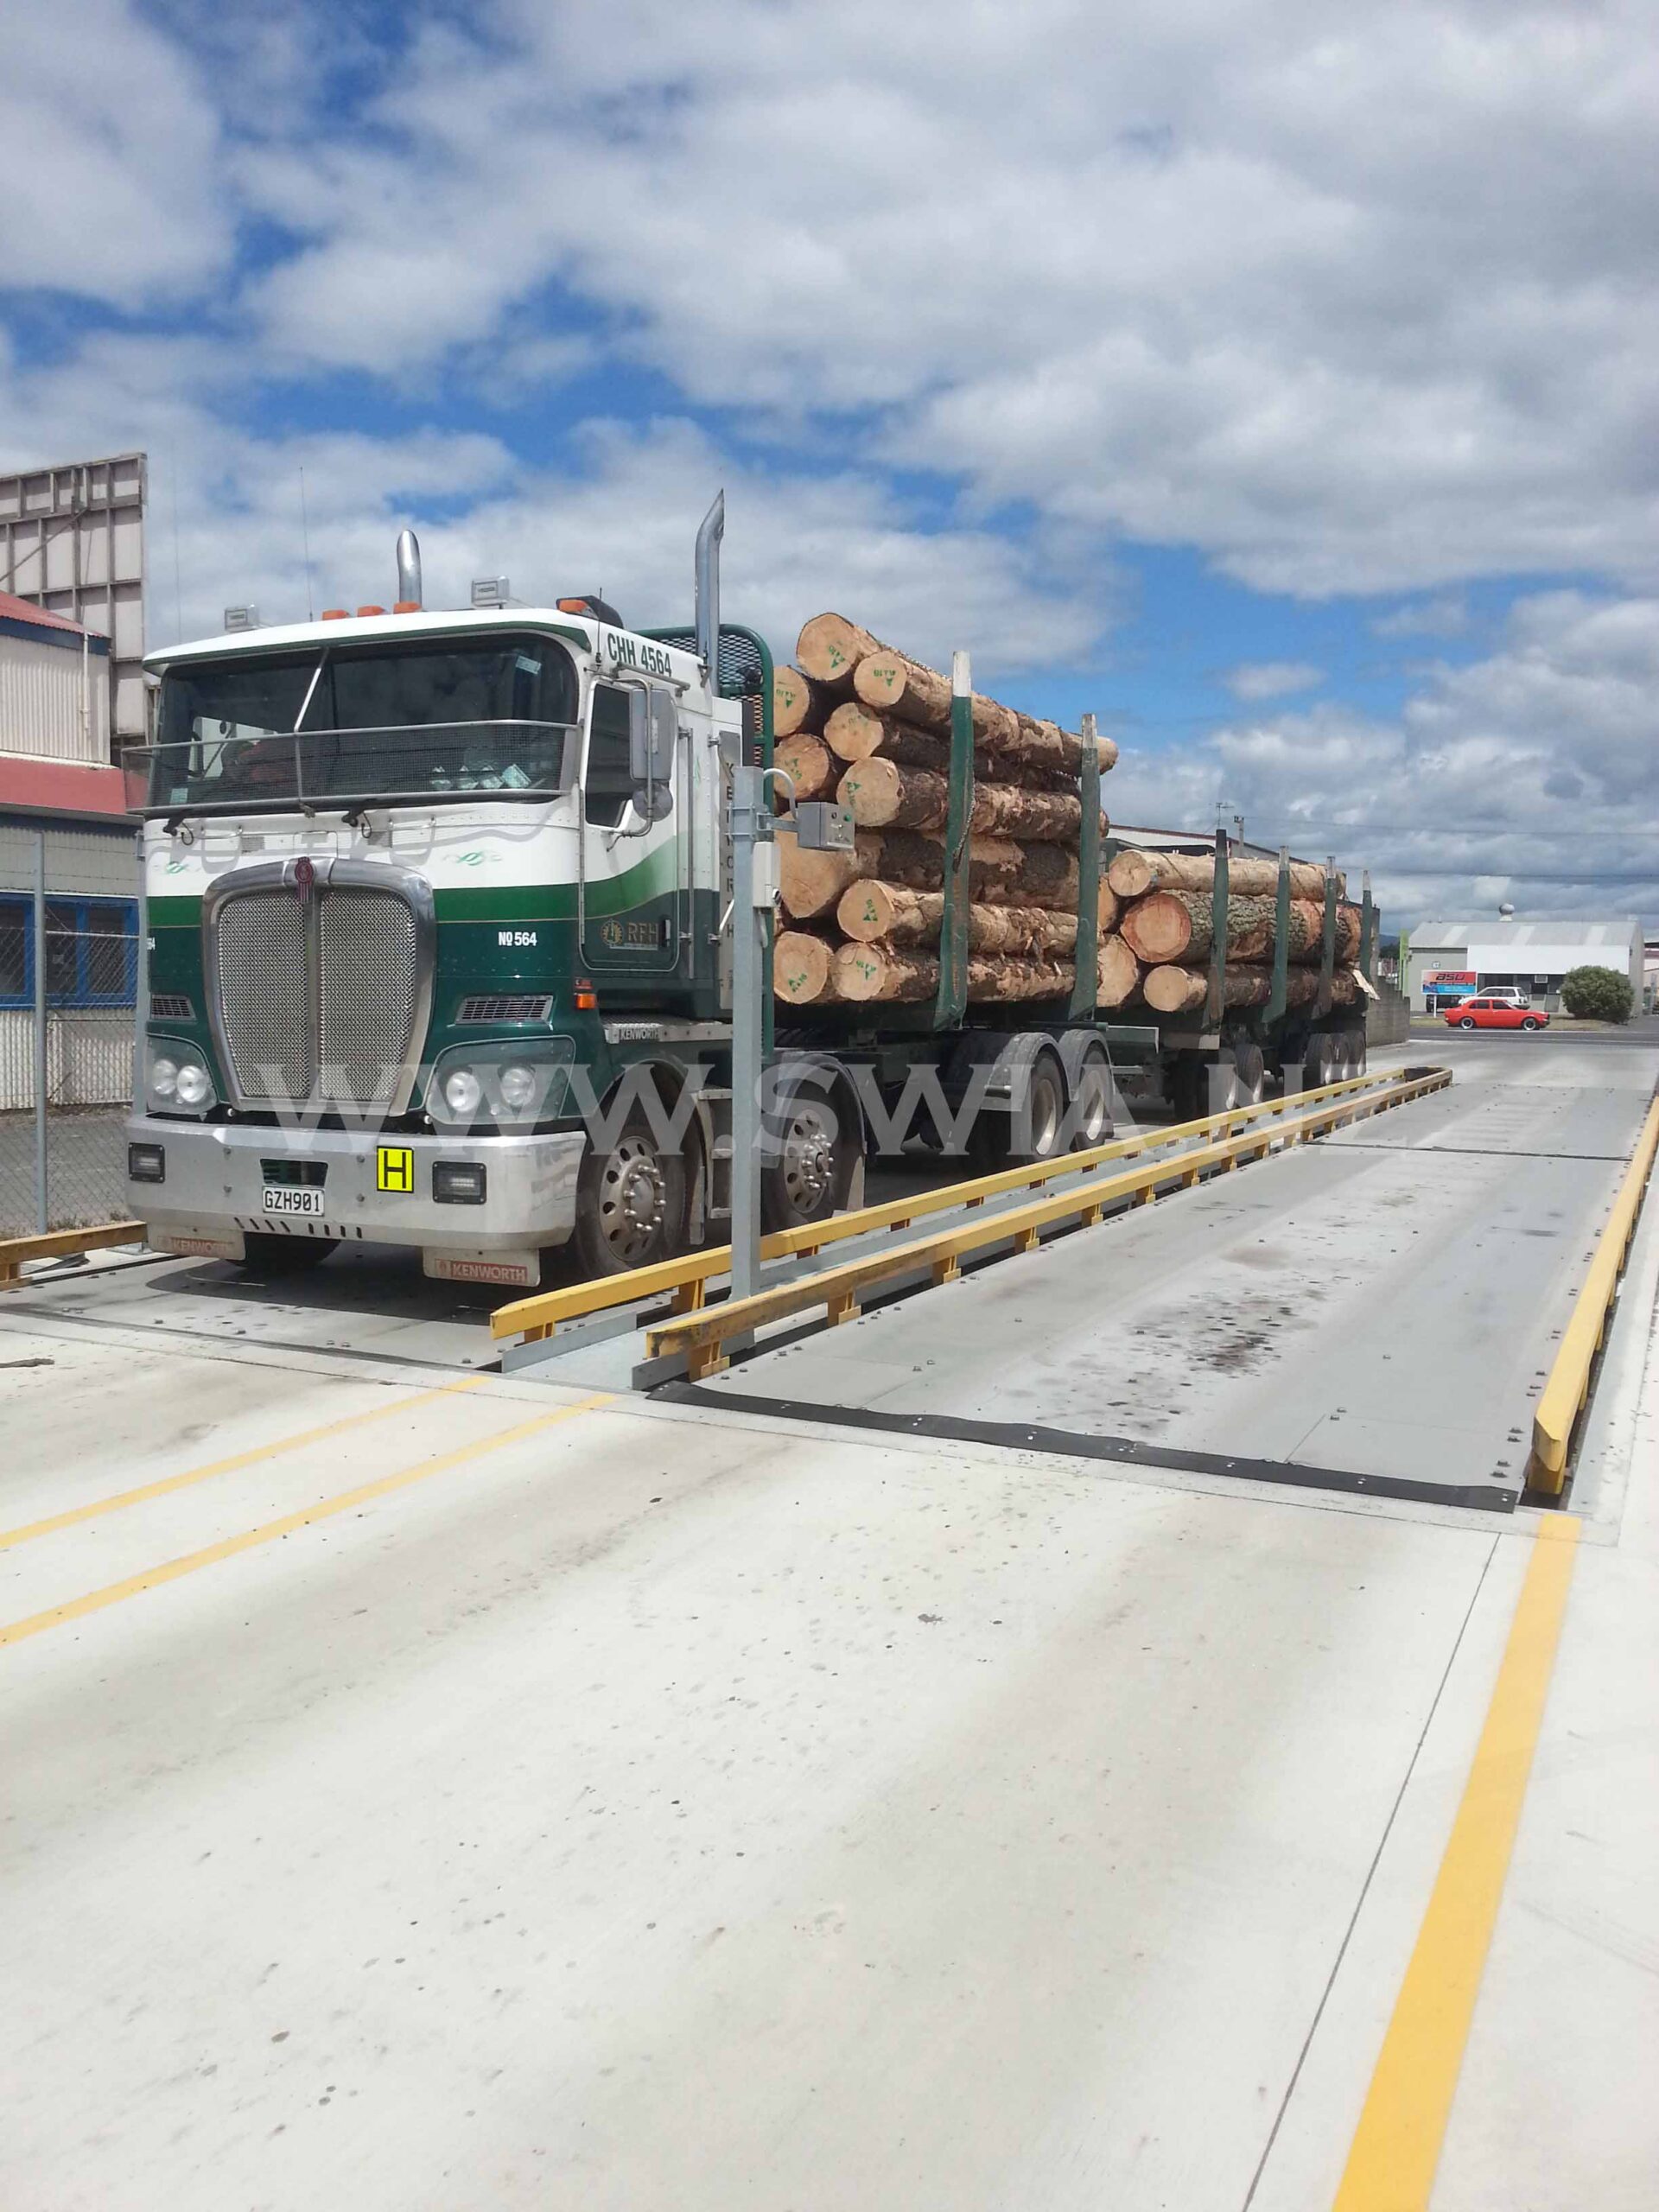
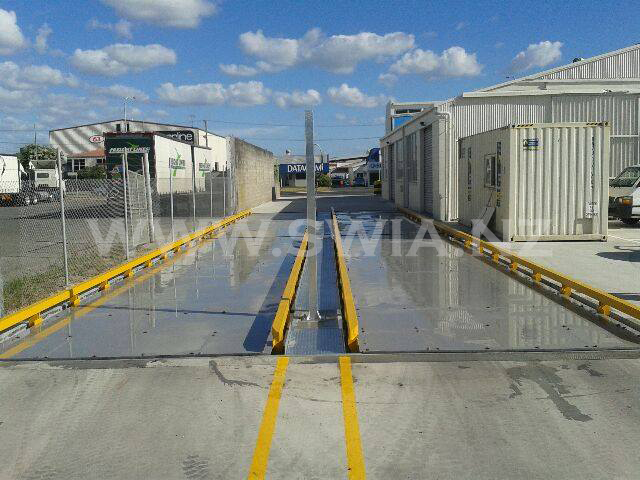
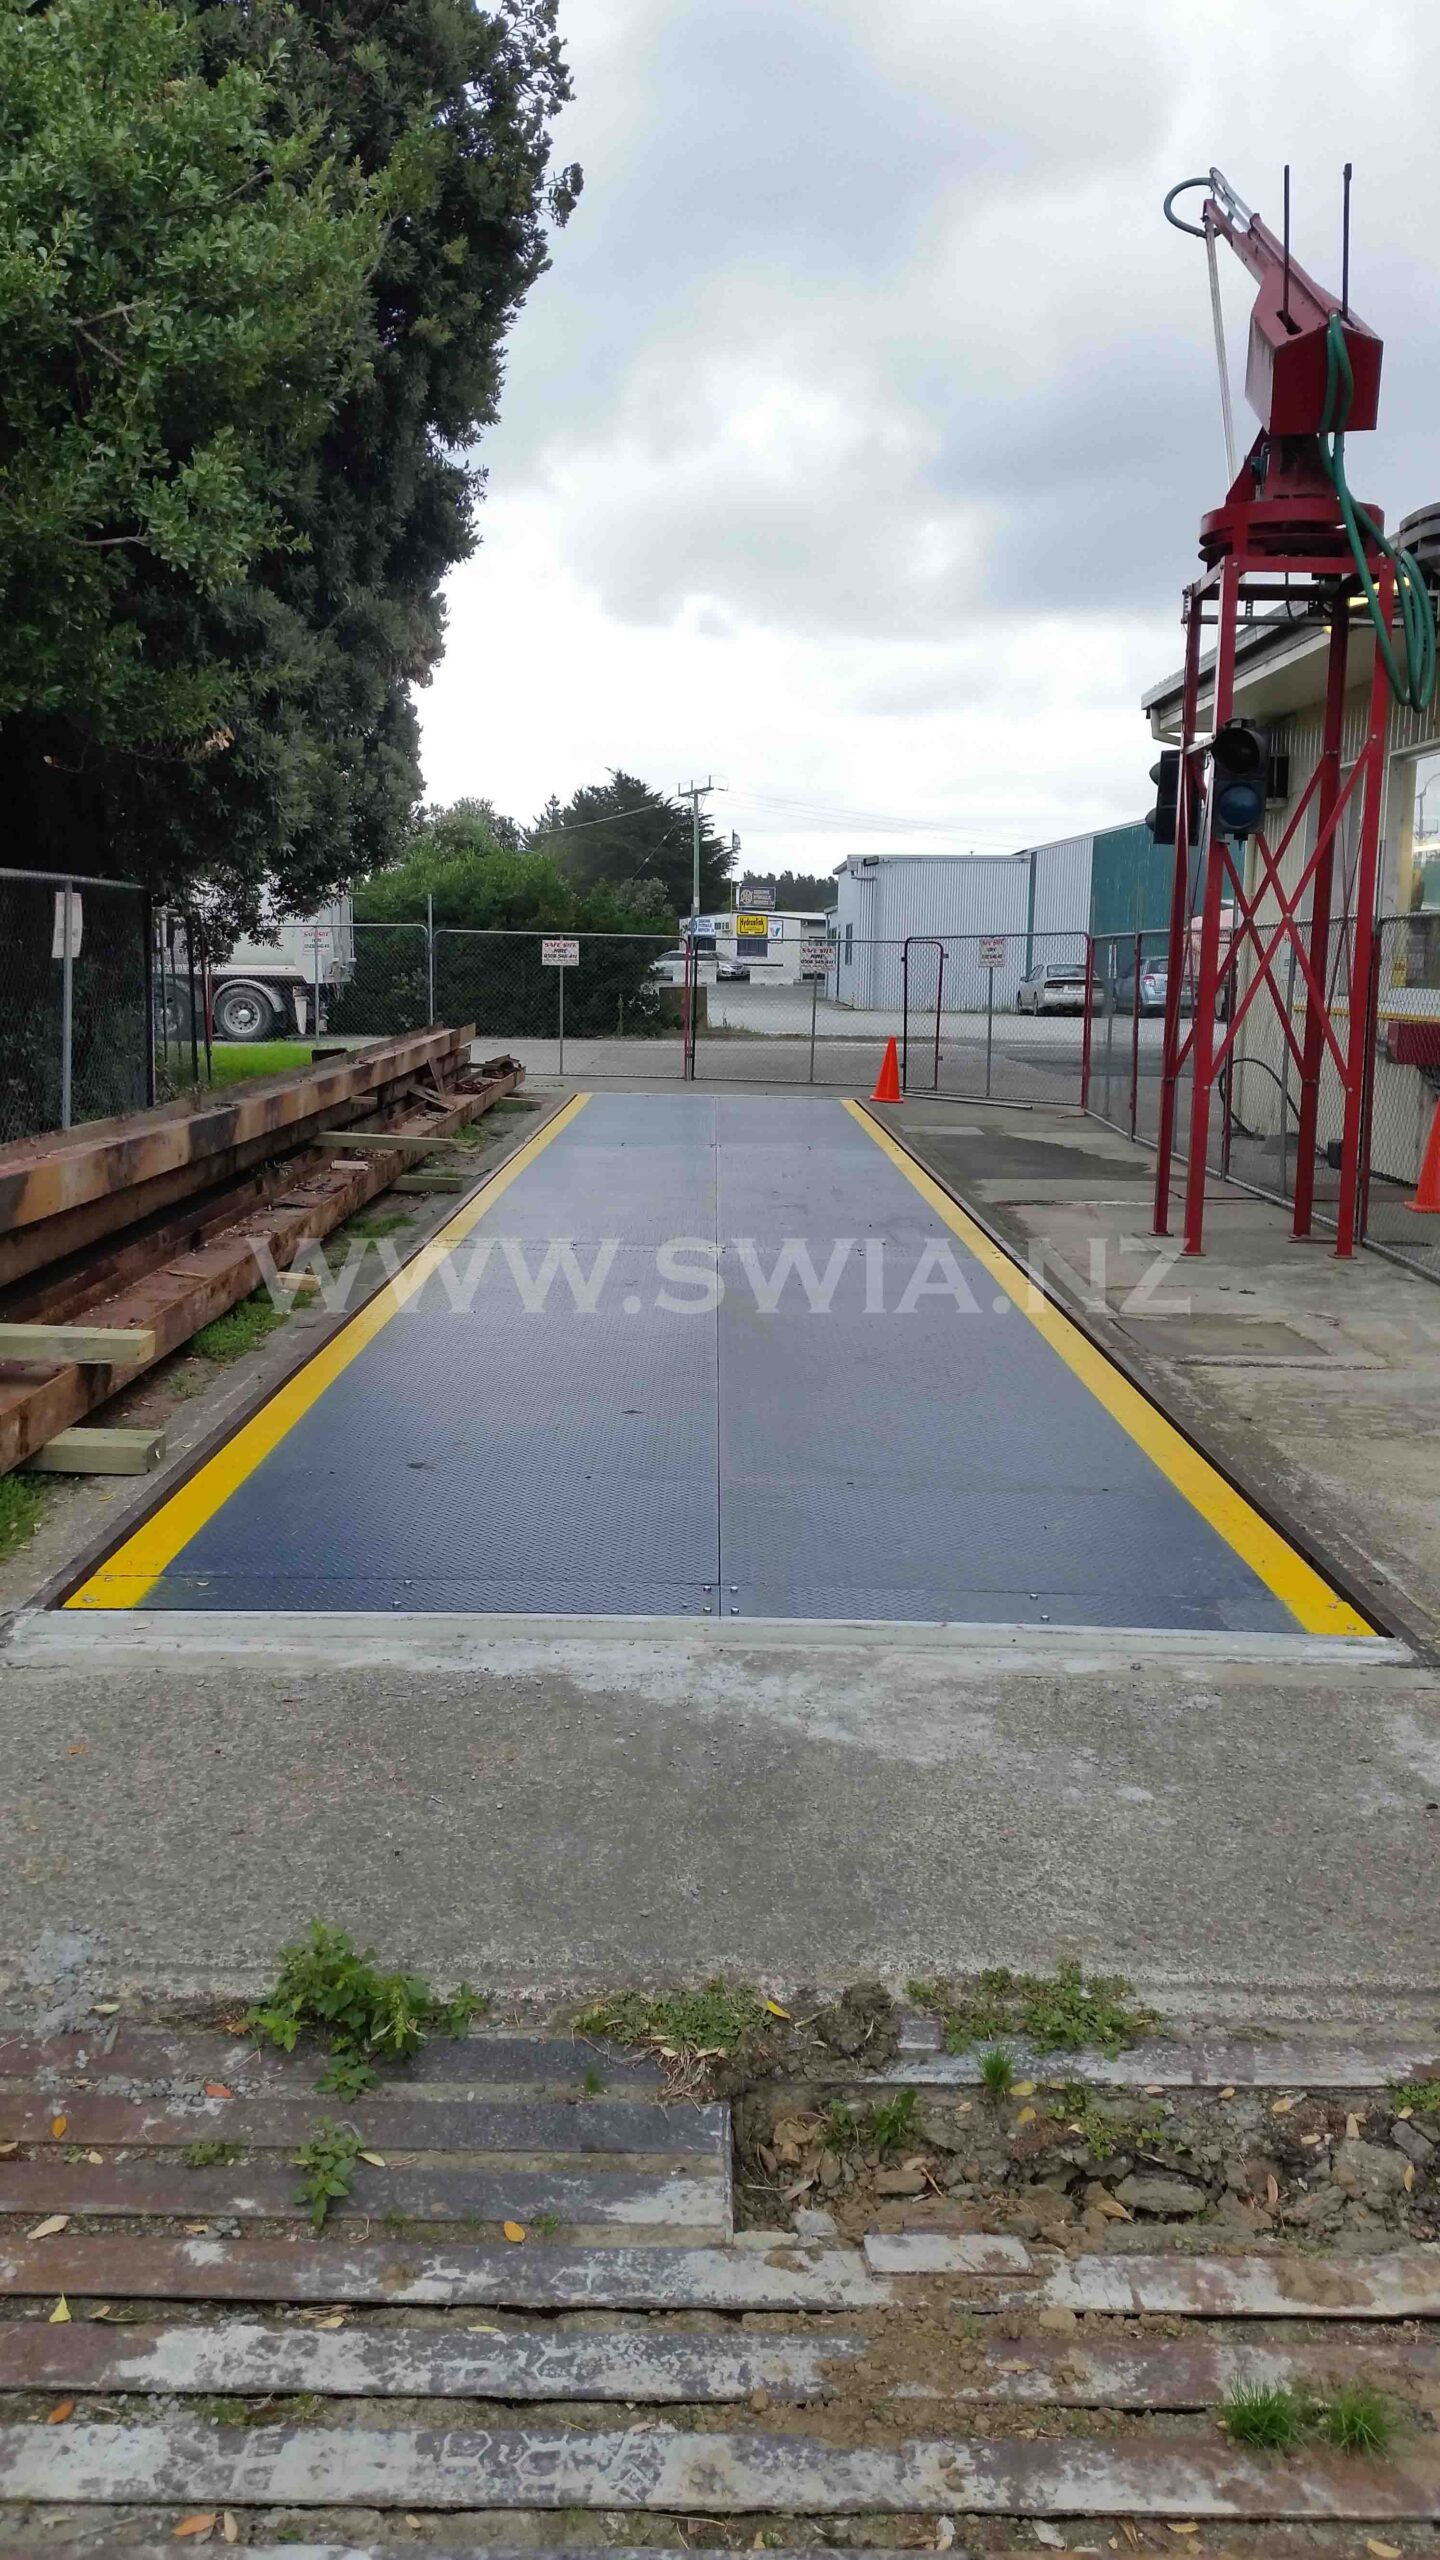
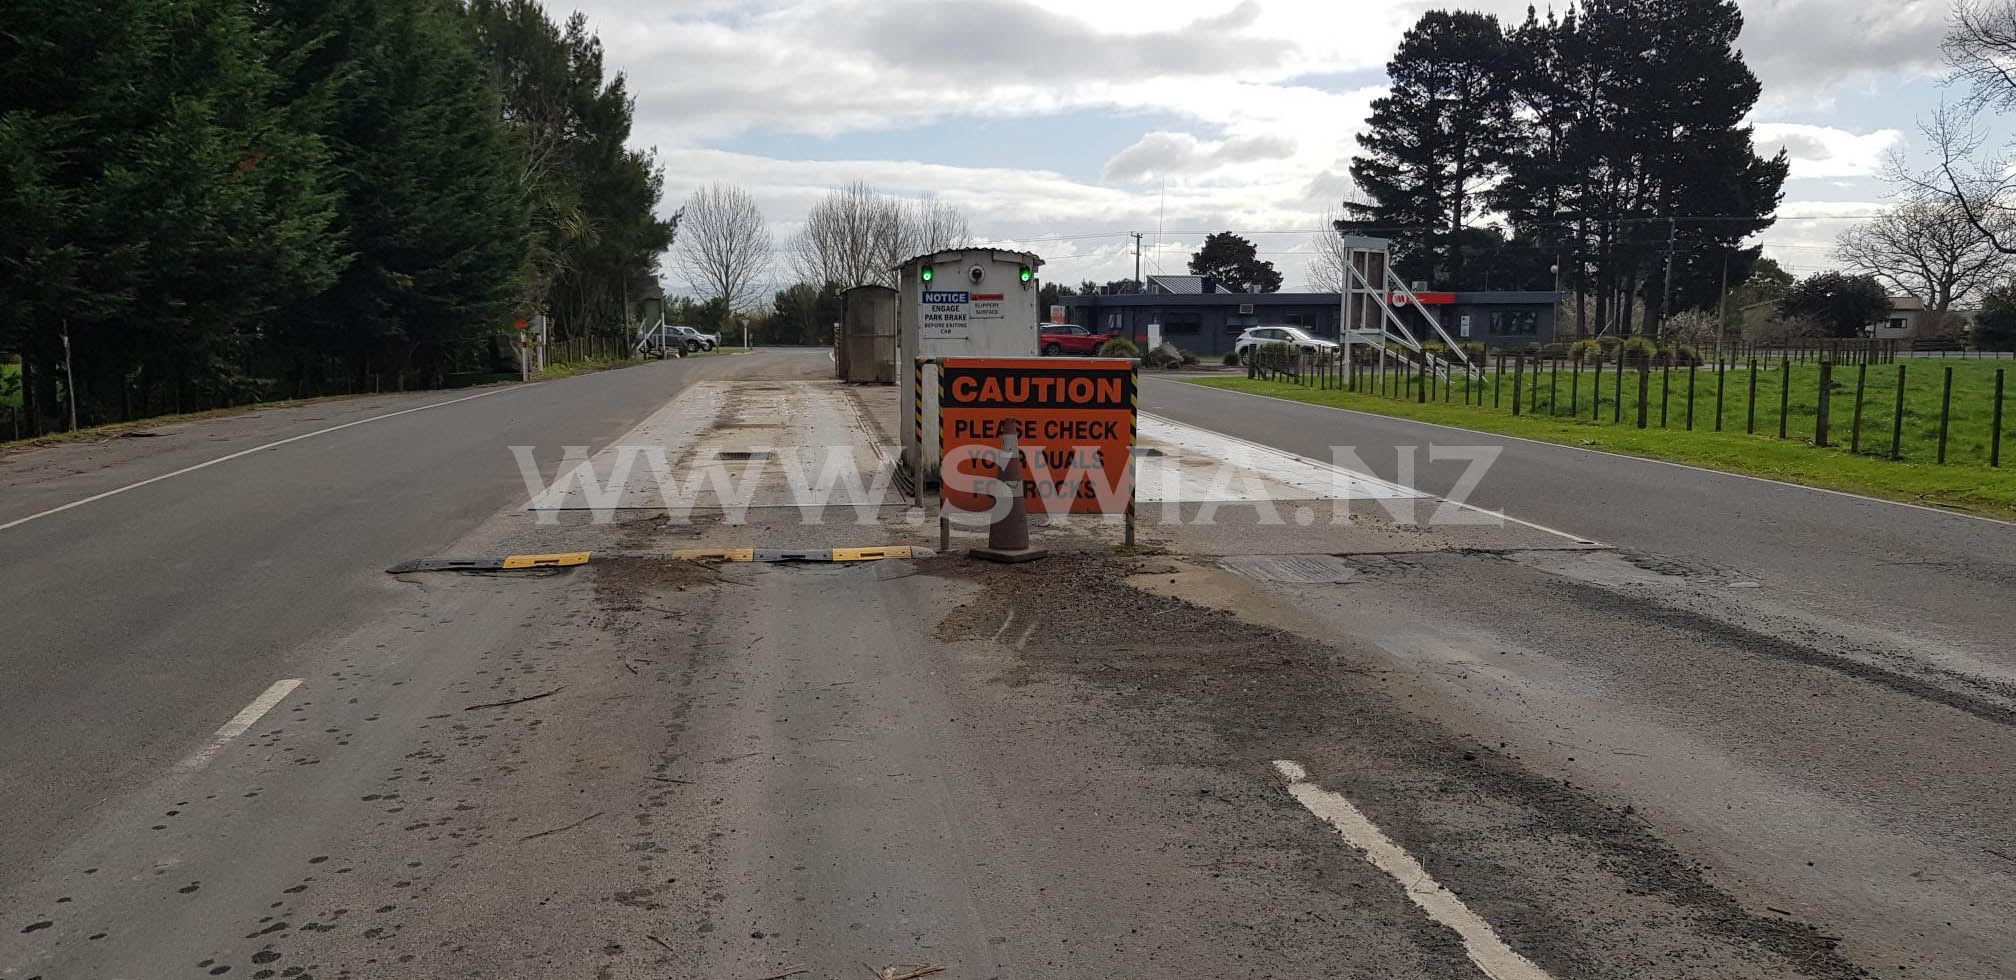
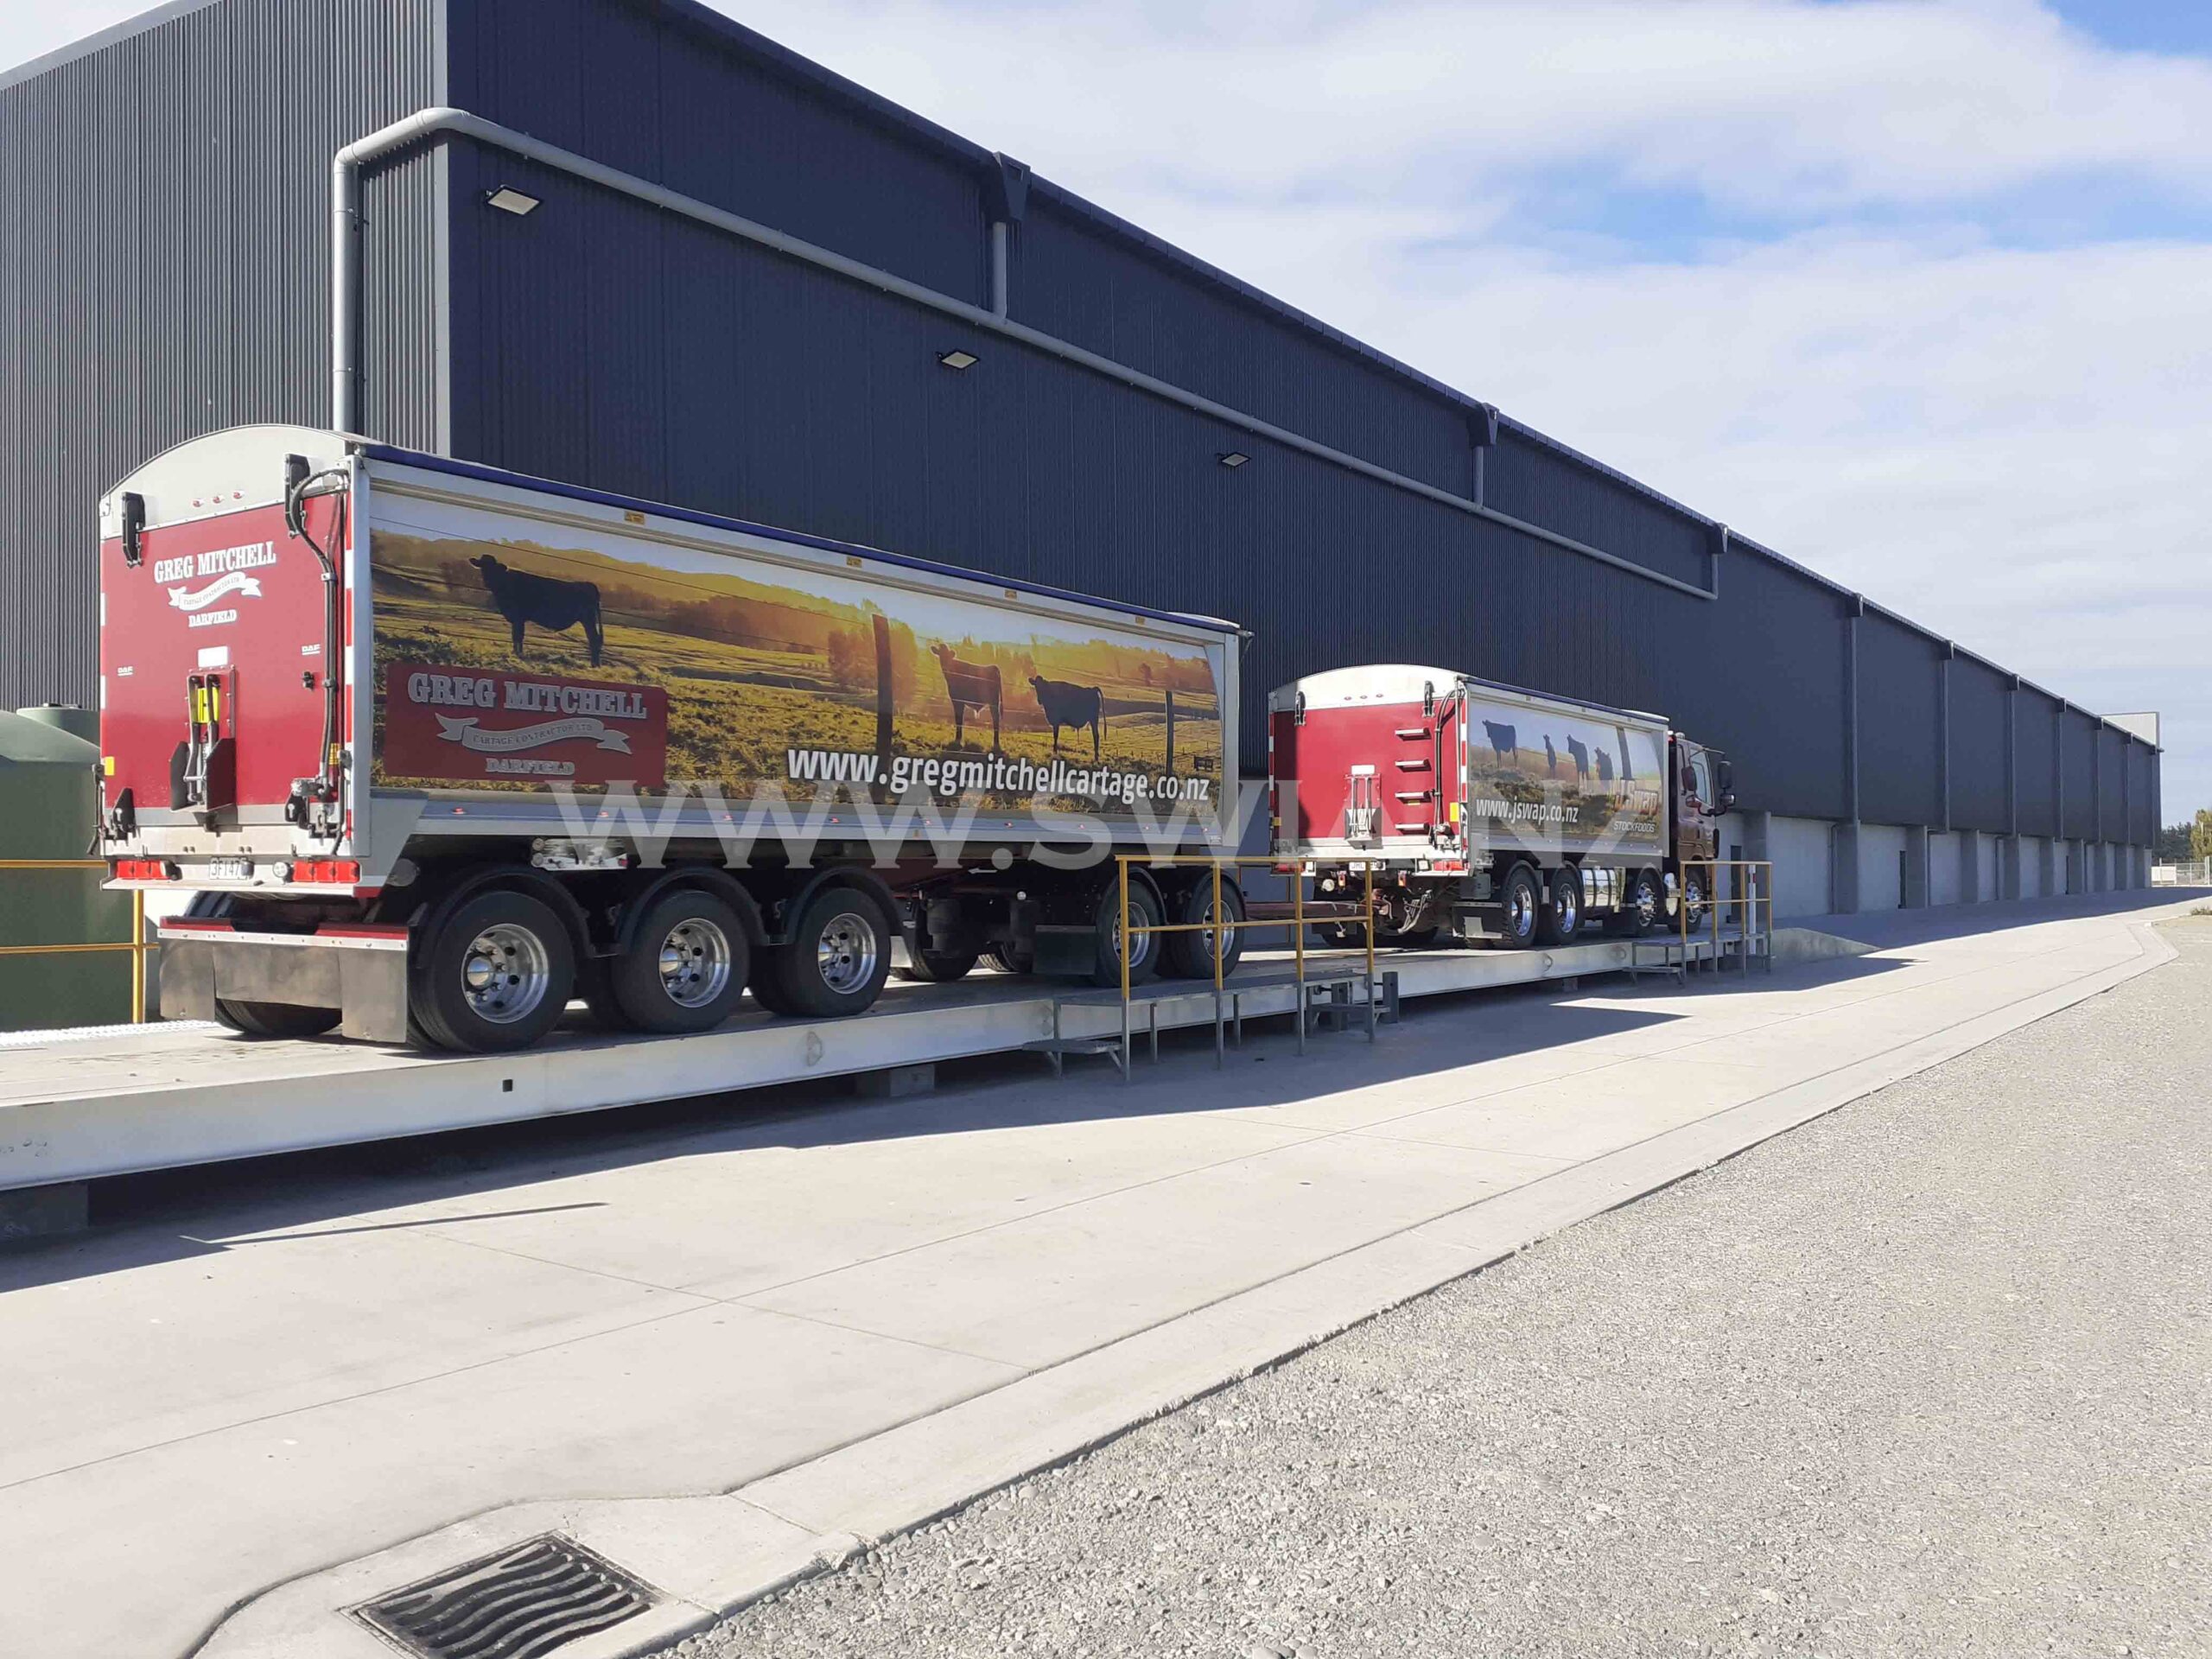
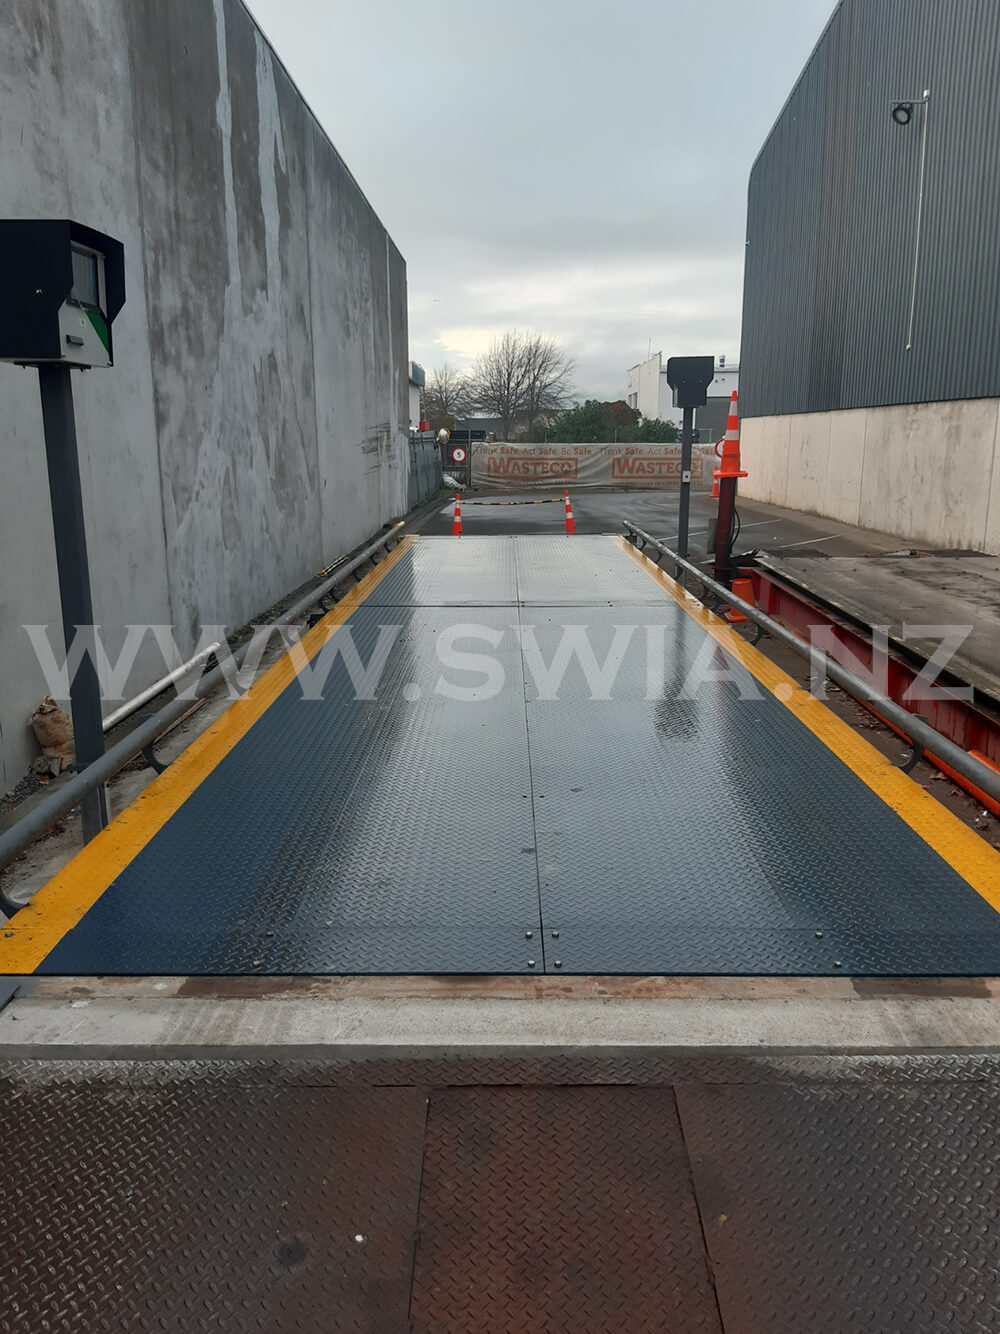
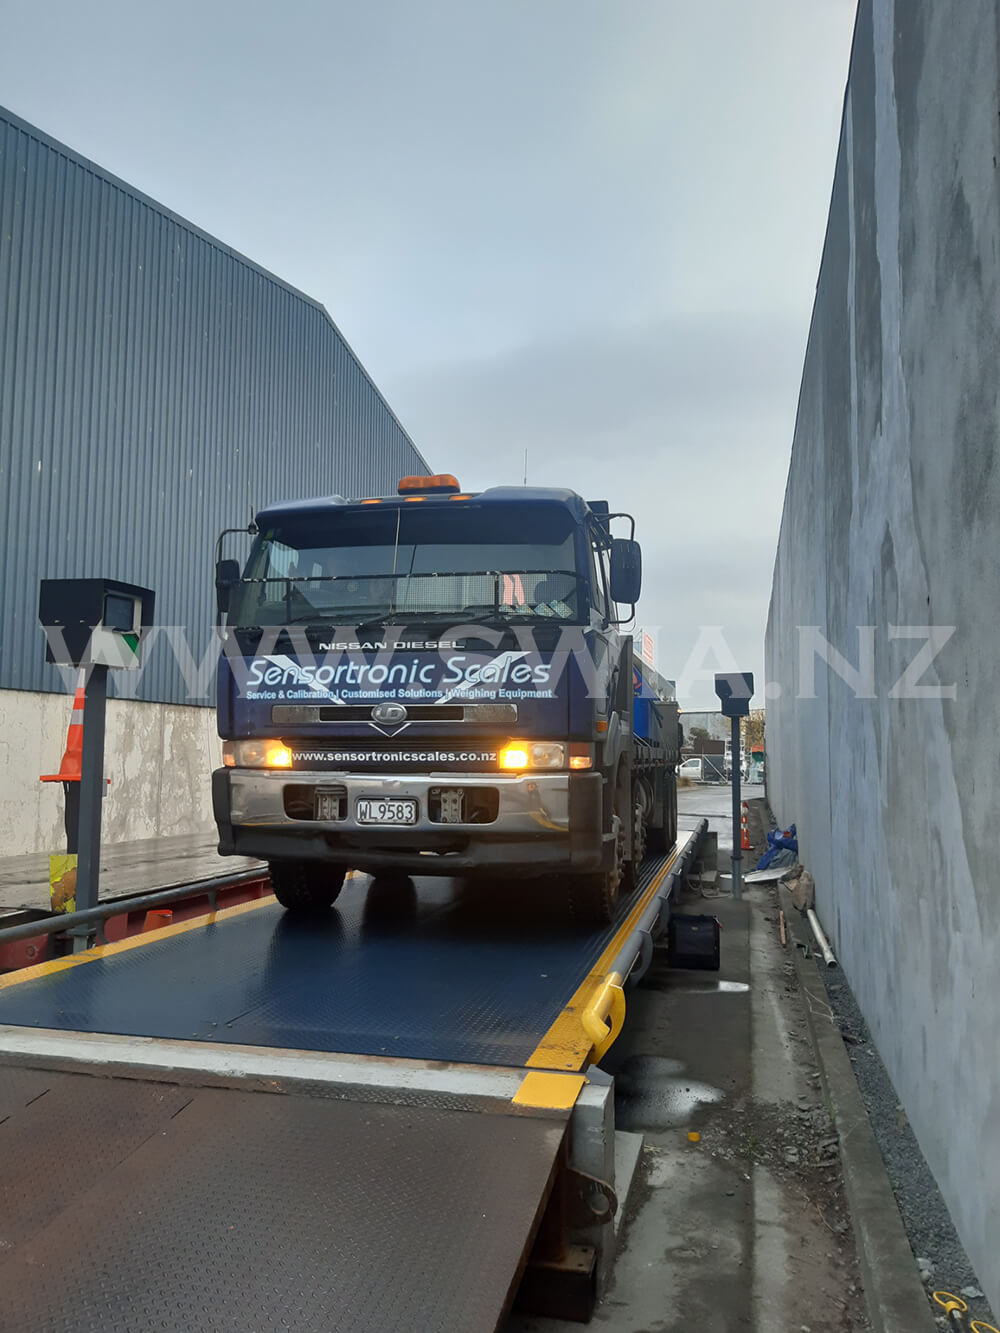
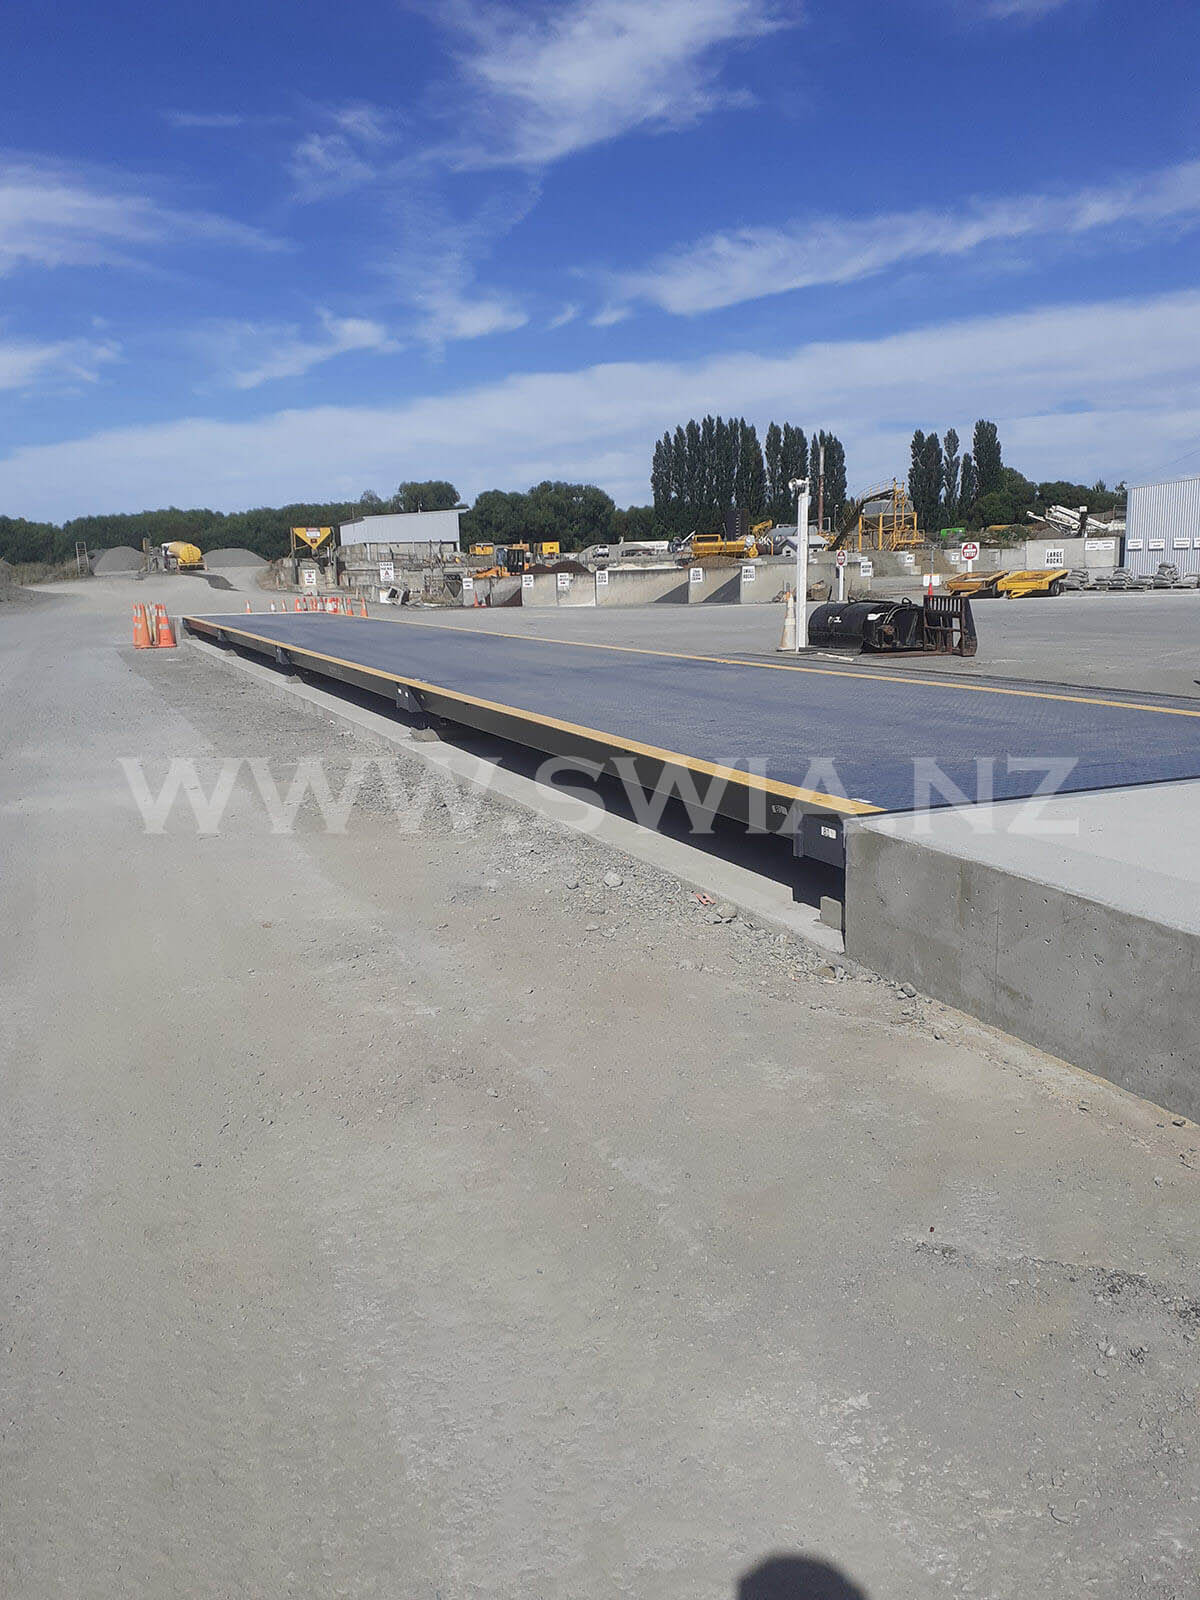
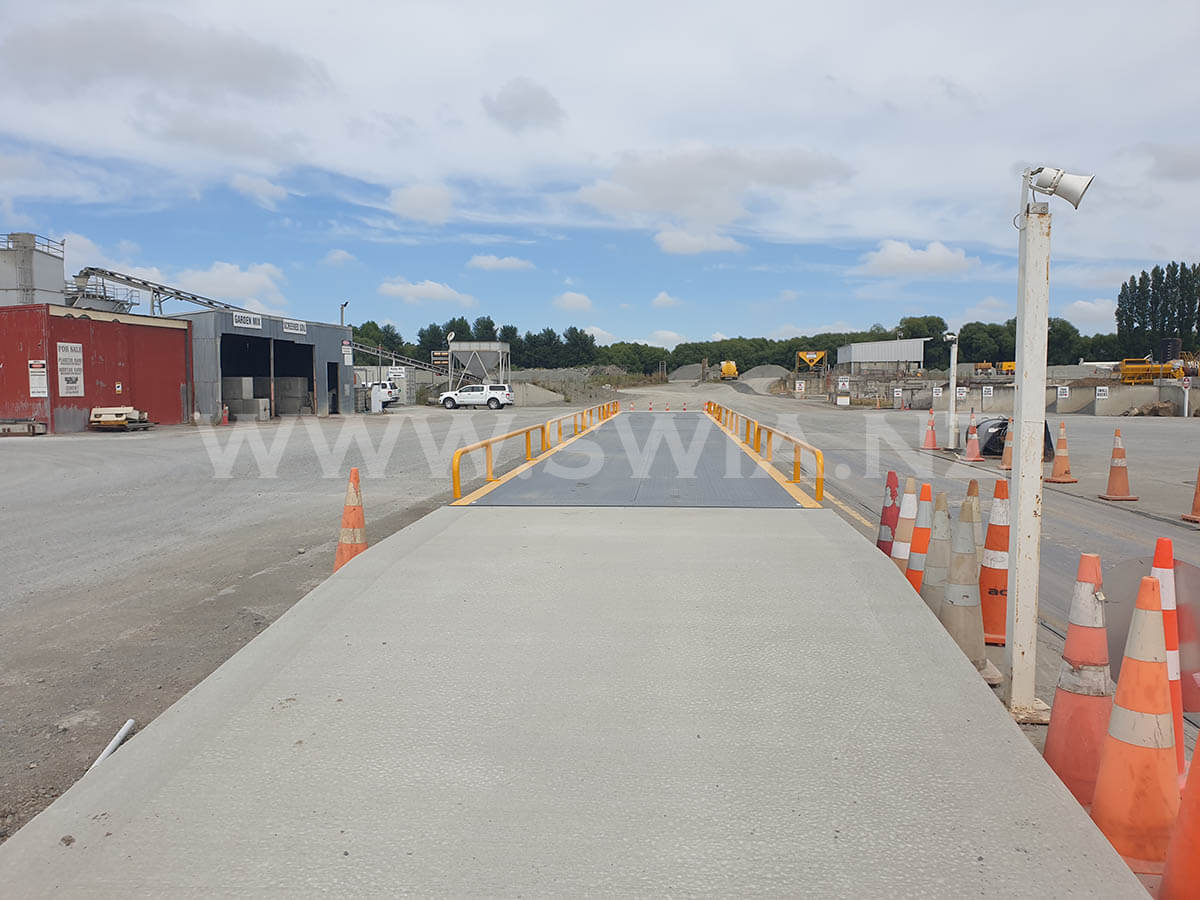
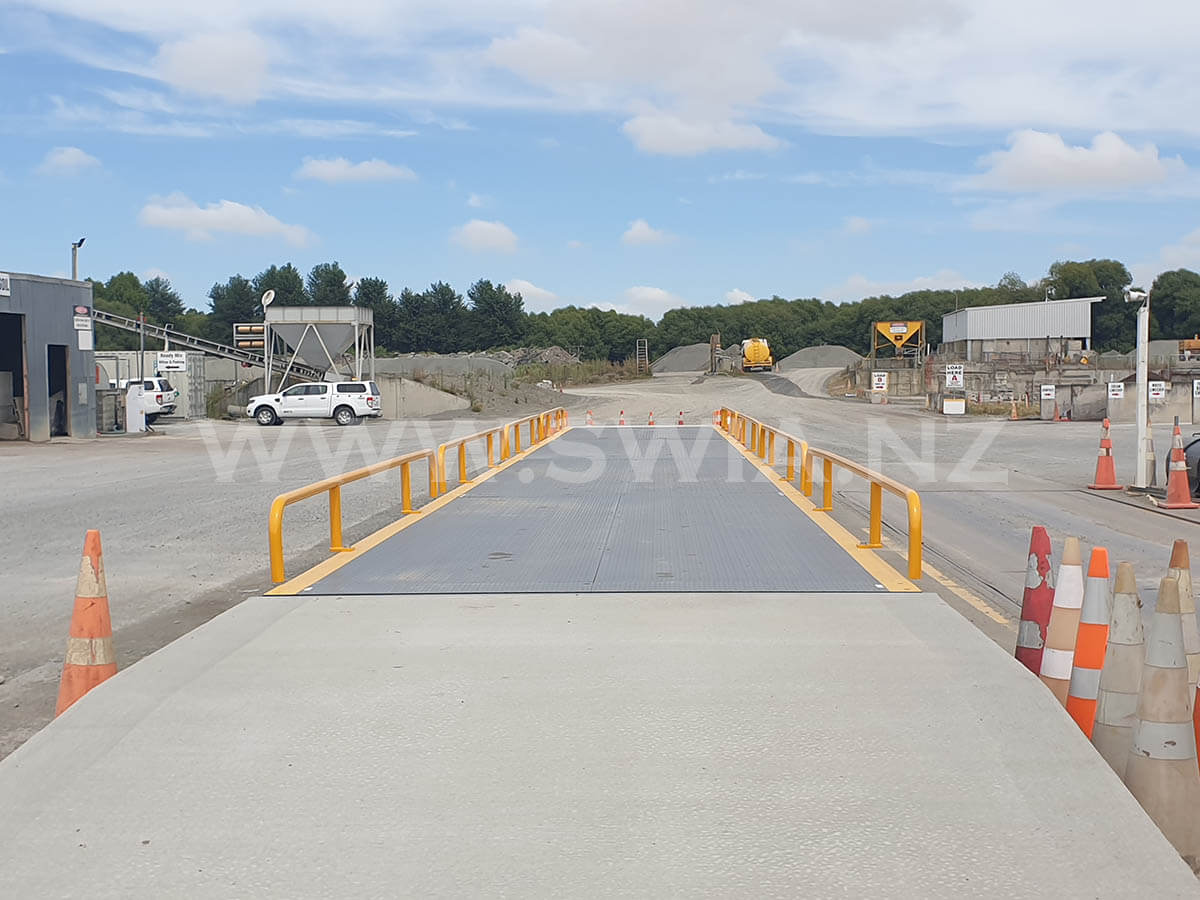
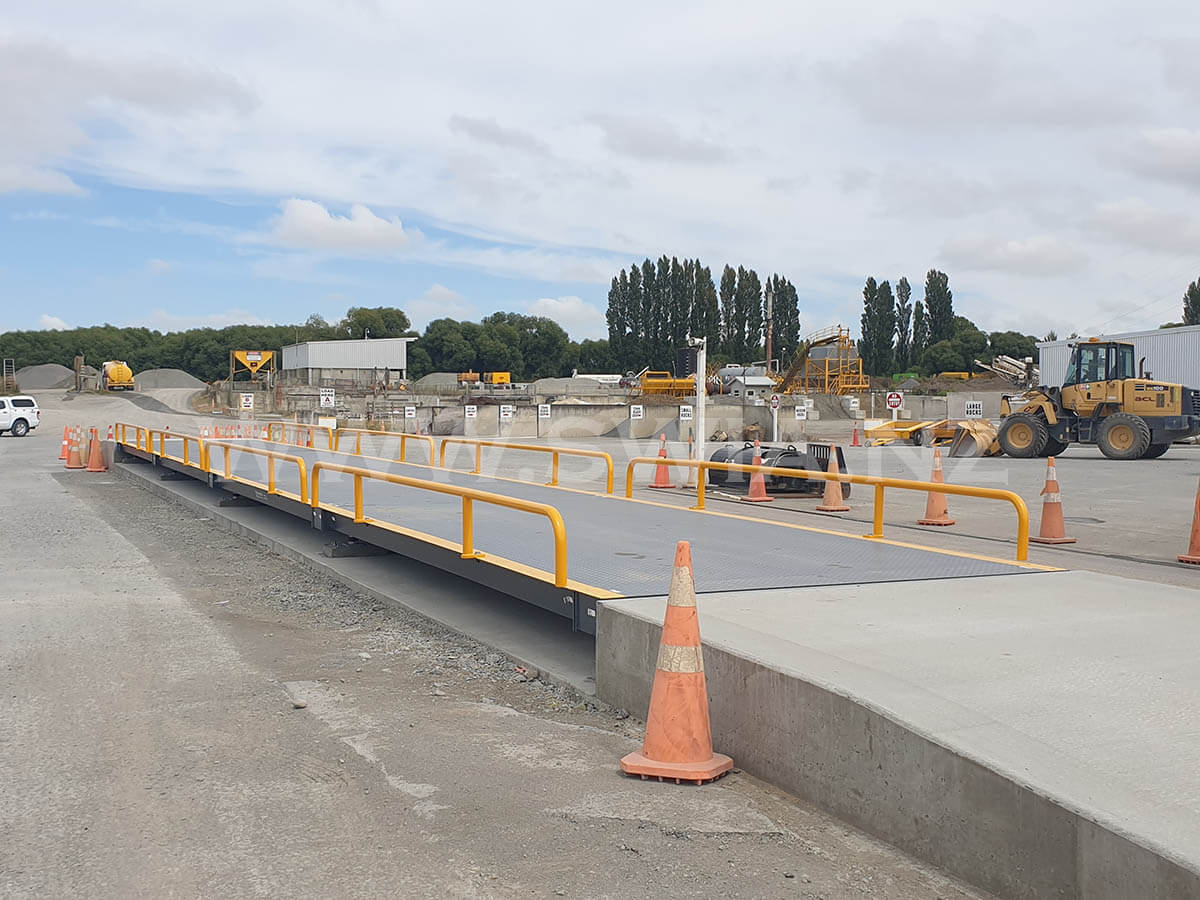
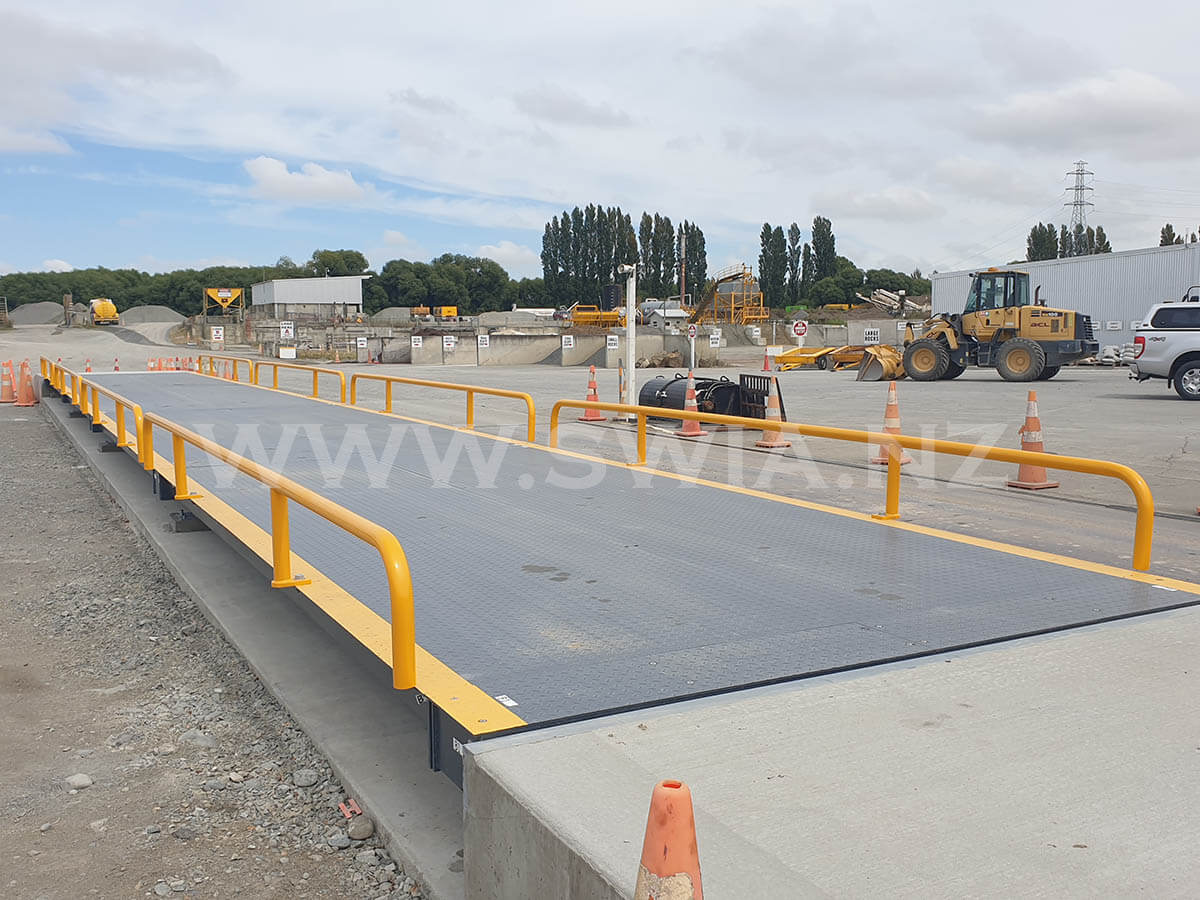
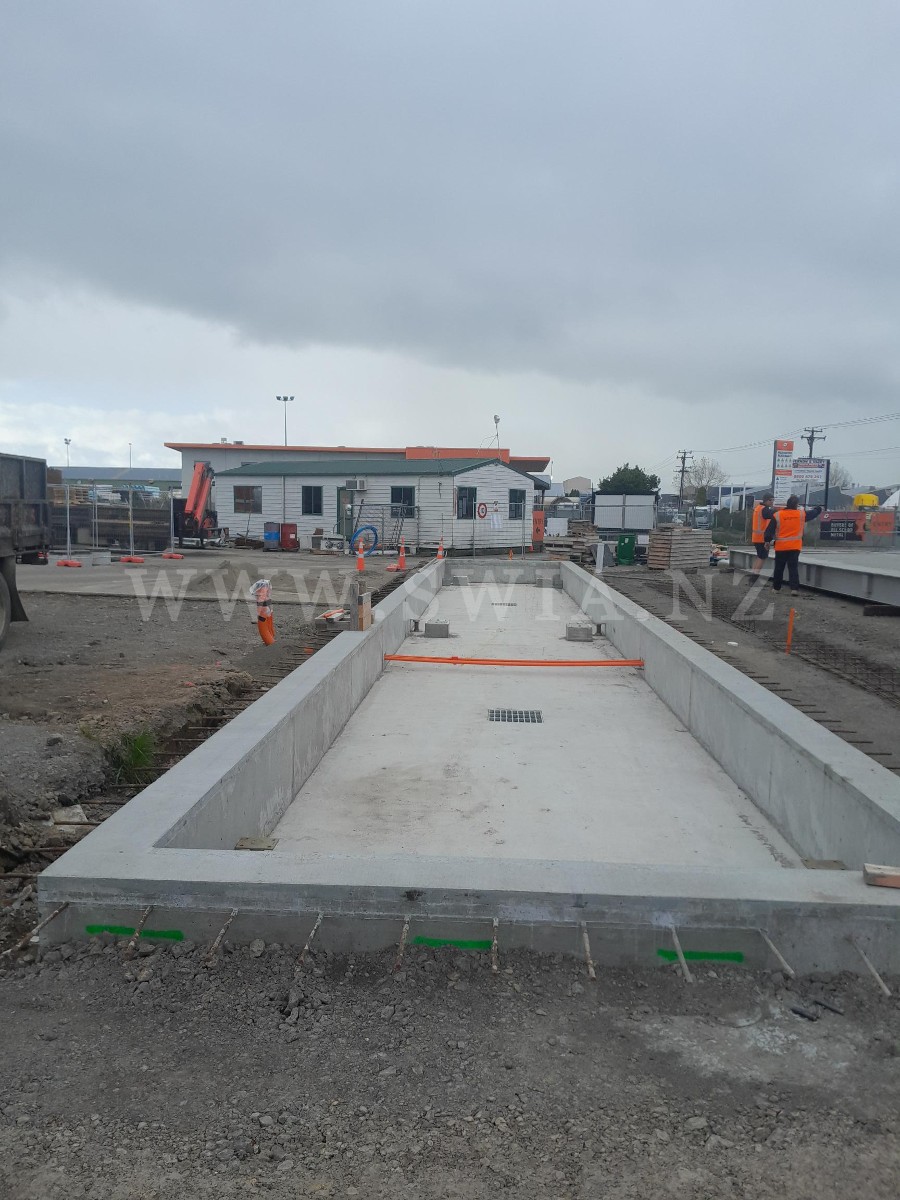
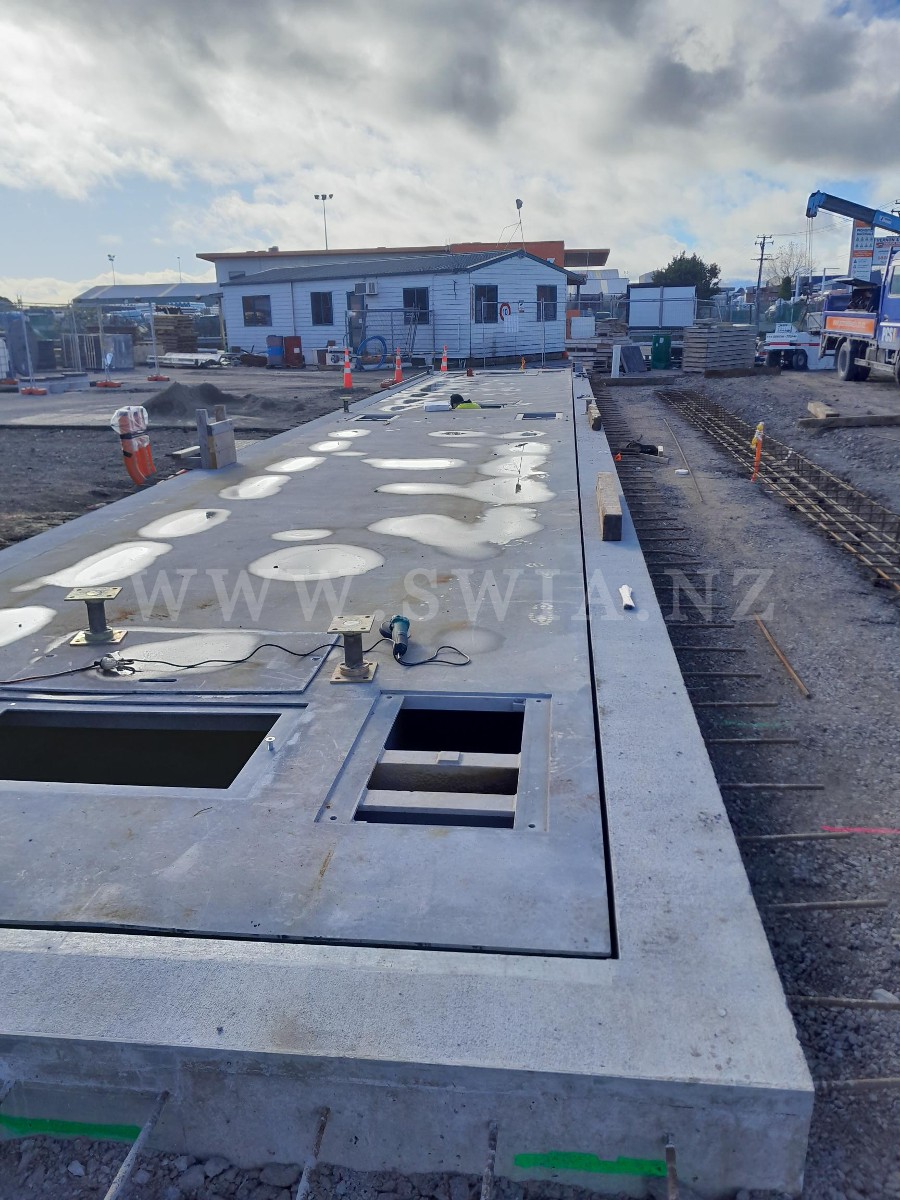
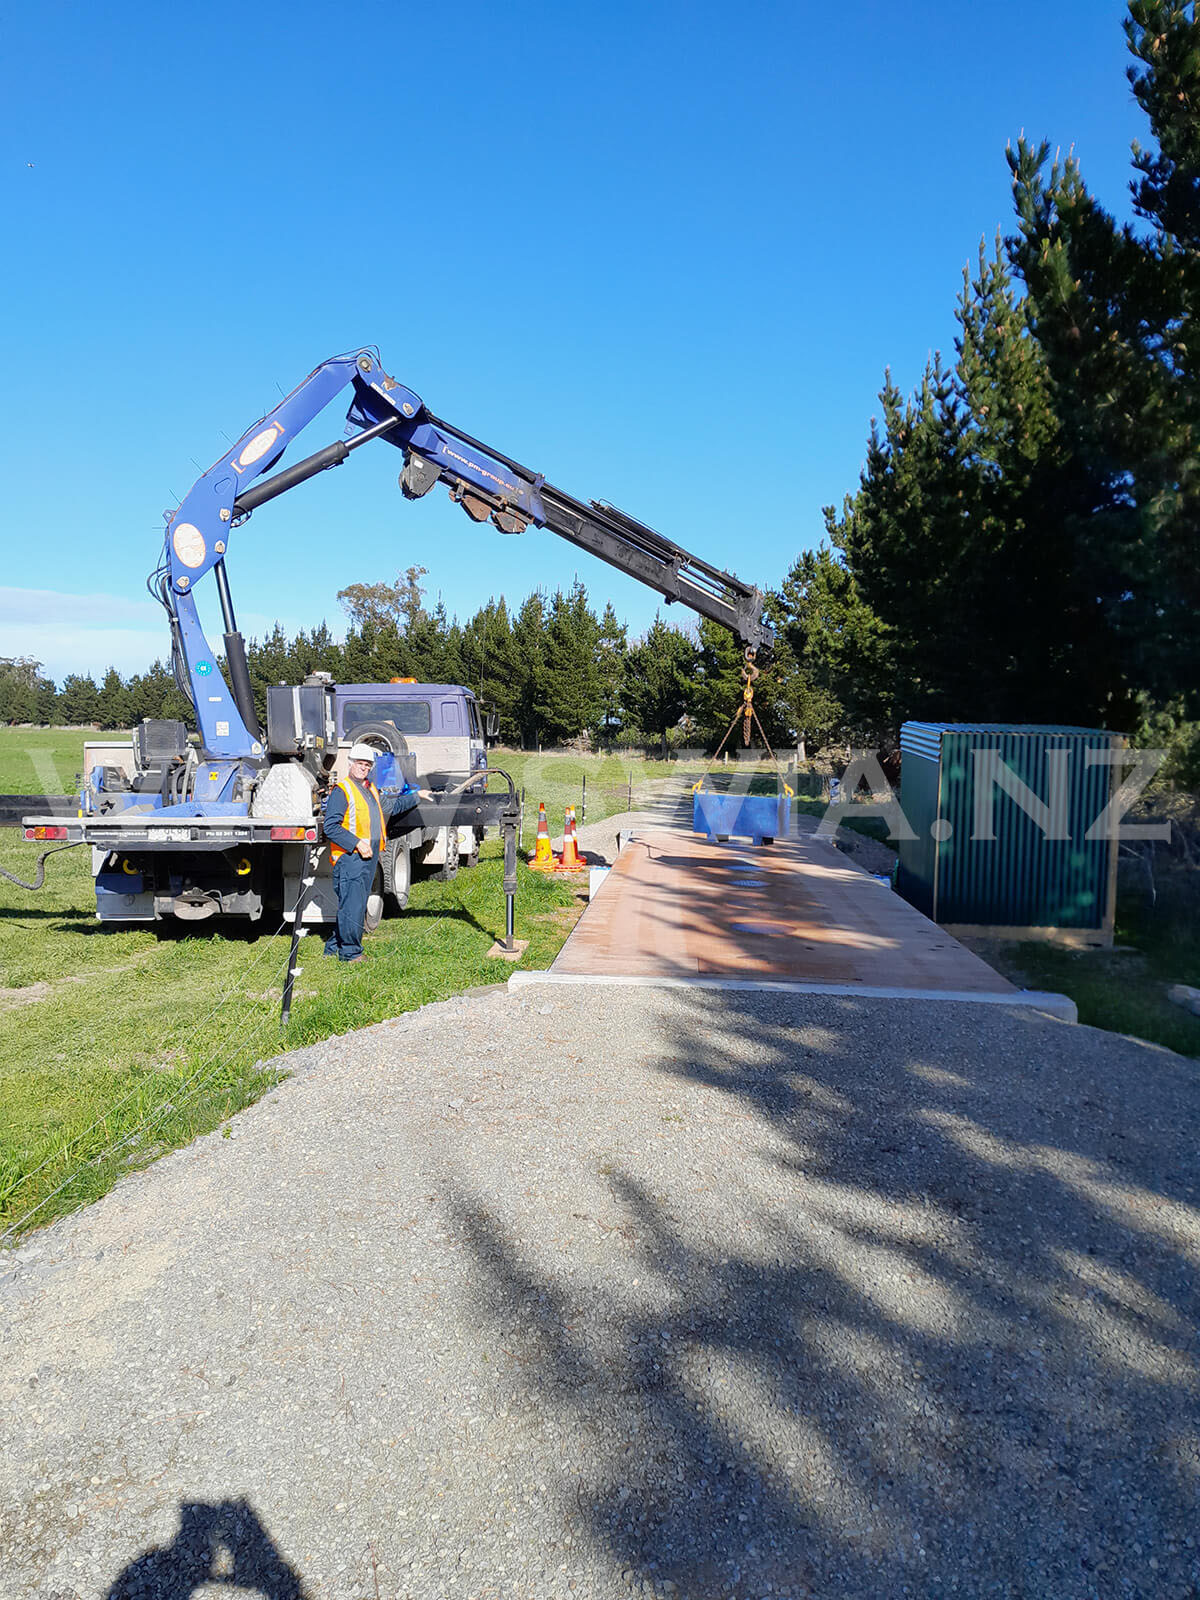
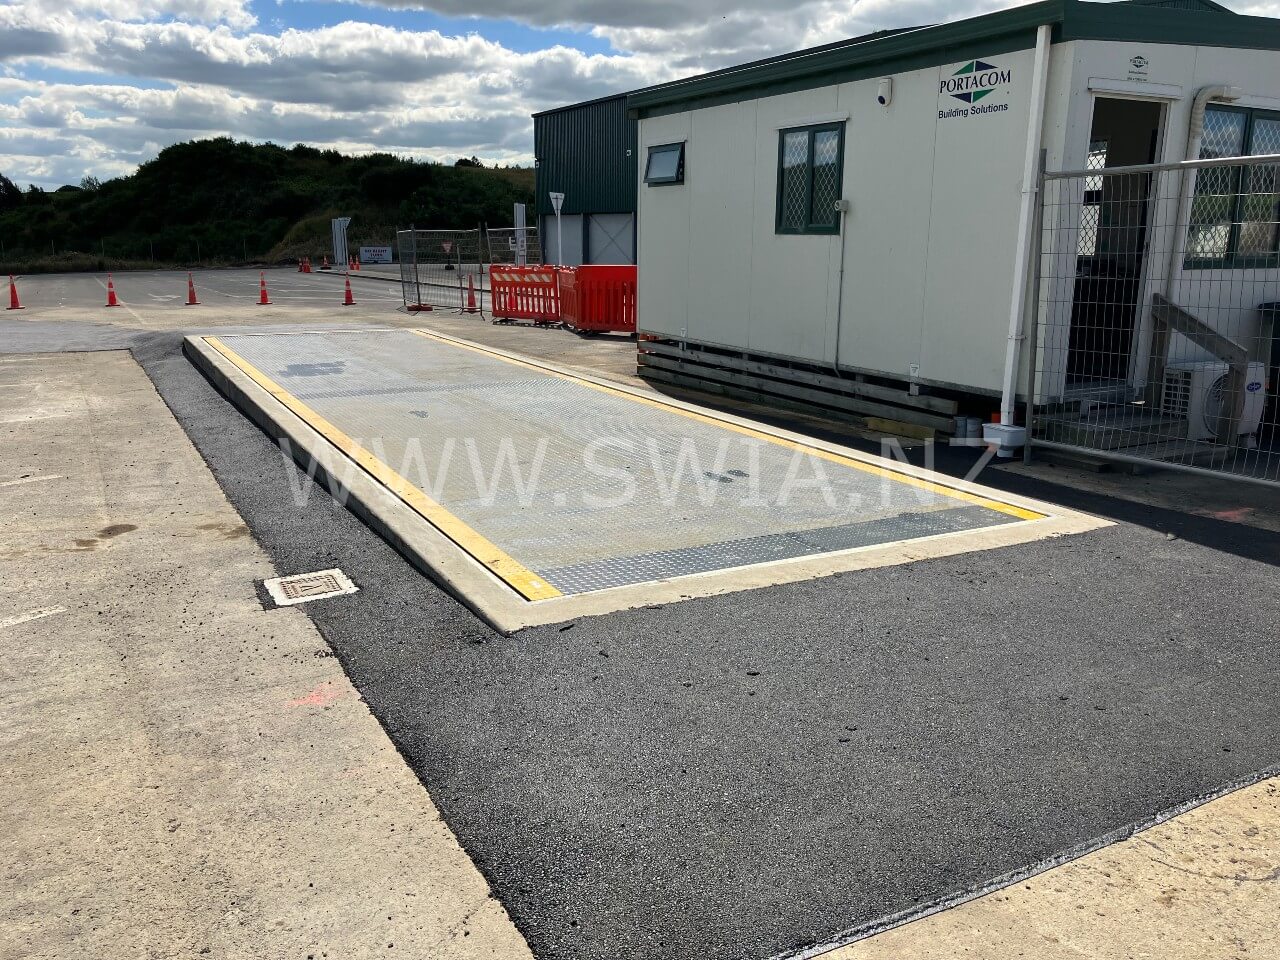
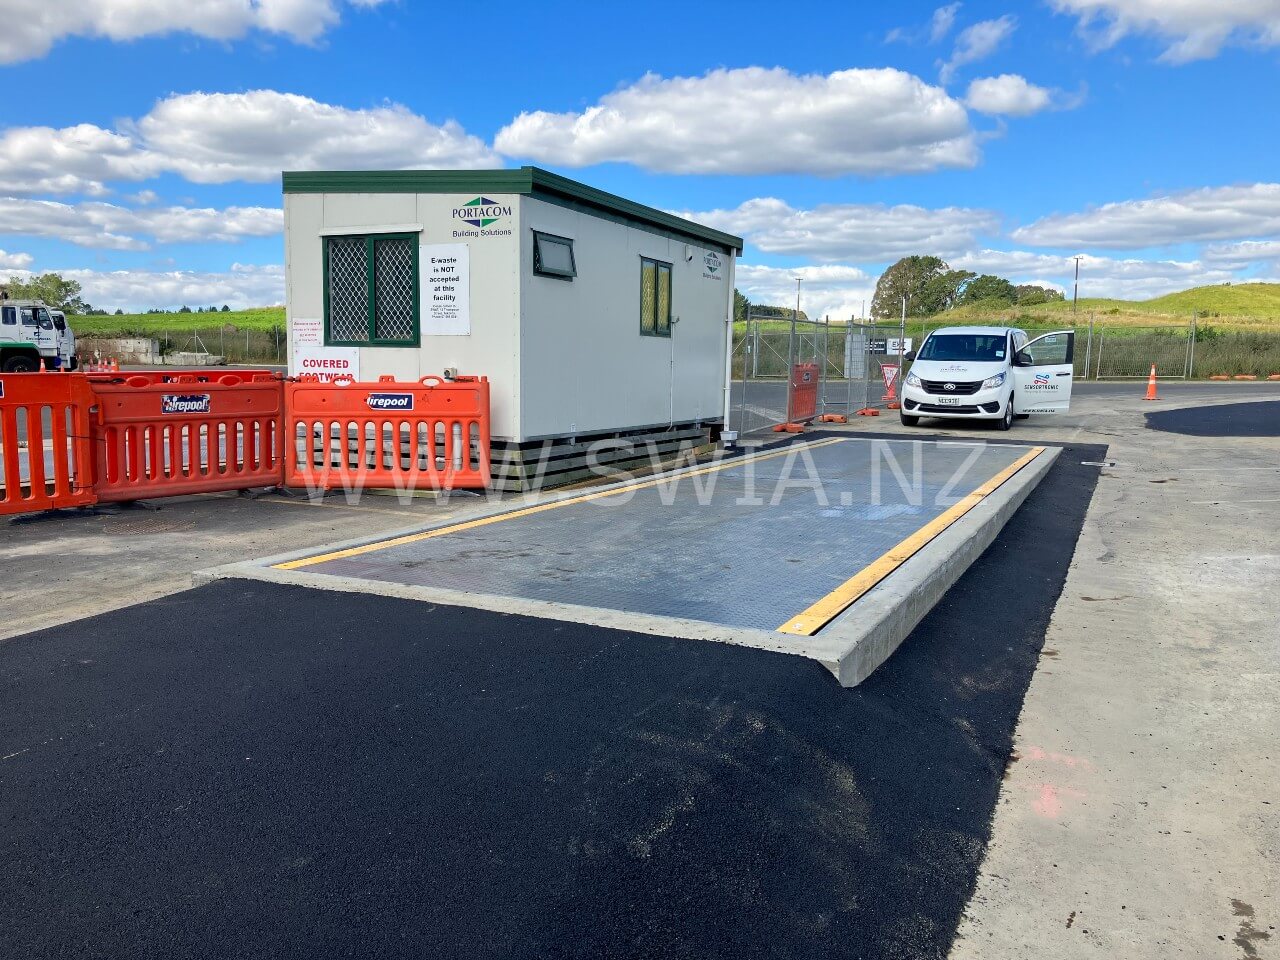
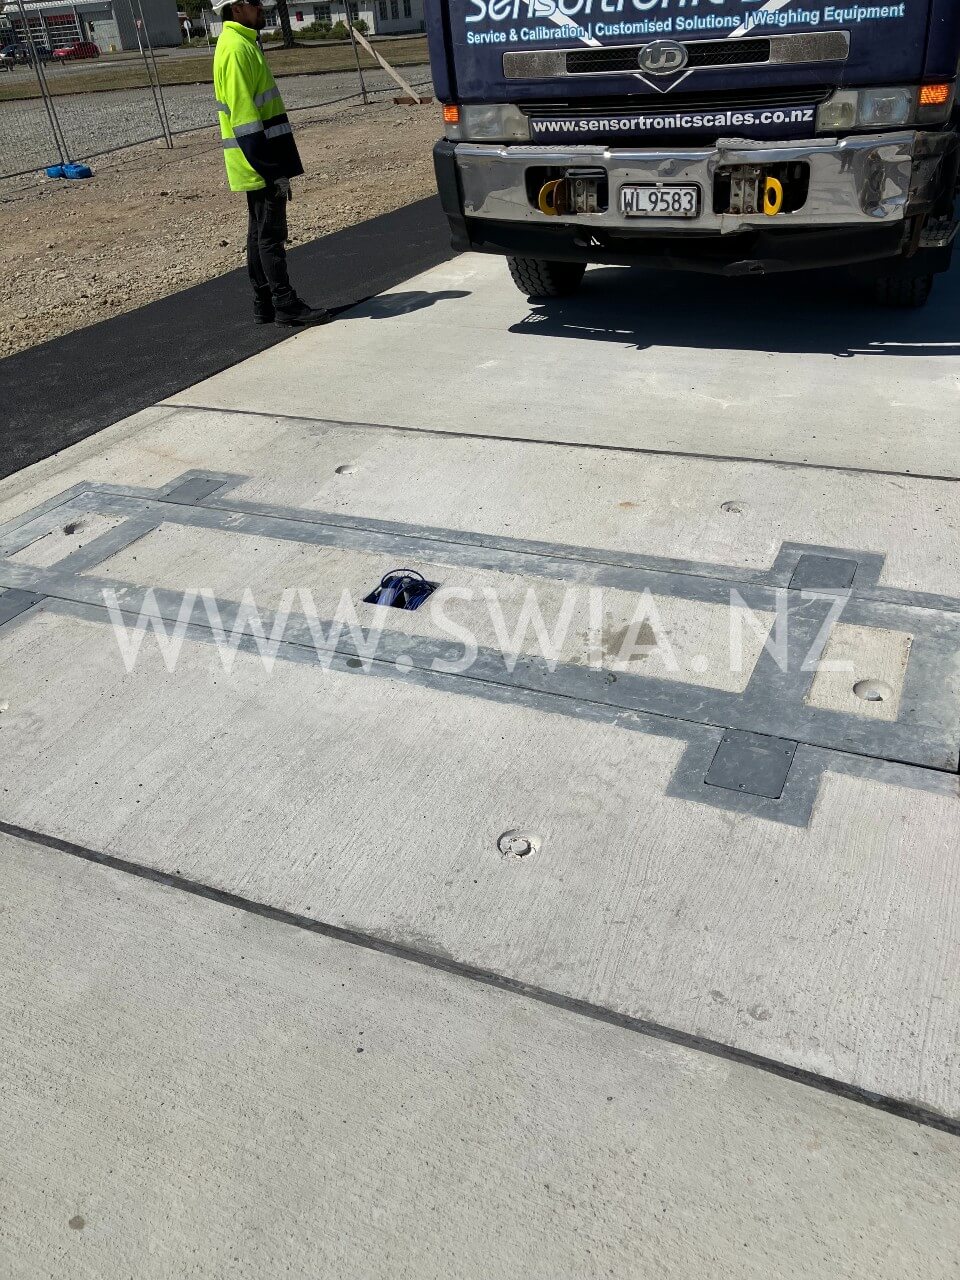
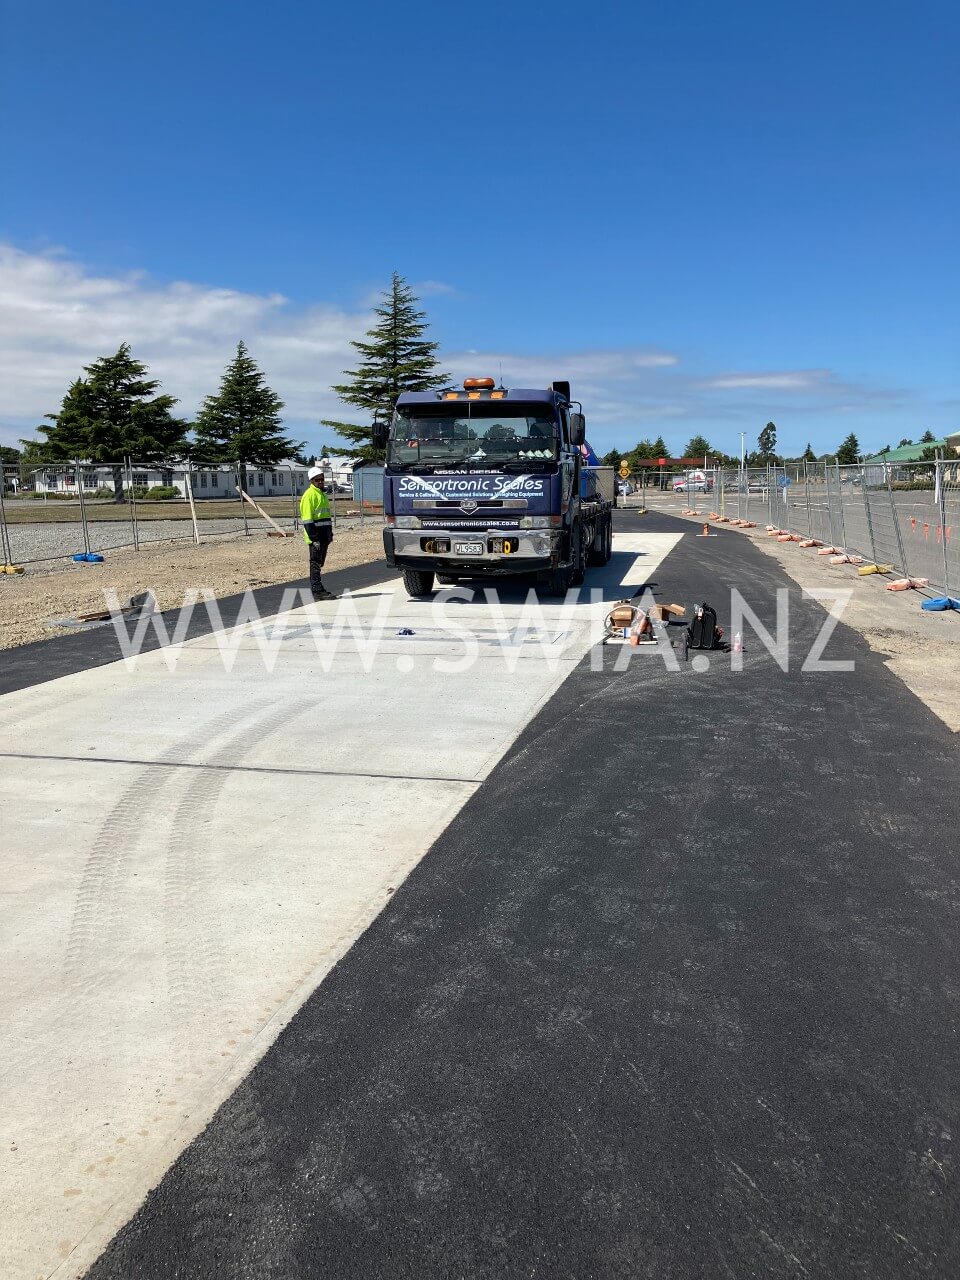
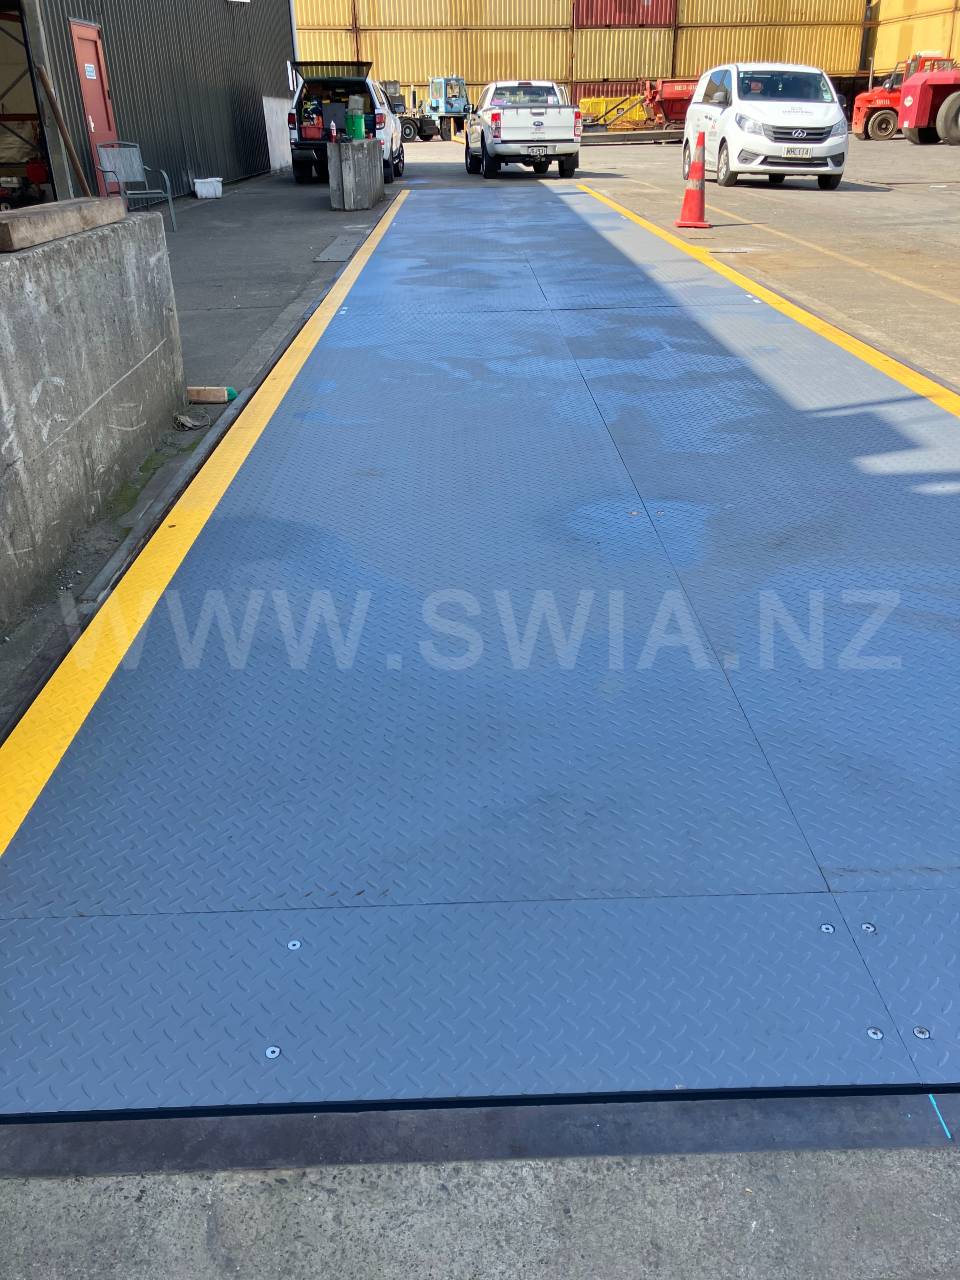
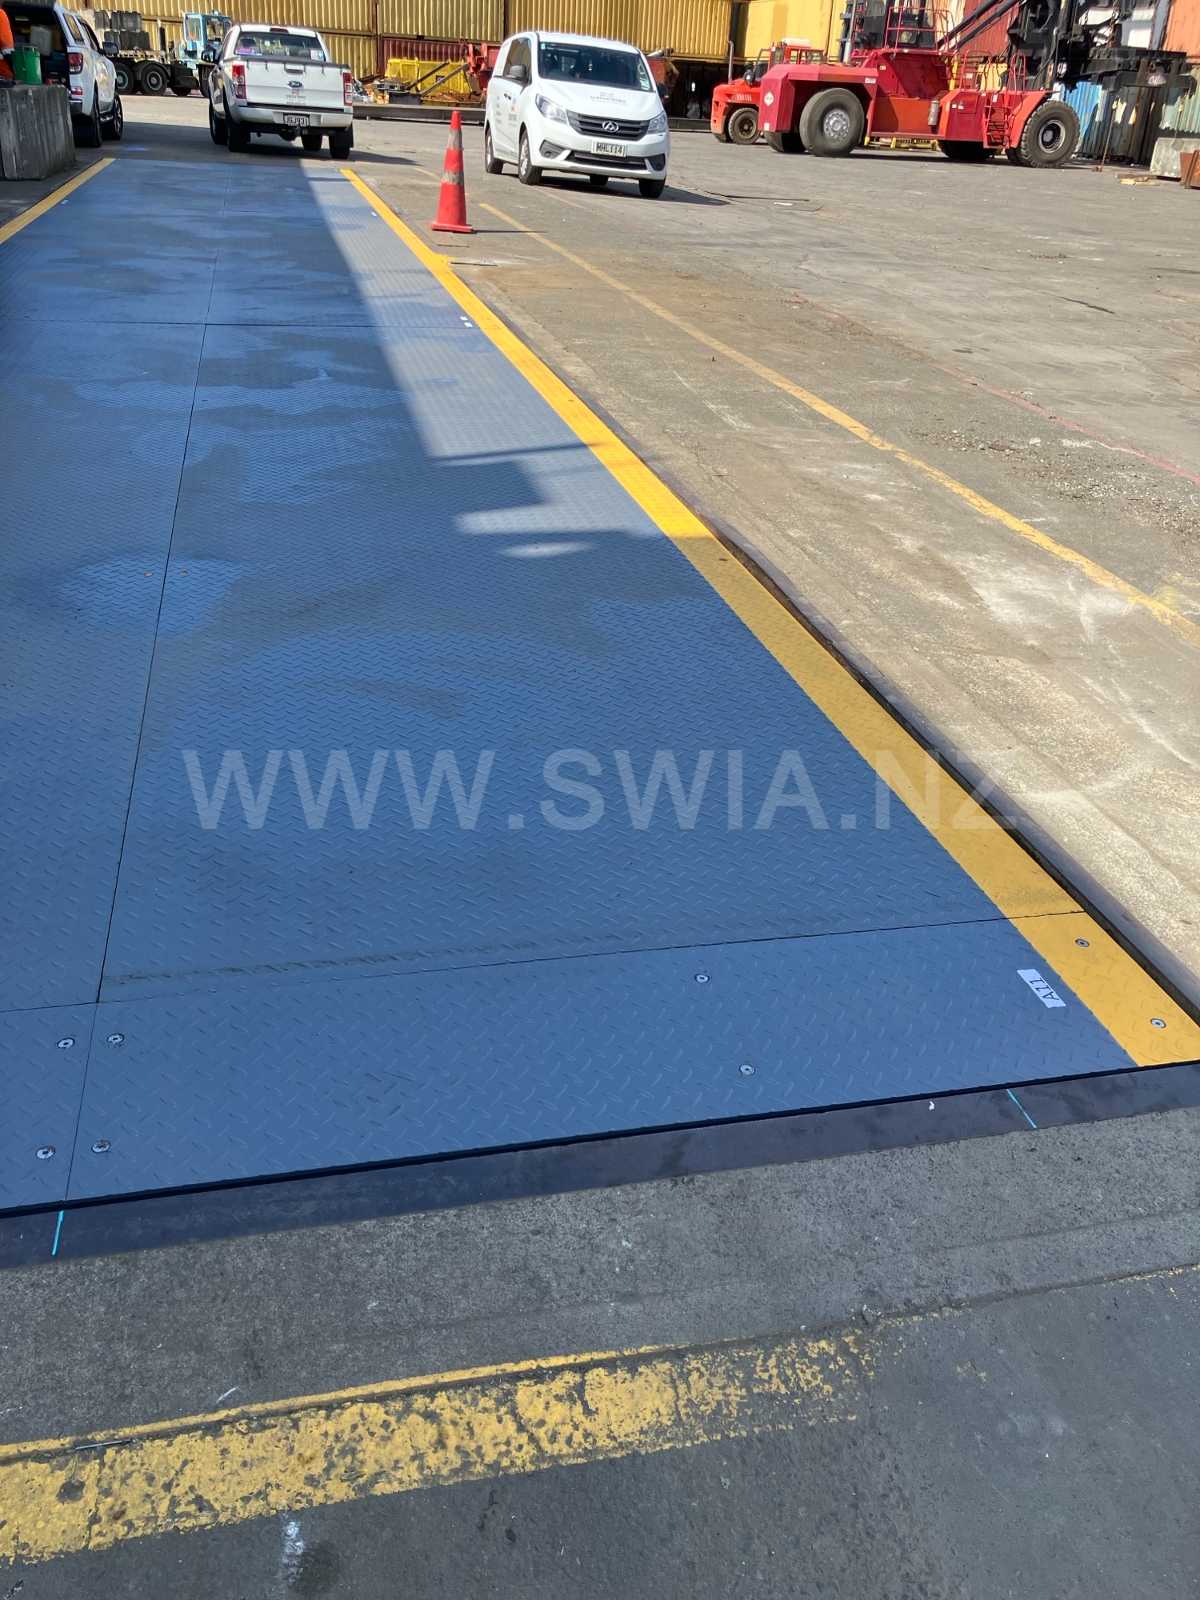
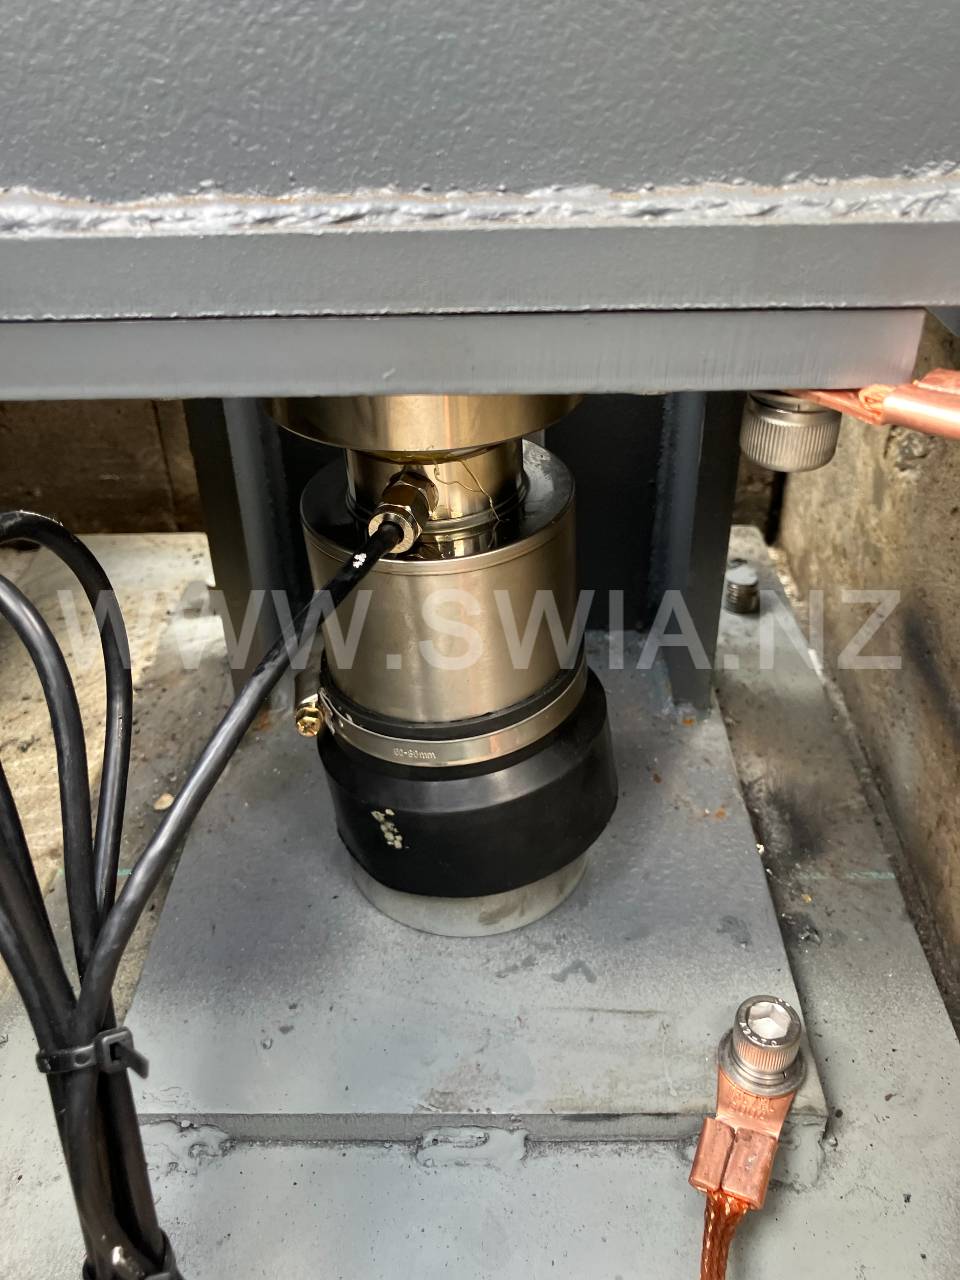
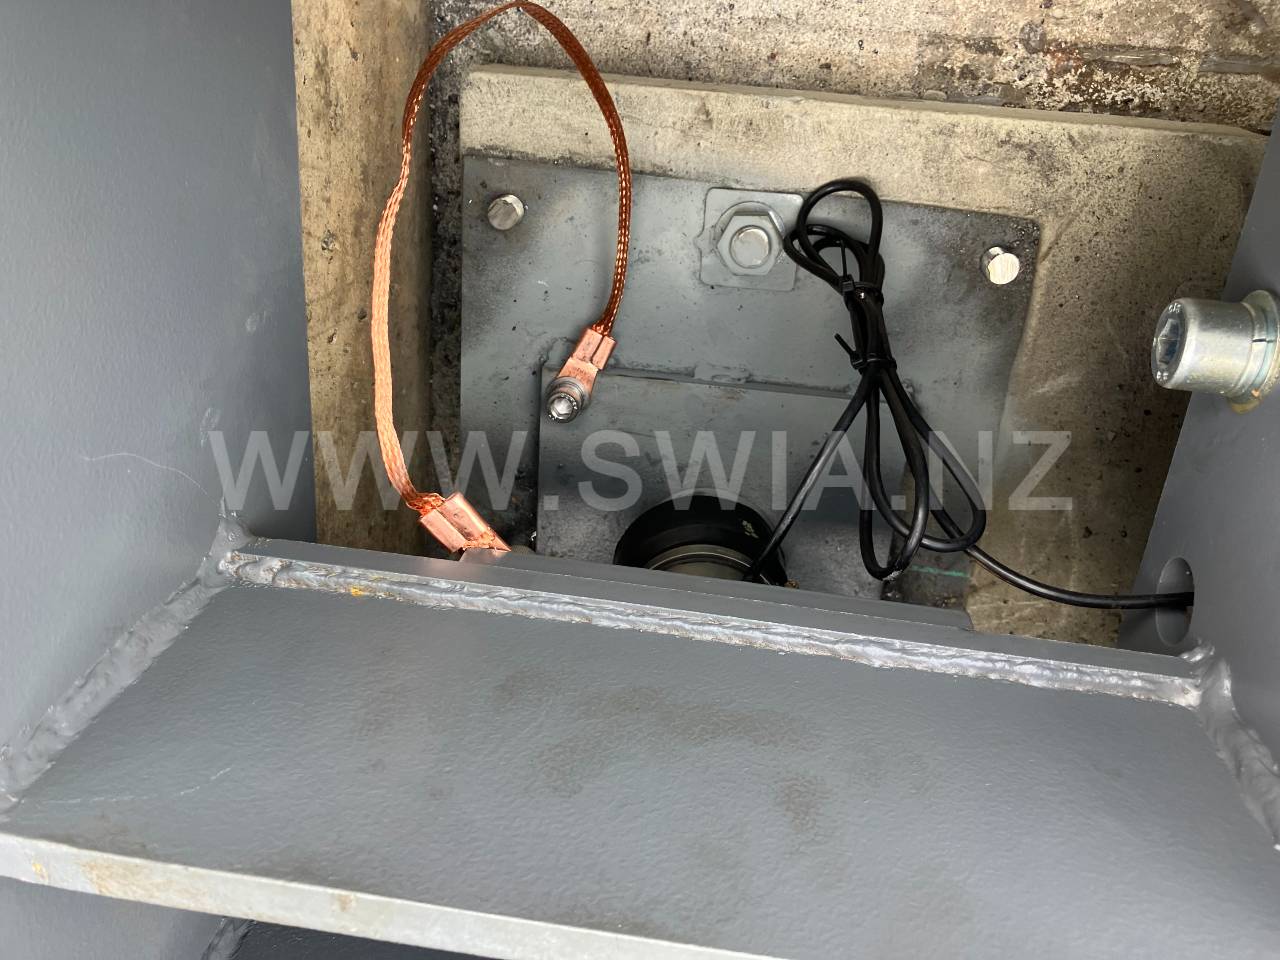
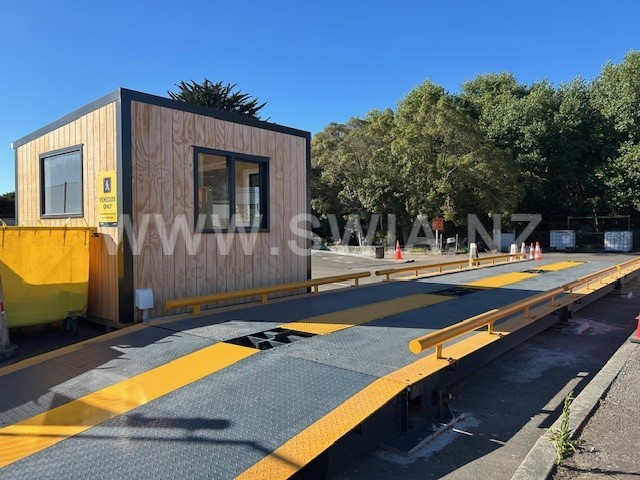
WEIGHBRIDGE PHOTOS
TECHNICAL INFORMATION
RADWAG
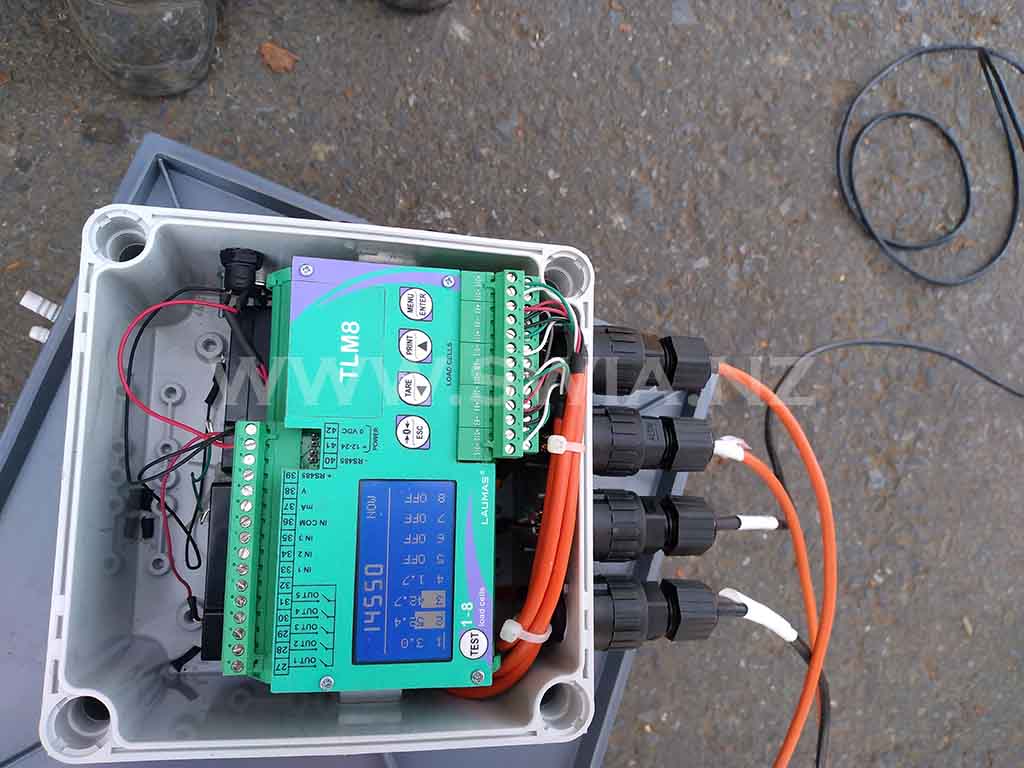
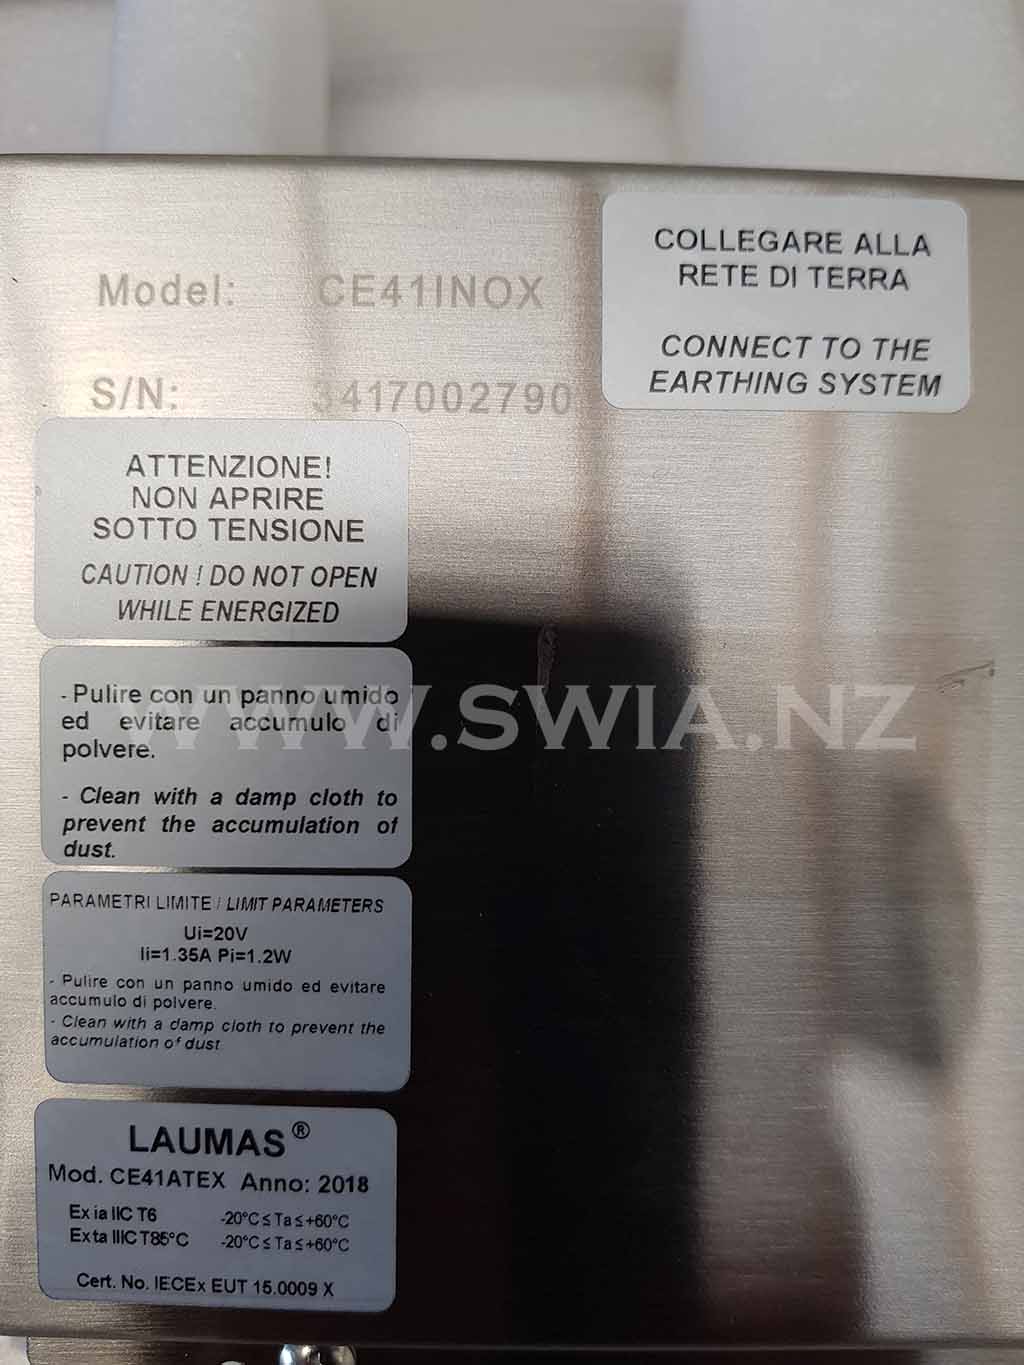
LAUMAS
CAS
1

X2 Balances - presentation / working modes overview
2

Extended capacity of PS R2, PS X2, PS 3Y balances
3

NEW ANALYTICAL BALANCE AS PLUS | SYNERGY LAB Line
4

World's best repeatability of compact analytical balances
5

MA X2.A Moisture analyser with an Auto-opened chamber
6
")
MA R Moisture Analyzer - Quick Start (EN)
7

RADWAG products presentation
8

USB Free Link
9
")
Analytical Balance AS X2 - Quick Start (EN)
02:02
10

X2 Synergy Balances: operating modes overview
02:01
11

The future is already here
02:24
1

WDESKL - ABS weight indicator with LCD display IP67 protection rating - LAUMAS
2

3

WDESKG - ABS weight indicator with LCD graphic display IP67 protection rating - LAUMAS
4
 - LAUMAS")
WINOX2G - stainless steel weight indicator with large LCD graphic display IP68 (IP69K) - LAUMAS
5

TLB485 - digital weight transmitters RS485 ModBus RTU - LAUMAS
6

TLB - digital - analog weight transmitters RS485 ModBus RTU - LAUMAS
1

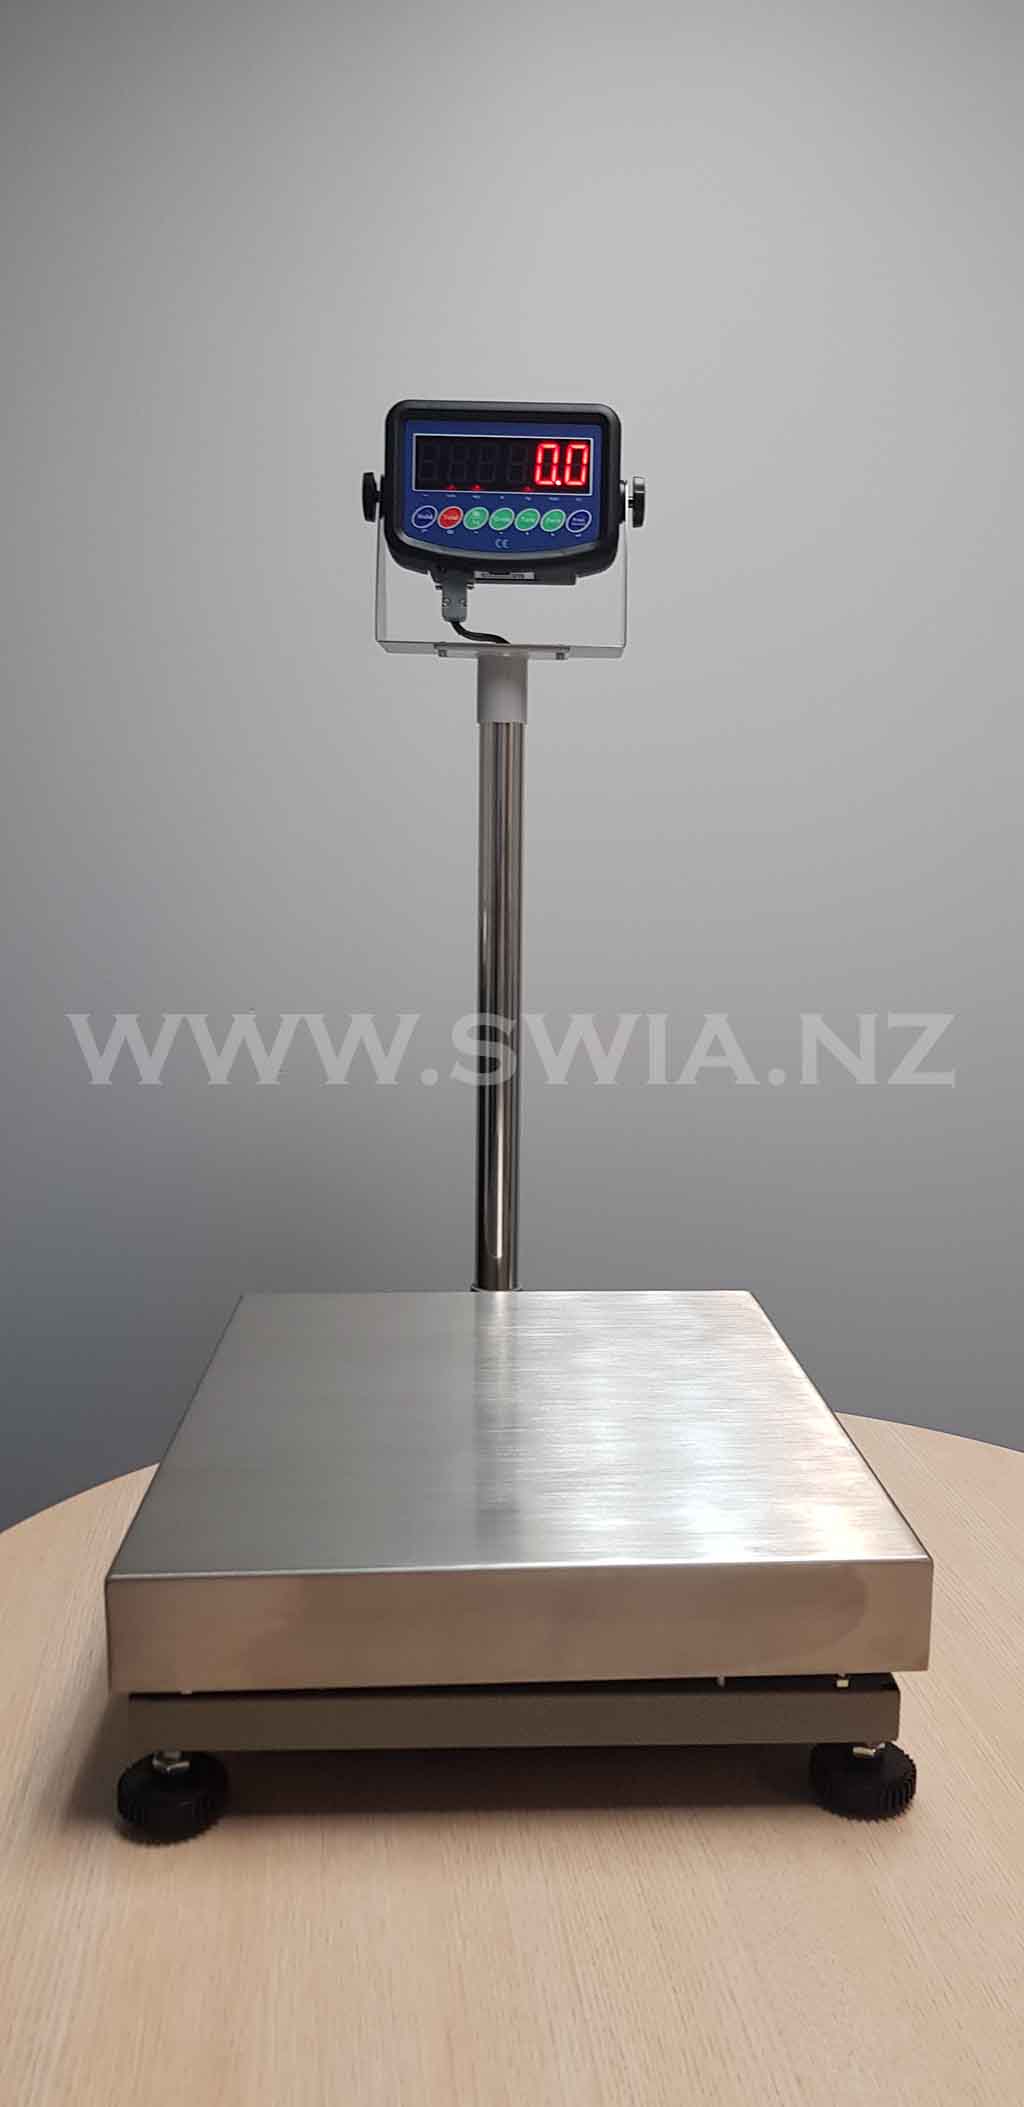
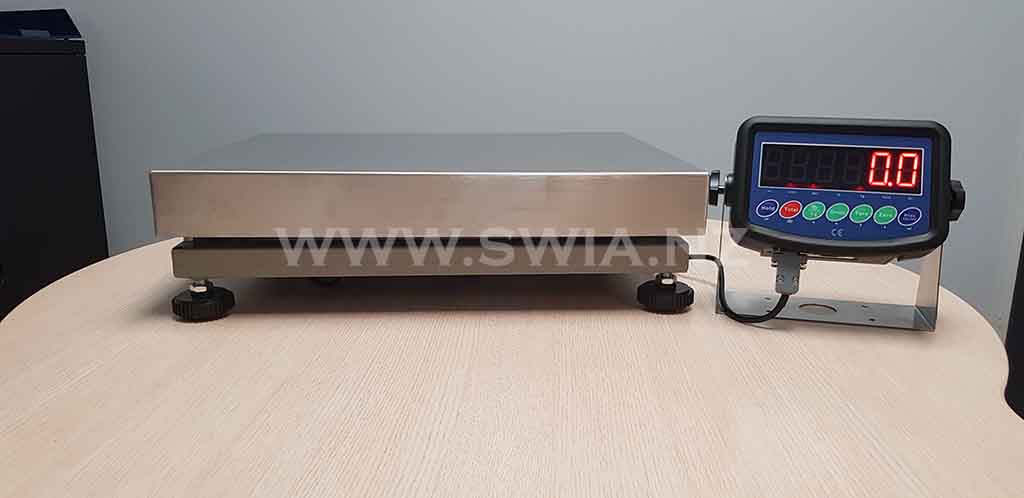
Portable Bench Scale, PB
2
")
Micro-weighing Scale, XE (EN)
3
")
All-in One Multimedia Scale, CL7200 (EN)
4
")
FW500 (EN)
5
")
CL5200 (EN)
6
")
CI-200A series (EN)
7
")
CK200 series (EN)
8
")
CT100 (EN)
9
")
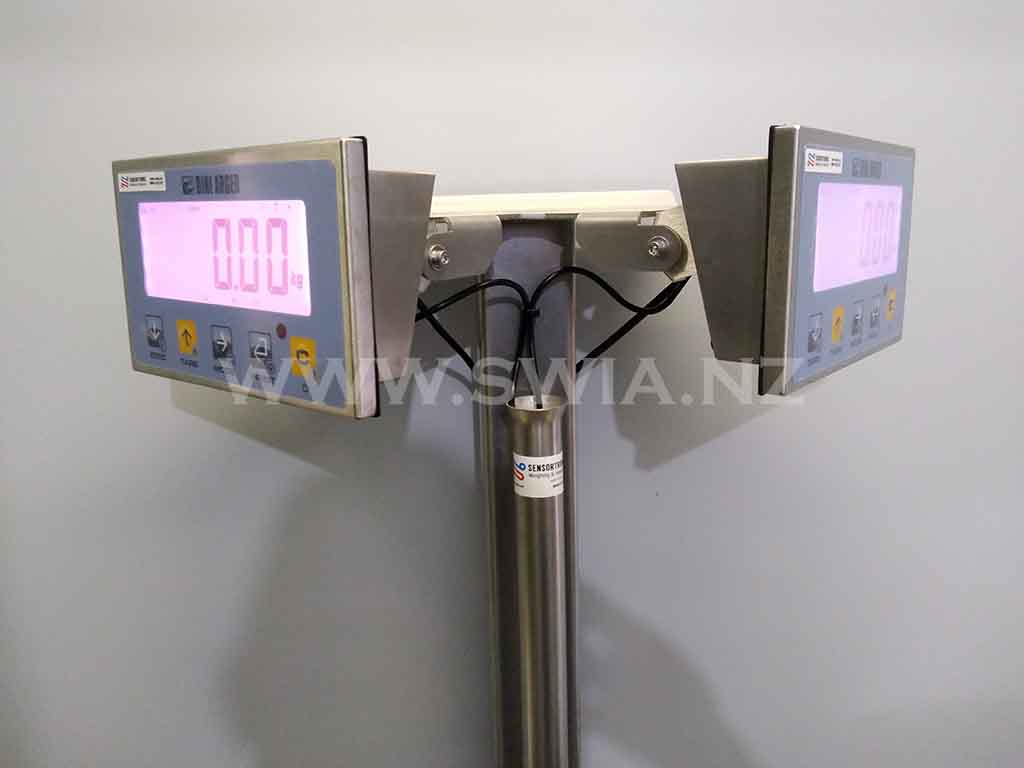
Vehicle weighing scale, RW (EN)
10

CAS SW-1W Dust & Splashproof Weighing Scale - NZ Trade Approved
11

CAS SW-1C Digital Weighing & Counting Scale - Dual Range & Trade Approved
12

CAS EC-II Counting Scale & DLP-50 Label Printer
13

CAS SH Simple & Precise Weighing Scale
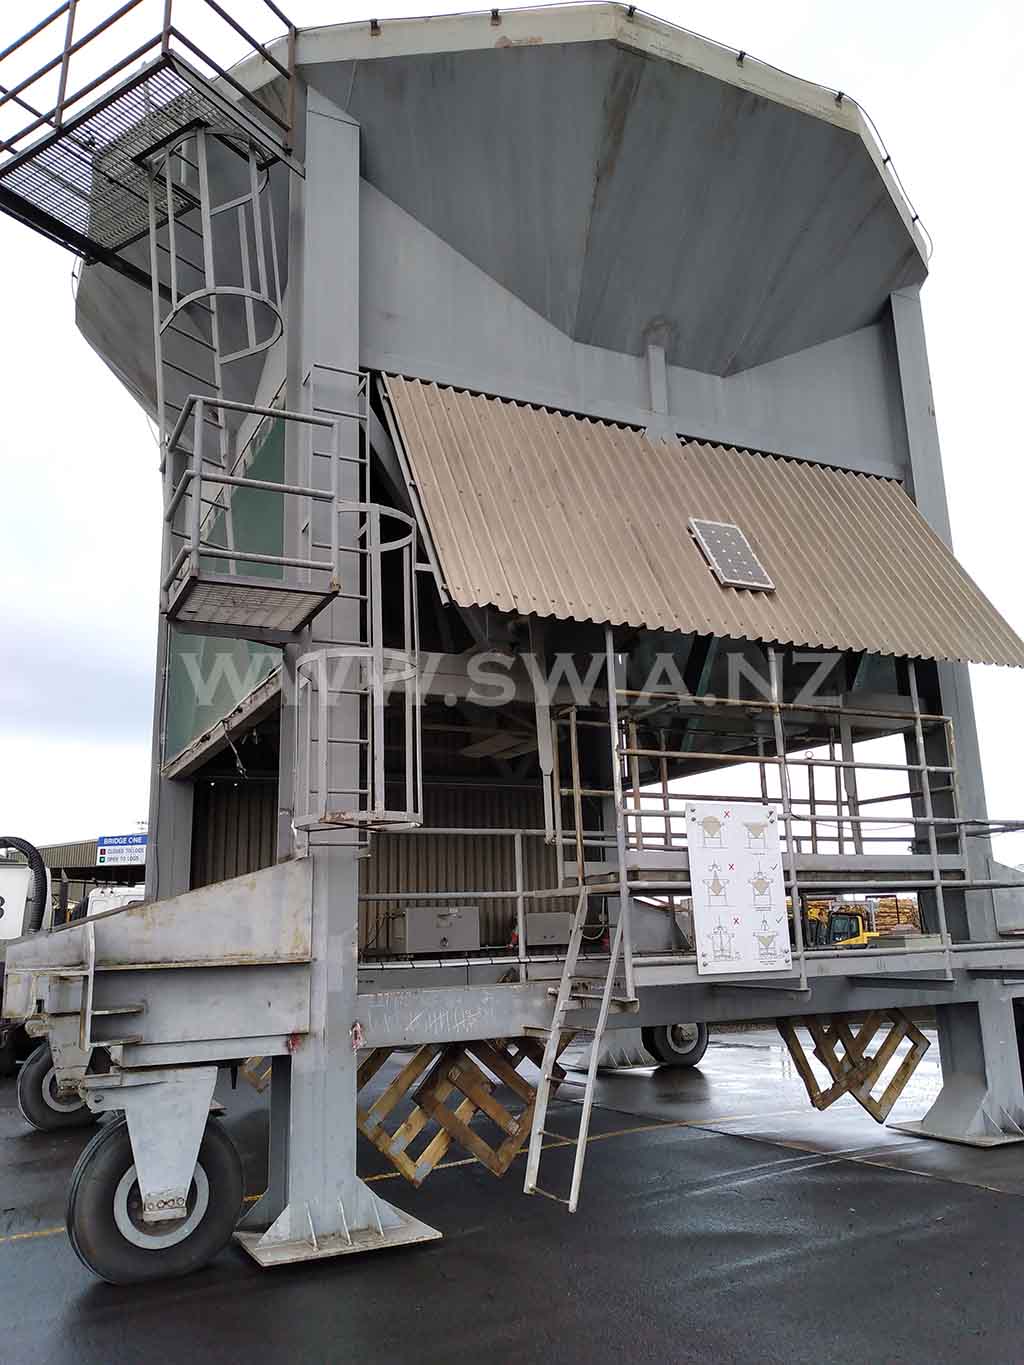
1

ScaleTalk: How to Test a Load Cell for Leakage
2

ScaleTalk: What's the Difference Between Multi-Range & Multi-Interval Weighing?
3

ScaleTalk: What are Hazardous Areas?
4
?")
ScaleTalk: What is a J-Box (Junction Box)?
5

ScaleTalk: Calibrating a Scale, Method 1 - Using Calibration Weights
6

ScaleTalk: Calibrating a Scale, Method 2 - Using an Object From a Calibrated Scale
7

ScaleTalk: Calibrating a Scale, Method 3 - Using Material to Substitute for Weights
8

ScaleTalk: Calibrating a Scale, Method 4 - Calibrating with a Simulator
9

Scaletalk: Identifying Serial Wire and Pin Assignments
10

ScaleTalk: Dry Contact vs Solid State Relays
11

ScaleTalk: How to Check Load Cell Signal
12

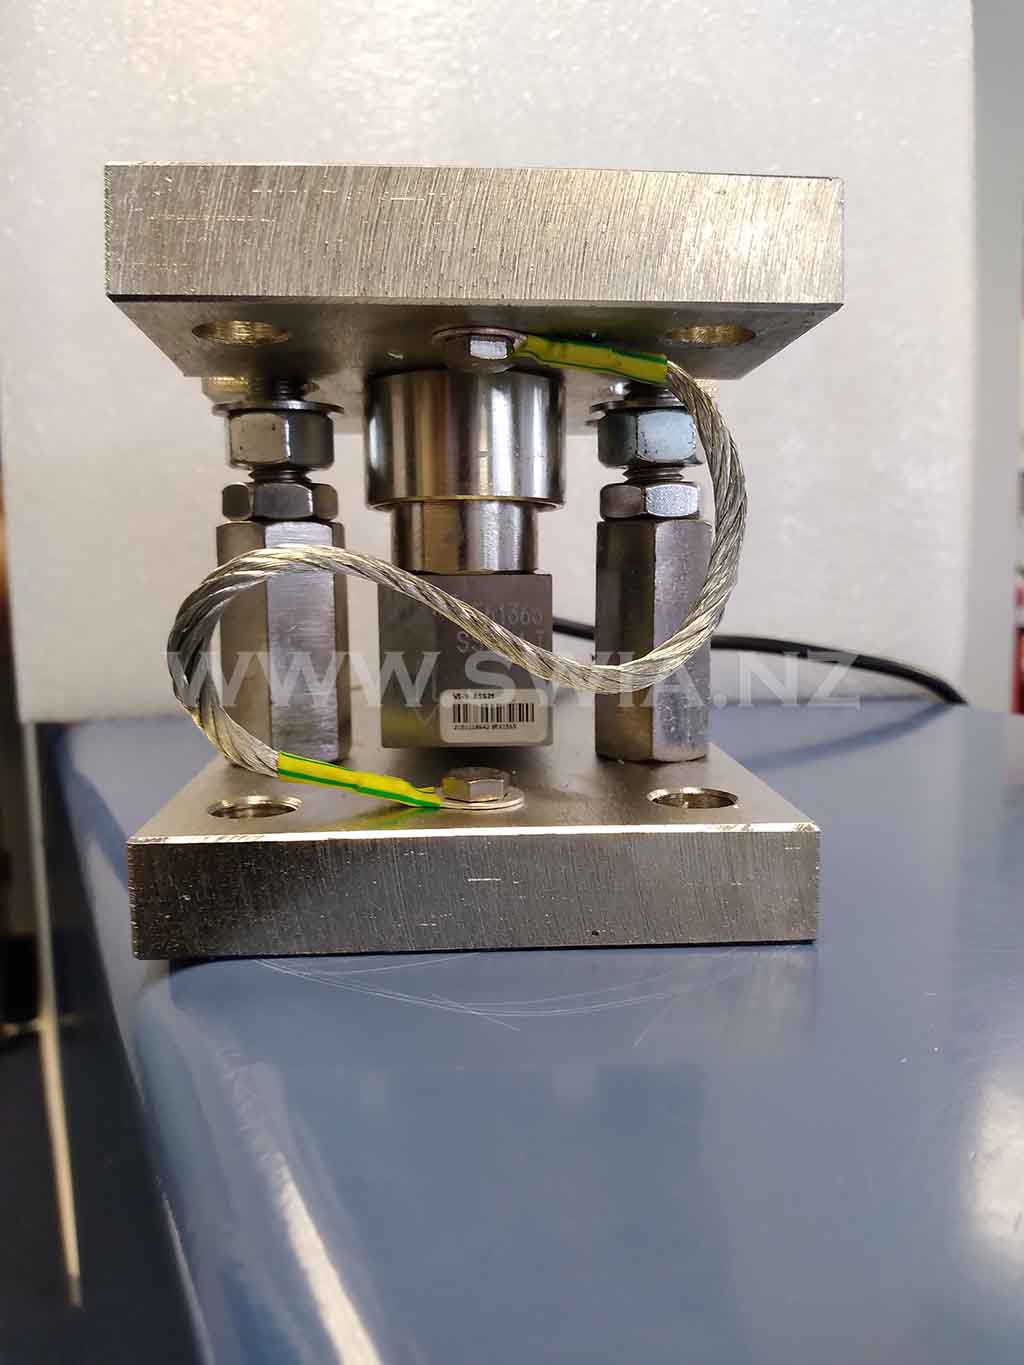
1. Load cells installation, capacity, support plates, mounting surfaces, single point load cells
13

2. Load cells installation, mechanical constraints, frictions, check for correct installation
14

3. Load cells connected in parallel; 4 or 6 wire cables; distance from power cable
15

4. Welding. Recommendations for welding with already installed load cells
16

5. Constraints against horizontal forces and anti tilt
17

6. Silo weighing/structures with legs
18

7. Electrostatic charges. Grounding of the weighed structure
19

8. Guidelines for the installation of weight indicators and weight transmitters
20

Guidelines for the correct installation load cells, weight indicators and weight transmitters